- Terms & Conds
- Contact Us
- Search Your One-Stop Craft Shop

How To - Stamping
Tools You Will Need....
- Rubber or Clear Polymer Stamps
- Ink pads
- Card or paper
Stamps:
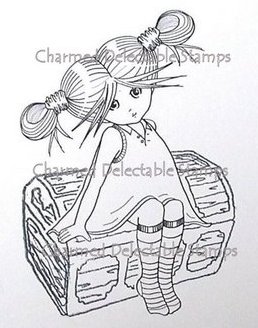
Stamps generally come in two styles, outline and surface area. Outline stamps when inked and stamped on paper will give the effect of an image to colour in. Surface area stamps have a broad area on the rubber so you can apply ink with a pad, brush marker or pen directly on the rubber before stamping the image.
Ink:
There are a number of different types of ink pads available for use with rubber stamps, all have different uses and work better on certain surfaces.
Dye based pads dry very quickly. This makes them ideal for many papers and cards. They are not suitable for embossing.
Pigment based pads come in the widest colour range and cover the full spectrum. Pigment inks dry slowly and are excellent for many papers - however as they dry slowly, they are best avoided when using shiny surfaces. They are ideal for embossing.
Embossing pads are specifically designed for use with embossing powders. They dry very slowly and are normally a very pale, transparent colour which cannot be seen after embossing. This ink is also available in pen form for embossed calligraphy effects.
You can use felt tip pens to colour directly onto the stamp - make sure you don't use permanent markers as they will ruin your stamp. Use several colours to get variegated results.
A good tip is to store your ink pads face down. That way the ink rises to the top and is ready for when you need it.
Card and Paper:
You can stamp on virtually any kind of card and paper. The result you obtain will depend on the type that you use, so experiment before stamping your final project.
How To
Ink your stamp by pressing the ink pad onto the entire image area of your stamp. Apply even pressure and don't rock the stamp from side to side, as this could leaves unwanted marks around the stamped image. Check your stamp to ensure this hasn't happened, if it has, then just wipe of the unwanted ink with a cotton bud.
Now place the inked rubber stamp firmly onto your paper or card, taking care to keep it flat. Apply even pressure to the entire stamp and avoid rocking, . Again it is a good idea to practise on scrap paper before stamping your project.
If you are worried about the ink drying too quickly, you can breathe on the stamp to refresh it.
Troubleshooting Stamping with Clear Stamps
Although pretty rare, occasionally you might have problems getting a crisp impression when using a clear stamp. Manufacturers of some stamps may leave a thin layer of film on the surface of the stamp, which could result in an uneven impression. Personally if I encounter this problem I take an emery board, just the flat type you use for your nails, and gently move it across the surface of the stamp. Don't use anything too abrasive, a soft rounded emery board is perfect for the job. A few strokes should do the trick, don't keep doing it or you will damage the stamp. You will see a powdery white substances, just clean that away and you're good to go. To further improve the impression, try stamping on something soft, such as a foam pad; so place your paper on top of the foam pad, and stamp.
Colouring Your Stamped Image
You need to consider the look you want to achieve. If you want a bold look, then use felt tips or specialised pens and markers. If a more soft look is needed, then use watercolours or coloured pencils. Whatever you choose, you must always ensure that it is compatible with the surface of your chosen paper or card.
Any type of colouring medium can be used to colour in an embossed image. If you are using a dye based ink pad you will need to colour your image with a coloured pencil as dye based pads are water soluble and can be smudged if other colouring mediums are used.
Masking
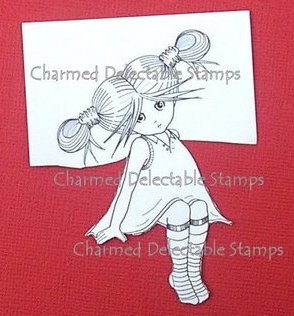
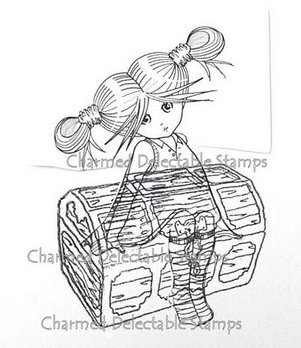
Here is an easy to follow tutorial teaching you how to combine multiple stamped images. Note that the tutorial is copy-righted and must not be reproduced in any way.
