|
|
|
|
|

These projects showcase the Imaginisce Snowy Jo range of products
|
Projects on this page have been designed and created by Design Team member Louise Brigden for Charmed Cards & Crafts. |
 |
|
|
 |
 |
|
|
 |
 |
|
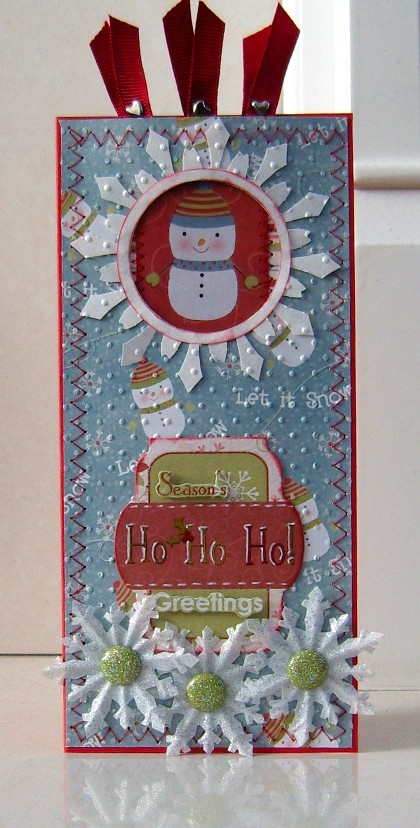
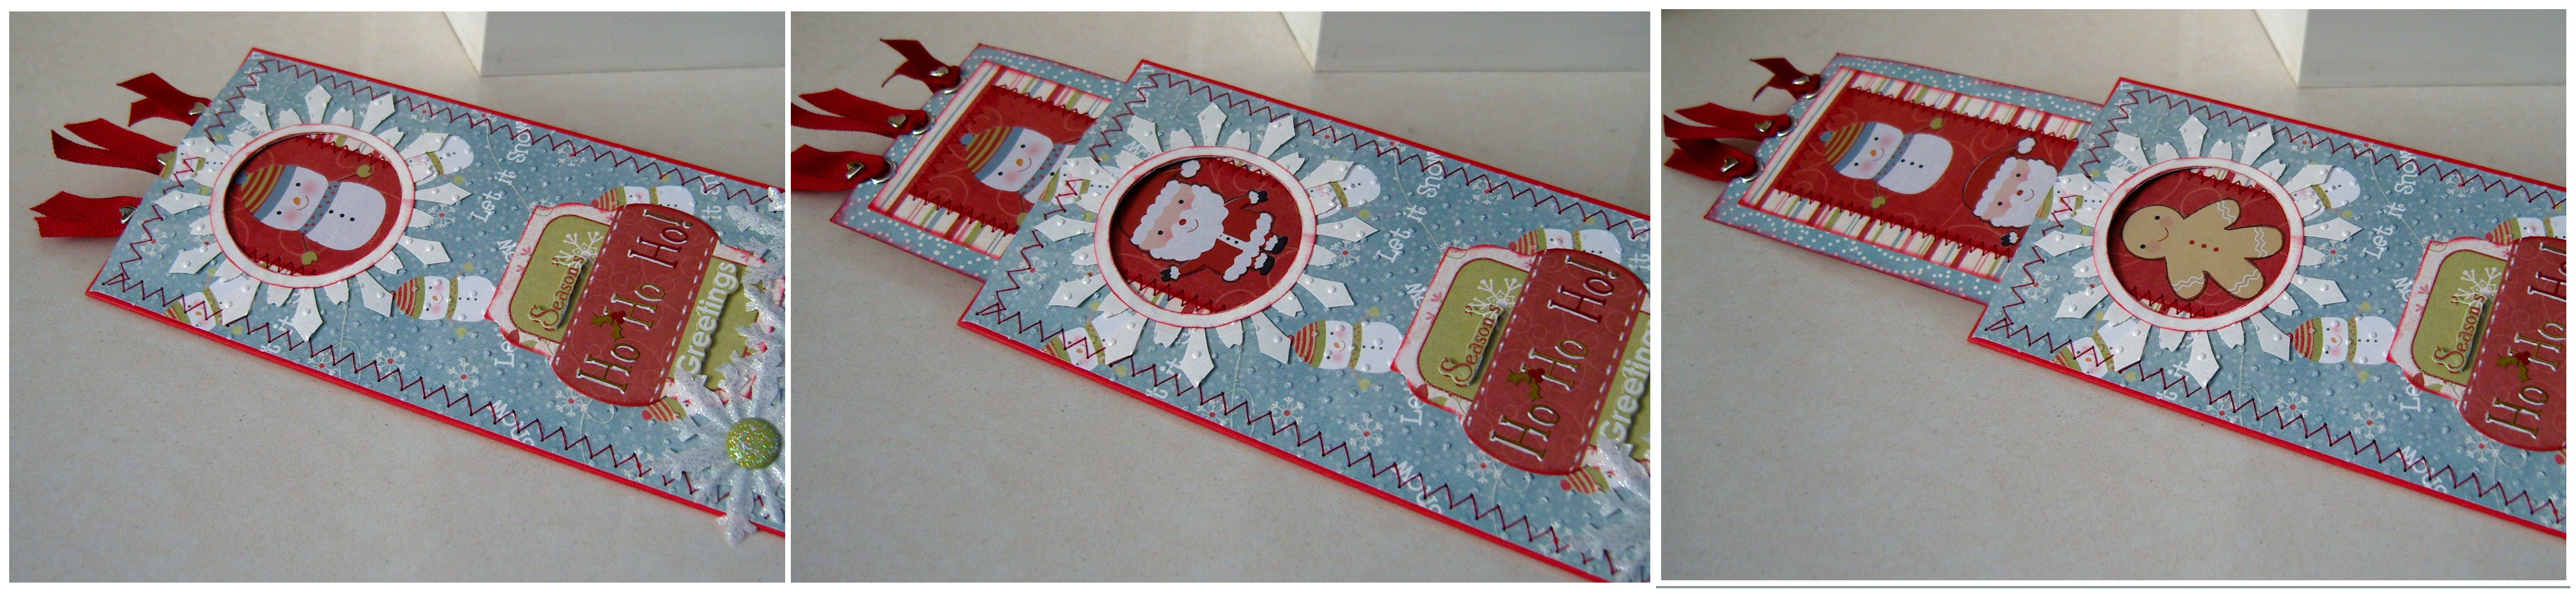
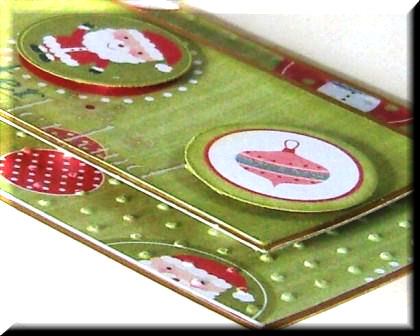
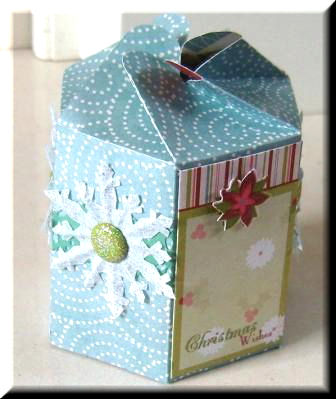
Designed by Louise Brigden |
||||||||
|
Click on pictures to enlarge
|
||||||||
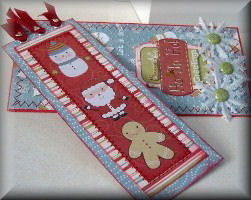
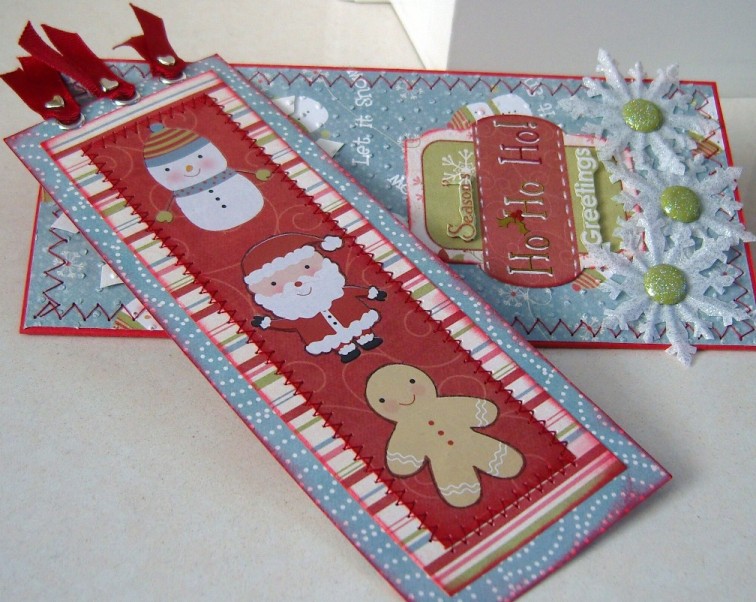
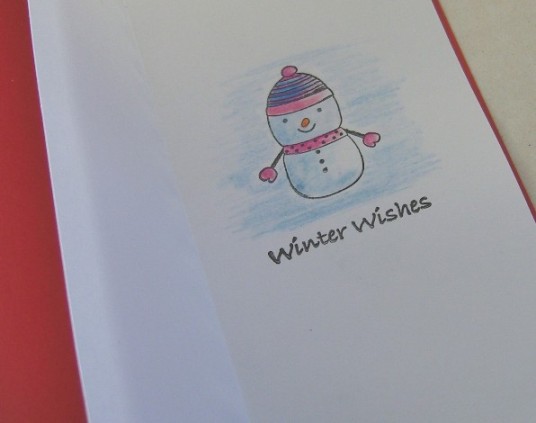
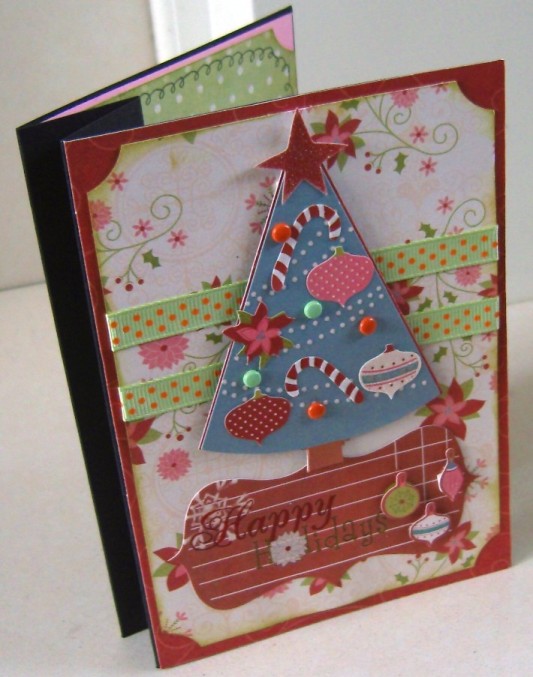
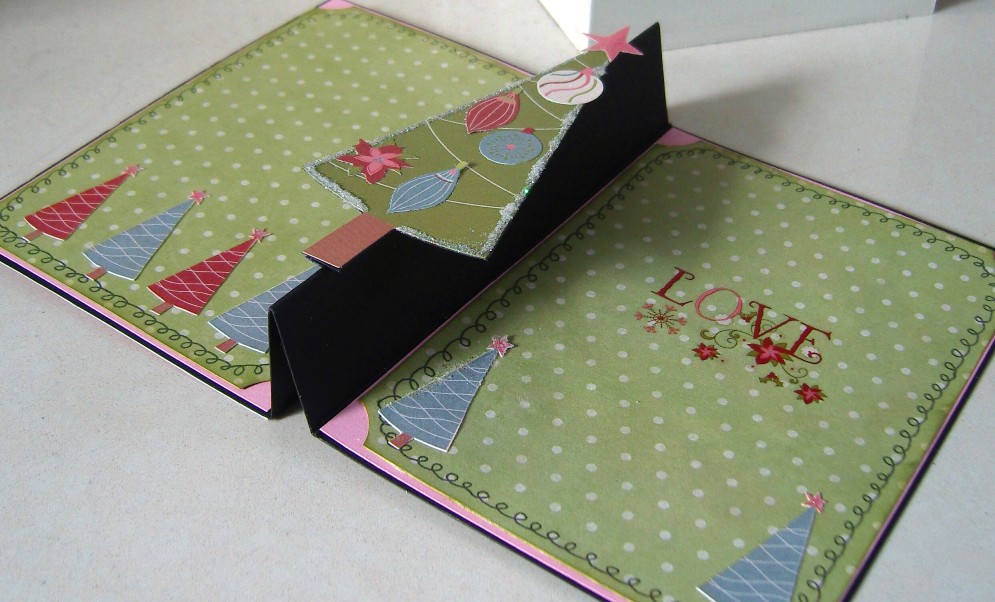
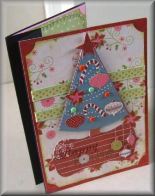
Pop-Out Card with Raised Detail Designed by Louise Brigden |
||||||||
Click on pictures to enlarge
|
|
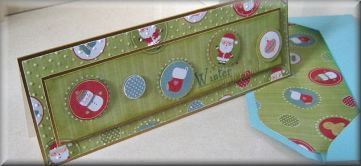
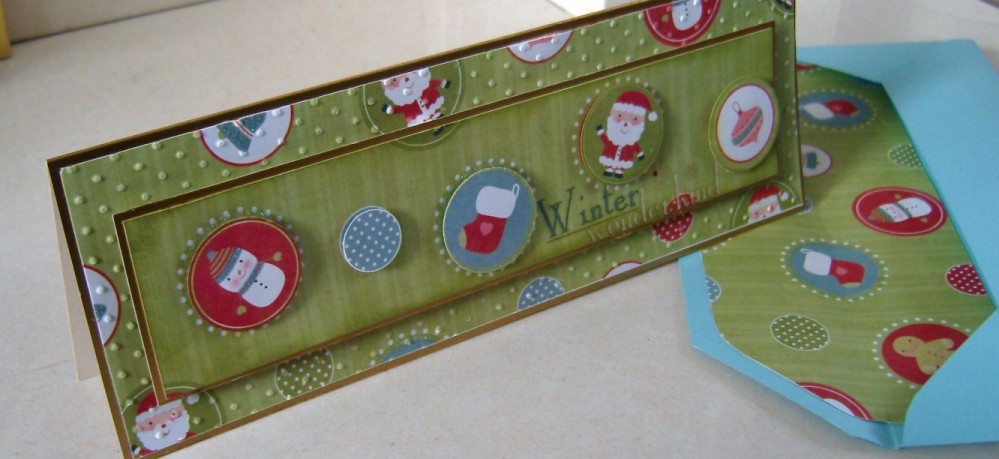
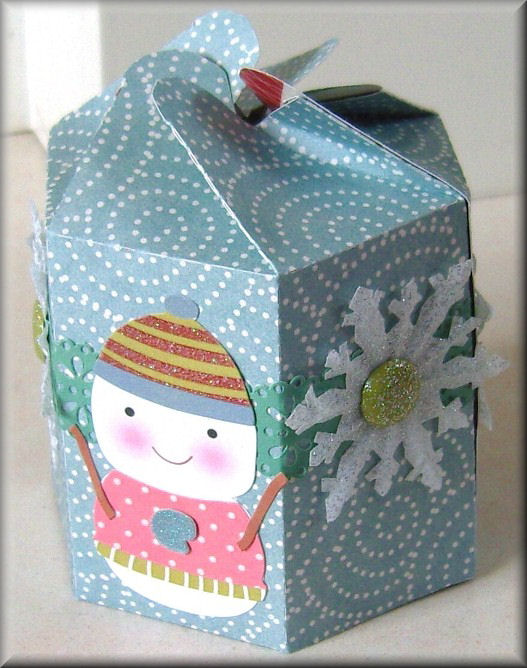
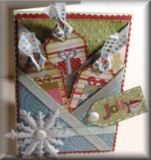
Designed by Louise Brigden |
|||||||
Click on pictures to enlarge
|
|
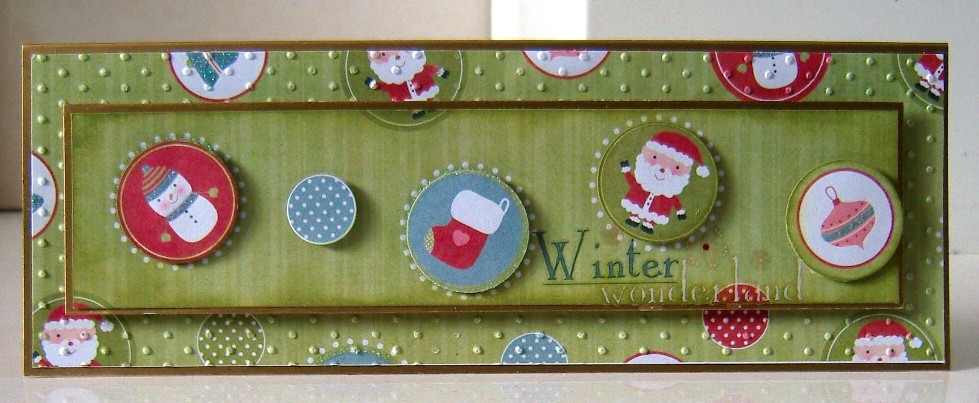
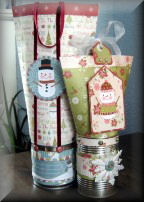
Designed by Louise Brigden |
|||||||
Click on picture to enlarge
|
All projects copyright ® Charmed Cards & Crafts. All rights reserved.