|
|
|
![]()
![]()
![]()
![]()

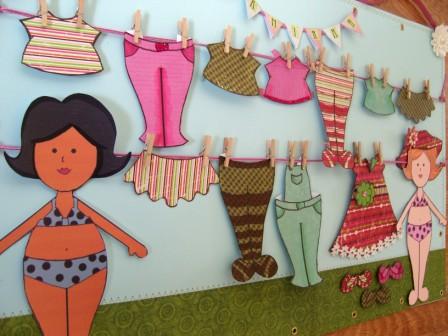
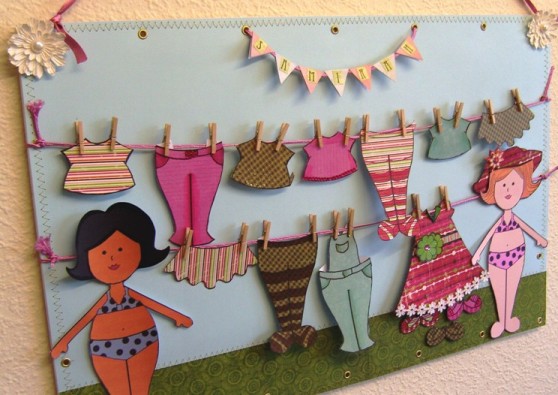
Milly Moo Paper Dolls
Create fun cards and wall hangings with a lovely paper doll set created by our own Louise Brigden.
|
Products used:
You can do so much with the lovely digital doll set that Louise has created for you. Louise has showcased her paper dolls on a fun wall hanging. It makes for a great present, where the recipient can change the clothes to create different looks. The dolls are also great individually on cards, or print them out and just play with them the old-fashioned way. You could even make your own book. Lou says, “I don’t know about you but dressing up paper dolls was one of my favourite childhood pastimes, maybe we were easier to please back then but I think girls will always be girls and girls will always delight in playing dress up.” The set comes in black and white, so you can colour them in just as you like. You can also paper piece the clothes, and create an array of patterned fashions. The fun part is embellishing your finished garments with lace, buttons, glitter etc and then seeing the joy on the recipients face as they receive their new wardrobe additions.
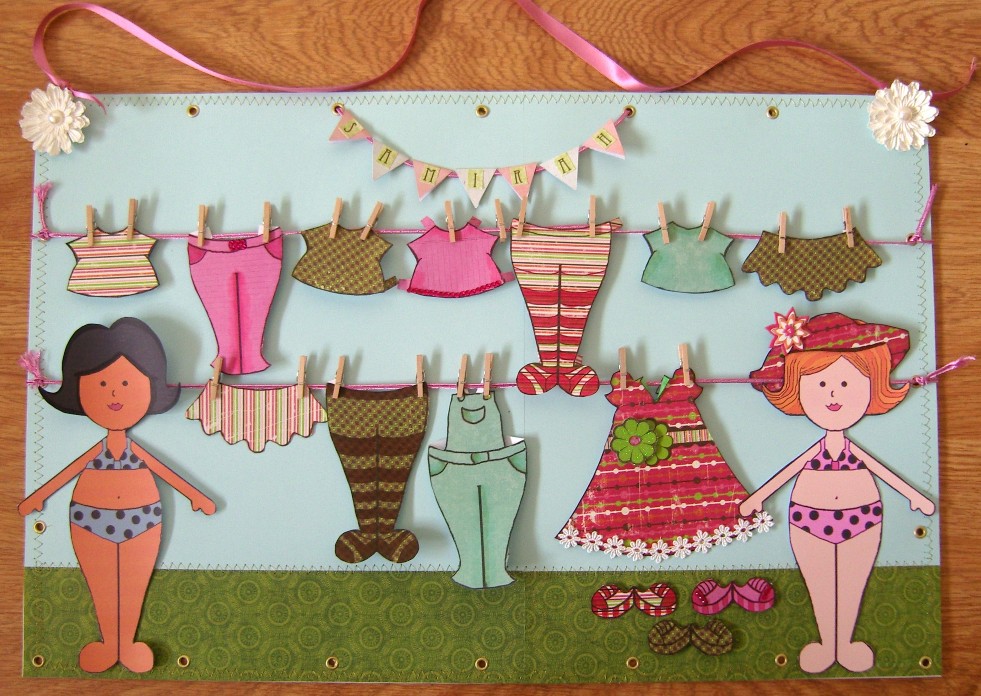
To make the wall hanging:
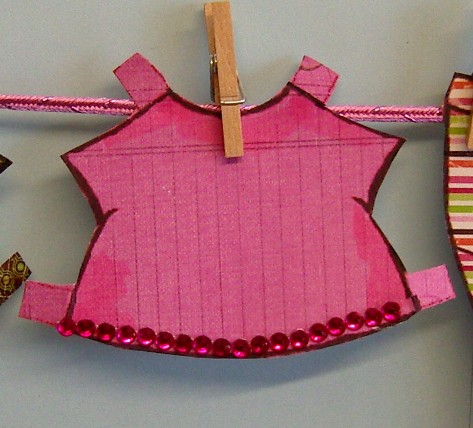
To paper piece use the transparent images with the PNG extension (*.png), then print on patterned paper. This top has been paper pieced, then highlighted with a marker pen. Lou then stuck a row of glittery gems on the bottom.
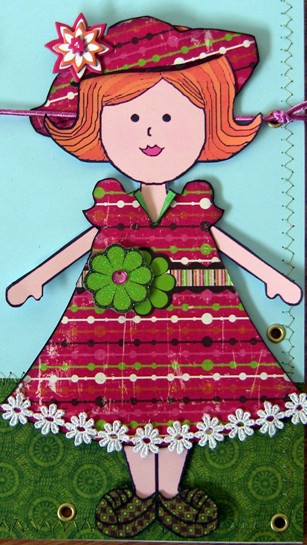
The dolls all dressed up A fabulous outfit, paper pieced from the Bo Bunny Vicki B. Paper pad. Check out the little embellishments, also from the Vicki B. range.
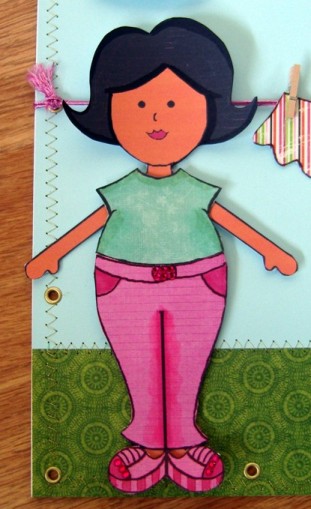
...again Lou has paper pieced the trousers, then highlighted with a marker pen.
You can resize the dolls and clothing easily in MS Word. Our pictorial re-sizing guide can be found HERE. Remember to resize proportionally, otherwise the clothes will not fit the dolls. Here are further instructions: · Open Microsoft word, your document should be A4 portrait. · Click on the tab at the top of the screen that says ‘insert’ then click on ‘picture’ · Scroll through your files and click on the doll base you want to insert (coloured or black and white) · Adjust the size you would like your doll to be by dragging the CORNER of the box that surrounds it. DON’T ADJUST THE SIZE BY DRAGGING THE SIDES OR THE TOP OR BOTTOM BECAUSE IT WILL MESS UP THE RATIO OF THE DOLL AND THE CLOTHES WON’T FIT. · If you want to print your clothes onto the 6”x 6” paper like I have (recommended) at this point you need to open a second document…… · On the file tab click on ‘new’ then ‘blank document’. · You will need to alter the paper size to that of the paper you will be printing onto (in this case 15 x15 cm)…… · Click on the page layout tab at the top of the screen · Click on ‘size’ then ‘more paper sizes’ click the arrow on the side of the box that says A4 and scroll down to the bottom of the menu where it will say ‘custom size’ click on that · Now just enter the height and width of your paper · This is the paper you will print your clothes onto. · THIS IS THE IMPORTANT BIT………. · Go back to your first document (the A4 one) · Make sure the doll isn’t selected, then (as before) insert the first piece of clothing, you will need to resize it to fit the doll. Here is what I do….. · Right click/text wrapping/in front of text. Doing this will enable you to drag the picture around the screen. · Now, drag the clothing over the doll (it will be transparent and you will see the doll through the clothing). You will see if the clothing needs to be made bigger or smaller. Drag it away from the doll and alter the size (by dragging the corner) keep doing this until the clothing fits perfectly over the doll. · When the clothing is the right size, right click on the clothing and click on ‘cut’. · Now go back to your second document, right click and ‘paste’ · Fill the page with as many garments as you can so that you don’t waste the paper. TIP: Adjust your printer as appropriate to accommodate the smaller paper. Most printers allow for this.
Click here to get the Paper Doll Set FOR FREE! The file is a zipped folder filled with all the images from the set. It also includes our terms and conditions of use, please read them carefully. Choose "Save As", then navigate to a folder where you can easily find it again, e.g. "My Pictures". File size is approximately 1.25MB. ENJOY and HAVE FUN!
|
All projects and classes are copyright ®Charmed Cards & Crafts. All rights reserved.
![]()
![]()
![]()
![]()