|
|
|
|
|

These projects showcase the Imaginisce "Baby Powder" Collection and K&Co Adhesive Chipboard.
All projects on this page are created by Louise Brigden
|
|
|
|
|
|
|
 |
|
|
|
|
Please note that materials used are only available whilst stock last.
|
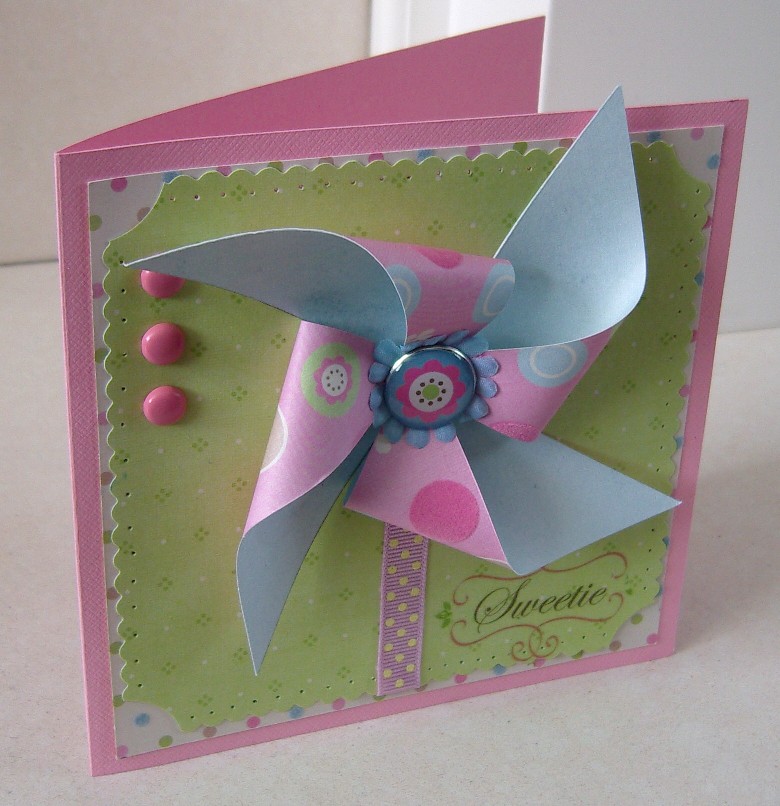
Designed by Louise Brigden |
|
 |
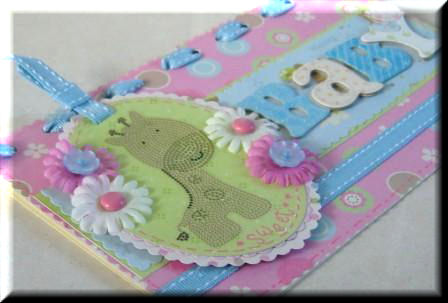 |
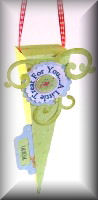
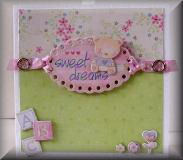
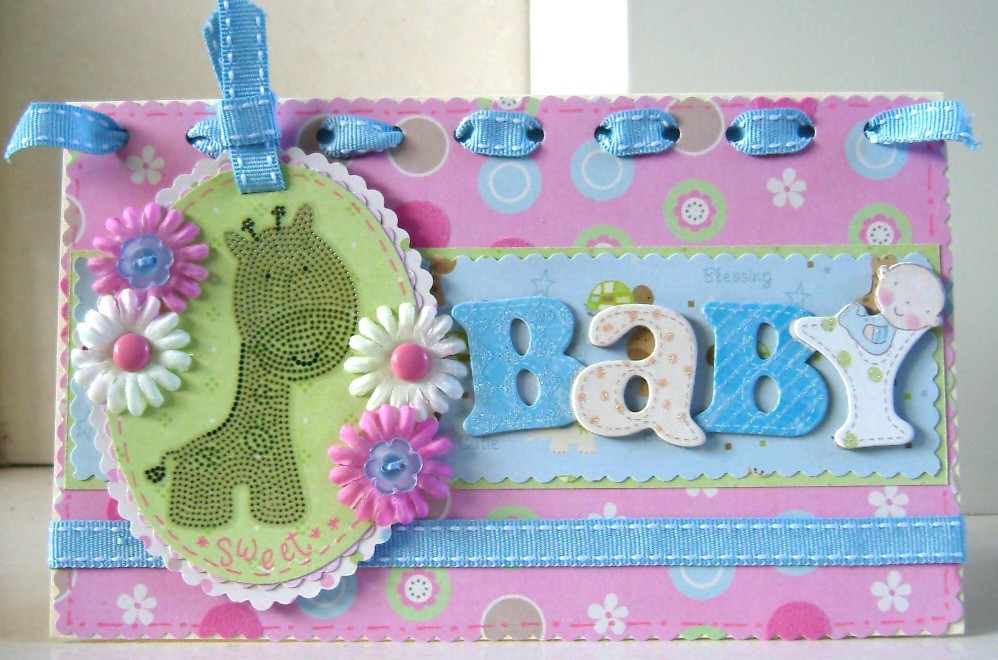
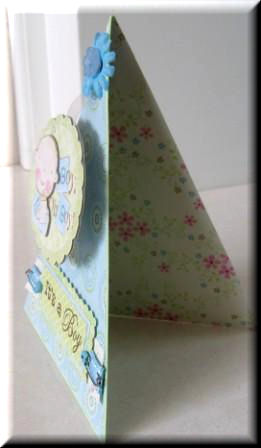
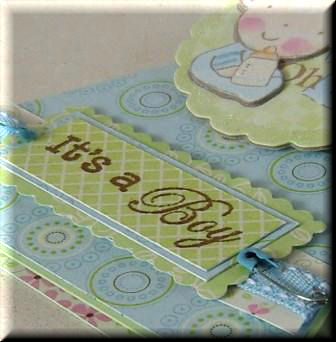
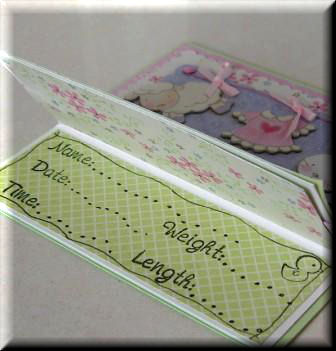
Products used: Imaginisce "Baby Powder" Collection and K & Company Baby Boy Adhesive Chipboard Instructions
|
|
|
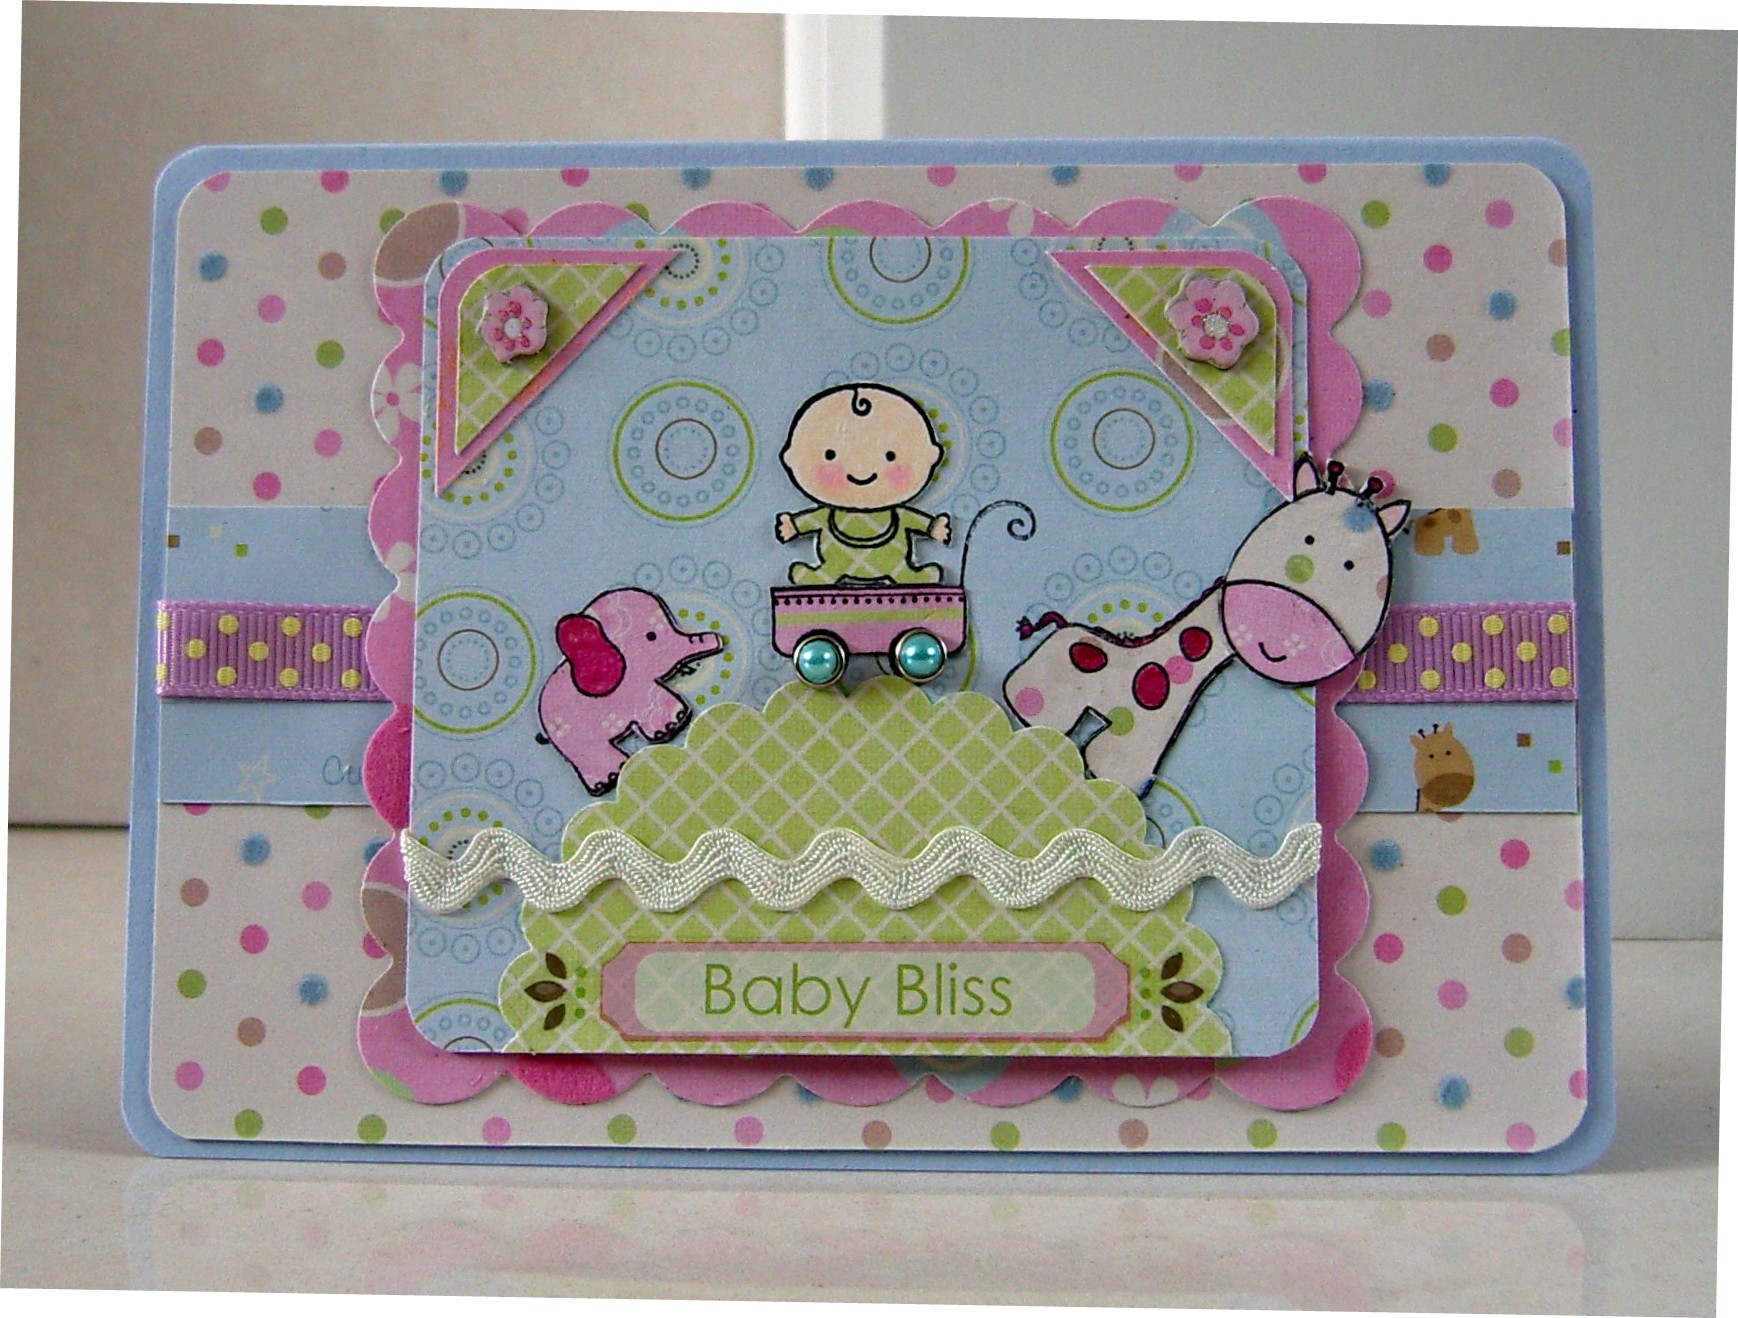
Designed by Louise Brigden |
|
| Click on picture to enlarge
|
 |
 |
|
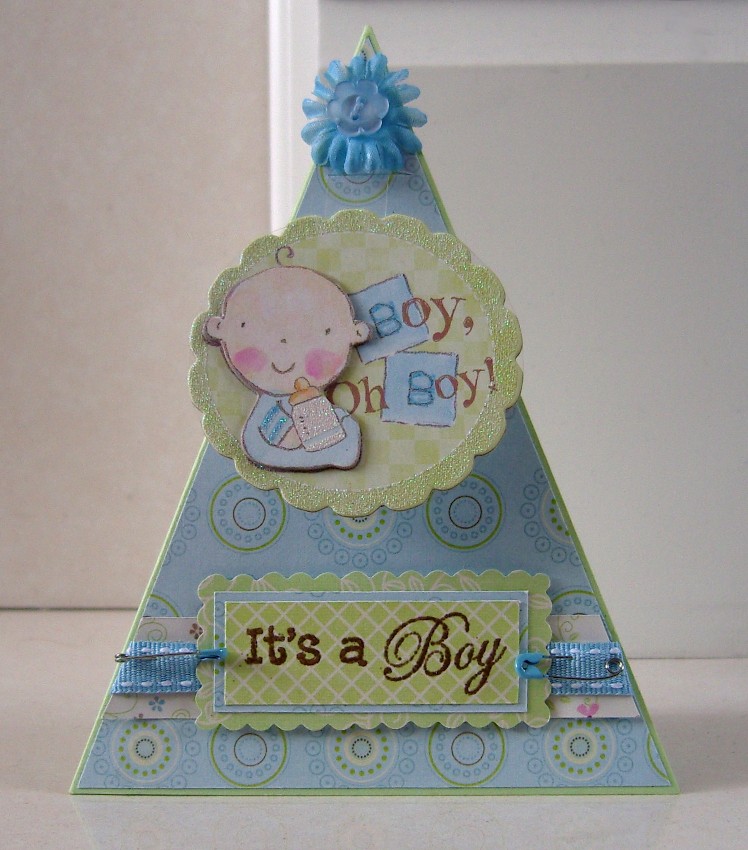
| Products used: Imaginisce "Baby Powder" Collection and K & Company Baby Boy Adhesive Chipboard Instructions This card just goes to show that very quick and simple cards can look fab!-with the help of some beautiful products.
|
|
|
|
Designed by Louise Brigden |
|
| Click on picture to enlarge
|
 |
 |
 |
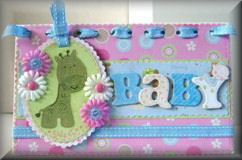
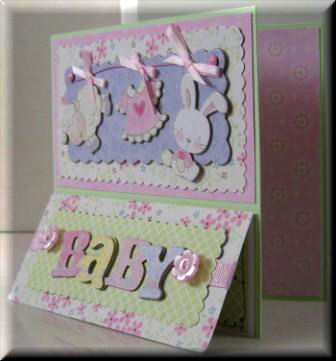
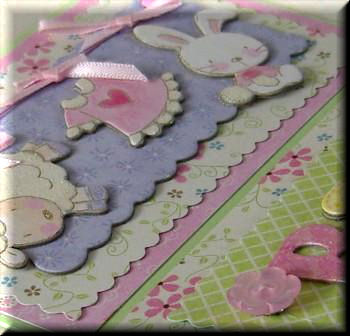
| Products used: Imaginisce "Baby Powder" Collection and K & Company Baby Adhesive Chipboard Instructions
|
|
|
|
Designed by Louise Brigden |
|
| Click on picture to enlarge
|
 |
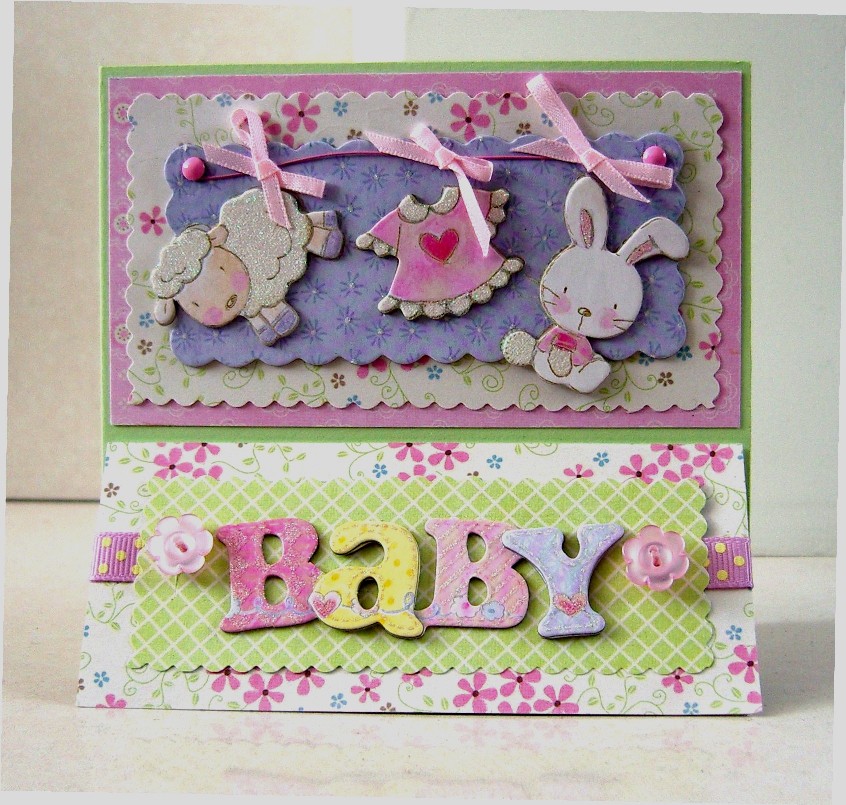
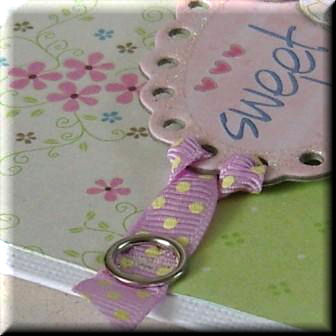
| Products used: Imaginisce "Baby Powder" Collection and K & Company Baby Adhesive Chipboard Instructions Don’t be fooled by this card, it’s surprisingly easy to make.
|
|
|
|
Designed by Louise Brigden |
|
| Click on picture to enlarge
|
 |
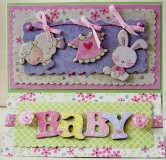
| Products used: Imaginisce "Baby Powder" Collection and K & Company Baby Adhesive Chipboard Louise also used the Big Bite and Gromlets (included with the Big Bite) Instructions This is a nice and easy one.
See! I told you it was easy.
|
|
|
|
Designed by Louise Brigden |
|
| Click on picture to enlarge
|
 |
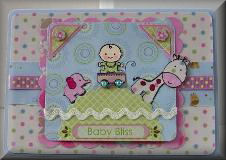
| Products used: Imaginisce "Baby Powder" Collection and K & Company Baby Adhesive Chipboard Instructions
Centre feature:
|
|
|
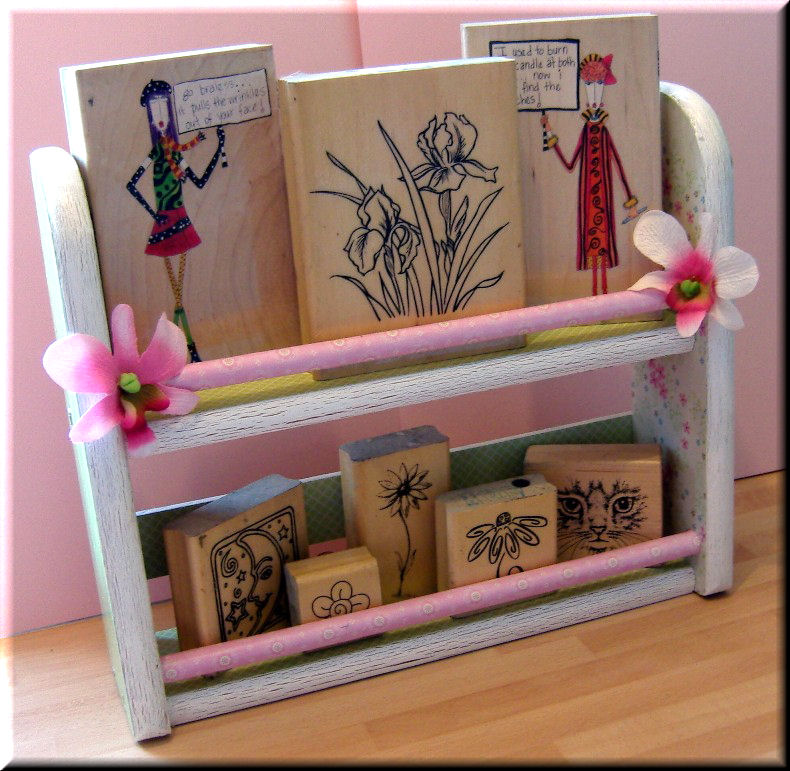
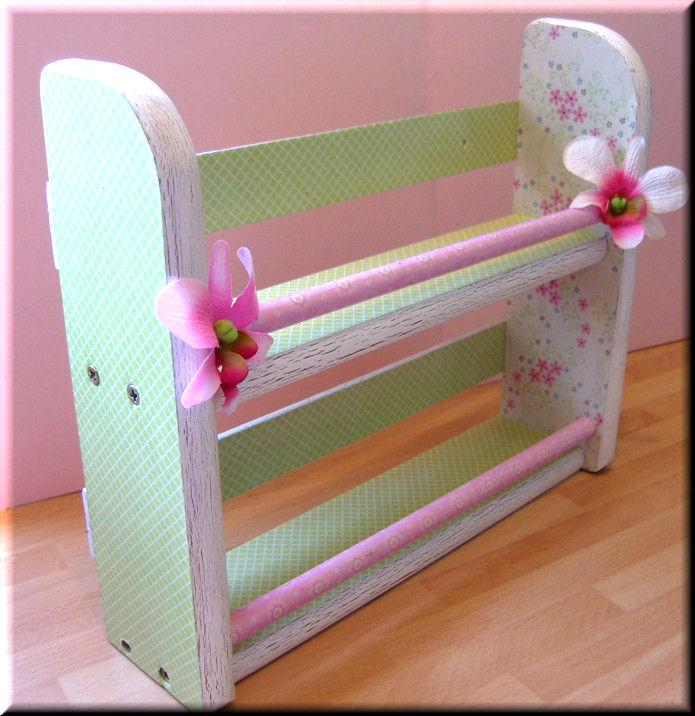
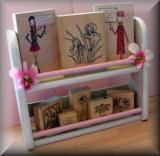
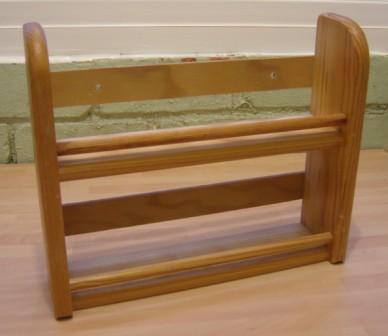
| Pretty Rack - Designed by Louise Brigden |
|
| Click on picture to enlarge
|
Click on picture to enlarge
|
 |
|
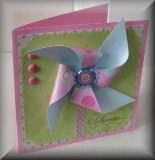
| Products used: Imaginisce "Baby Powder" Collection Instructions
Stand back and say Wow!
|
|
|
|
Designed by Louise Brigden |
||||||
| Click on picture to enlarge
|
 |
|||||
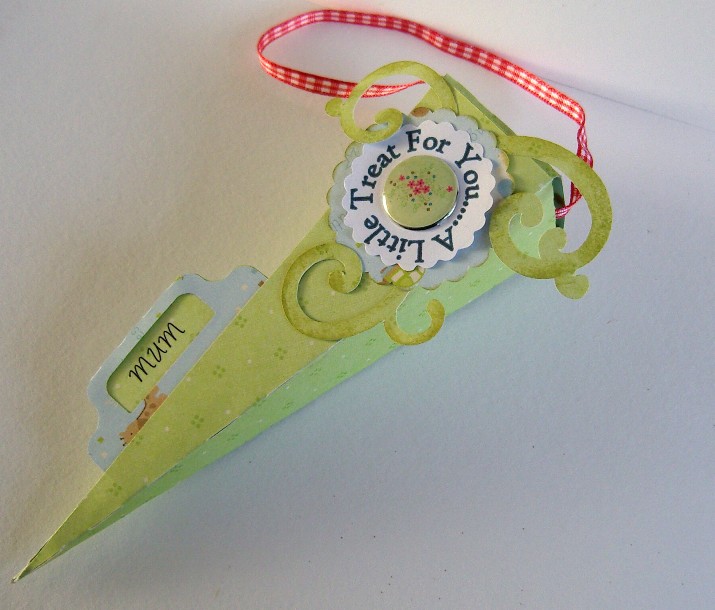
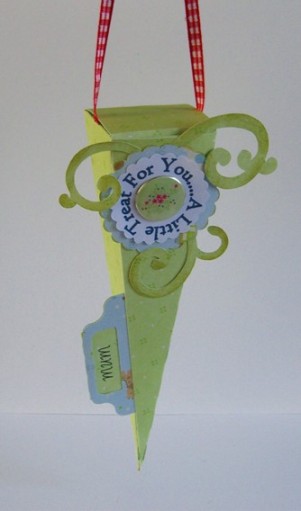
| Products used: Imaginisce "Baby Powder" Collection - QuicKutz Silhouette Machine Instructions This is such an easy project because the Silhouette does all the hard work.
|
||||||
All projects copyright ®Charmed Cards & Crafts. All rights reserved.