|
Step 1
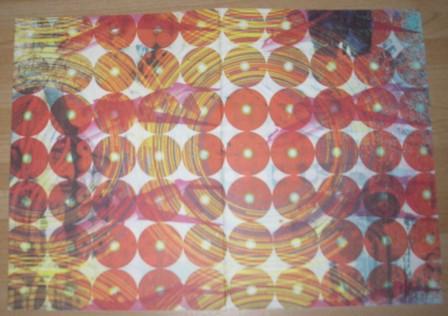
Cover a blank A5 sized
card in Basic Grey Obscure "Vague" paper. Fold and
crease with a bone folder.
Step 2
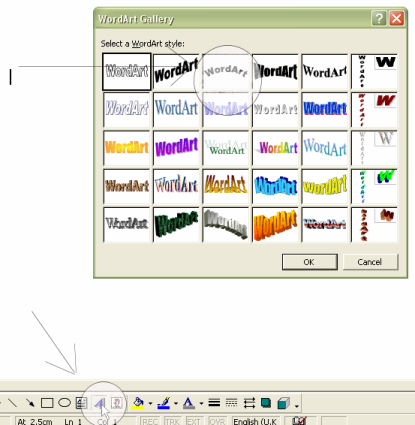
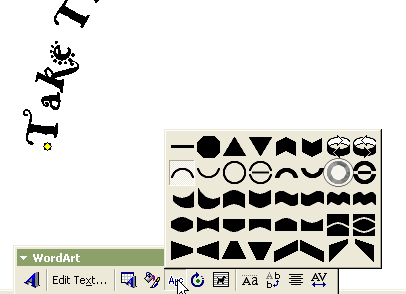
Open up Microsoft
Word. Click on WordArt in the bottom toolbar (circled).
Choose the third box (circled) and click OK.
The following box
appears:
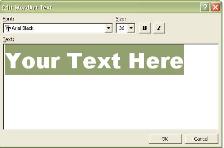
Type the text.
Highlight the text and choose font "Herman" and font
size 36. Click OK.
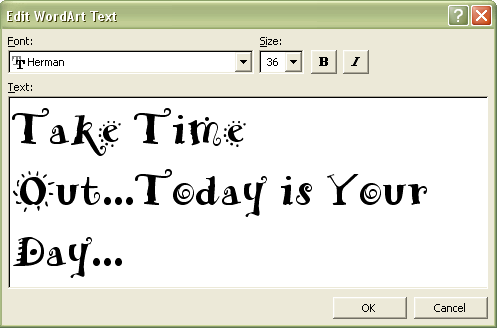
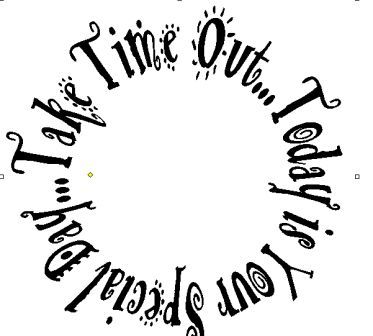
You now have the following semi-circle on
your document:

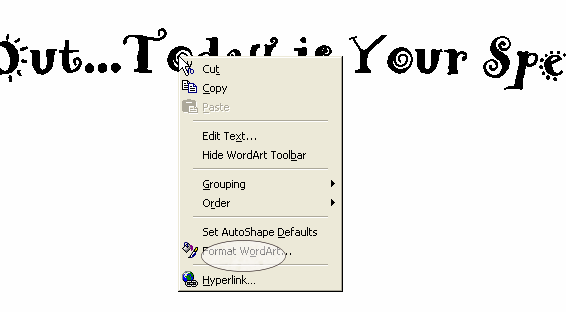
Step 3
Click on the image so that it is
selected, then right-click to get the object menu. Click
"Format WordArt" (circled):
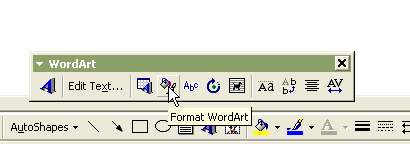
Alternatively you can select the "Format
WordArt" command through the WordArt toolbar:
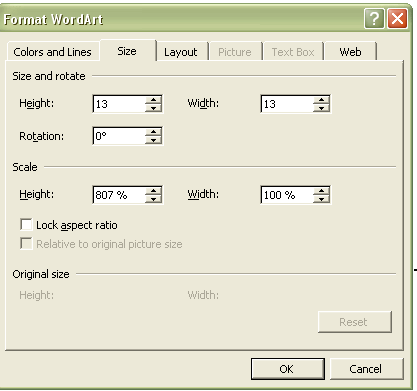
On the resulting screen go to the "Size"
tab. Change the height and width to 13cm:
Step 4
Go back to the WordArt toolbar and click
on WordArt Shape. Choose the circle shape (circled):
You now have your circle.
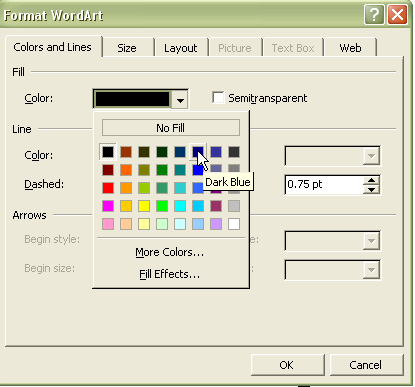
Bring up the format
box again, choose the "Colours and Lines" tab and select
Dark Blue.
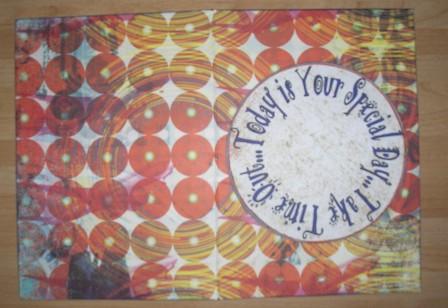
Step 5
Print the word circle on Basic Grey
Infuse Salt cardstock. Make sure you choose the
correct setting on your printer to allow for the thicker
paper.
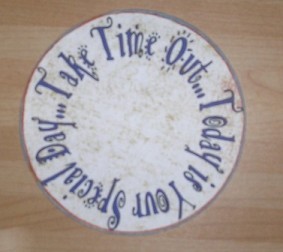
Cut the circle out. Sand the edges
lightly then ink edges with "dried marigold" ink.
Glue the circle onto a marginally larger circle of blue
cardstock.
Step 6
Ink all the edges of the card with the
Tim Holtz distress faded jeans ink. If you are
not confident you can do this without getting any on the
inside of the card you can ink before gluing the paper
onto the card. Stick the circle onto the front of the
card.
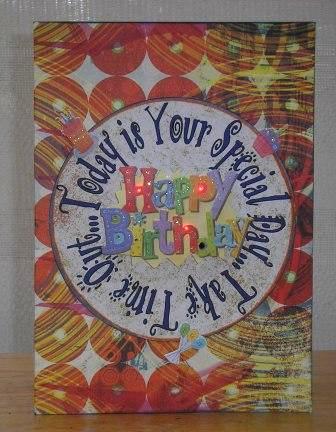
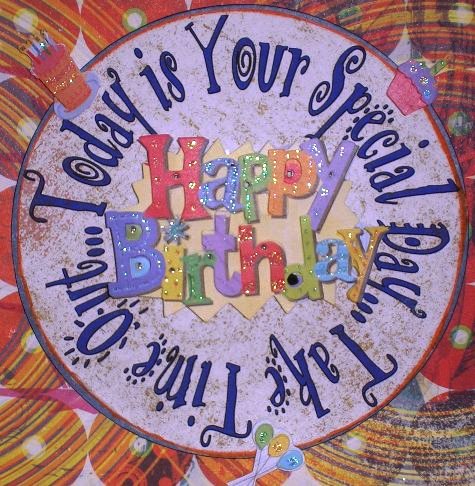
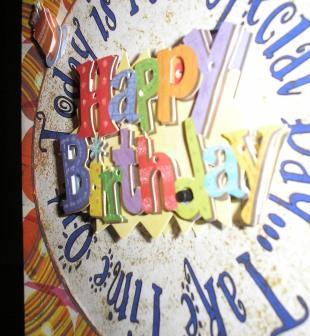
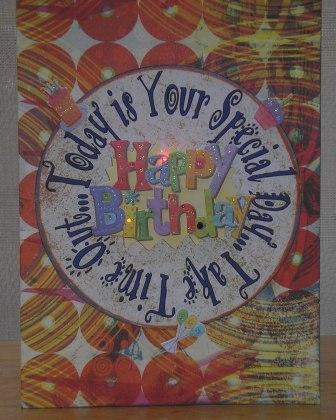
Attach the main Light Ideas Birthday
Grand Adhesions to the centre of the circle, and
position the three smaller grand adhesions on the sheet
around the circle.
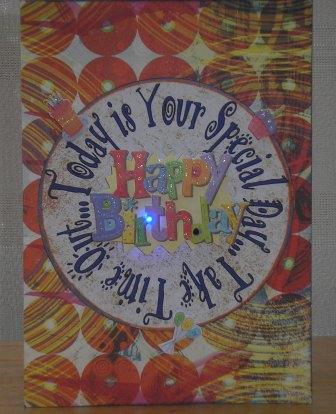
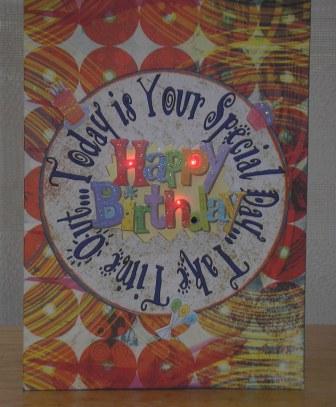
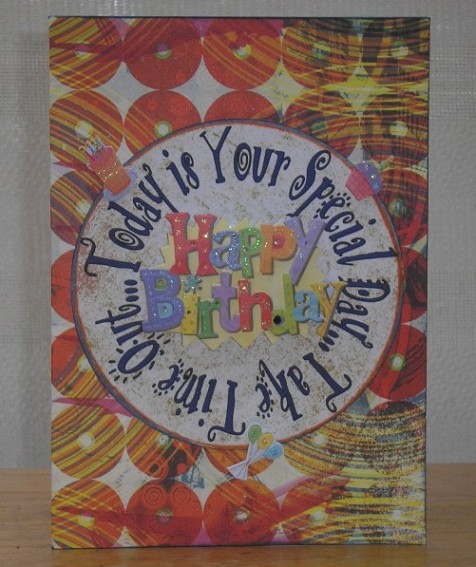
At the touch of the button the card
lights up in a cascading display as depicted by the next
sequence of pictures:
.
|