|
|
|
|
|

These projects showcase the K&Co Swell Noel Collection
|
Projects on this page have been designed and created by guest designer Kathy Black. |
|
 |
|
 |
 |
 |
|
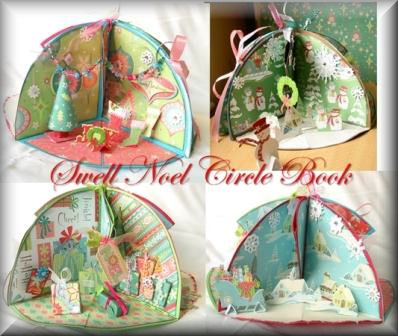
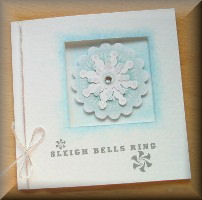
Designed by Kathy Black
|
|
|
| Products used: K&Co Swell Noel Instructions Kathy has created a wonderful class for you with easy to follow step-by-step instructions. Click here to visit this class.
|
|
|
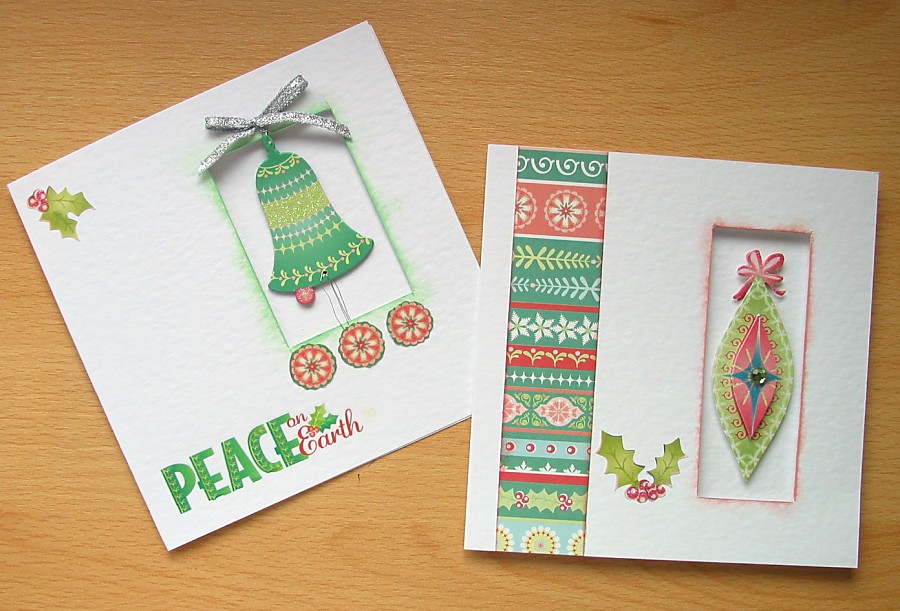
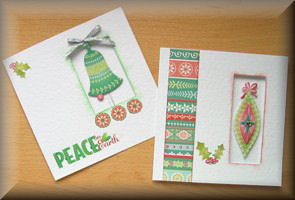
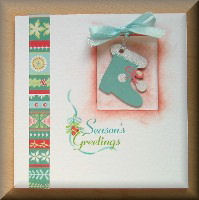
Designed by Kathy Black
|
|
Click on picture to enlarge
|
| Products used: K&Co Swell Noel Instructions For these Swell Noel cards I’ve used items from the chip box, which is full of double-sided chipboard pieces, with glitter on both sides or multi-layered, glittered stickers from the Grand Adhesions packs. Both start off the same way:
The Bell card The bell is a chipboard shape and as both sides are decorated there’s no need to worry about what the back looks like.
The Bauble Card The bauble is from one of the Grand Adhesions pack of beautiful layered and glittered sticker embellishments and looks fabulous used in the little window.
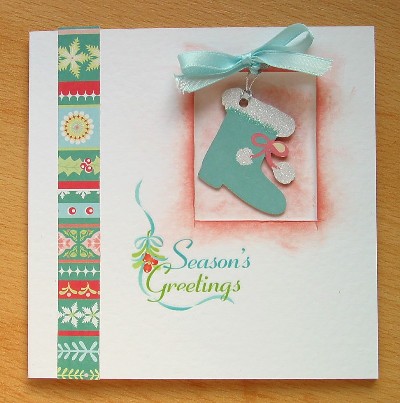
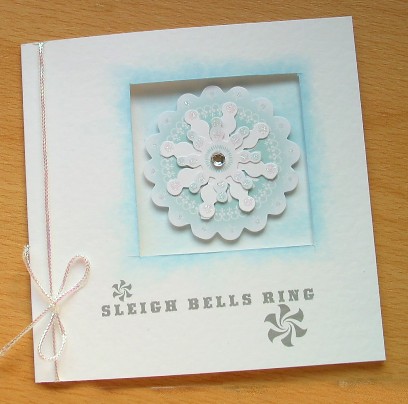
Here are a couple more quick cards using the Swell Noel collection:
|
|
|
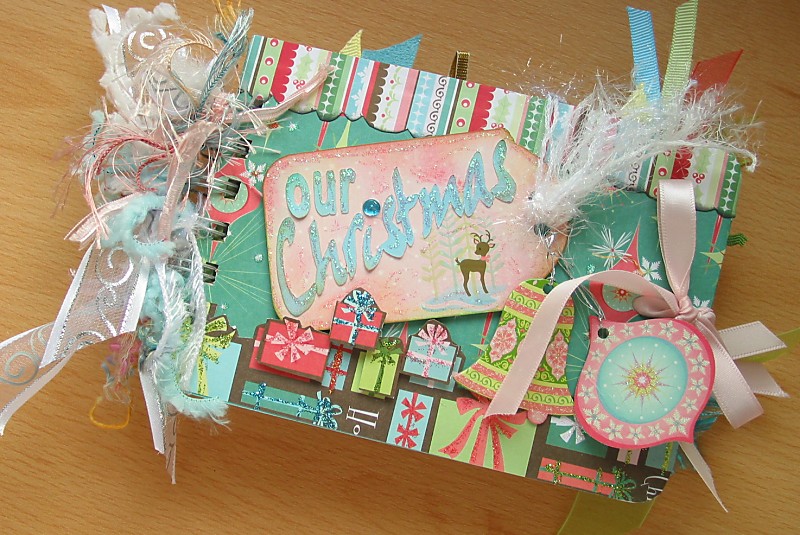
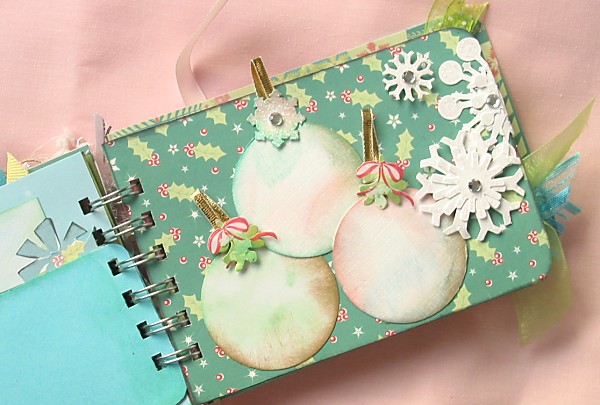
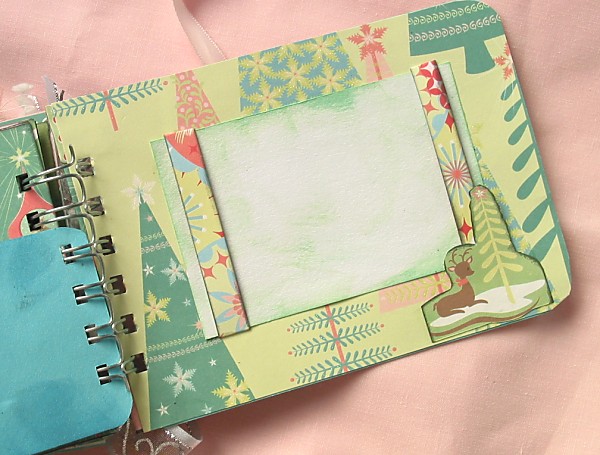
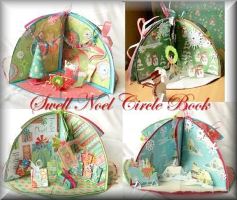
Designed by Kathy Black
|
|
Click on picture to enlarge
|
| Products used: K&Co Swell Noel Instructions
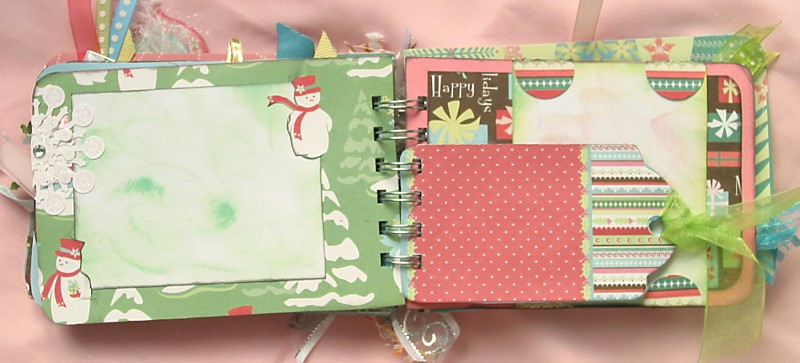
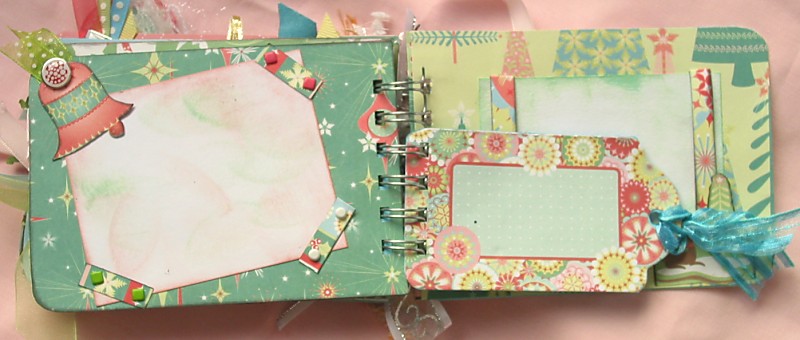
I think everyone knows how to make a mini book, so I’m not going to go into any details about that! Instead I’ll give you the basic measurements I used to make this one, a list of the materials and anything else I think of that might be helpful You will need:
Notes: I’ve used my Bind-It-All to make this book but book rings or bead chain loops would work just as well
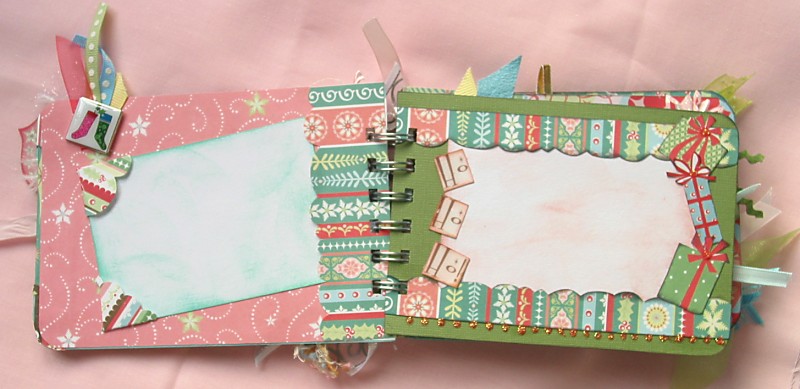
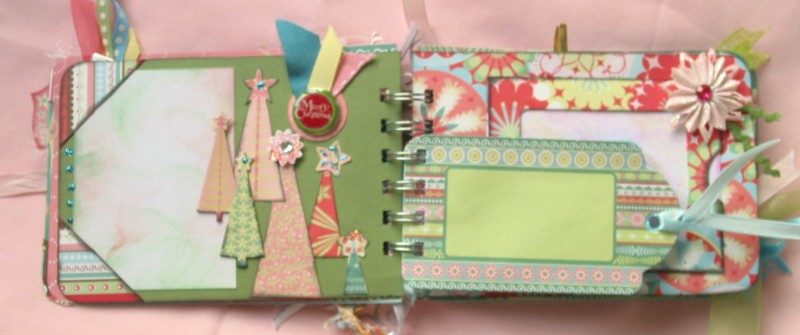
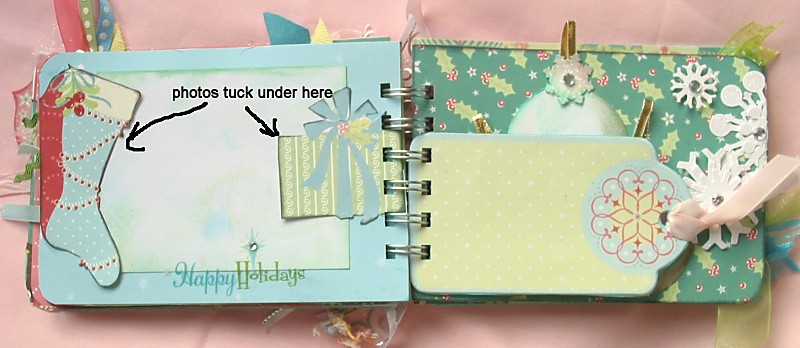
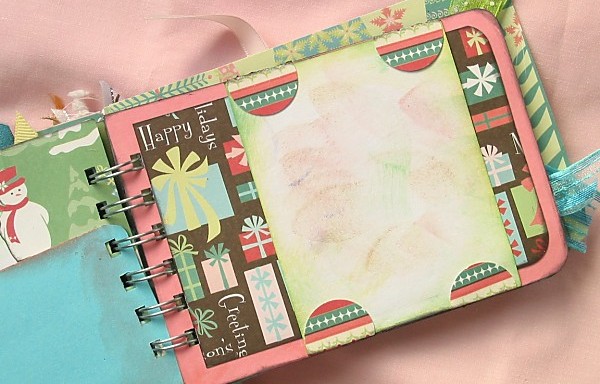
There are 4 inner pages measuring 14.5 x 10cms The cover is slightly bigger The photo mounts are just plain white card with lots of inking to make them less boring I’ve used a variety of methods for anchoring photos:
I’ve used some of the Swell Noel tag as extra mini pages. They add a bit of interest to the book and extra space for small photos, journalling etc. I covered the reverse of the tags in plain coloured paper but otherwise left them undecorated with the idea that I can go back later and embellish to match whatever I end up using the tag for. I try and make sure that any brad prongs or other messy bits are safely hidden between the layers. Sometimes this means making the page like a mini LO then sticking the whole thing onto the card page I cut the Ho Ho Ho from one of the papers, chopped it into 3 bits and glued them to the edge of one of the photo mounts – I then gave each a layer of Glossy Accents
For the cover I’ve added the ribbon closure through eyelet holes about 2cms in from the edge of the covers. The ends of the ribbon are hidden away between the cover and the patterned paper inner cover The tag on the cover is actually cut from the packaging of some of the Swell Noel embellishments – the card bag inserts are colour coordinated so it’s a shame not to use them, isn’t it? I’ve also cut a few extra little parcels from the paper to match those on the strip along the bottom of the book. I’ve used 3D foam to fix them over those they match, and lying over the tag for extra dimension
Finally I got a bit carried away with the Glitter Glue – but hey, it’s Christmas so you’re allowed to bling it!
|
|
All projects copyright ® Charmed Cards & Crafts. All rights reserved.