|
|
|
|
|

|
Projects on this page have largely been designed and created by Design Team member Louise Brigden |
 |
 |
|
|
 |
 |
 |
 |
There are many more Bo Bunny Vicki.B Project Ideas HERE
|
Designed by Louise Brigden |
Products used:
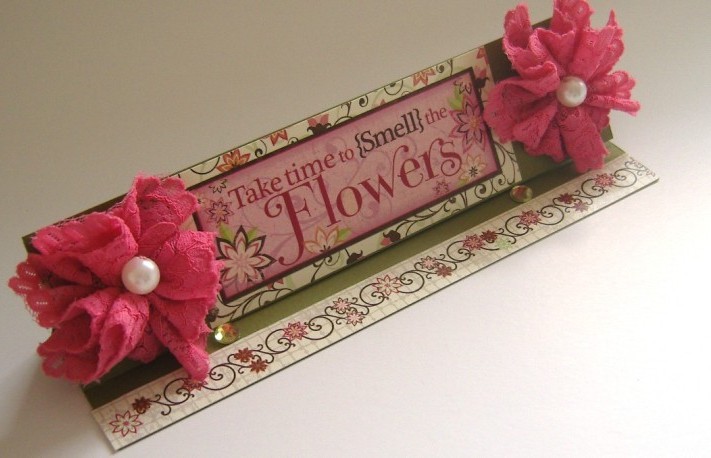
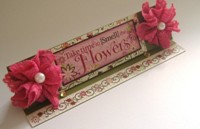
Here I have made an Easel card, easily my favourite card type at the moment and so simple to make. Take a look at the tutorial. I used off cuts to make the card base; I based the size of the card on the depth of the sticker forming the main element. You can make your card to whichever dimensions you suit you. 1. Make your card base (following the tutorial) mine measures 19x4.5 cm. Instead of a large card front I have just added stickers to the front of the base - so simple. Apply the ‘flowers’ sticker from the Vicki B Combo Sticker 12x12 sheet to the front of your card. 3. Now add the gorgeous Vicki B Petals (flowers) to either side. 4. Decorate the bottom edge of the inside of the card with a sticker strip from the Vicki B Combo Sticker 12x12 sheet. 5. Finally add two green Vicki B Adhesive jewels just above the edging strip. This is what makes the easel card stay standing.
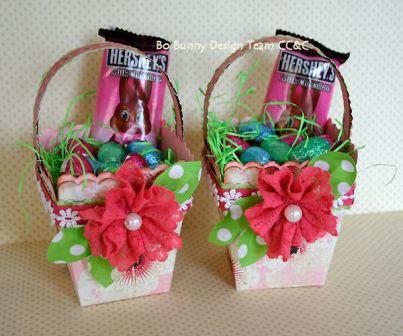
Here are other examples using the Vicki B petals. These were created by the Bo Bunny design team. Other products used here are likewise from the Vicki B Collection:
Here the Bo Bunny team used the petals on a scrapbook layout. Again all other products used are from the Vicki B Collection:
You can see more Vicki.B project ideas from the Bo Bunny team HERE.
|
|
|
Designed by Louise Brigden |
|
|
|
|
Designed by Louise Brigden |
|
Products used:
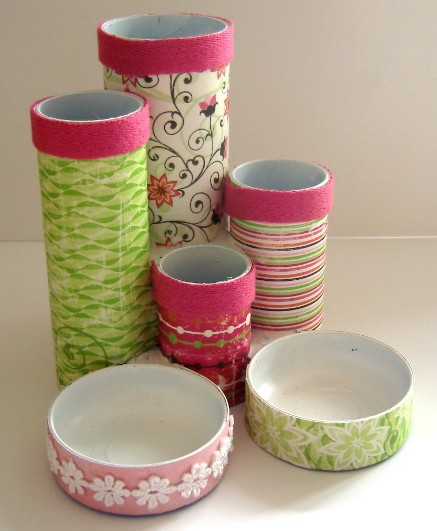
White plastic desk tidy - Alternatively make one using toilet rolls and kitchen towel rolls.
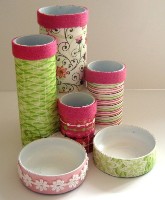
I saved an old blue desk tidy from the fate of the skip at work and gave it a new lease of life. Look at your junk before you throw it away and think about how it can be altered. The plastic desk tidy was originally dark blue so before I began to cover it with paper I gave it a quick spray all over with white aerosol paint. This job is fairly self explanatory really, all you need to do is cut your take your chosen Vicki B paper, wrap it around the cylinder shape to measure up for size. Mark with a pencil and cut. Check it fits perfectly then cover the back of your paper in PVA glue and stick into position. Use paper clips or elastic bands to hold the paper in place whilst it dries. When fully covered in your choice of Vicki B paper, have fun embellishing it with some Vicki B wraps and Trims.
|
|
|
Designed by Louise Brigden |
|
Products used:
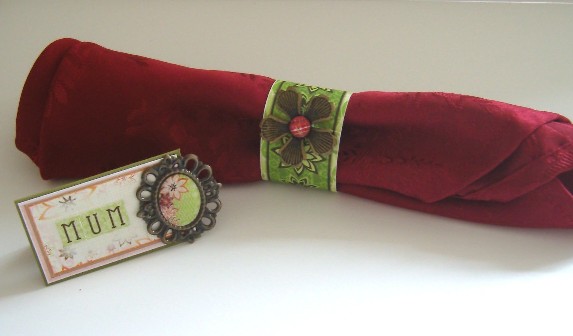
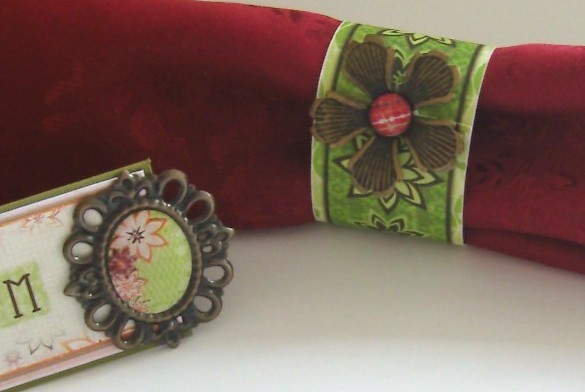
Made in a matter of minutes these personalised lovelies are an essential if you want to give your dinner table that special personal touch. To make the napkin ring simple cut a patterned strip from the Vicki.b 12x12 cut out sheet, make into a ring and fix into place with double-sided tape then finish off with a Vicki.b trinket. To make the place card make a tent fold card from some scrap cardstock, attach the background (shown in the photo) again from the Vicki B 12x12 cut out sheet, then cut the tent fold card to size around the edges of the ‘cut out’. Embellish with a Vicki.b trinket and personalise with Vicki.b Combo Stickers.
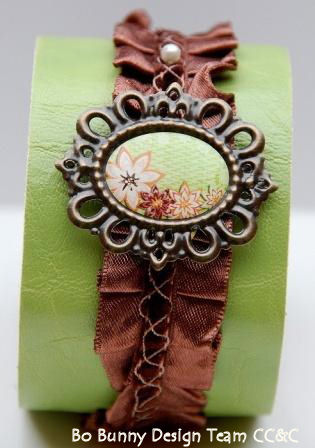
The Bo Bunny Trinkets really are beautiful, and transforms a project in an instant. Here is an example from the Bo Bunny design team, making a bracelet using the same trinket that Louise used above. The green bracelet is part of the Bo Bunny Vicki B Wrap pack:
|
|
|
Designed by Louise Brigden |
|
Products used:
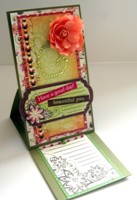
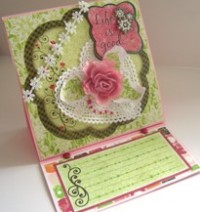
Here I have made another Easel card; told you they were my favourite card at the moment! Take a look at the tutorial. For the background of the card front I have used a cut out background from the VICKI.B 12x12 ‘Cut out’ Sheet. The size of the background you choose in this case determines the size you make your easel card. I very rarely use a ruler to measure when I’m crafting, if you have a cutting mat with guidelines on that’s all you really need to get things straight. Construct your easel card following the basics from the tutorial but set your measurements to the size of your chosen background paper (as described above). The rest is easy, simply embellish your card as shown in the picture with VICKI.B layered chipboard, VICKI.B adhesive jewels, VICKI.B combo stickers and, on the inside another cut out detail from the VICKI.B 12x12 ‘Cut Out’ sheet. The star of the show on this card is the beautiful Prima Roosevelt flower.
|
|
|
Designed by Louise Brigden |
|
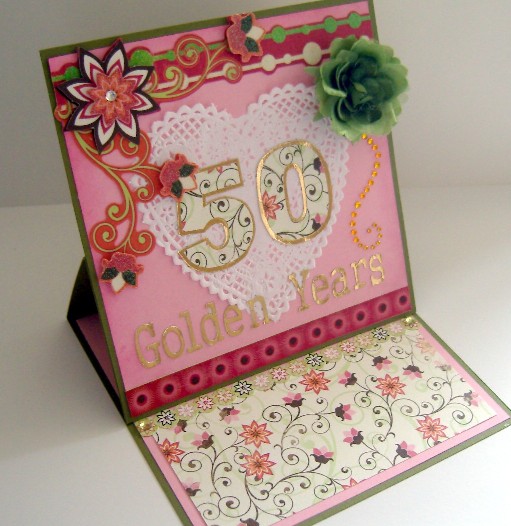
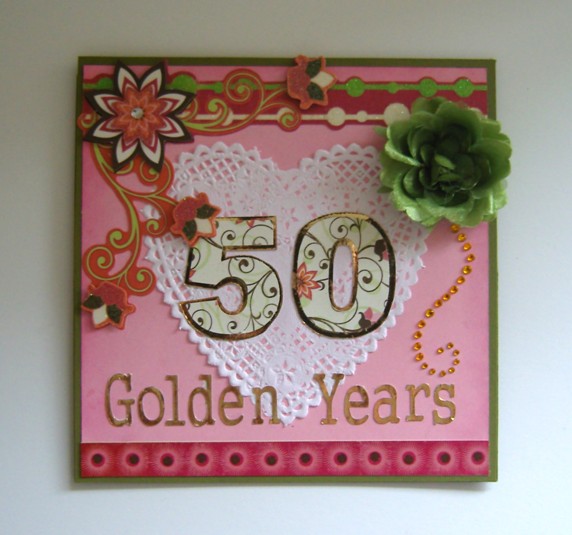
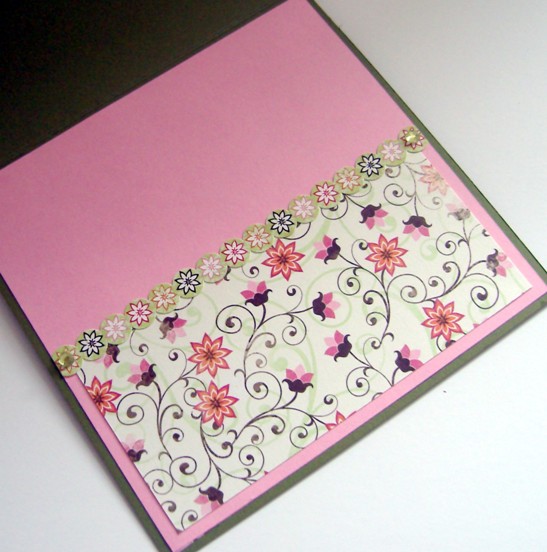
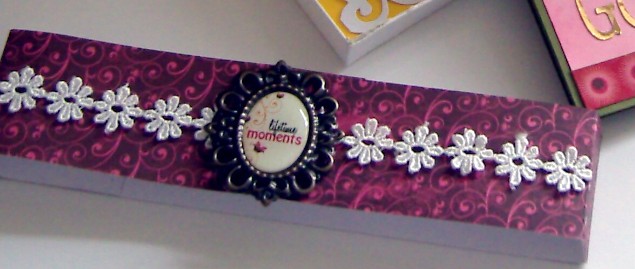
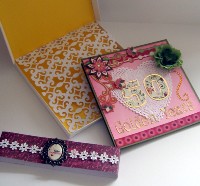
Another Easel card. Take a look at the tutorial. Gauge the size of this card by the size of the upper element of the VICKI.B dimensional sticker bordering the top. Create an olive green Easel card following the tutorial and cover inside and out with pink card or paper – leaving a 3mm border of card base showing. Decorate with paper heart Doily, VICKI.B combo sticker border, VICKI.B dimensional sticker border, VICKI.B adhesive Jewels VICKI.B patterned paper (on the inside) and a Prima Roosevelt flower. On this card I have used my Silhouette to cut the numbers and the text but you could achieve a similar effect by printing the number 50 onto the patterned paper and card then cutting out. You could use adhesive lettering for your main message. This is the card when closed:
and inside when opened:
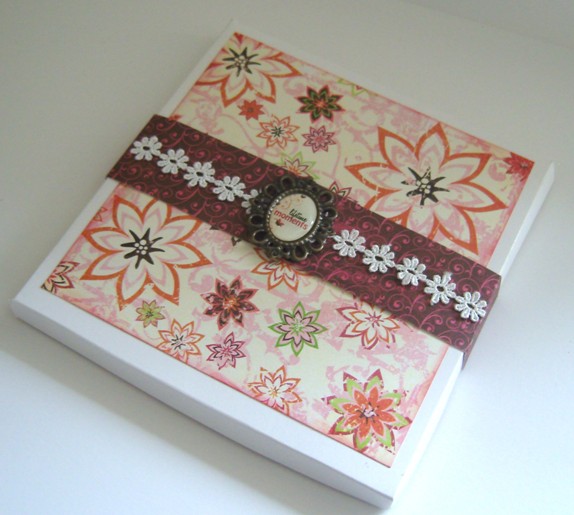
I made a box for this card and decorated it with VICKI.B products but it would be much quicker and easier to decorate a Boxalope (I ran out of them!). Check out this great tutorial on how to make a box.
This bands goes over the box when closed. The ribbon is from the Vicki.b Wraps Pack. The beautiful centrepiece is a Vicki.b Trinket.
|
|
|
Designed by Louise Brigden
|
|
Products used:
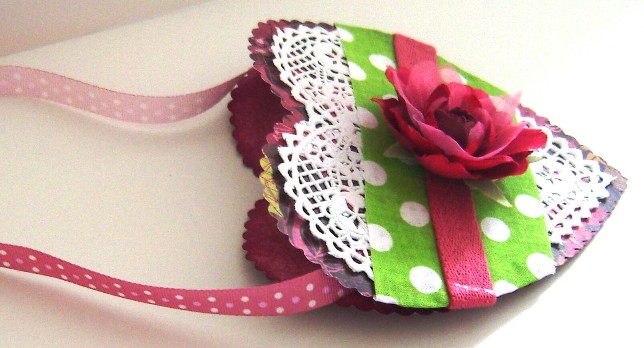
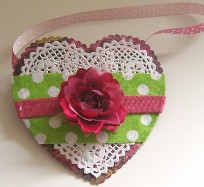
This little purse is ideal as a special way of giving gift tokens, vouchers or money Lightly draw around your white paper lace heart Doily onto some scrap paper. Fold the paper in half and hand-draw a new line about 5mm further out than your lightly drawn line. Cut out then unfold, this is your template. Draw two hearts using your template onto some VICKI.B patterned paper and cut out using regular scalloping scissors. After adding the white lace heart doily, wrap the heart for the front of your purse with a green spotty VICKI.B wrap and then a pink wrap on top. Finally add a pink Prima Roosevelt ANNA flower. To attach the back and front of the purse together you have two options; either use sticky foam pads around the two sides of your hearts, or make two wedge shape side sections, it’s a little more fiddly but it looks neater. Finally add ribbon of your choice to form the wrist strap.
|
|
All projects copyrighted to Charmed Cards & Crafts. All rights reserved.