|


|
|
|
|
|

Design Team Projects
January 2008
|
[January's Main Page][Main Project Page]
Projects on this page.
|
|
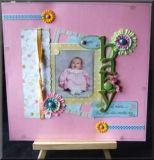
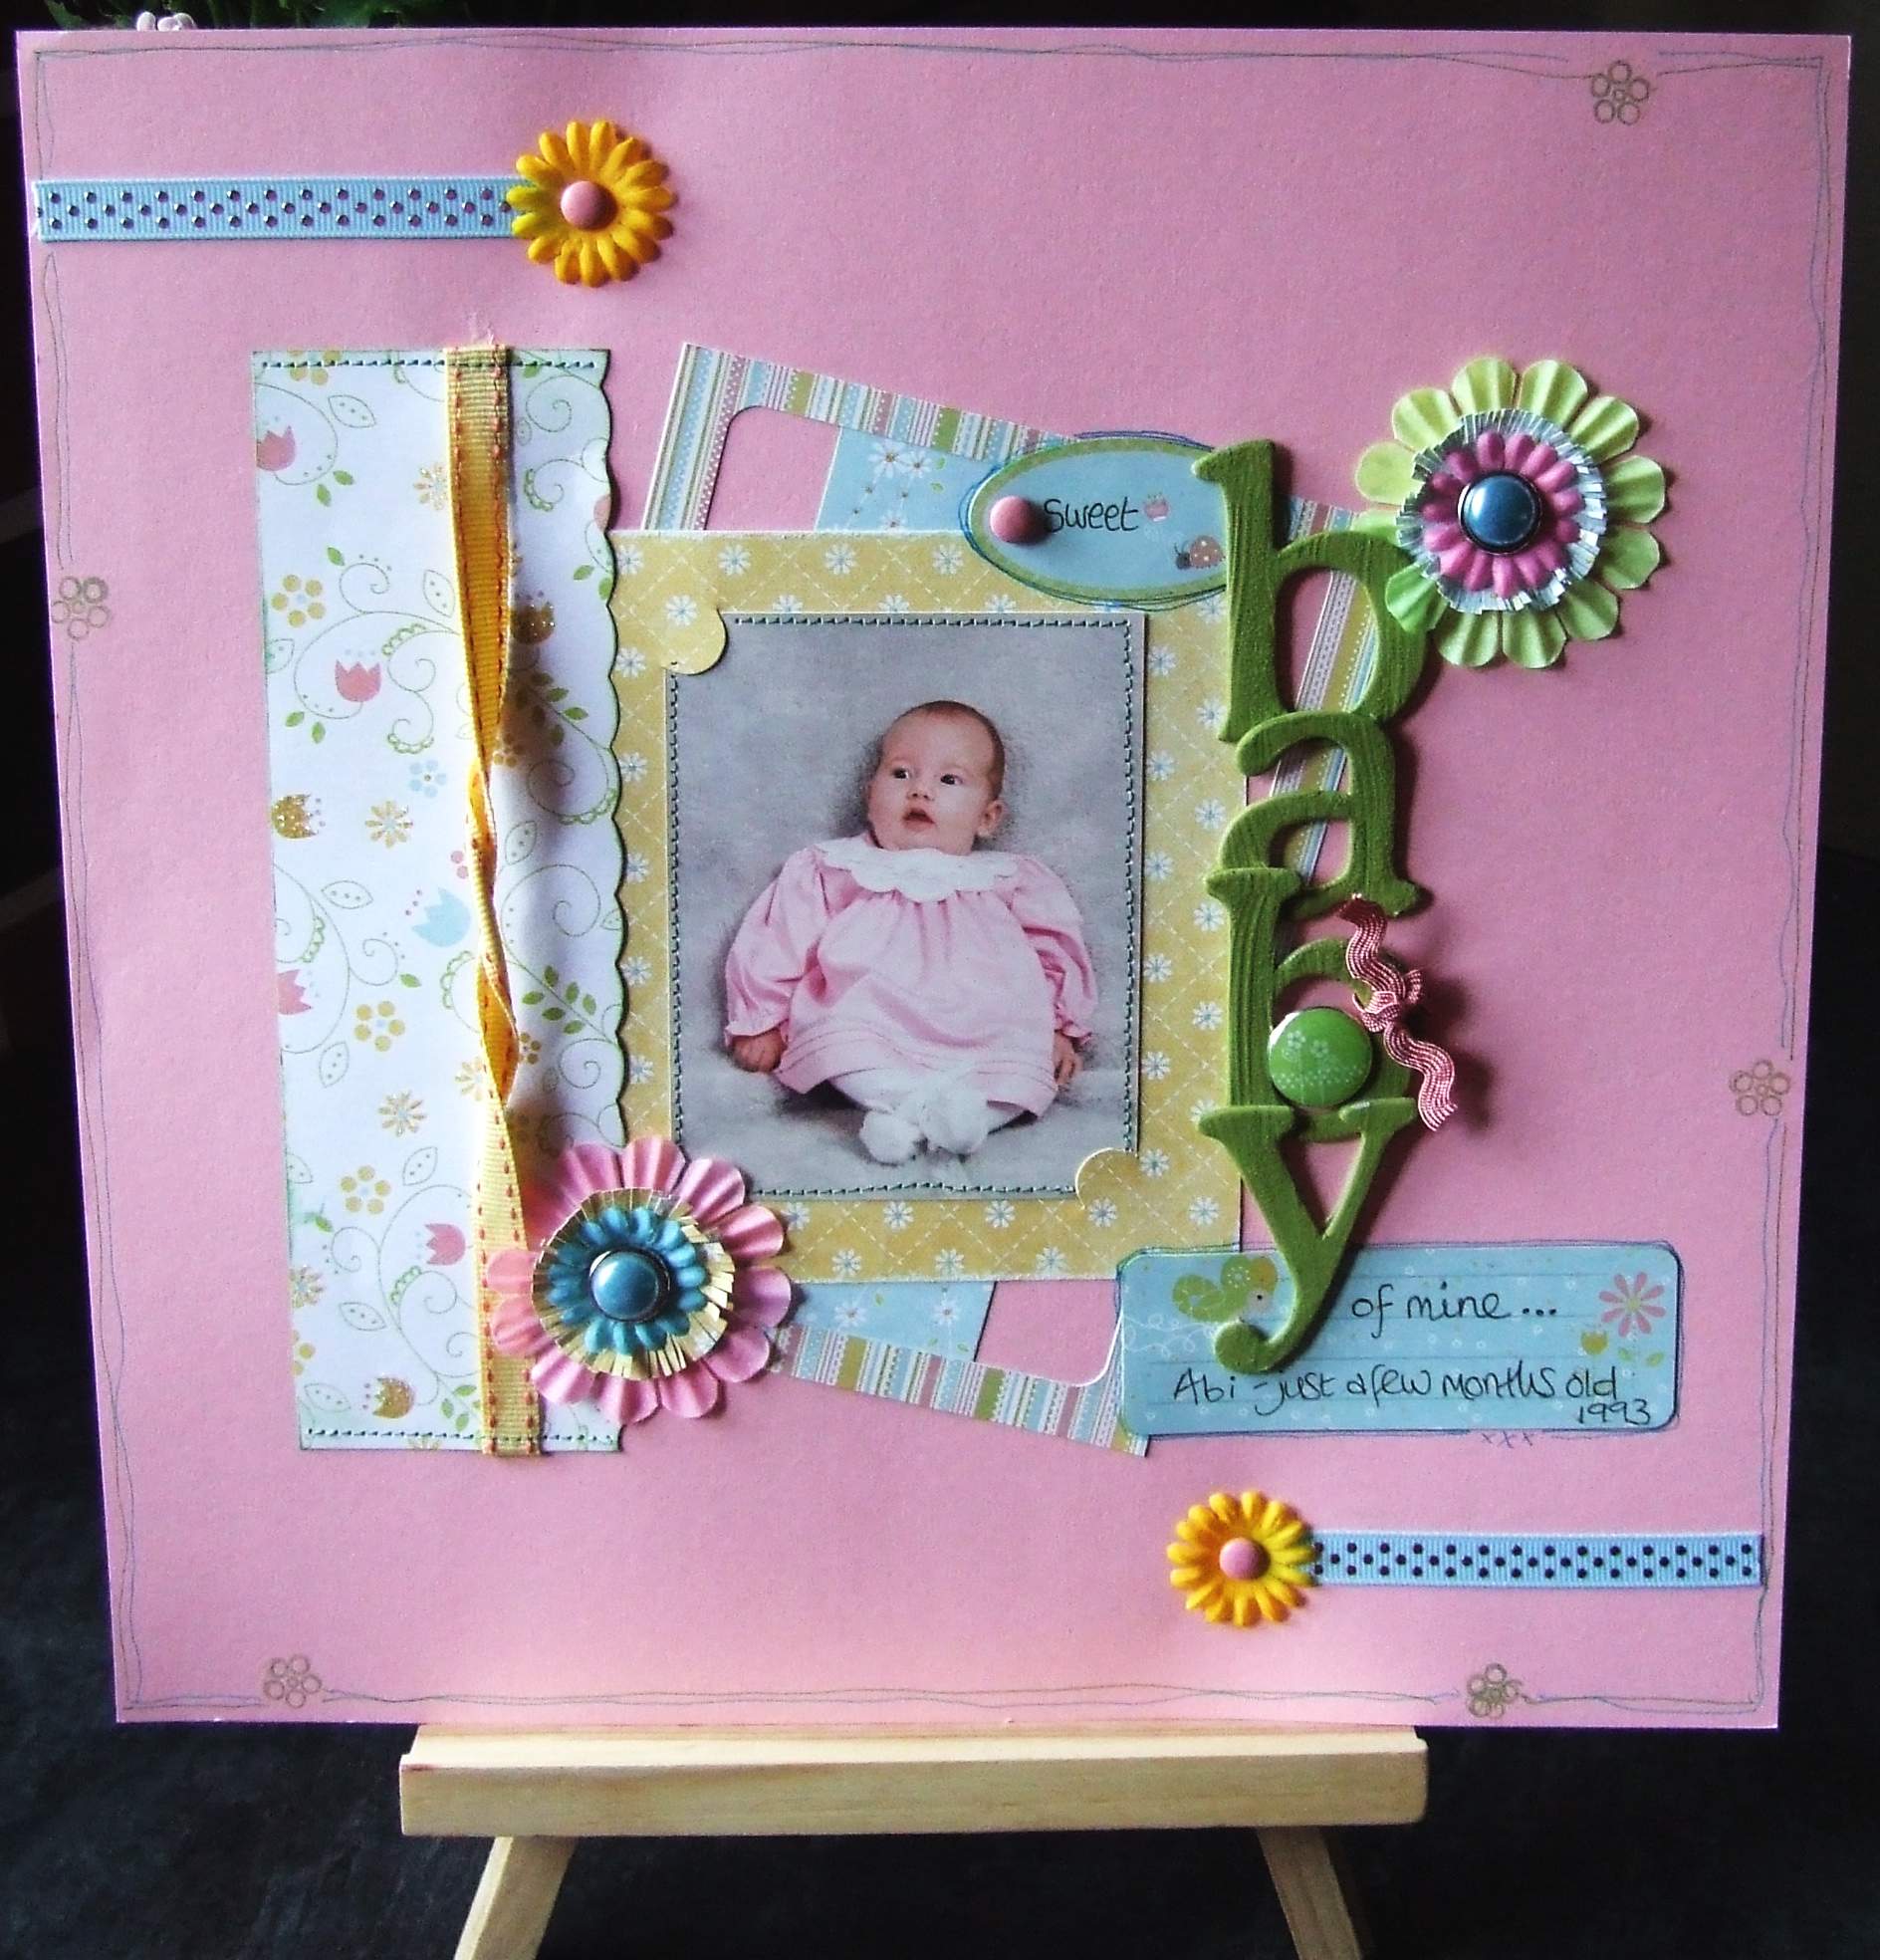
Project 17 by Caroline Scattergood Scrapbook Layout Main products used: Imaginisce "For Peeps Sake" |
|||||
|
Click on picture to enlarge
|
|
||||
|
|
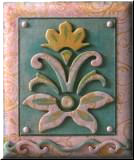
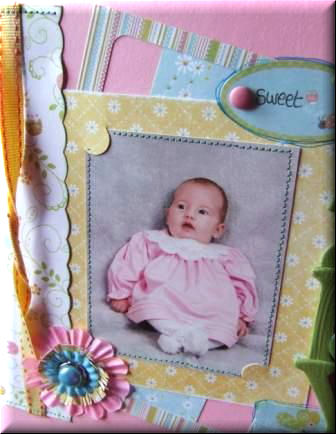
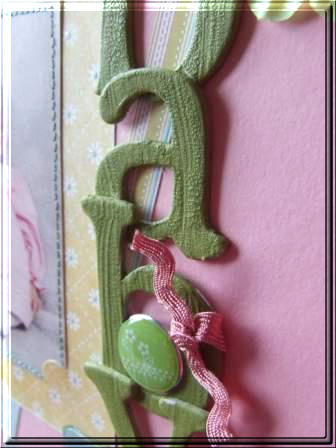
Project 17: Papers used: For Peeps Sake – Tiptoe Through Tulips, Pretty new Dress, Drapin’ Daisies "For peeps Sake" Embellishments used: For Peeps Sake sticker sheet, Butterfly Blooms, Polished Pebbles Brads, Raindrop Brads, Ribbon and little blooms from the stack' Snag ‘em Stamps – Flowers for single flower around outside, Other Material used: Bare Chipboard Alphabet for ‘baby’, Distress Crackle Paint "Peeled Paint" to paint the chipboard letters. Designer's note: I have so many photos to do of all my three children that I am alternating between years ago and the more recent in a bid to catch up. This is one of Abi, who is now 15! The Tim Holtz Crackle Paint worked really well. The thicker it is applied the larger the cracks are and the more cracks appear.
|
||||
|
|||||
|
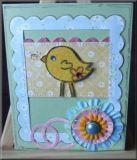
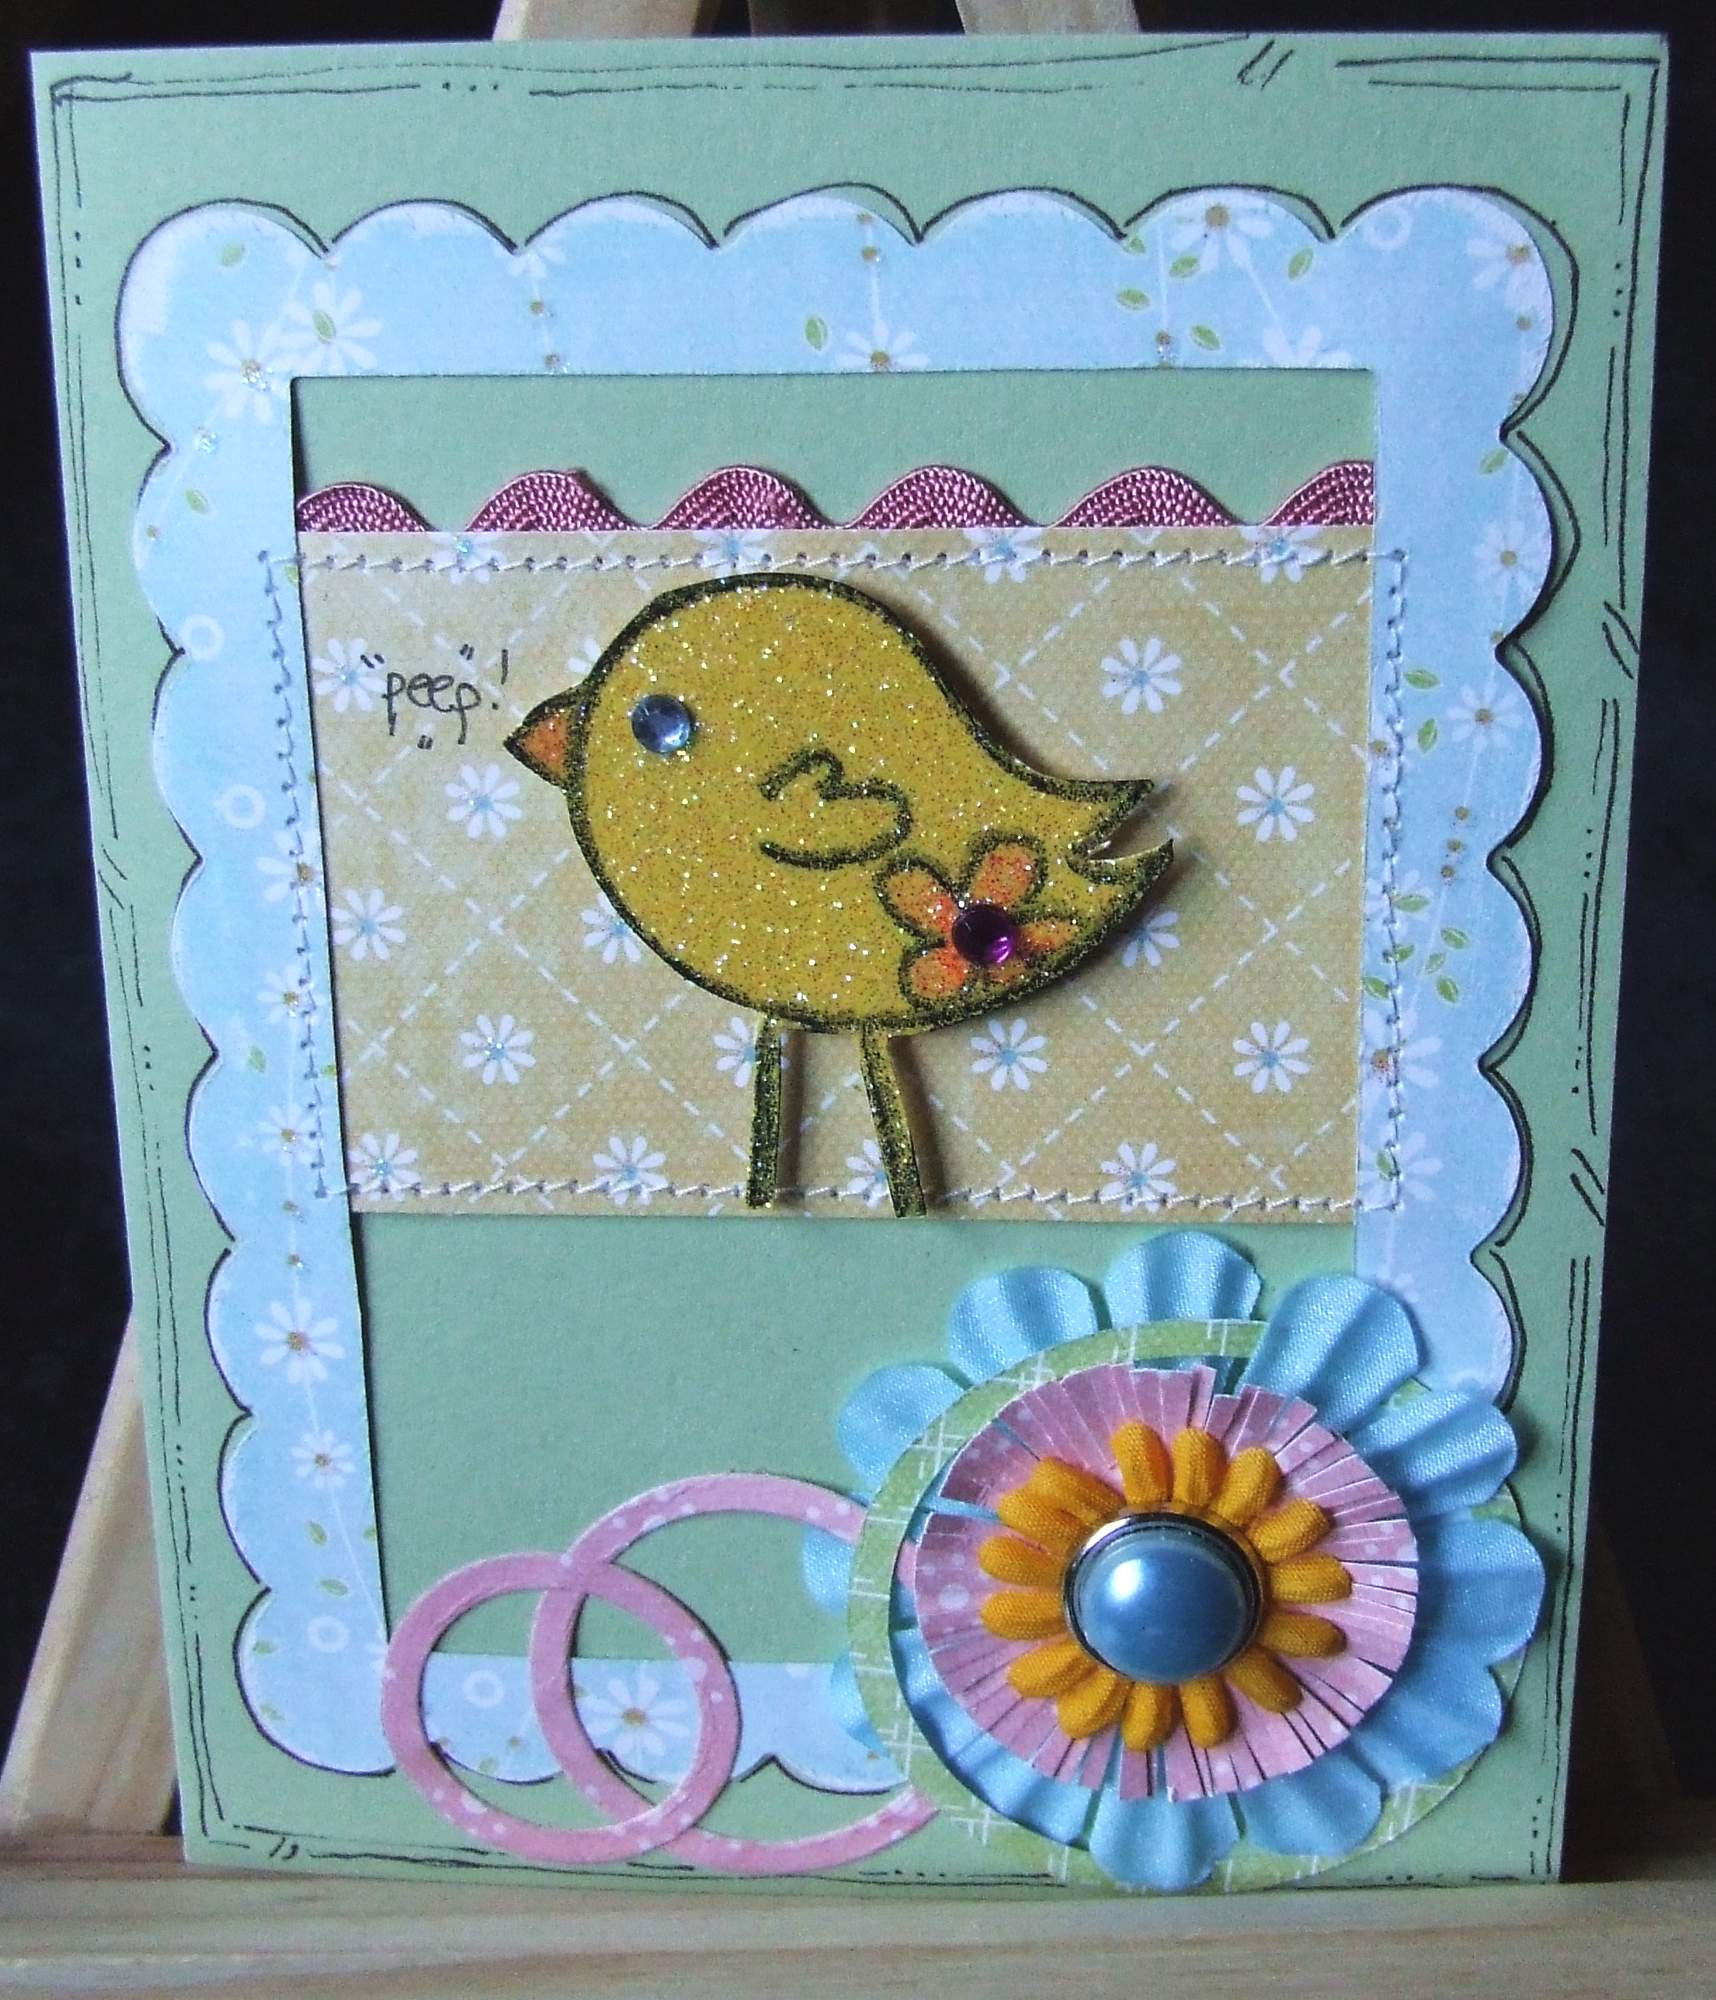
Project 18 by Caroline Scattergood Chick Card Click on picture to enlarge |
|||||
|
|
Products Used: (all from Imaginisce "For Peeps Sake" collection): Pretty new Dress paper, Drapin’ Daisies paper, Ribbon from Ribbon & Blooms Stack, Snag ‘em Stamp "Chick", Polished Pebble Brad, Butterfly Bloom, Smaller bloom from Ribbons & Blooms stack Other: Doodlebug Sugarcoated Cardstock – Yellow Designers Note: This card was made using the fab little Snag ‘em Stamp-Chick. I stamped onto the yellow Sugarcoated paper to add a little bit of colour and some bling.
|
||||
|
|||||
|
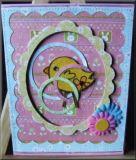
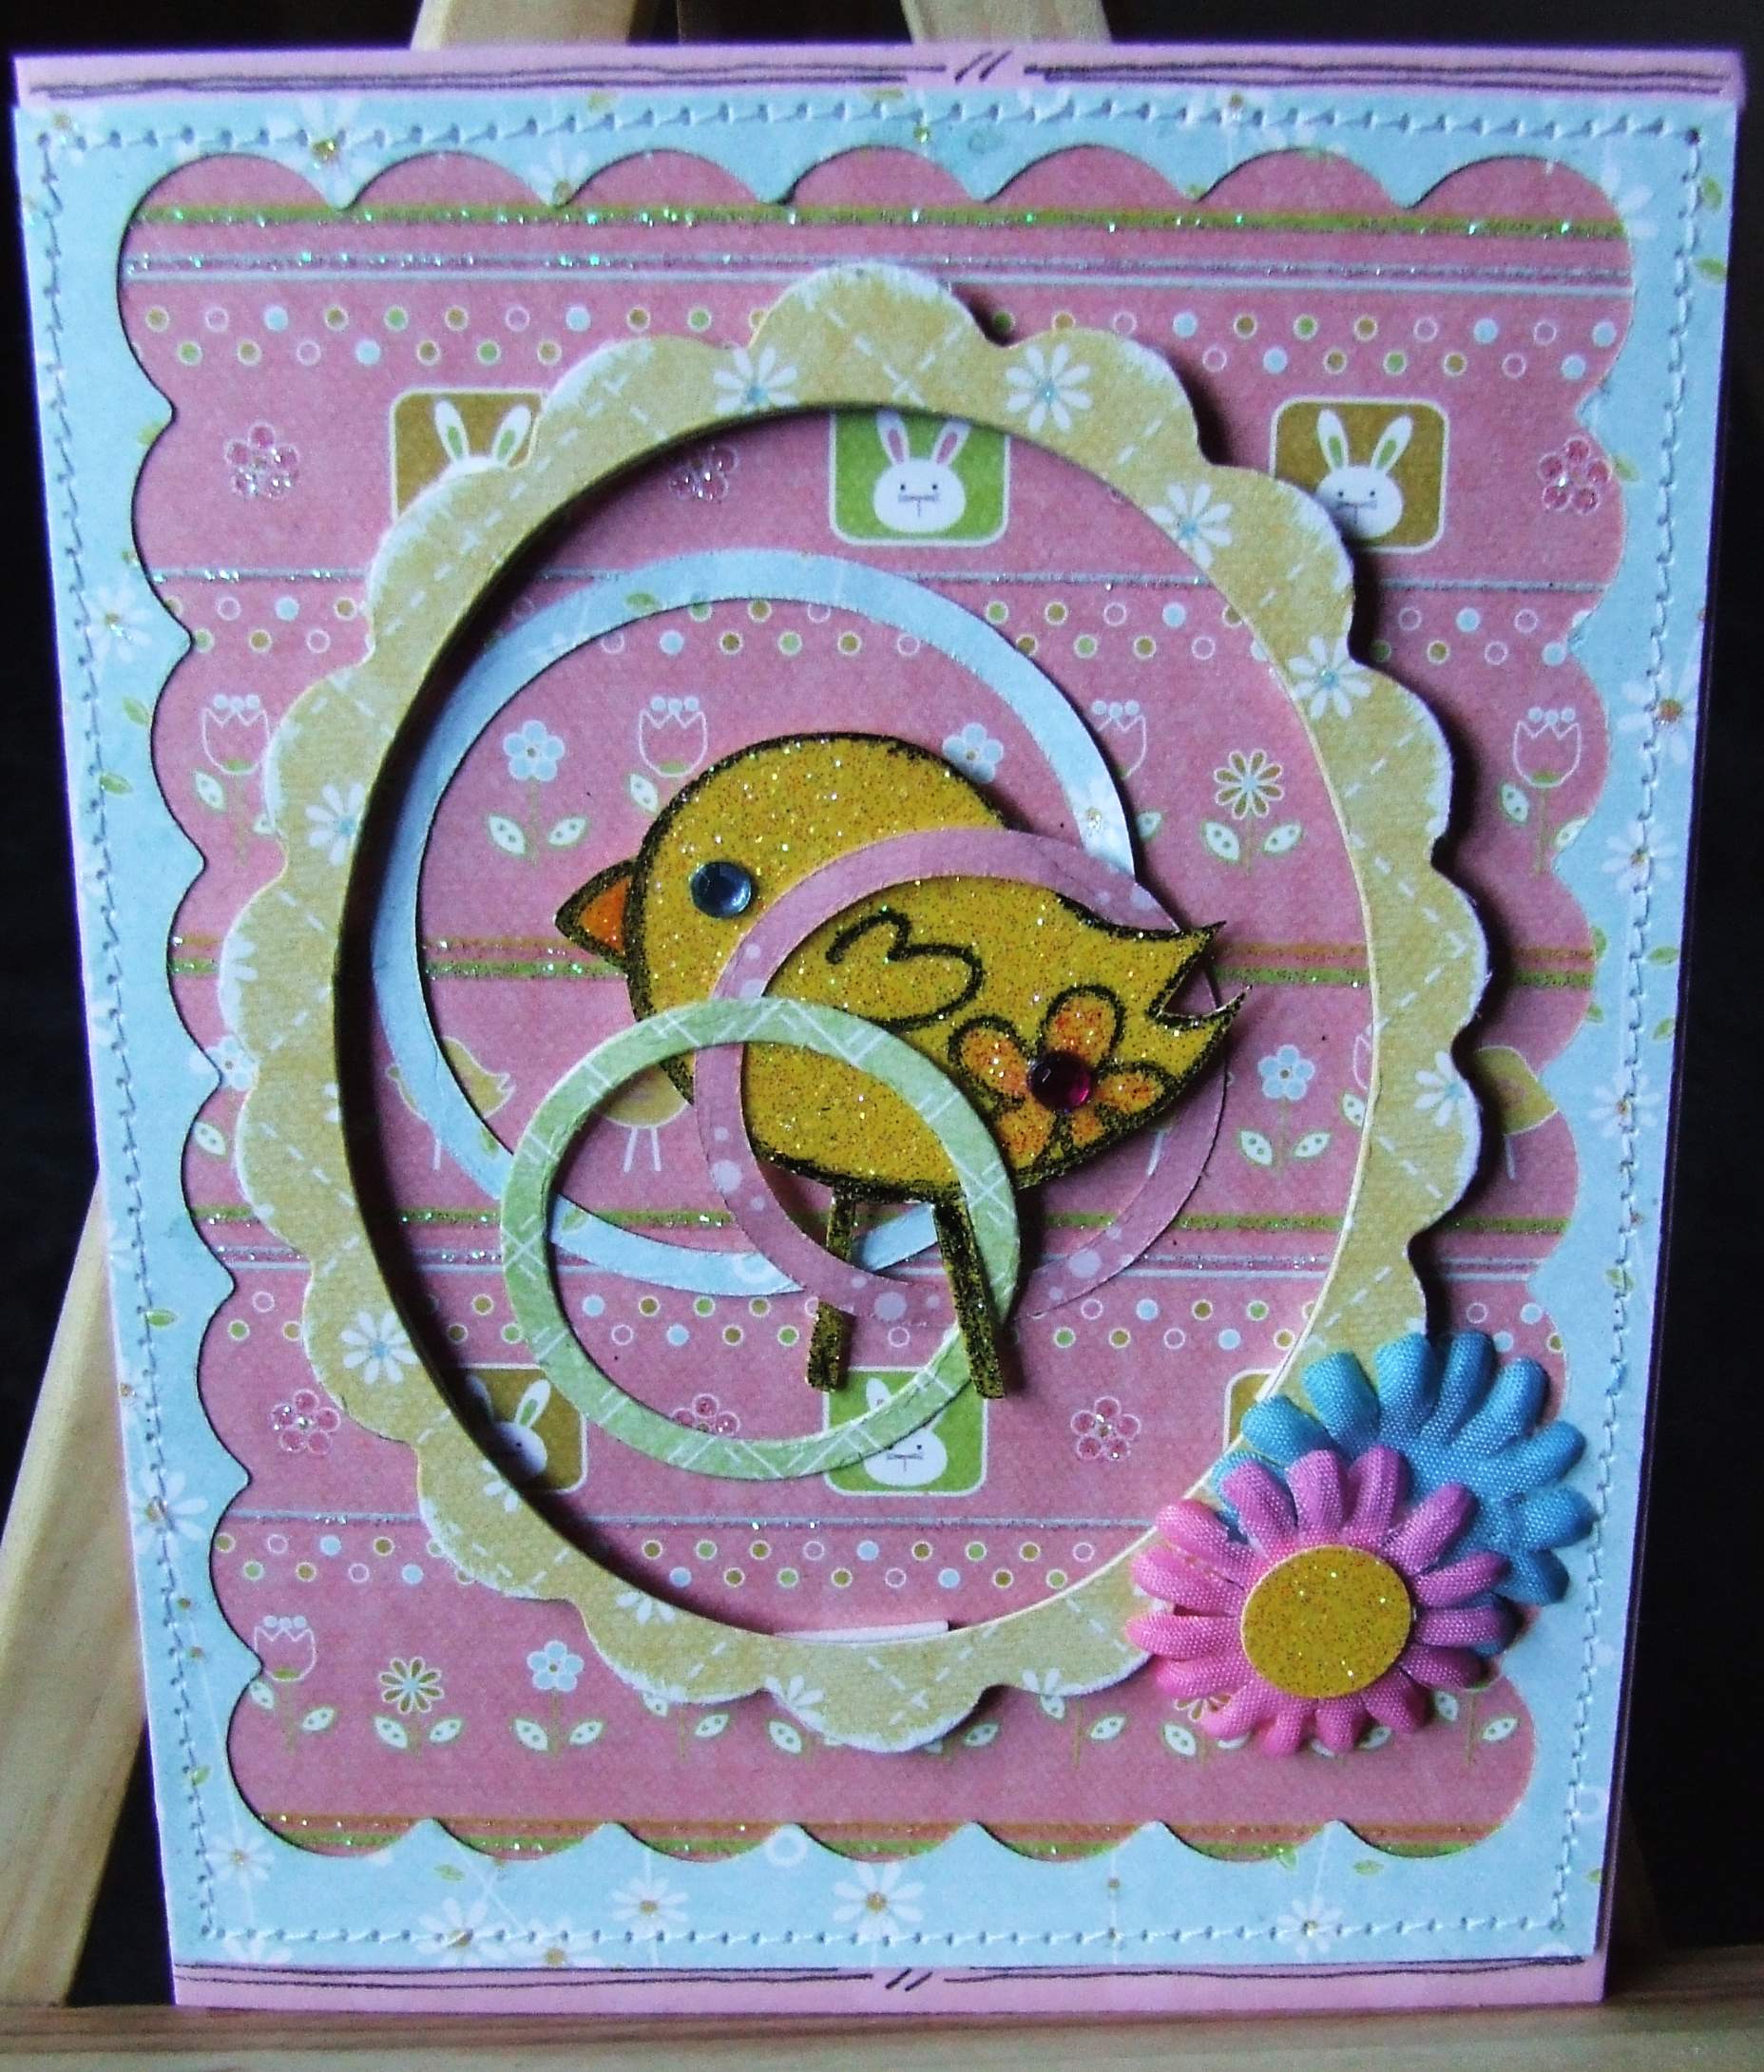
Project 19 by Caroline Scattergood Chick Card 2
|
|||||
|
Click on picture to enlarge
|
Products Used: (all from Imaginisce "For Peeps Sake" collection):
Other: Doodlebug Sugarcoated Cardstock – Yellow Designers note: Used the Chick stamp again – I love him, so cute! Die-cut frame mounted onto chipboard and die-cut circles. Used my sewing machine and did a bit of doodling too. |
||||
|
|||||
|
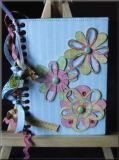
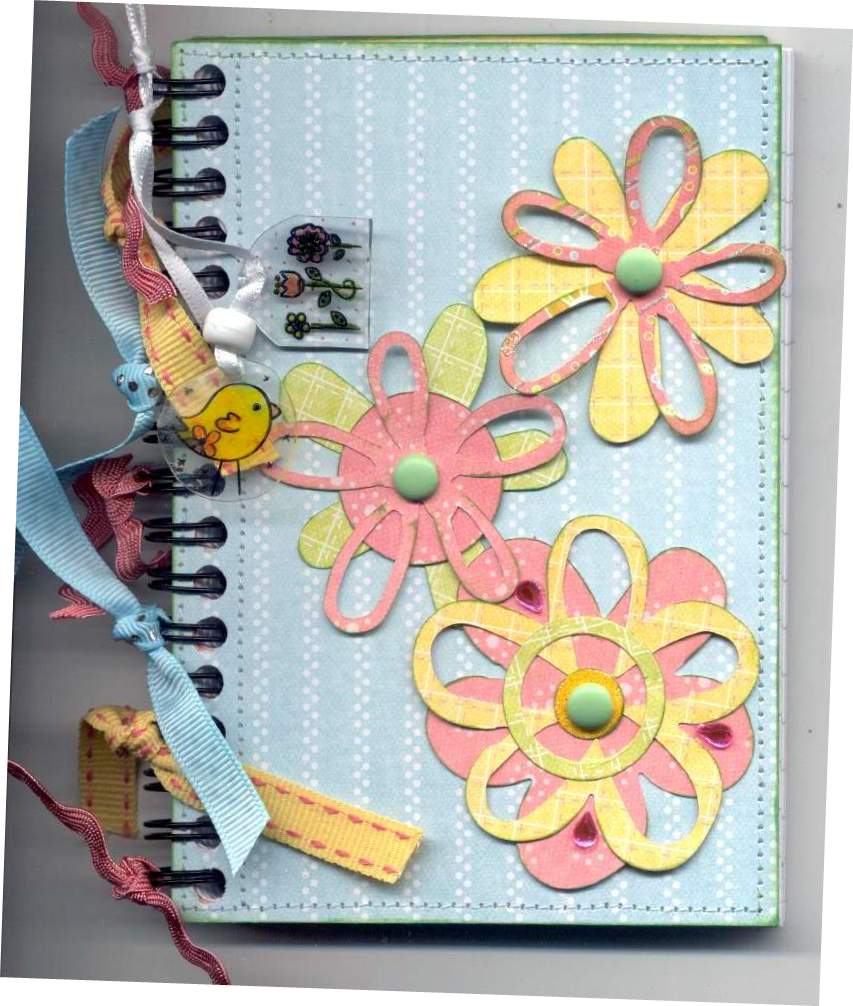
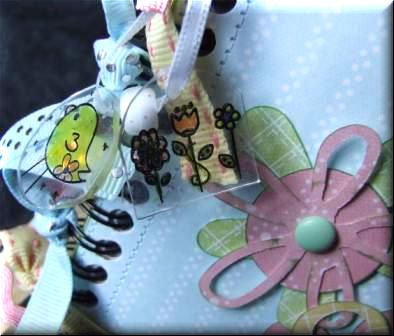
Project 20 by Caroline Scattergood Notebook Click on picture to enlarge |
|||||
|
|
Products Used: (all from Imaginisce "For Peeps Sake" collection):
Designers note: Used the lovely blue reverse of the Tulips paper for the covers of this notebook, which were sewn into place. Die-cut flowers were attached using basic brads and the lovely Snag ‘em Stamps were used on shrink plastic to create lovely hangy bits on the rings. Finished off with the lovely For Peeps Sake ribbon tied to the spine.
|
||||
|
|
|||||
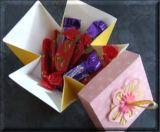
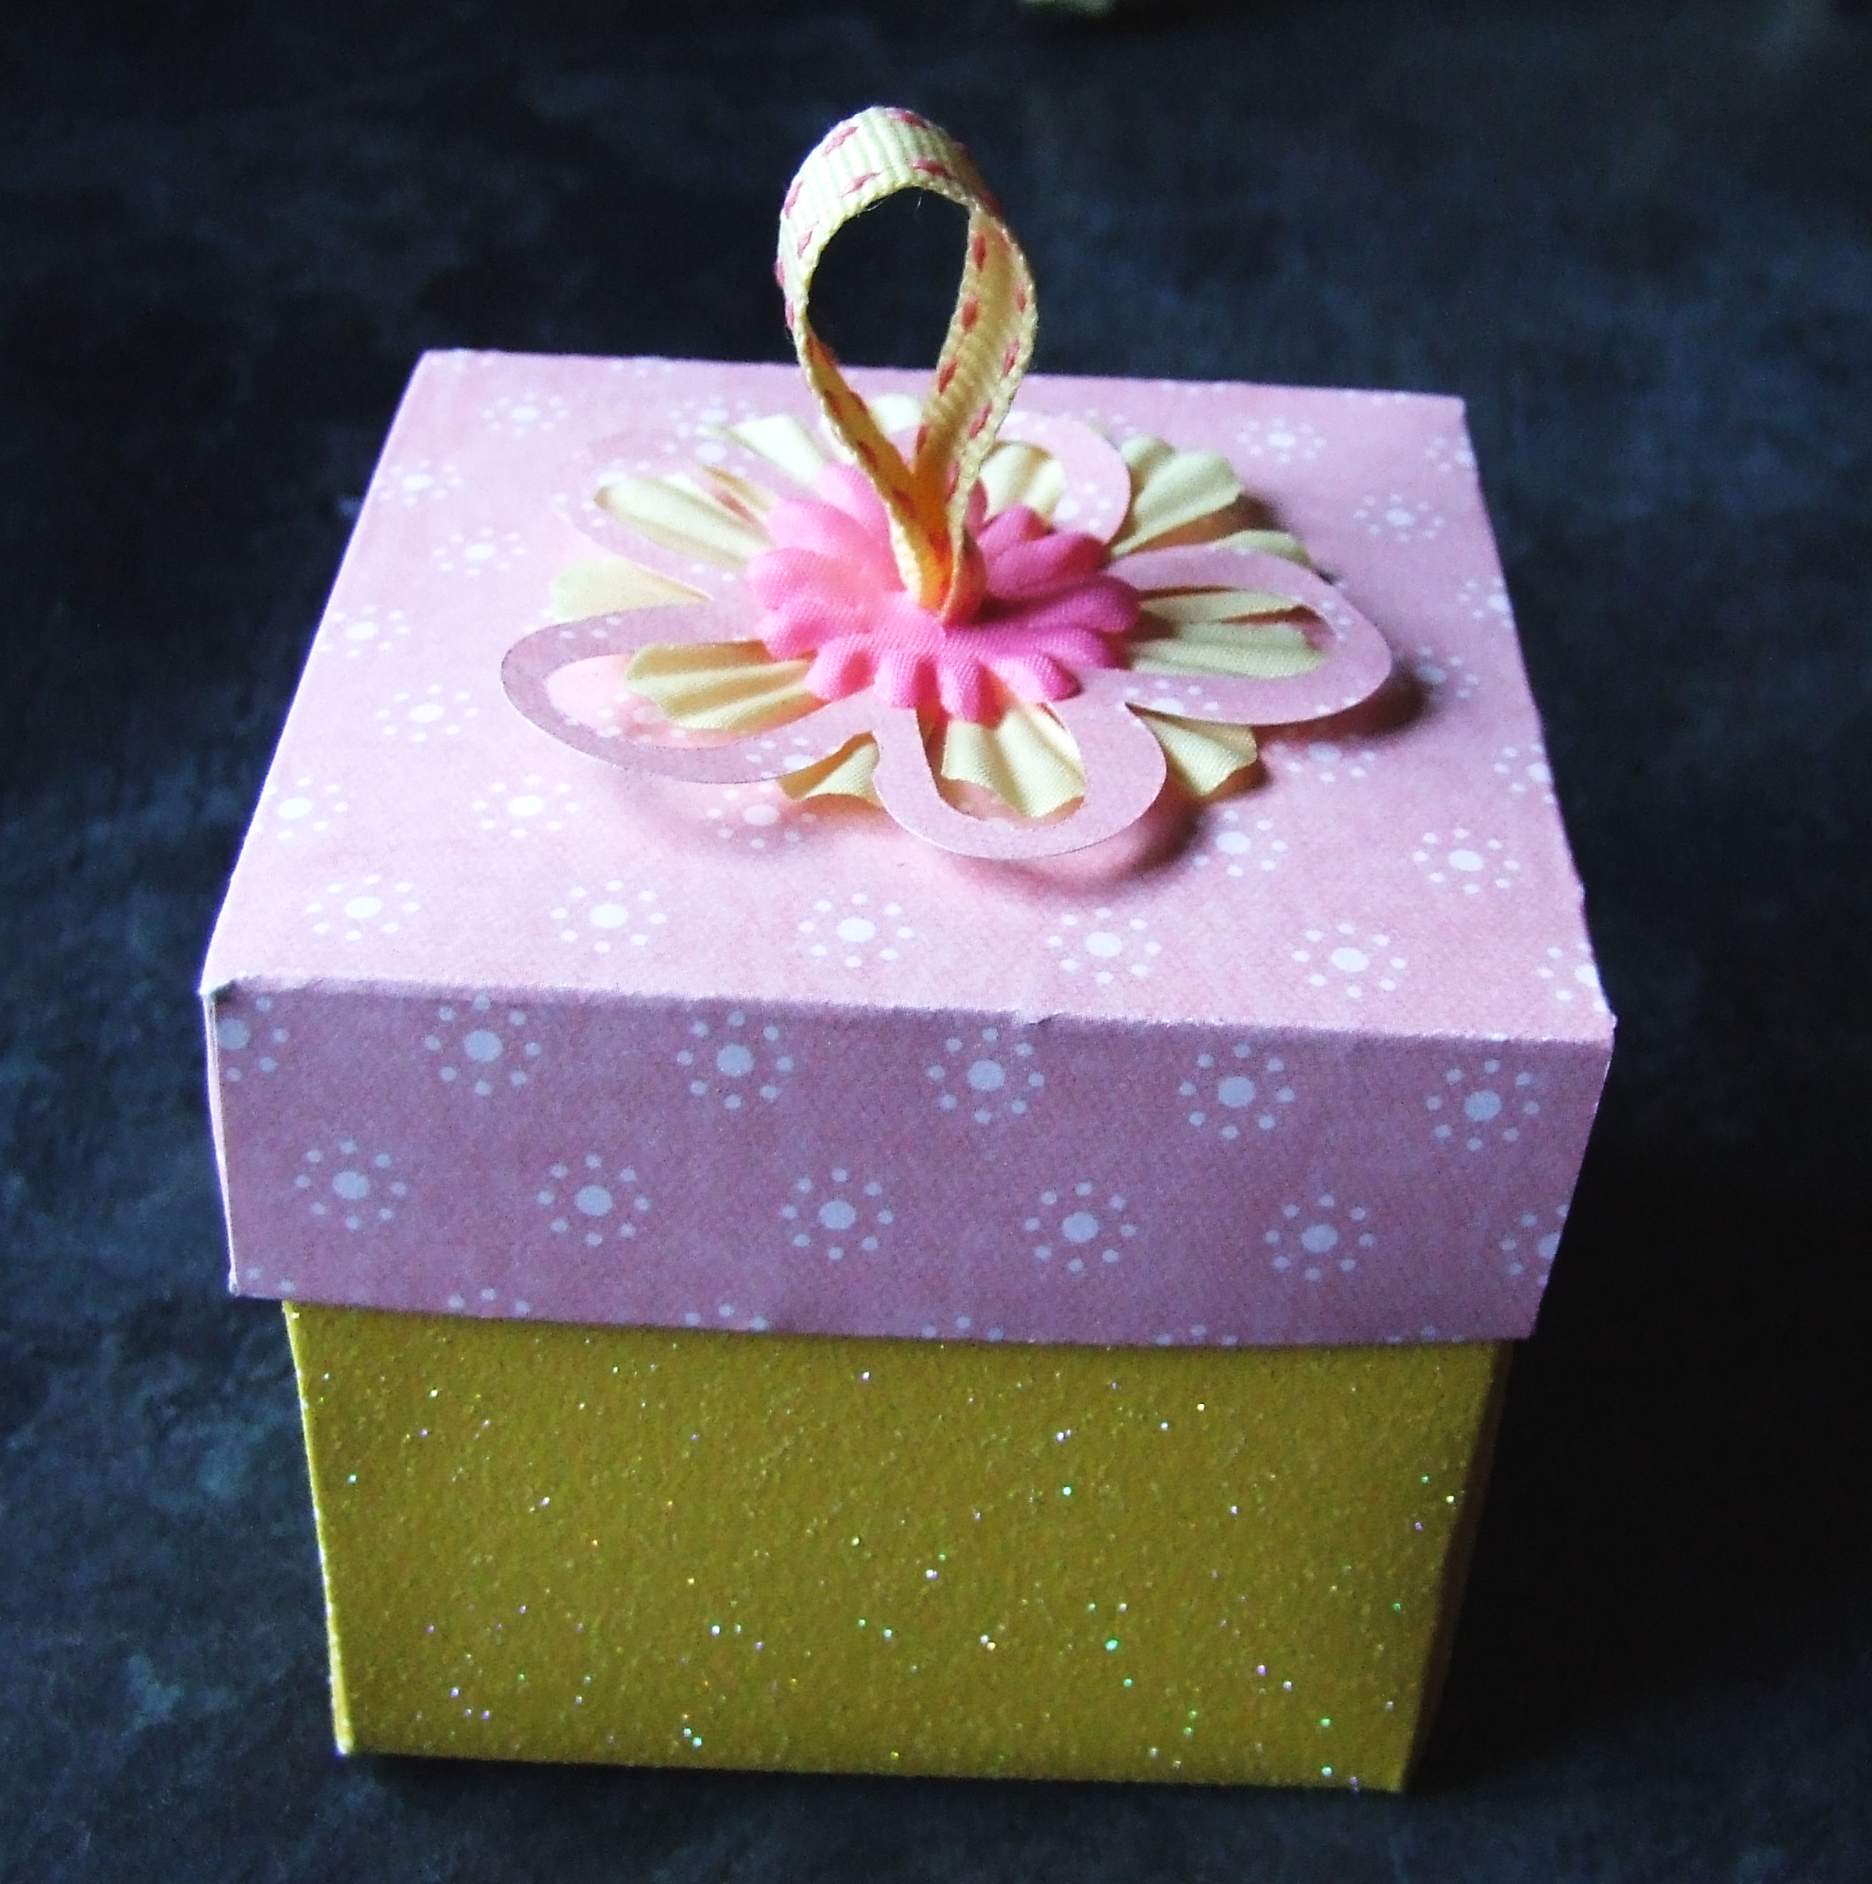
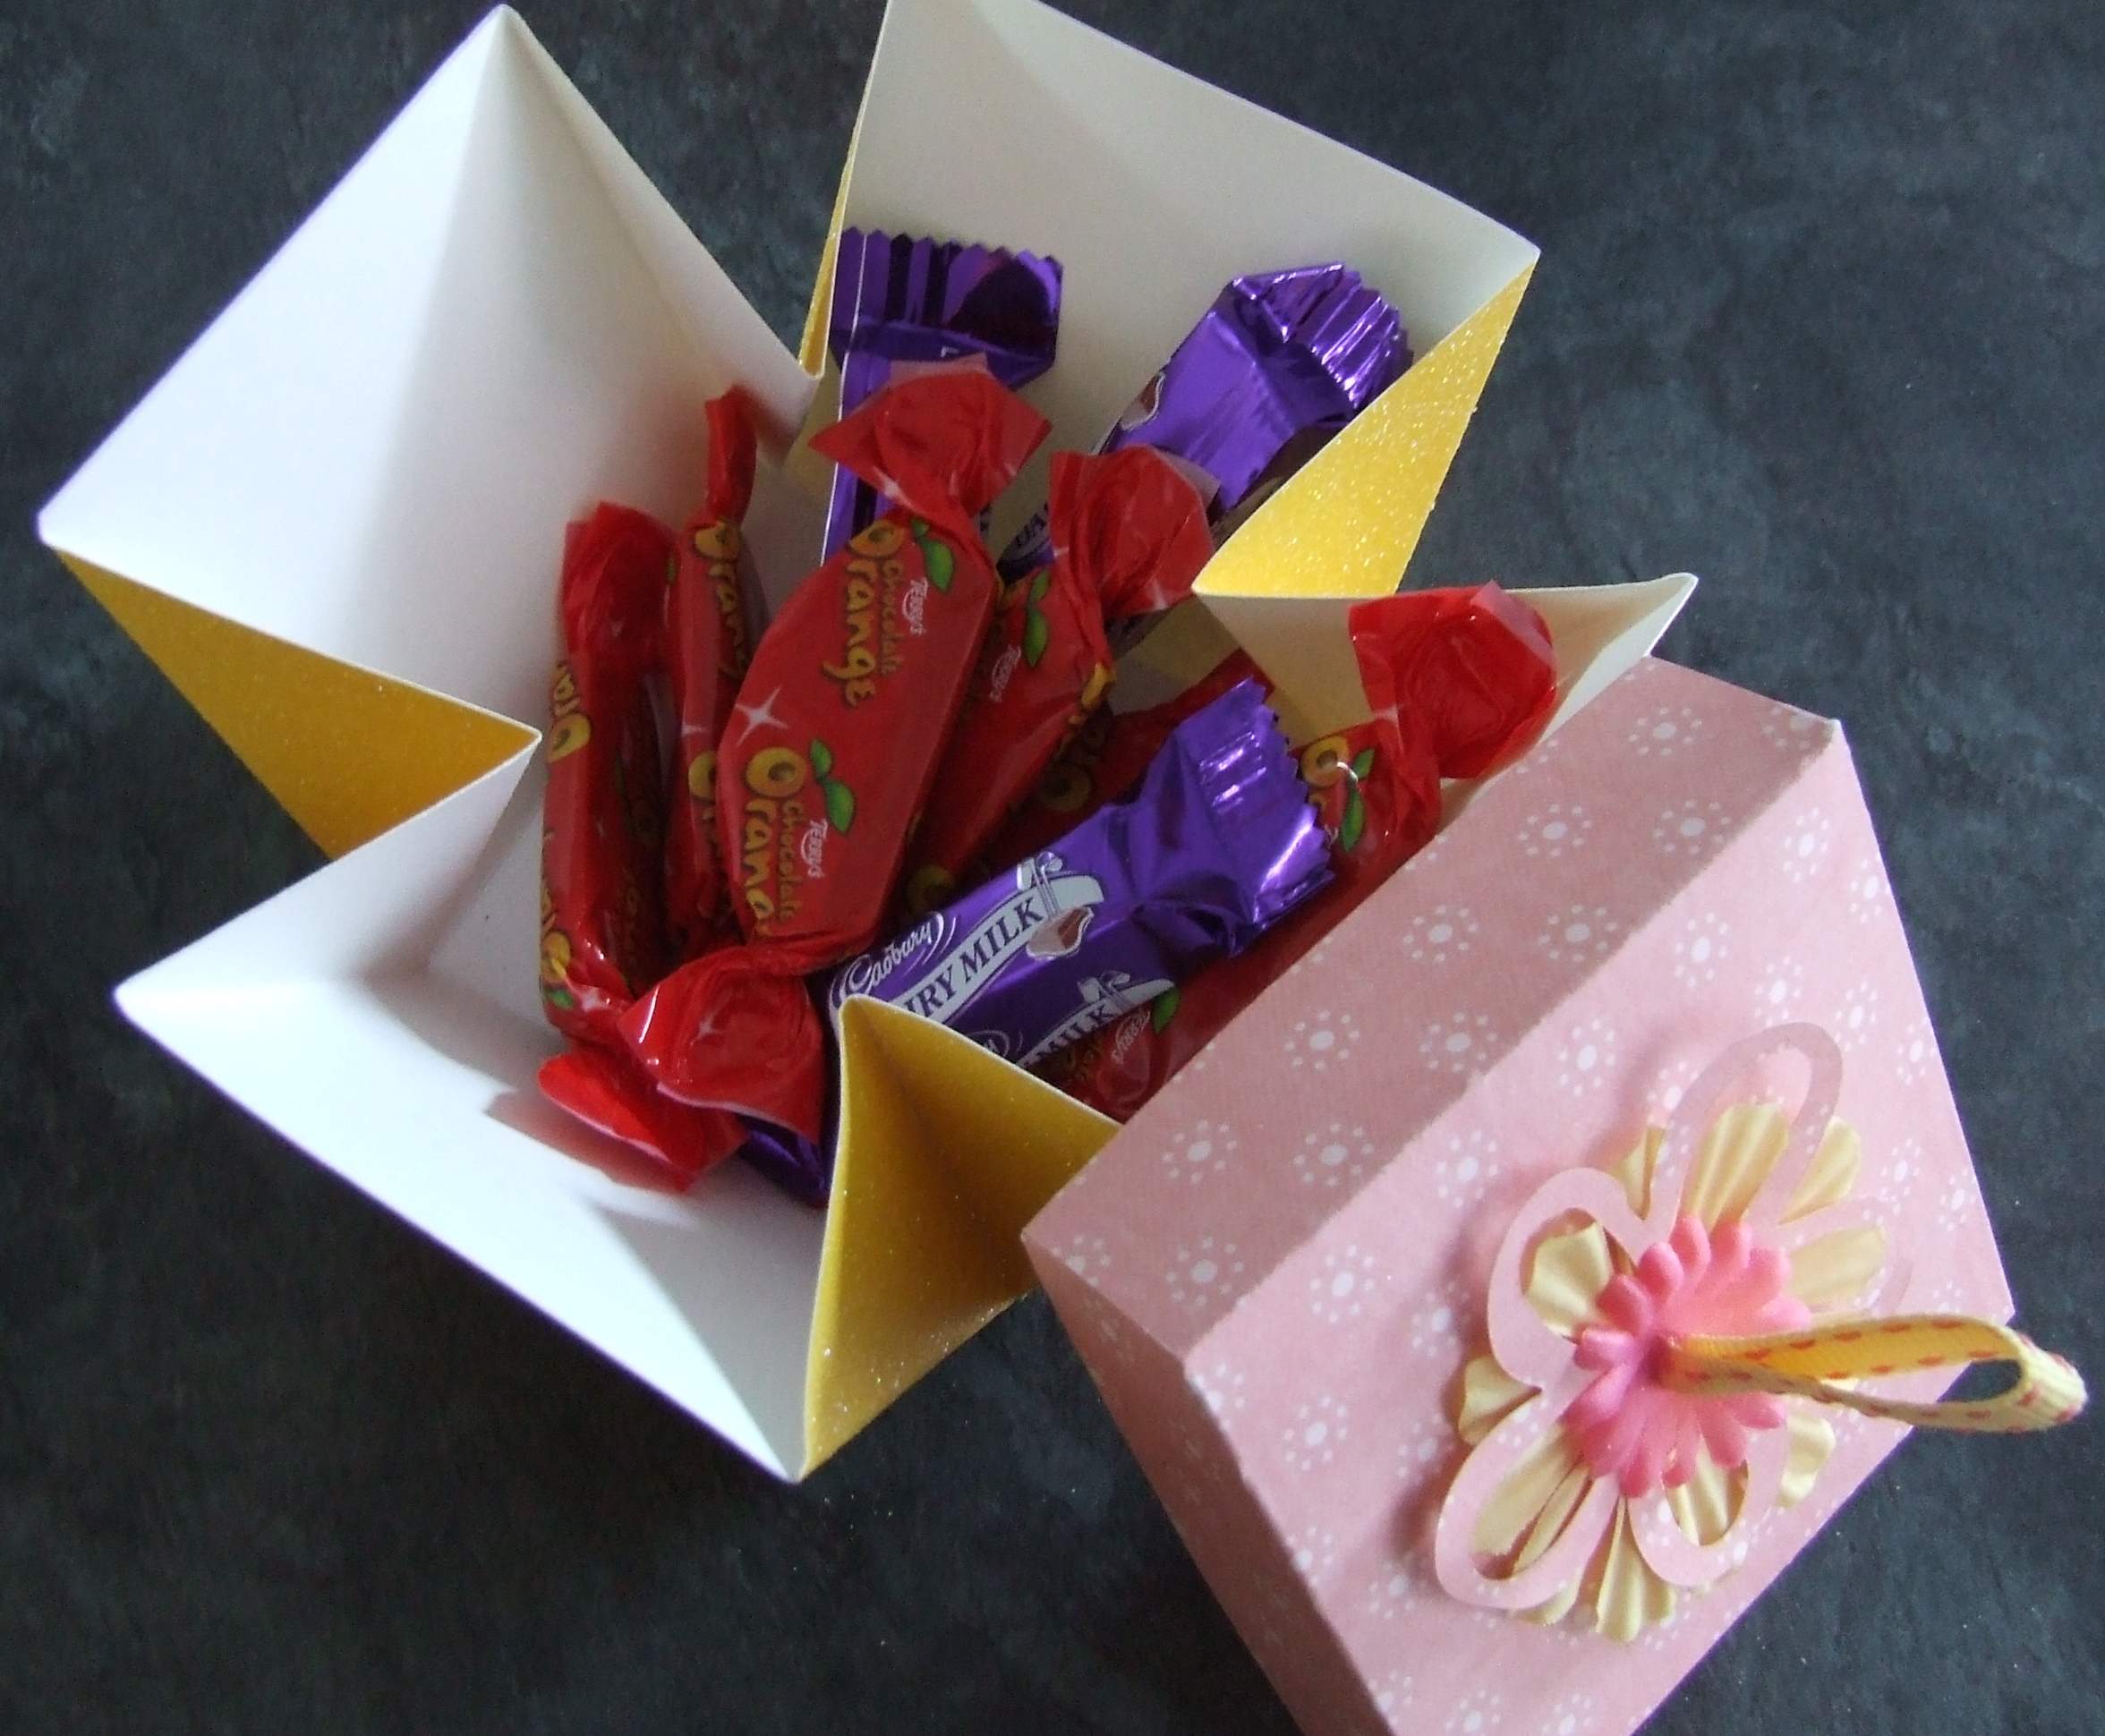
Project 21 by Caroline Scattergood Surprise Box Click on picture to enlarge |
|||||
|
|
Products Used: (all from Imaginisce "For Peeps Sake" collection):
Other: Doodlebug Sugarcoated Cardstock – Yellow Designers note: This is a lovely little box to make up for a special gift – maybe for Mothers Day or Easter. Big enough to put a handful of choccies in! When the lid is pulled off the box opens to reveal the contents.
|
||||
|
|
|||||
|
I
|
|||||
|
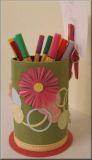
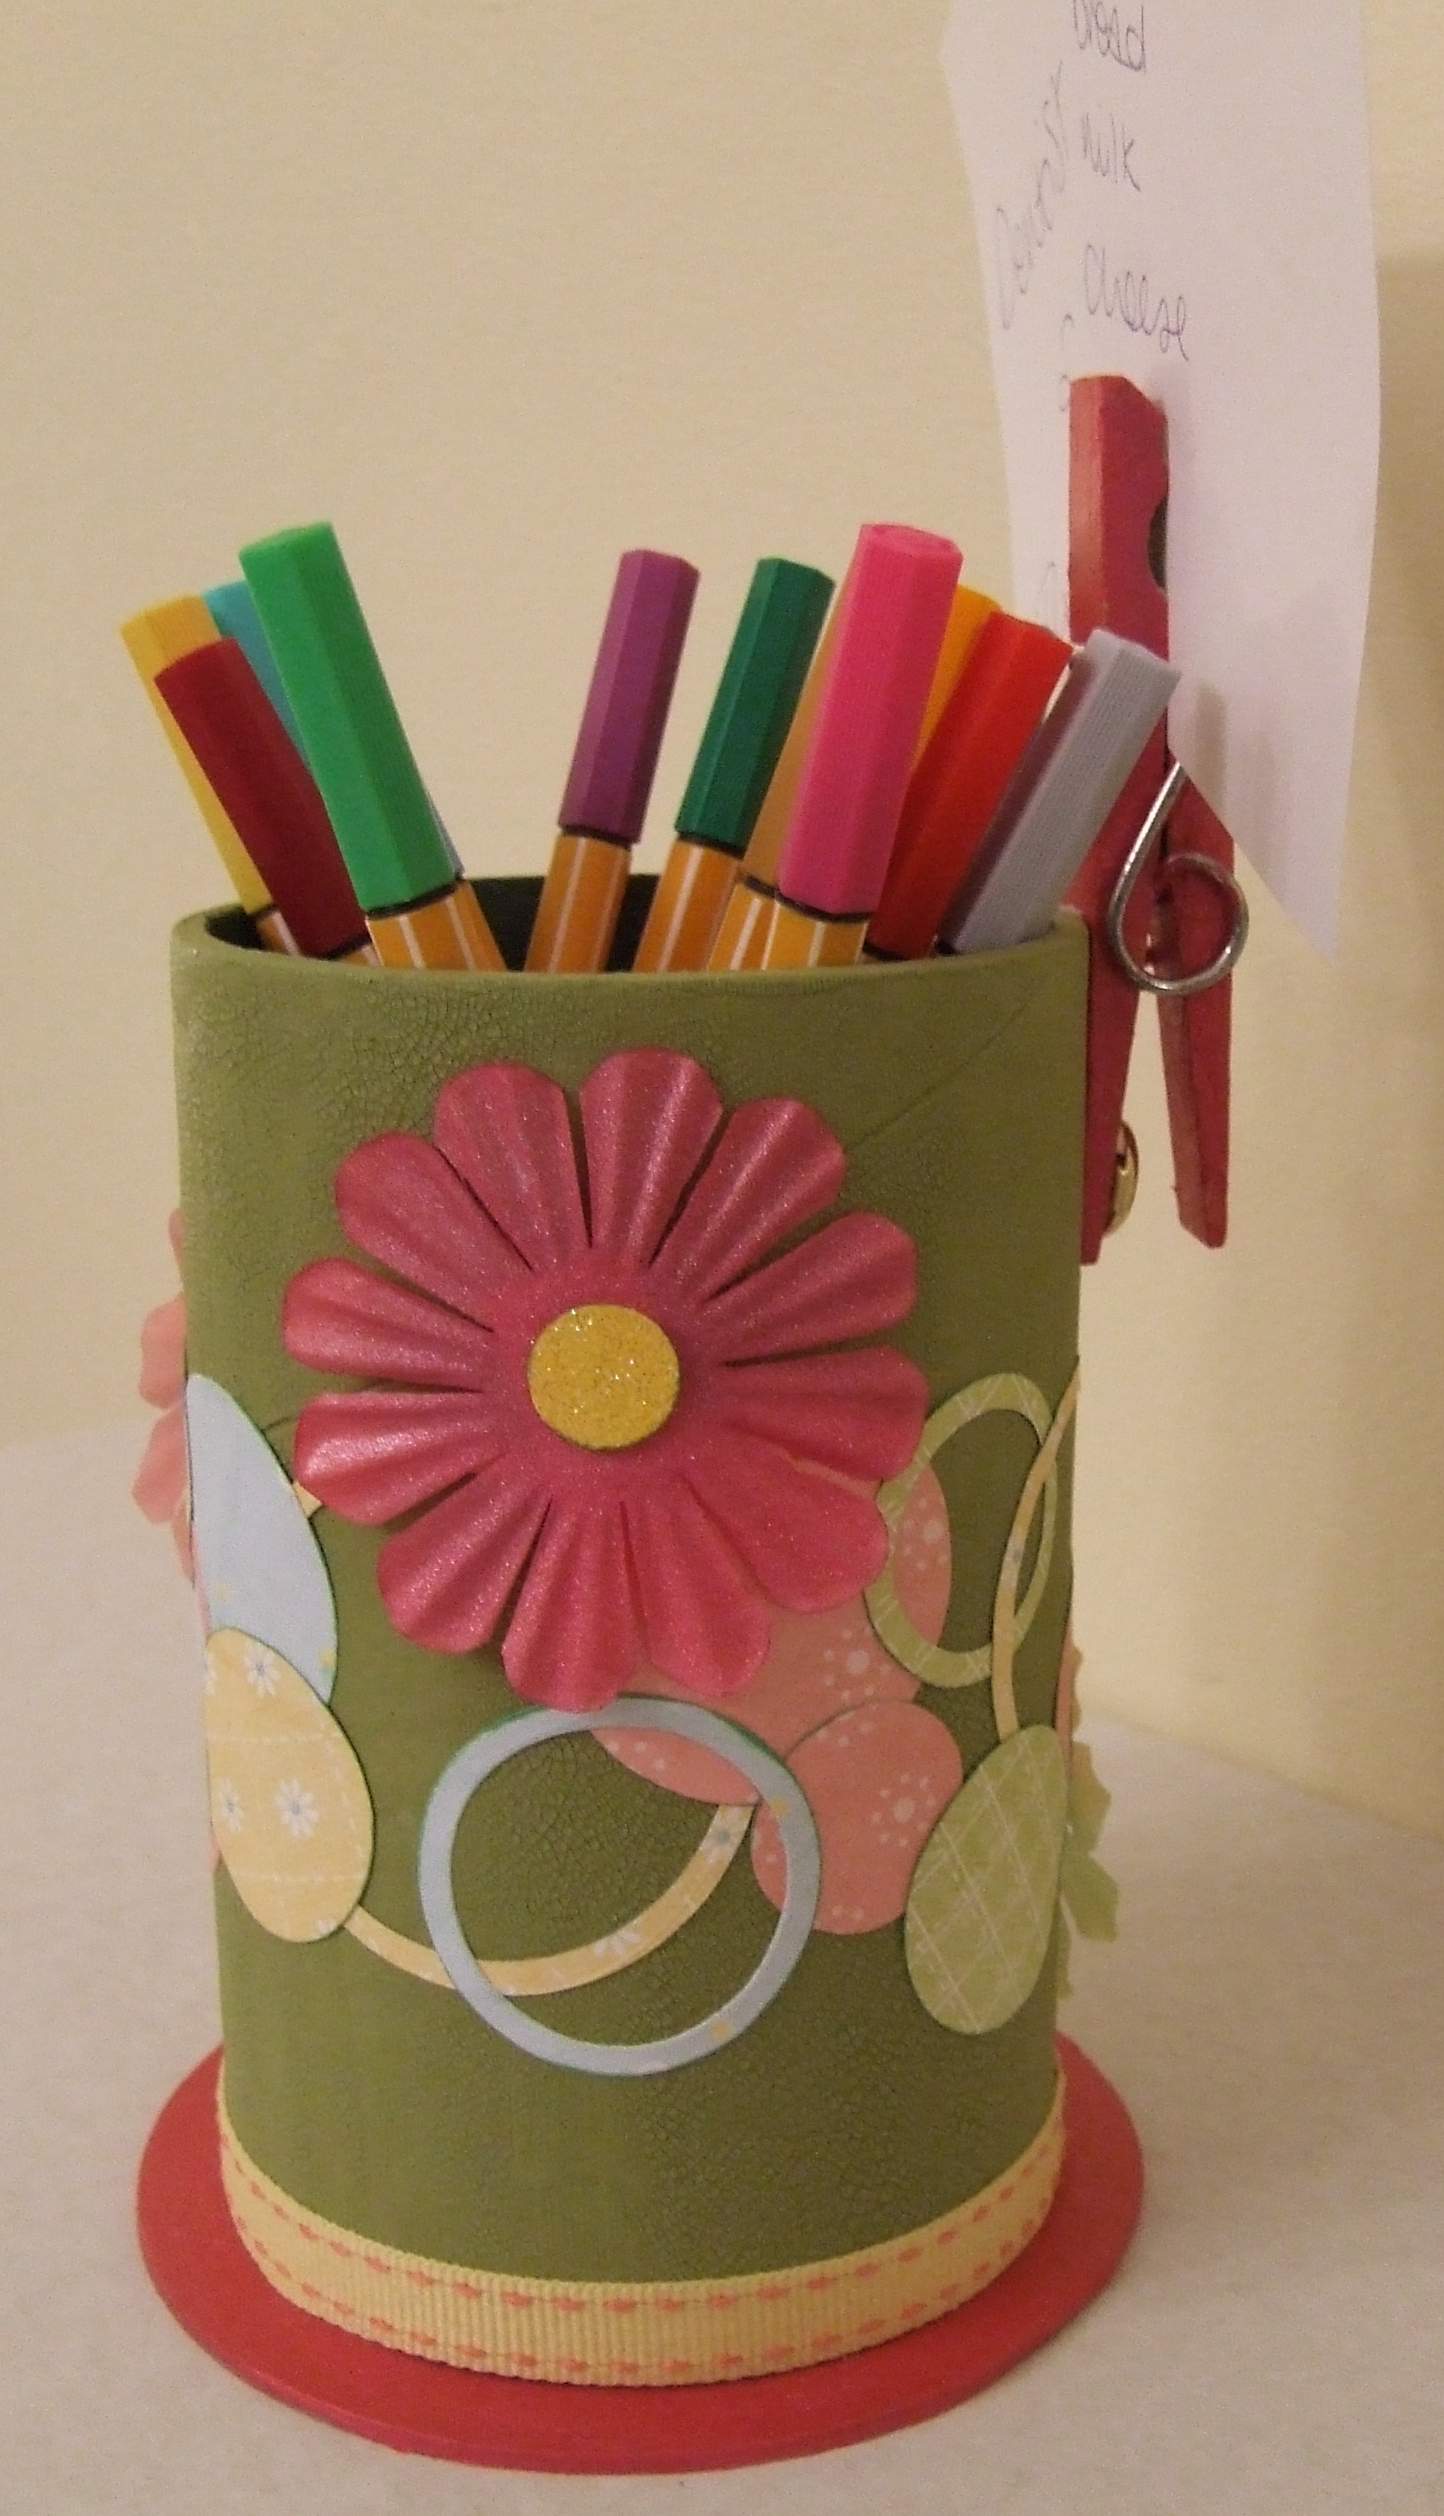
Project 22 by Caroline Scattergood Pencil Pot
|
|||||
|
Click on picture to enlarge
|
Products Used: (all from Imaginisce "For Peeps Sake" collection):
Other:
Designers note: I have had this tube hanging around for ages and thought this paint would be ideal to use on it and what better use than a Pen Pot. I really like this paint and the effect it gives. It’s quite thick but needs to be applied thickly in order to appreciate the cracks and crackles! I attached a normal peg onto the side by making a hole in the tube and peg and attaching with a large brad and also securing with glue. So not just a pen holder but a useful note holder too! My daughter has already bagsied it for her desk. I’ll have to see how many cups of tea its worth, lol !
|
||||
|
|
|||||
|
|
|
|
See our classes for full instructions
|
|
|
||
|
|
|
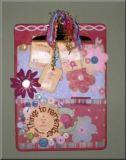
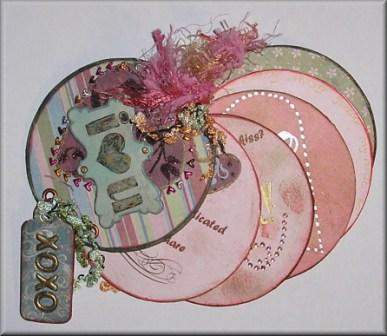
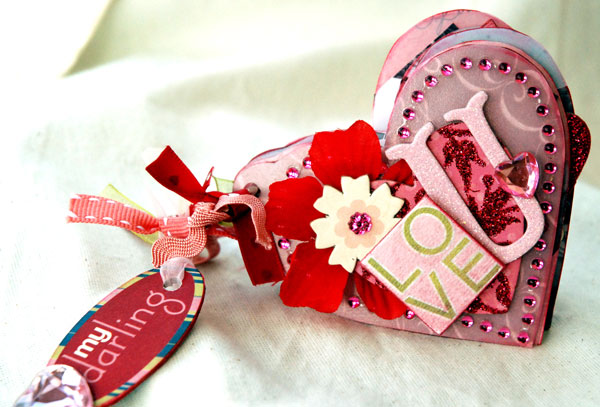
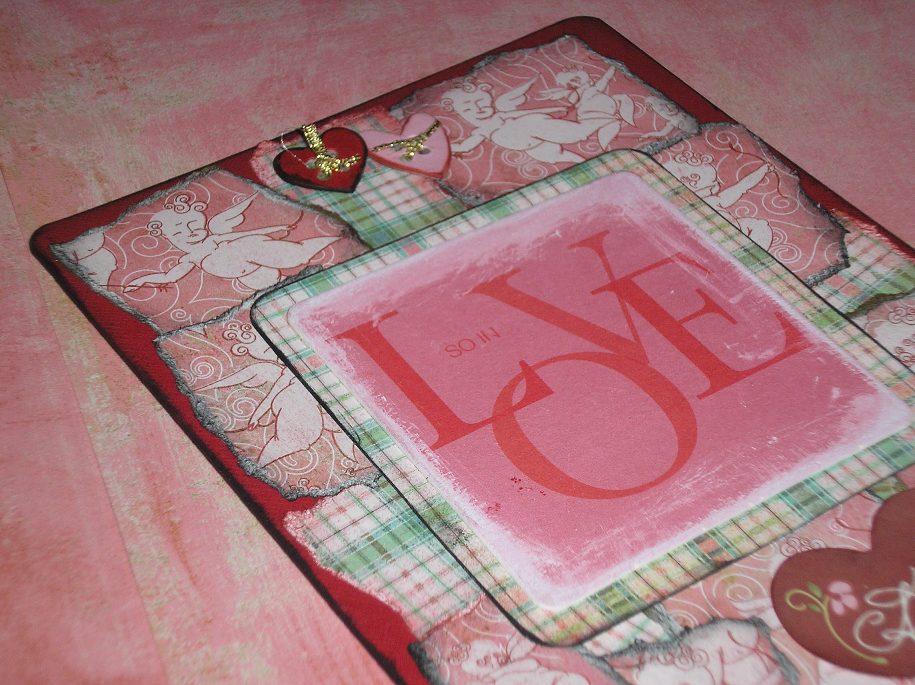
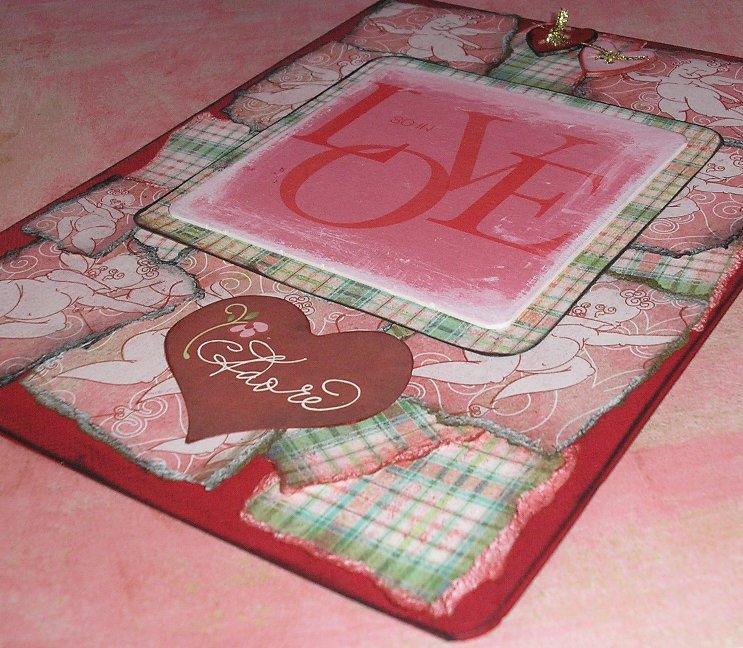
Valentine Mini Book
|
|
|
|
Click here for lots more pictures and instructions.
|
|
|
||
|
|
|
Click main image to enlarge. |
|
|
|
|
|
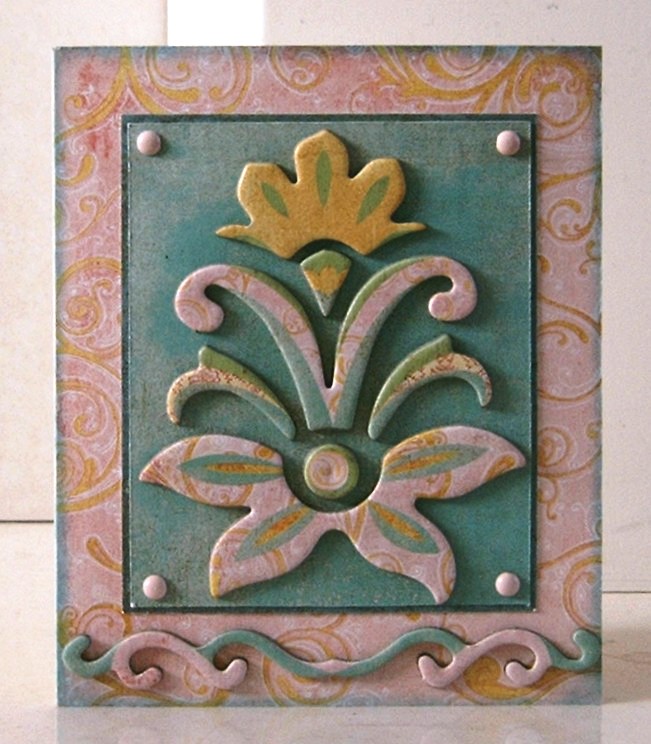
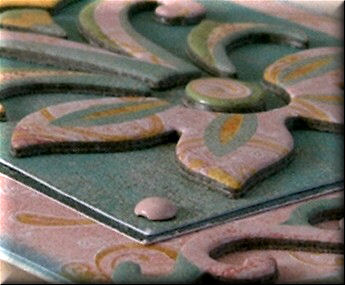
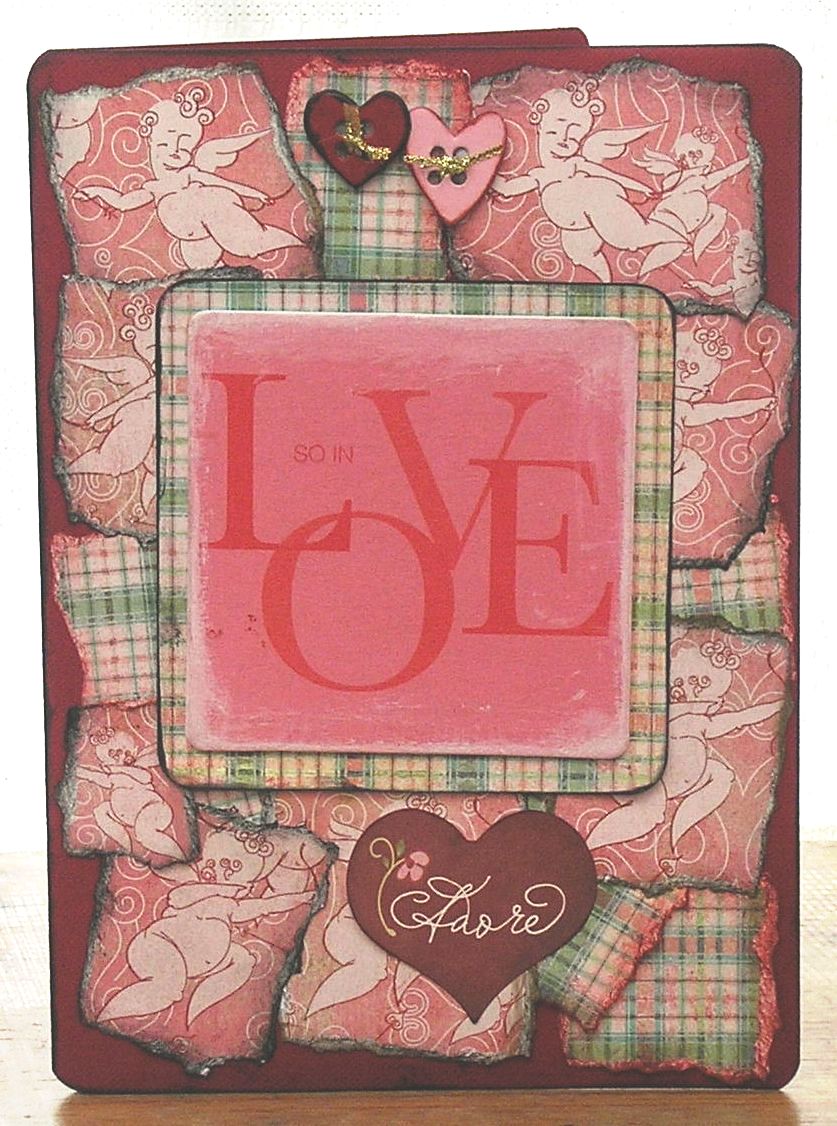
Project 25 Instructions Products used: Basic Grey "Two Scoops" Collection
Tip: Don’t feel like you have to always add a sentiment to your cards, I often leave them sentiment free, this card could now be used for a choice of occasions or even just to say Hi.
|
|
|
|
||
|
|
|
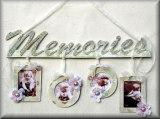
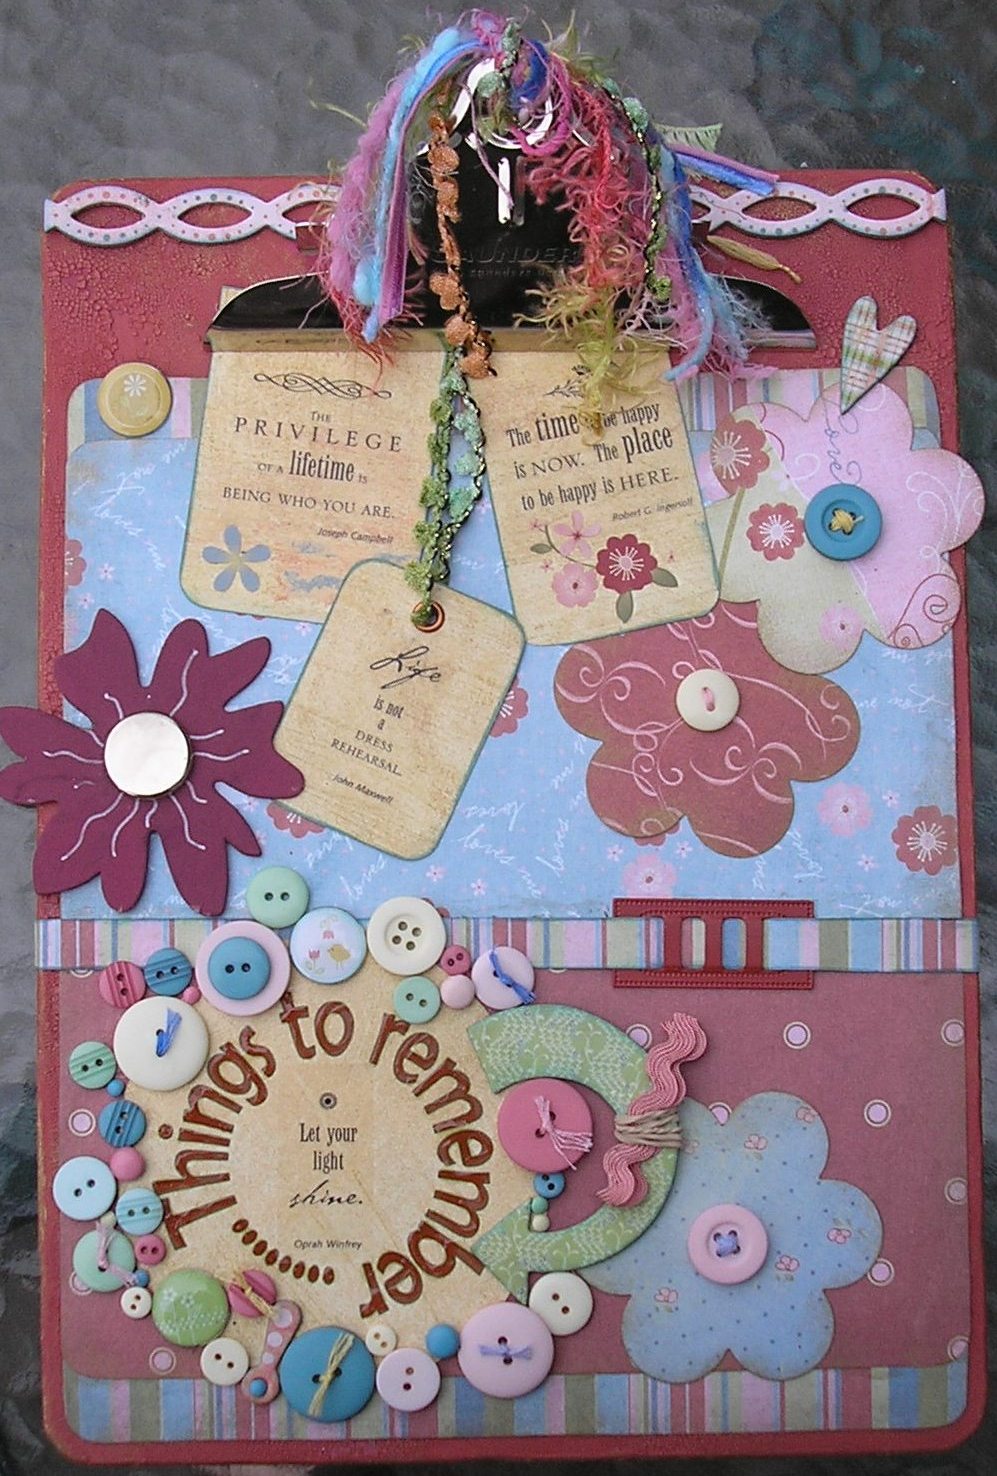
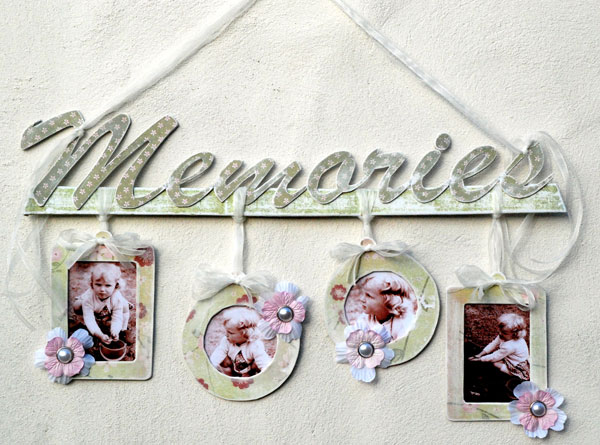
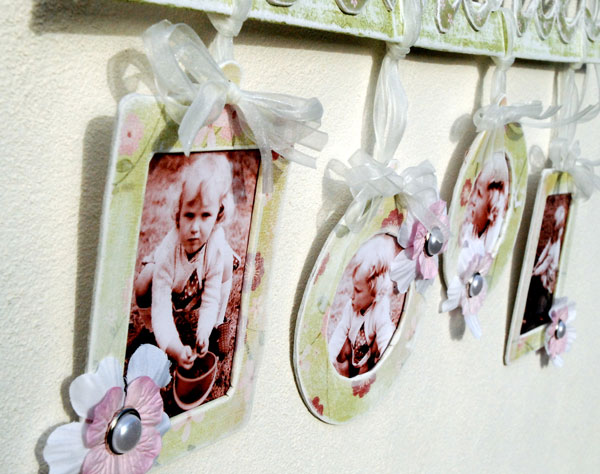
Project 26 - Memories Wall Hanging by Tracie Hudson Click images to enlarge... |
|
|
|
|
|
Project 26 Instructions Products Used: Imaginisce "Loves Me" Collection
The
Loves Me collection from Imaginisce is perfect for creating your
Valentines cards and Love layouts, but it also is very adaptable to
be used for other themes too!
The
papers I used to create this wall hanging were a perfect match for
these old photographs I found of myself gardening as a child.
Initially I was going to create a garden themed layout but whilst
looking at the photographs I remembered my happy childhood days
spent playing in the garden. I decided that I would create a wall
hanging based upon the word Memories.
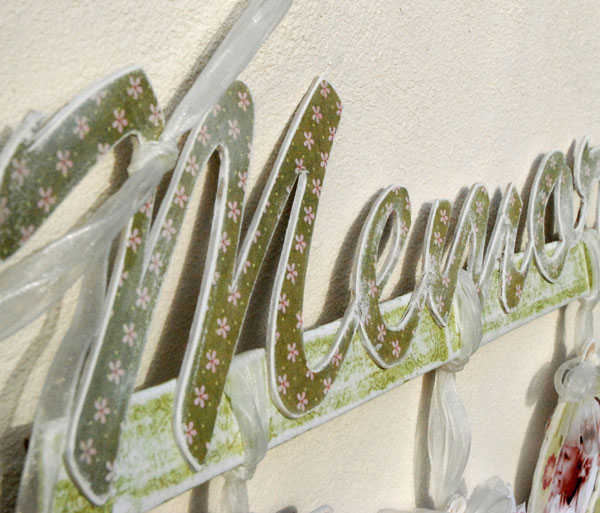
I
printed the word Memories directly onto the patterned paper and then
adhered this to
6mm thick chipboard - using my craft knife I then cut it out. As
the paper has a white core I decided to use sandpaper to distress
the edges and let the white core show through. I then applied
white acrylic paint to the edges and blended this in using a wet
wipe.
|
|
|
|
||
|
|
|
by Tracie Hudson Click images to enlarge... |
|
|
|
|
|
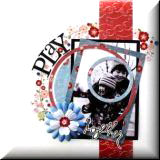
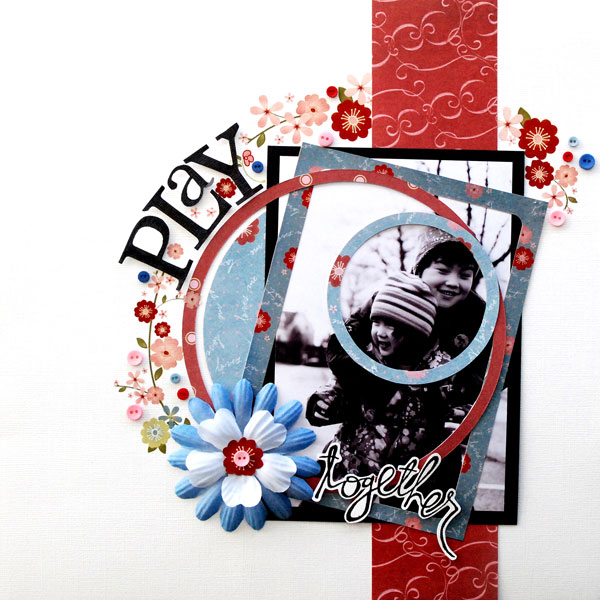
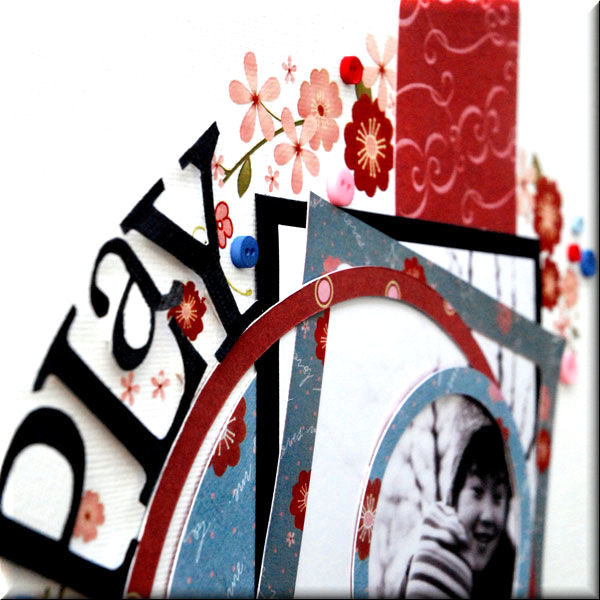
Project 27 Instructions Products Used: Imaginisce "Loves Me" Collection This layout was created using product from the Imaginisce Loves Me collection. The title for this page was created using Heidi Swapp Clear Stamps. Each word was stamped on to white cardstock using black ink. The letters were then hand cut and adhered to the page using 3d foam pads to add dimension and depth to the page. I used a frame from a sheet of Loves me Lickety Splits to draw focus to the photograph and even more focus was achieved by the addition of paper circles. Imaginisce Loves Me Rub-ons were applied to add a gentle edge to this fun page of my friends children playing together.
|
|
|
|
||
|
|
|
by Tracie Hudson
|
|
|
|
|
|
|
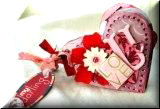
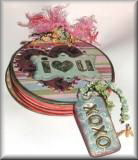
Project 28
Instructions Have you ever stood looking at something and thought to yourself "I wonder how I could utilise this to create something else"? I really hope other paper crafters out there do this - because I find myself constantly doing this!!
From
sweet wrappers to old boxes - plastic containers to broken toys - I
am always looking to see if I can create something else from
something we would normally throw away!
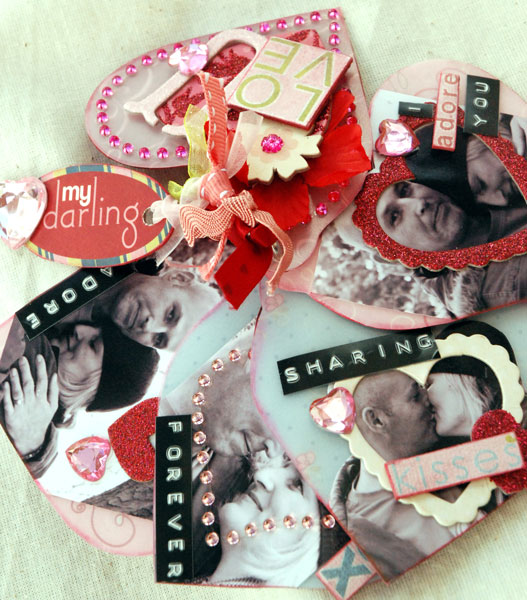
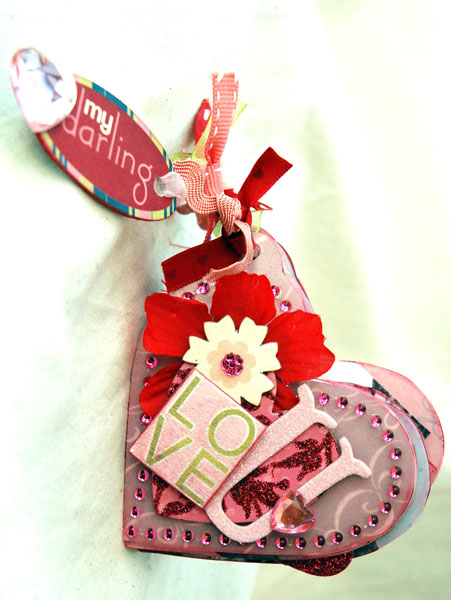
This little mini book of love was created using papers, embellishments and ribbons from the "Loves Me" Collection by Imaginisce, embellishments from K&Co Smitten range and a couple of plastic milk cartons!
|
Who
would have thought a simple milk carton could be adapted so easily
to create a little book of love?
Try
using the plastic with your Sizzix machine....the results are
plastic fantastic!
|
|
|
|
||
|
|
|
|
|
|
Click image to enlarge.
|
Products used:
|
|
Instructions:
Click images to enlarge. |
|
|
|
|
|
|
||
|
|
All projects copyright ® Charmed Cards & Crafts. All rights reserved.