|
Step 1
Paint the reverse of
your clipboard and sides with the "fired brick" Crackle
Paint, the thicker your paint the more crackle effect
you will get (seal the clipboard first if the surface is
porous). Leave to dry. You can speed up the drying
process by using a heat tool. If you intend the
clipboard to be hanging up permanently then skip this
step.
Paint the front of your clipboard. We
will be covering most of it so just paint the areas that
are going to be visible. When perfectly dry press all
the edges against a metallic gold ink pad.
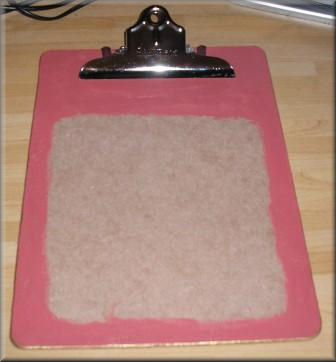
Using a paint brush gently dab the board
intermittently all over, front and back, with gold
metallic ink. Use soft strokes to achieve a distressed
look.
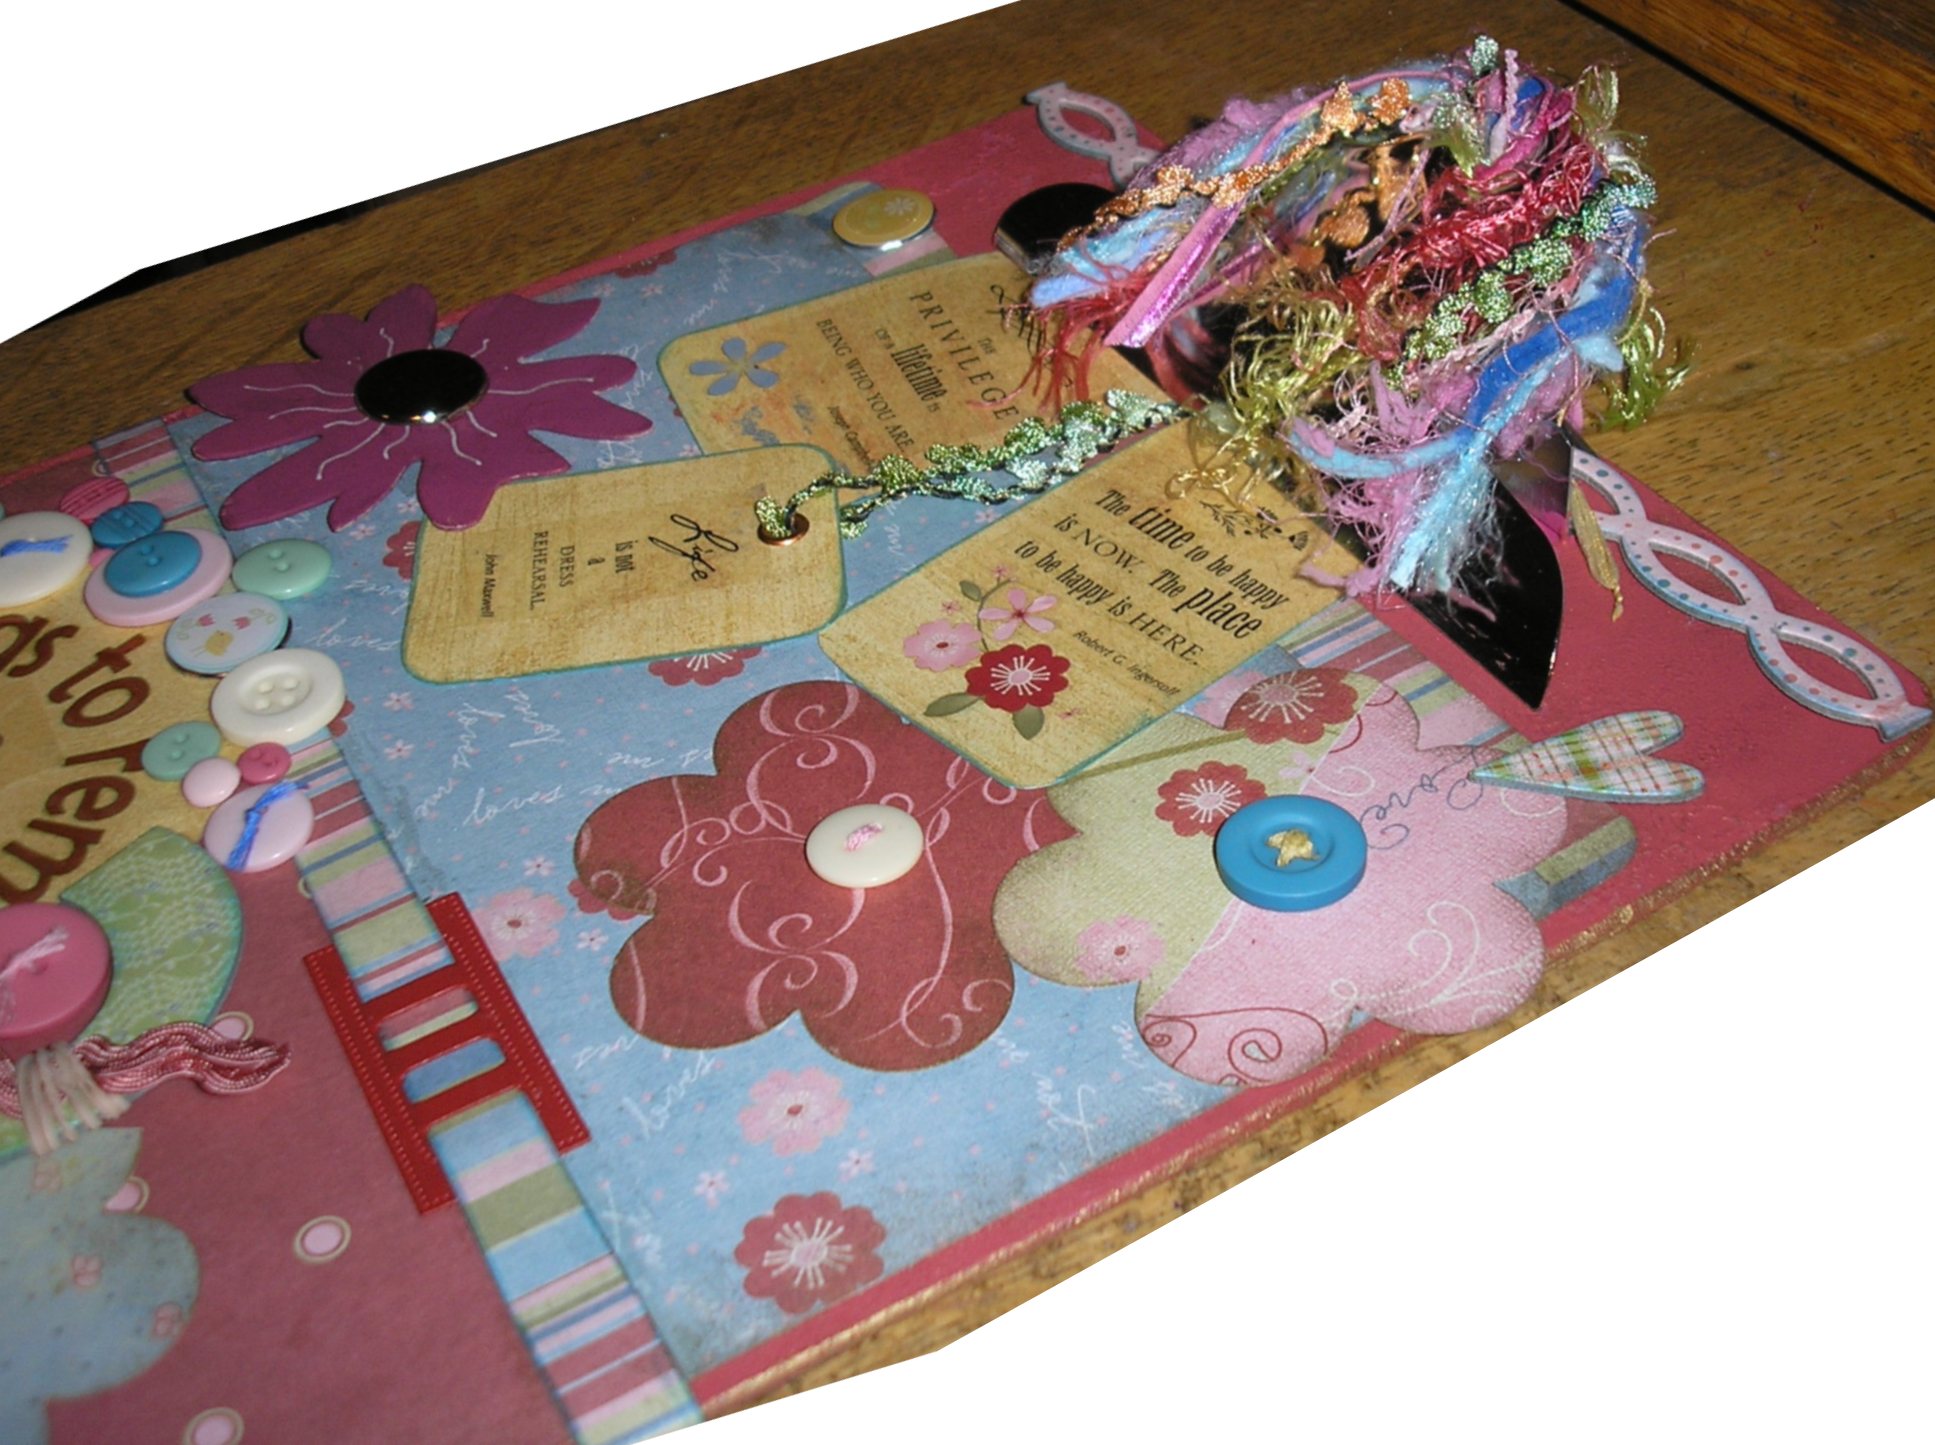
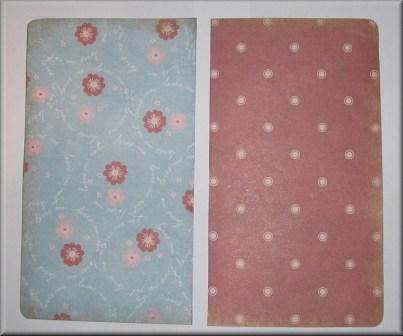
Step 2
Cut a piece of
Imaginisce
"The Game of Love" paper into size 245mm x 217mm.
Round corners with a corner rounder. Fold in half on the
longer length and cut. Ink edges with metallic gold ink
(one side reverse).
Cut two pieces of
striped paper (I used
Imaginisce "Weak
at the knees") the same length as the width of the
other papers and about 3cm wide. Round two corners on
each strip. Brush edges with gold metallic ink.
Step 3
Cut a strip of the
same striped paper measuring 1/2" deep and the
width of the board. Ink edges with dark blue ink then
thread through a 7Gypsies Metal buckle.

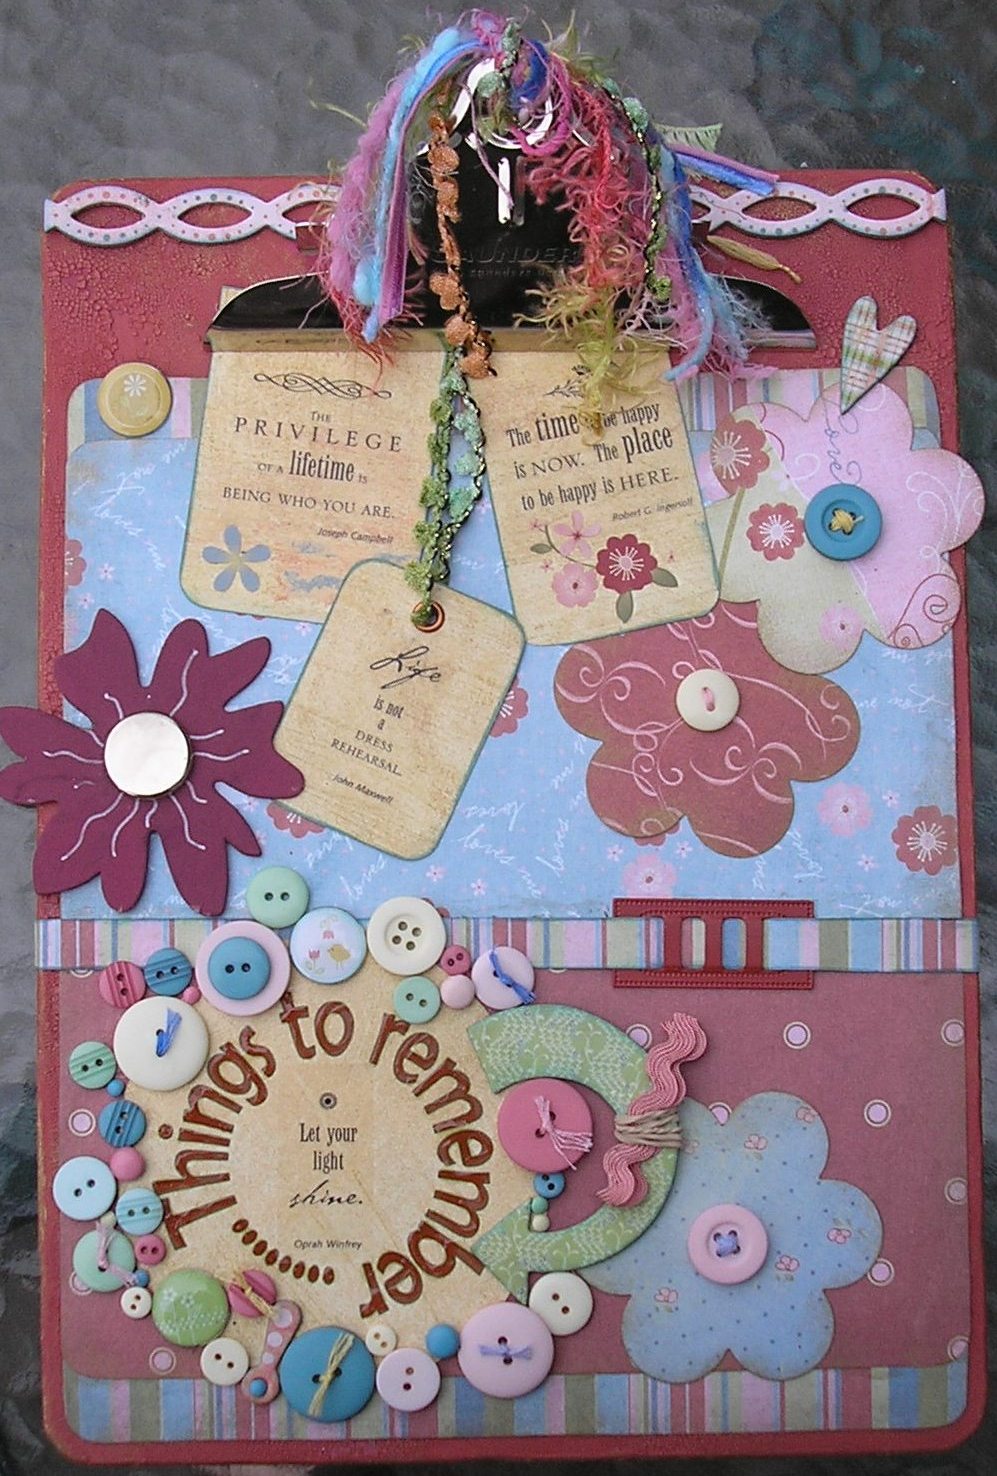
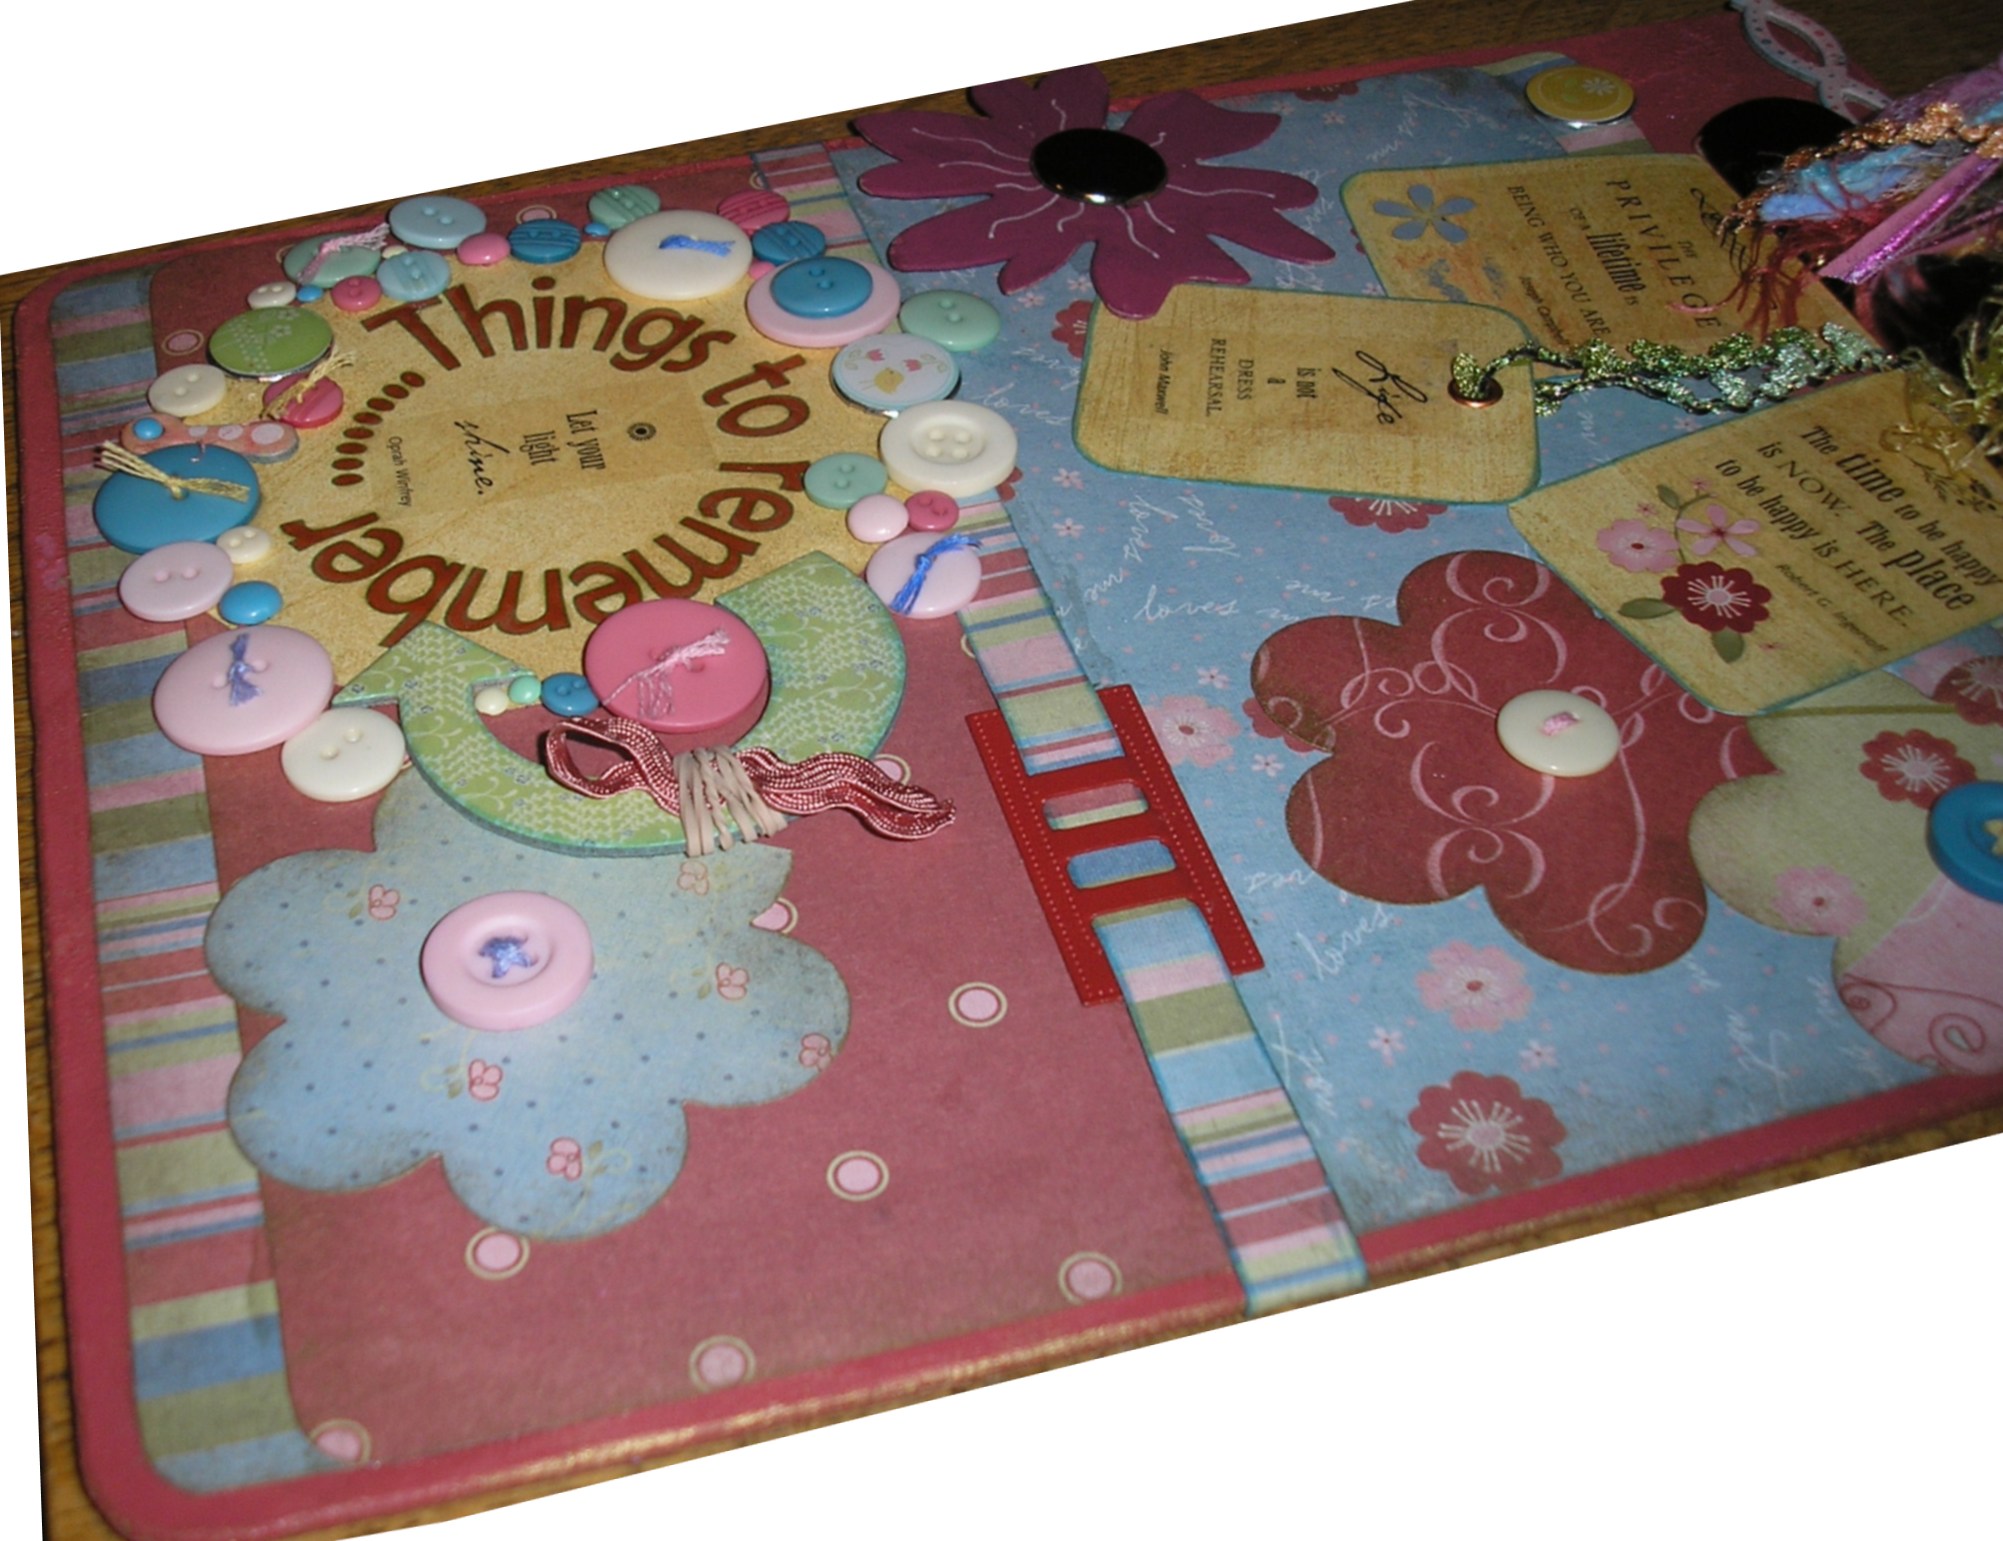
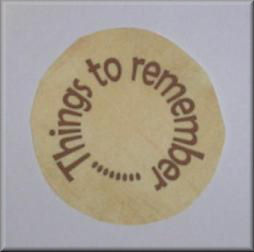
Step 4
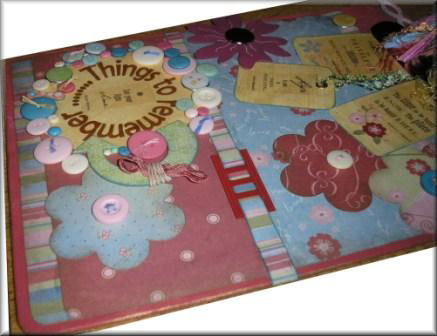
Create a word circle in Microsoft Word.
To make the circle see our
"Word Circle" class. The
words here are "Things to remember....", you can of
course choose the words appropriate to your project.

Resize it by selecting
and dragging the corner until it has the desired size
(mine is 8cm in diameter). Change the fill colour to
dark brown and the outline to dark green (on the WordArt
format menu. Print on a piece of Basic Grey Two Scoops
Butter Pecan cardstock.
Cut around the circle.
Don't worry about making it a perfect circle, we will be
covering up the edges later later.
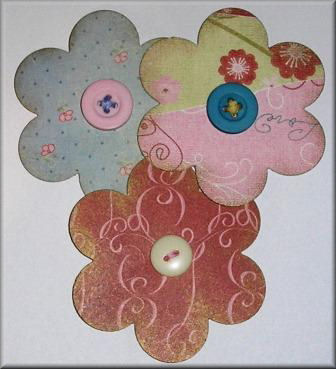
Step 5
Cut or punch out three flower shapes from
coordinating scrap paper and ink the edges with metallic
gold ink, I used scraps from the papers in The
Imaginisce "Love Me" range. Use a paint brush to
obtain a soft distressed look. Sew buttons to the centre
of each flower with different coloured threads. All
buttons in this project are Basic Grey Two Scoops
Buttons.
Ink the edges of the
following Basic Grey Two Scoops ChipSticker shapes:
arrow, a small plaid heart, a photo turn, a
border, plus any other shape you wish to use, with blue
ink (I used Tim Holtz "broken china" distress ink). Use
your finger to rub it slightly round the edge onto the
surface whilst still wet. Wrap an elastic band around
the arrow and poke a bit of ribbon through (I used
ribbon from the Imaginisce "Love Me"
collection).
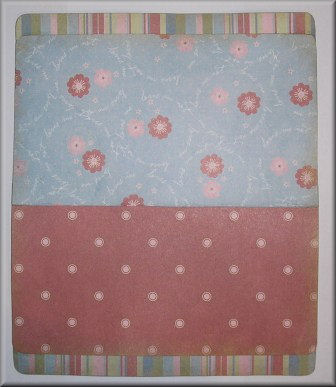
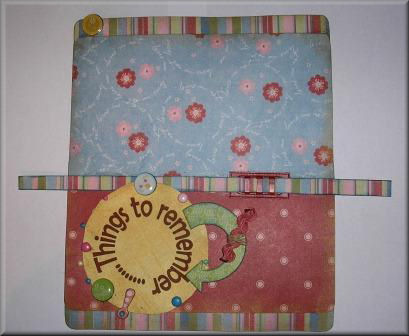
Step 6
We are just about ready
to start assembling everything. Using your board as a
guide assemble the main papers. Mark the strips 15mm
down and glue the paper onto the bottom half. Glue the
two halves together 15mm down onto the dark pink side.
Step 7
Glue on the middle strip but leave the
ends loose. Decide where you want the word circle and
glue it on. Attach any brads you are using now,
you wont be able to later. Attach the chipboard photo
turn also with a brad in the middle. Place the arrow in
position so you don't put brads where you want it to go
(but don't stick it down).
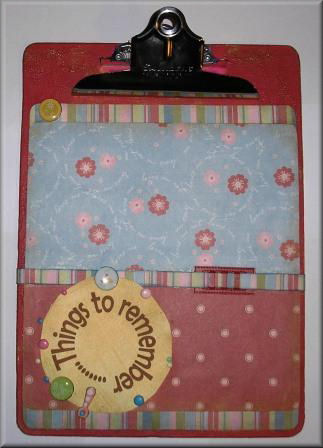
Step 8
Remove the arrow and
glue the main piece onto the clipboard, using a good
quality craft glue that is suitable for both paper and
wood, I used K&Co Wacky Tac Craft Glue. Keep pressing
and smoothing the paper to eliminate air bubbles. When
dry adhesive the ends of the middle strip and wrap
around the the back.
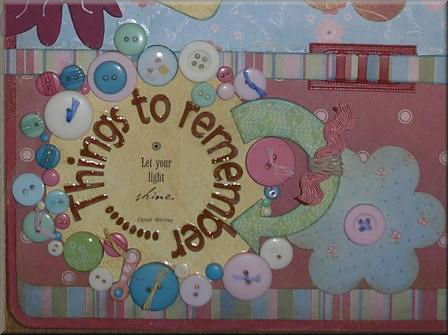
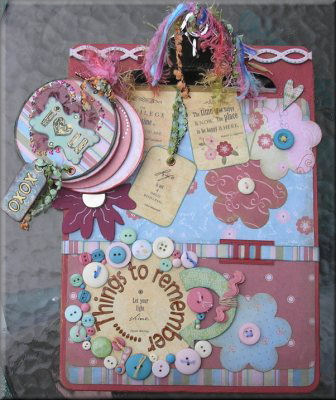
Step 9
Gloss the letters on
the word circle if you so wish and leave to dry (optional).
Thread some of the buttons with different coloured
thread. Stick on all embellishments. Remember to use a
good quality craft glue for the buttons so that they are
totally secure.
Make little notes to
go behind the clip. I used Simple Thoughts Stickers on
Basic Grey "Butter Pecan" cardstock and
embellished with Imaginisce Blossoming Rub-Ons.
On one of the notes attach an eyelet and hang from under
the clip by fibre or ribbon (I used Basic Grey Two
Scoops Fibre).
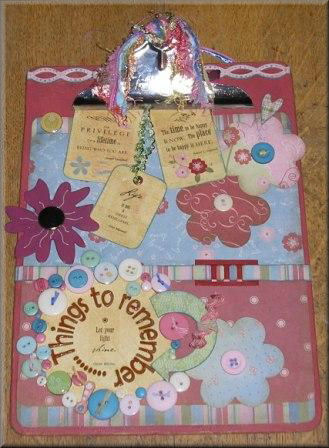
I also painted a Maya
Road chipboard flower with acrylic paint, doodled on it
with a white pen and inserted a silver Hot Off The Press
Great Big Brad in the centre.
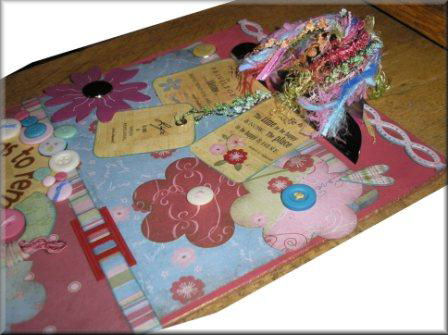
Finish by tying a
variety of fibres to the top of the clip.
Click on pictures to enlarge
Variations and Suggestions:
-
Lightly sand and ink
the metal clip
-
The board in this
project is intended for decorative use. If the board
is for actual use then seal the papers well when on
the clipboard before adding embellishments. You can
of course also leave out bulky embellishments for a
smooth surface.
-
Use acrylic paint
instead of crackle paint.
-
Add a mini book.
Below I have added the mini book from our January
Design team Project page.
|