|
|
|
|
|

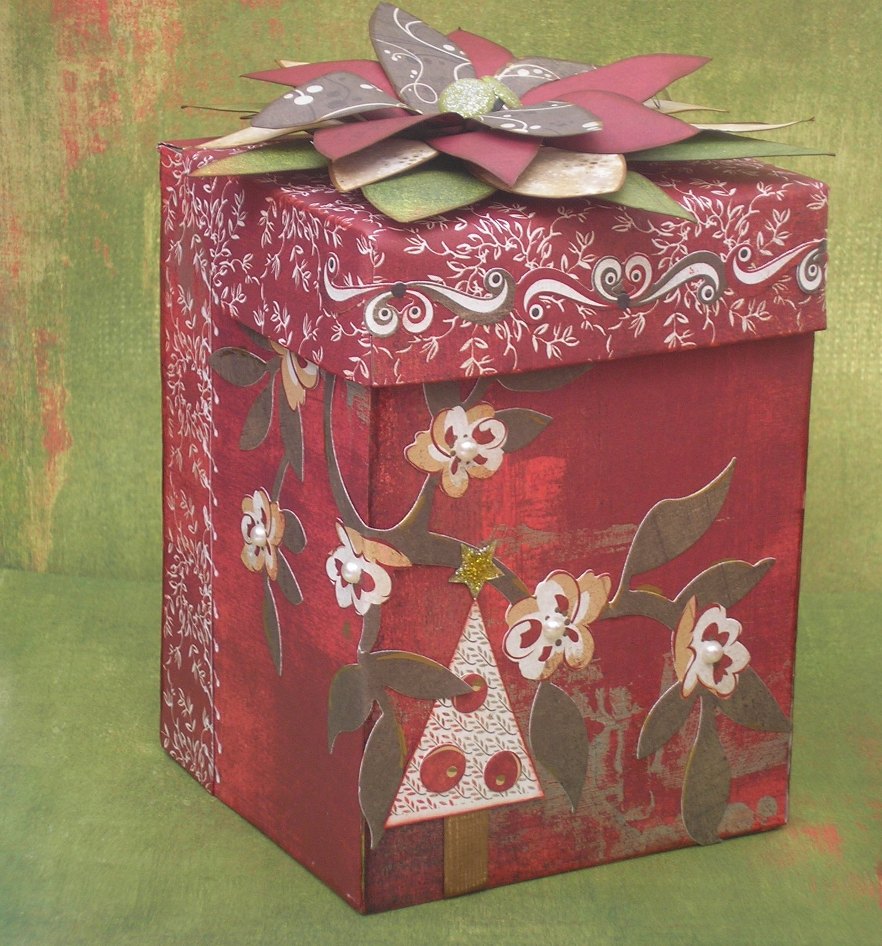
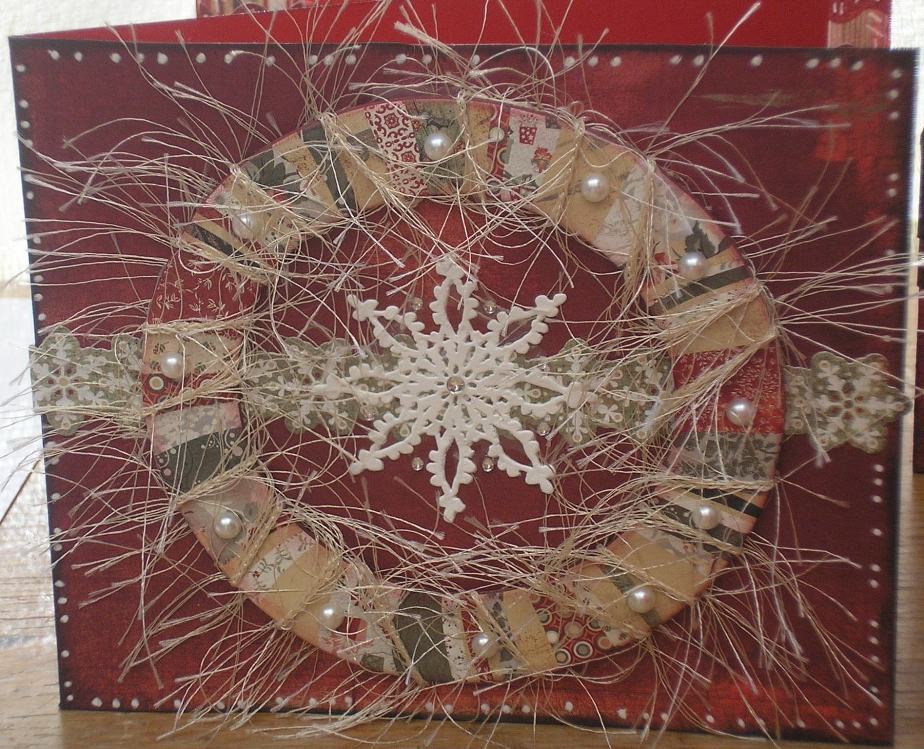
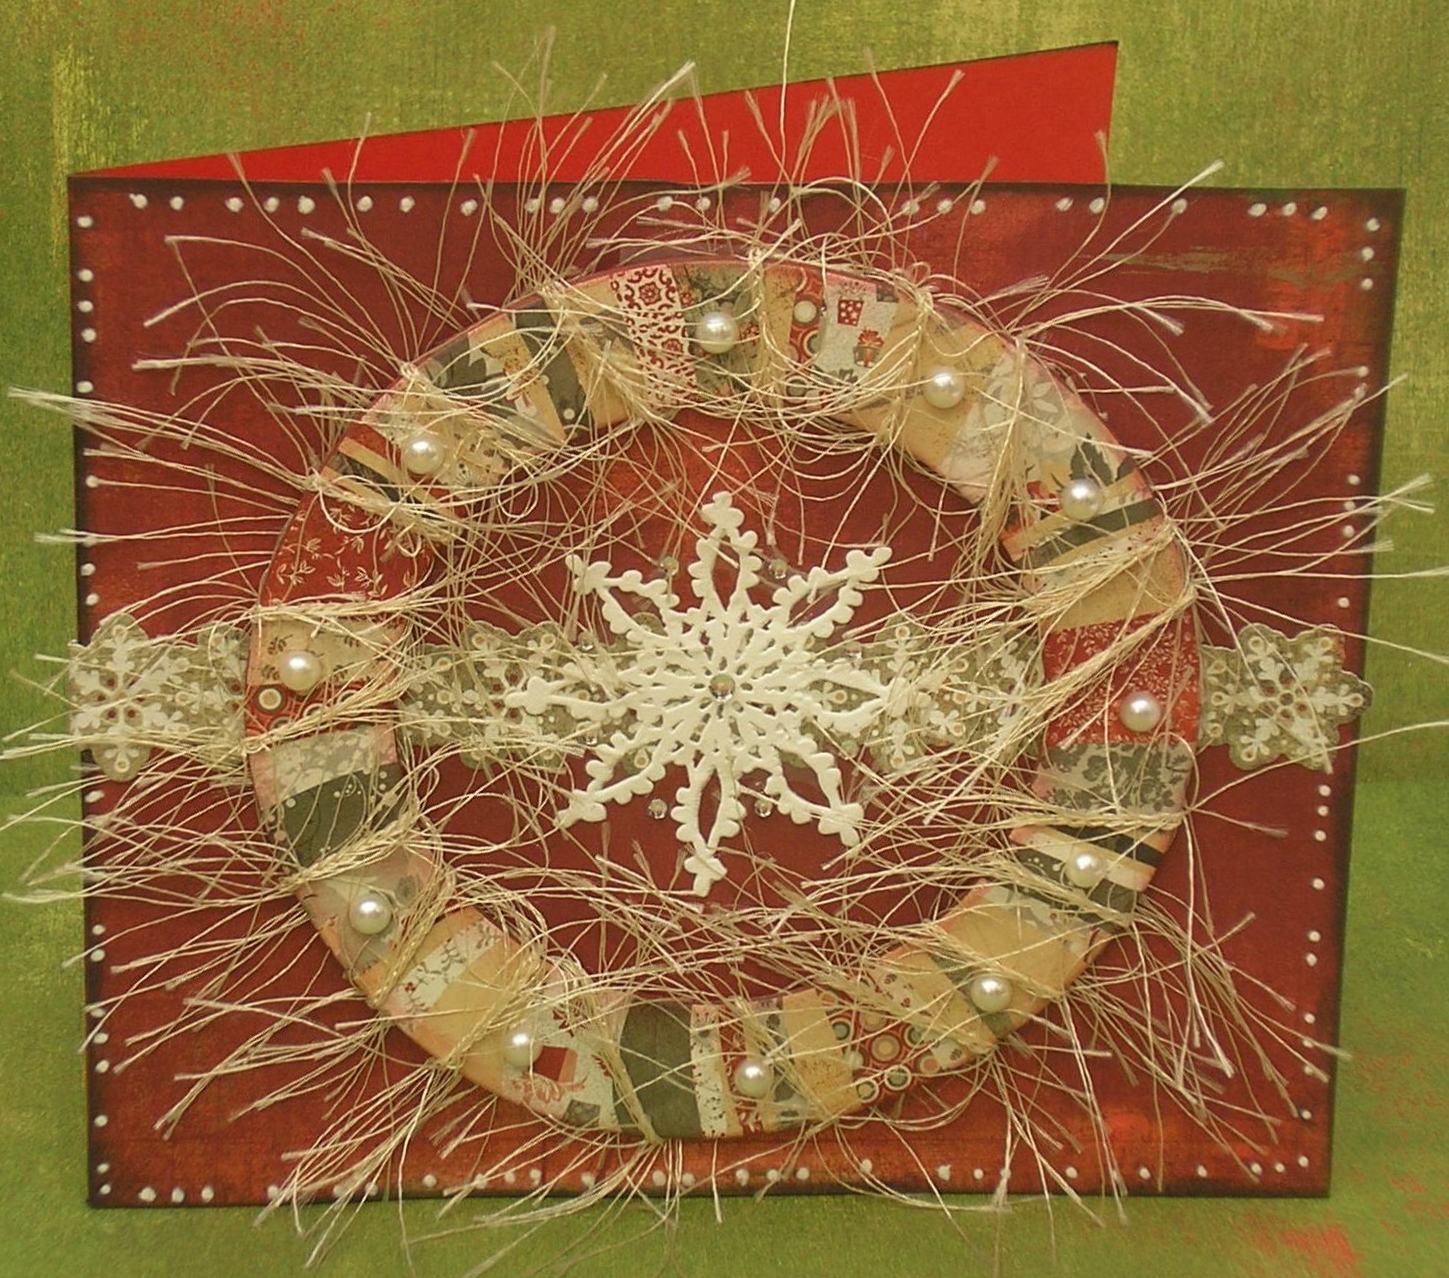
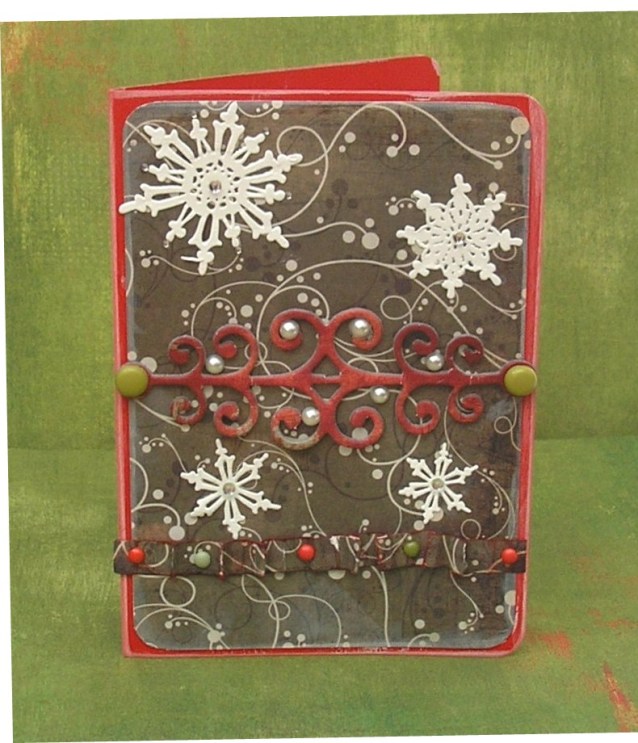
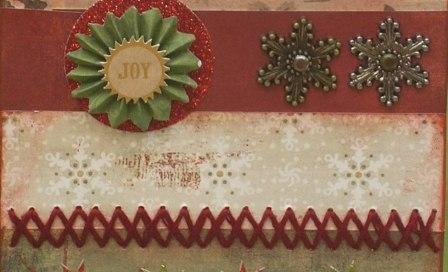
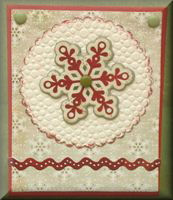
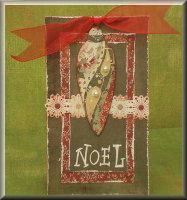
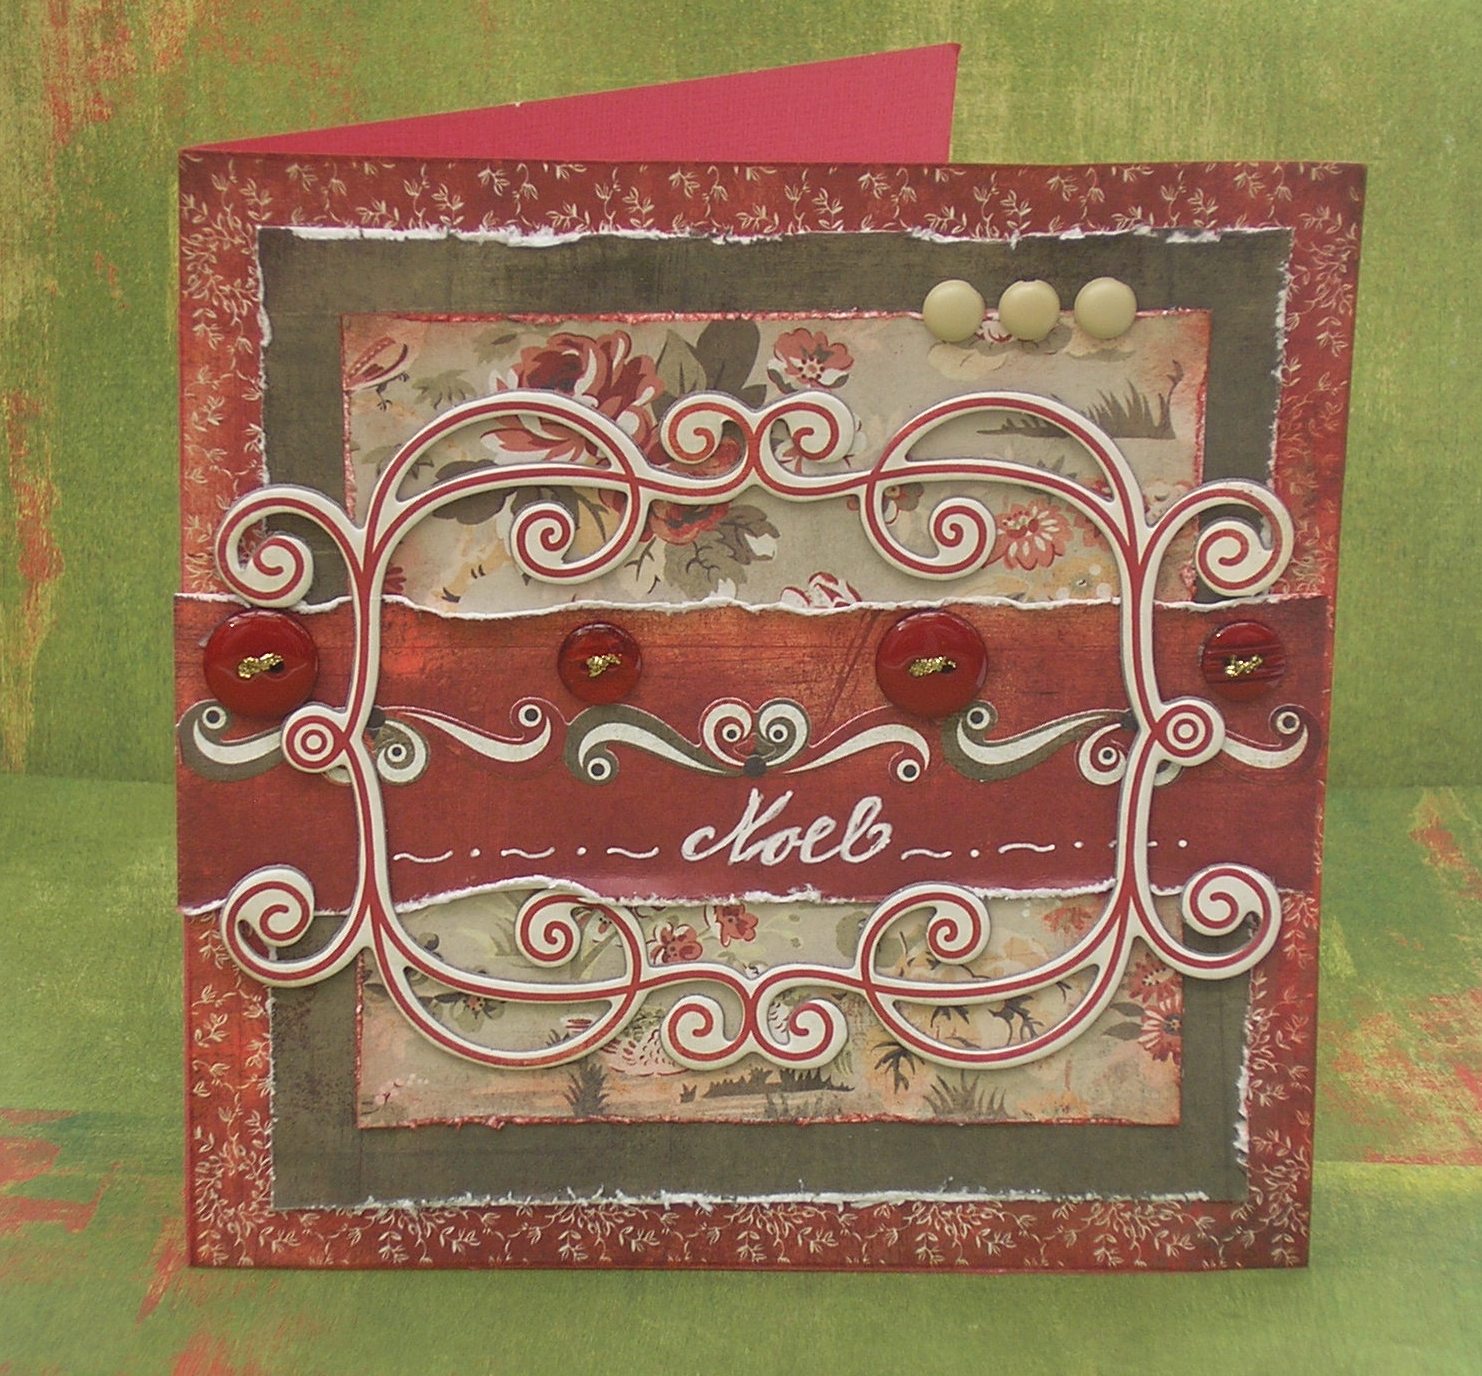
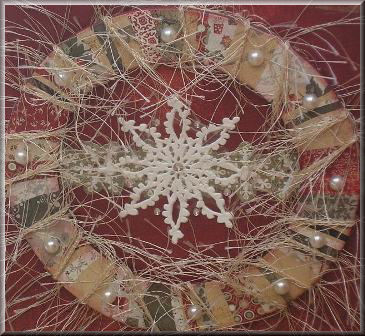
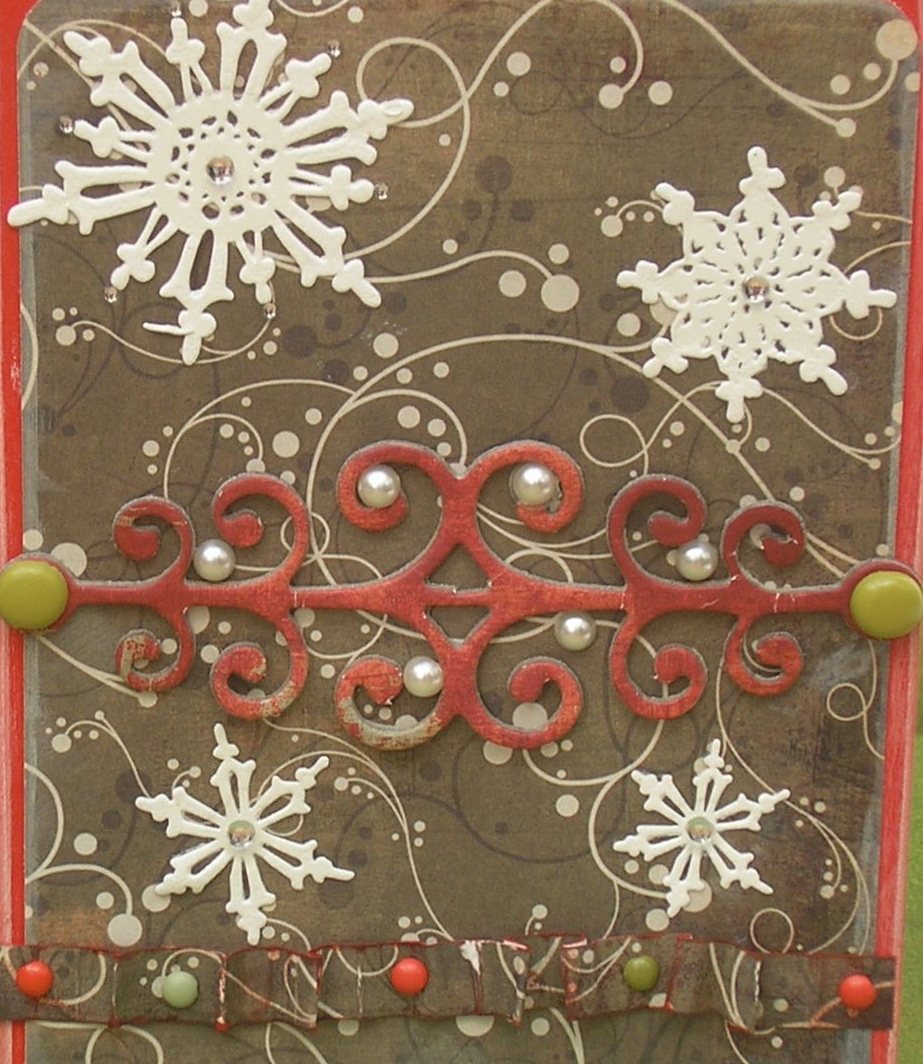
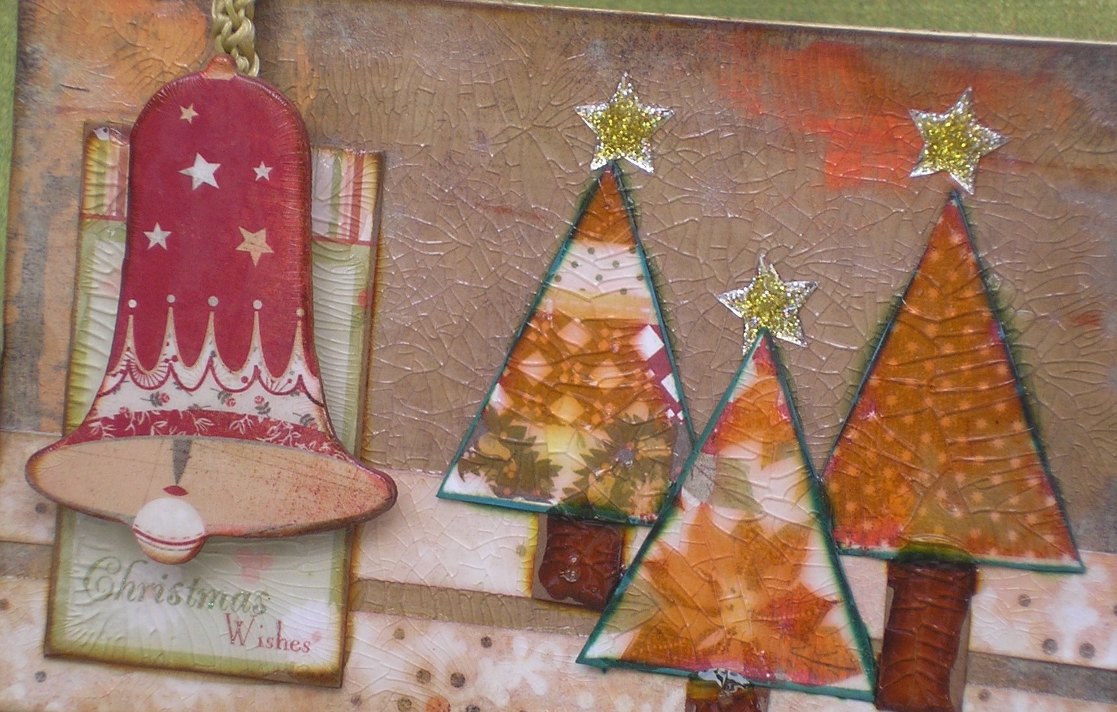
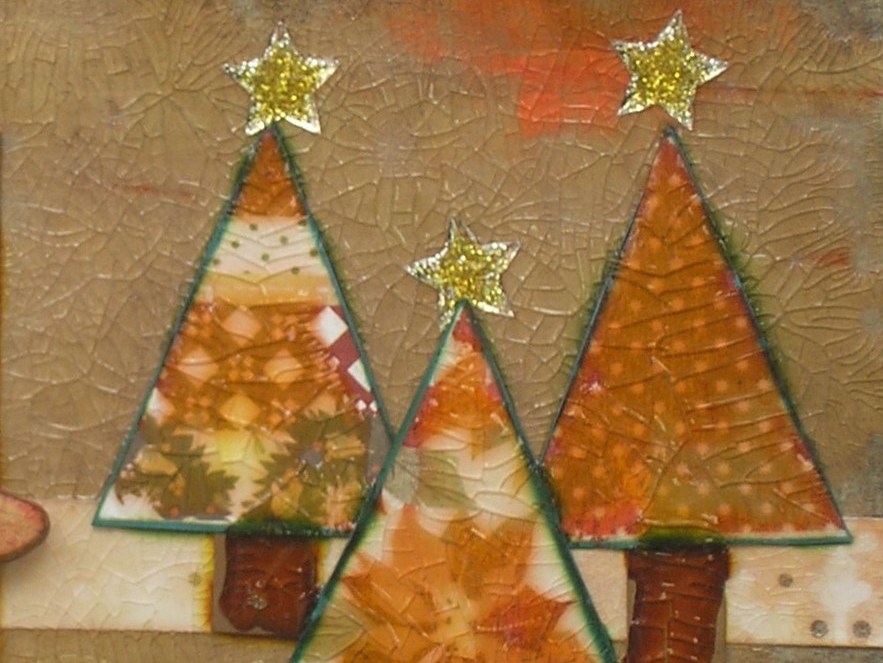
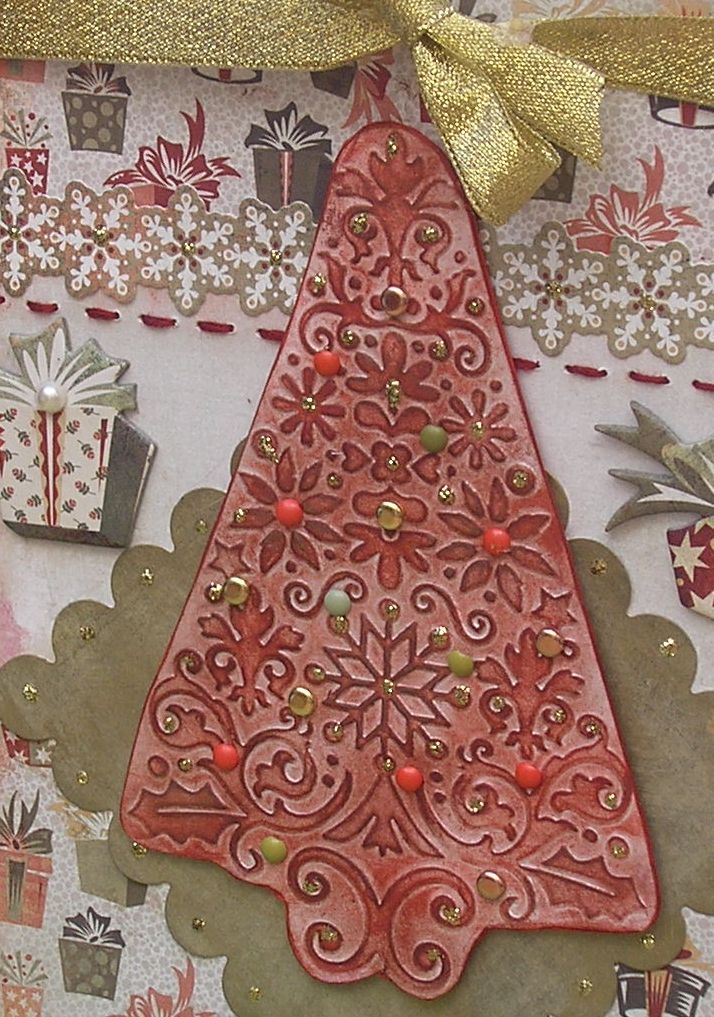
These projects showcase the Basic Grey Wassail Christmas Collection

|
Projects on this page have been designed and created by Karen Mortensen. |
 |
 |
 |
 |
|
|
|
 |
 |
|
 |
 |
 |
 |
|
|
 |
 |
|
|
Designed by Karen Mortensen
|
|
|
Click on pictures to enlarge
|
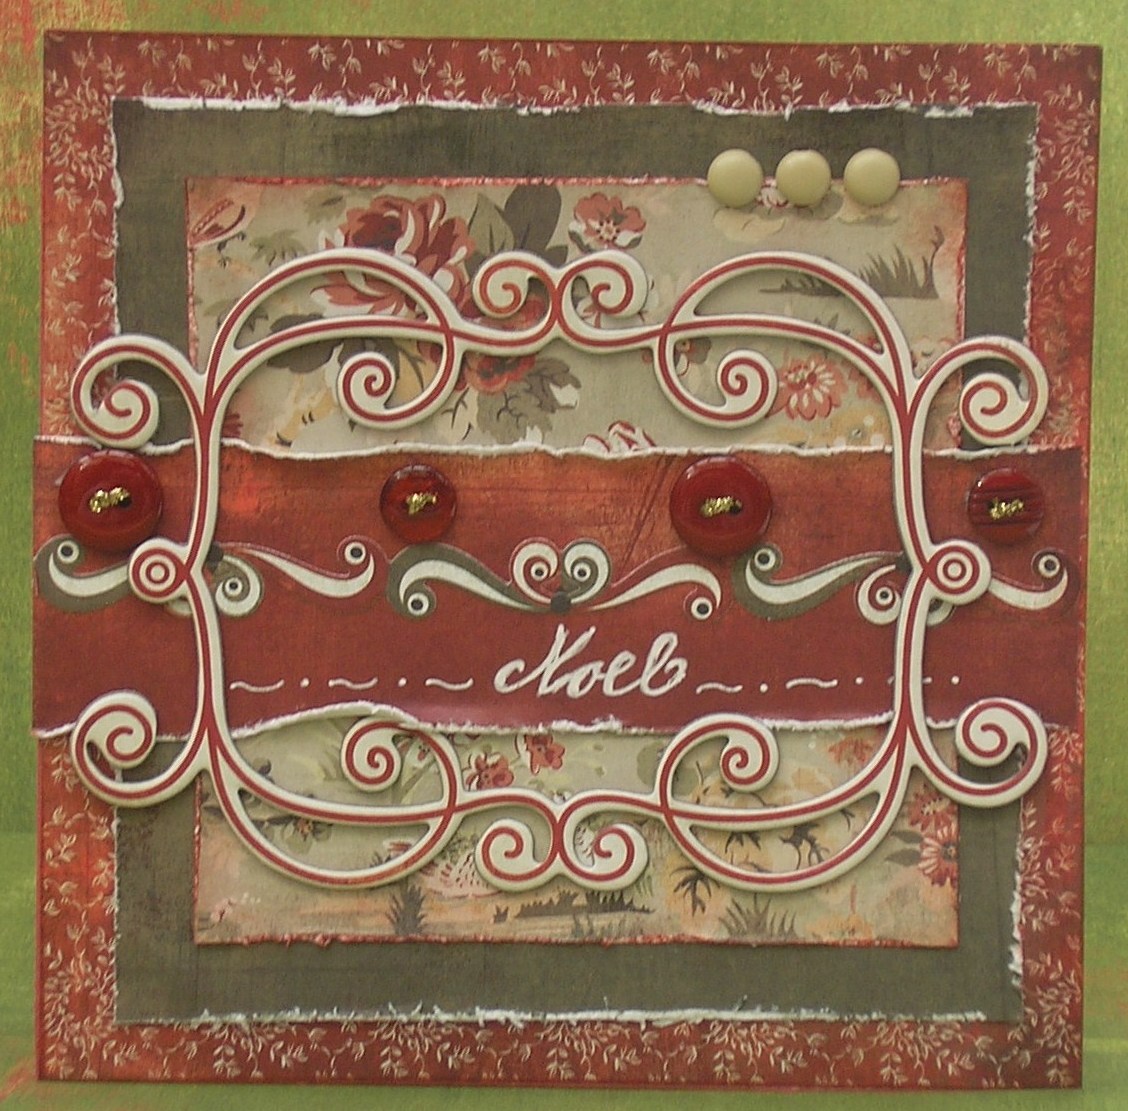 |
  Products used:
Instructions
|
|
|
Designed by Karen Mortensen
|
|
Click on pictures to enlarge
|
 |
 |
|
 |
 |
|
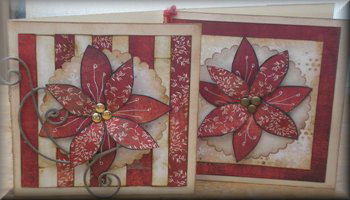
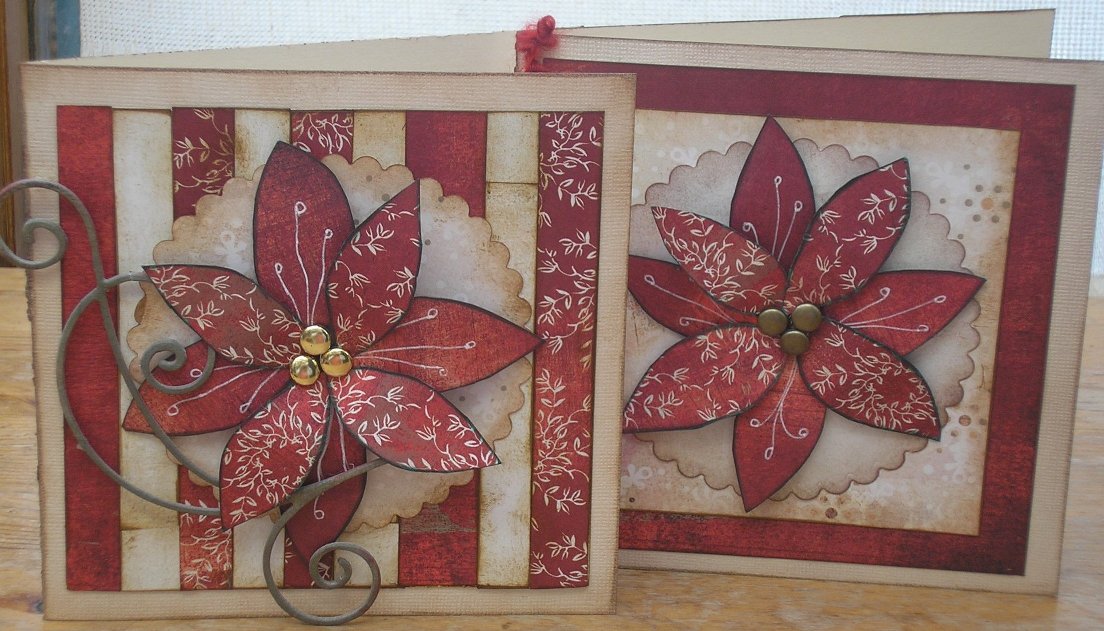
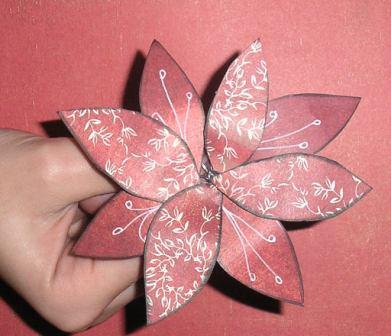
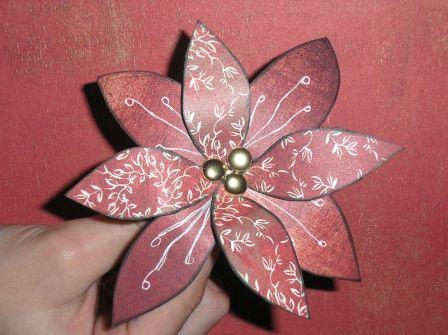
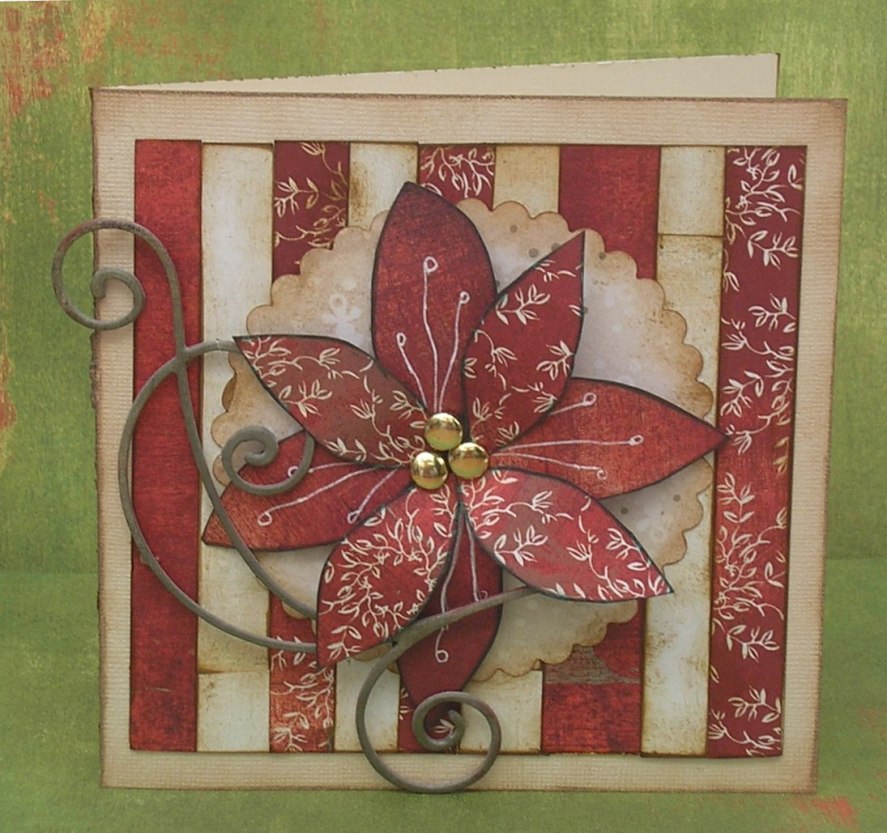
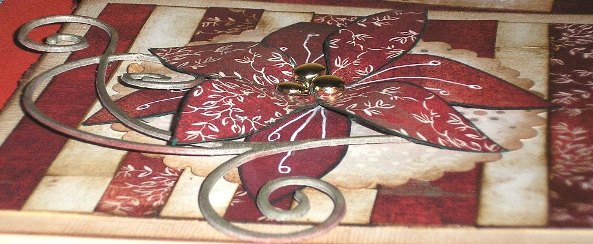
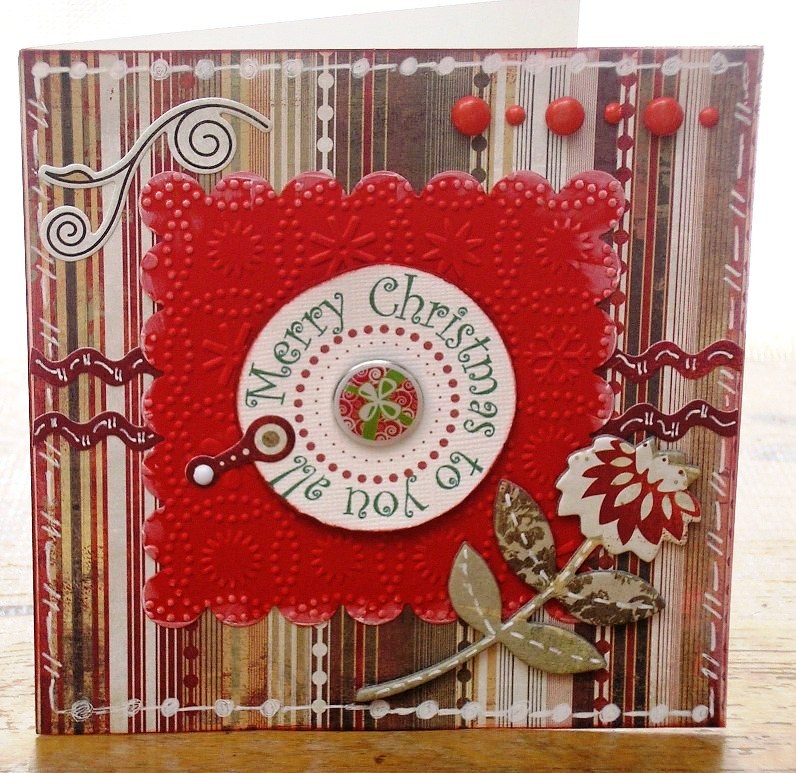
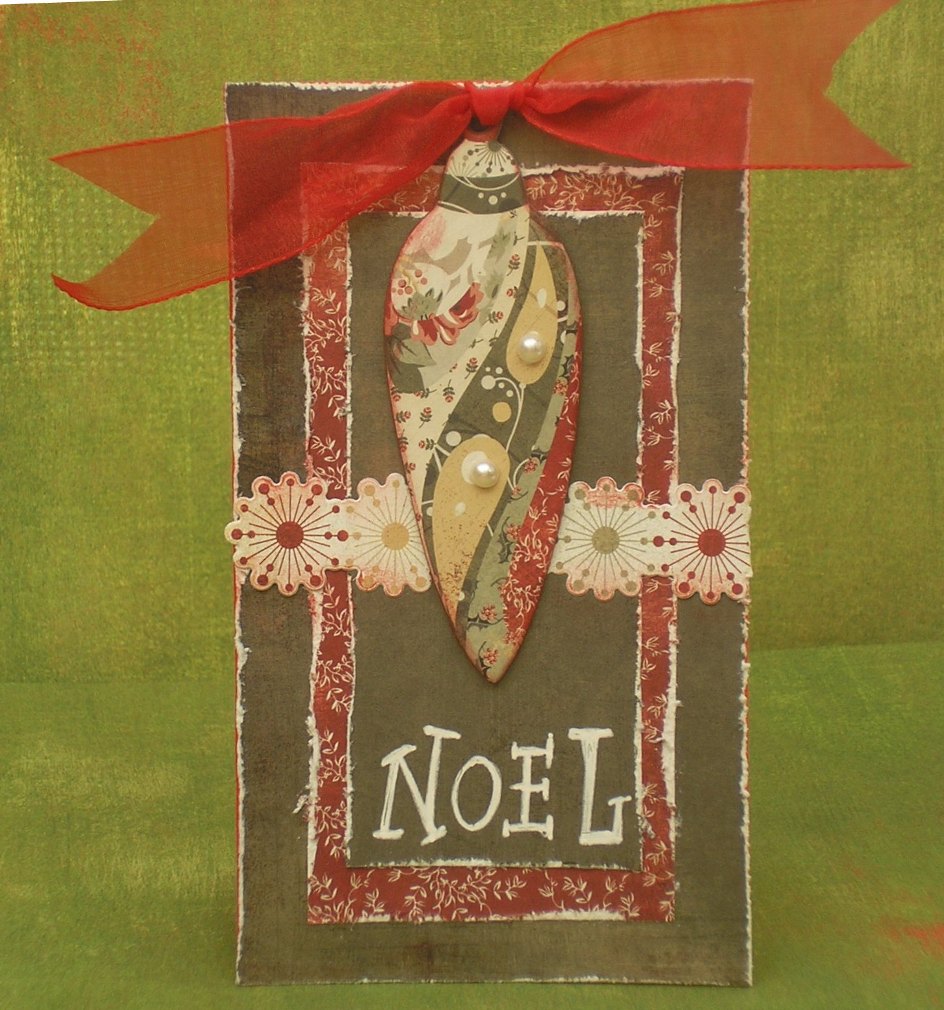
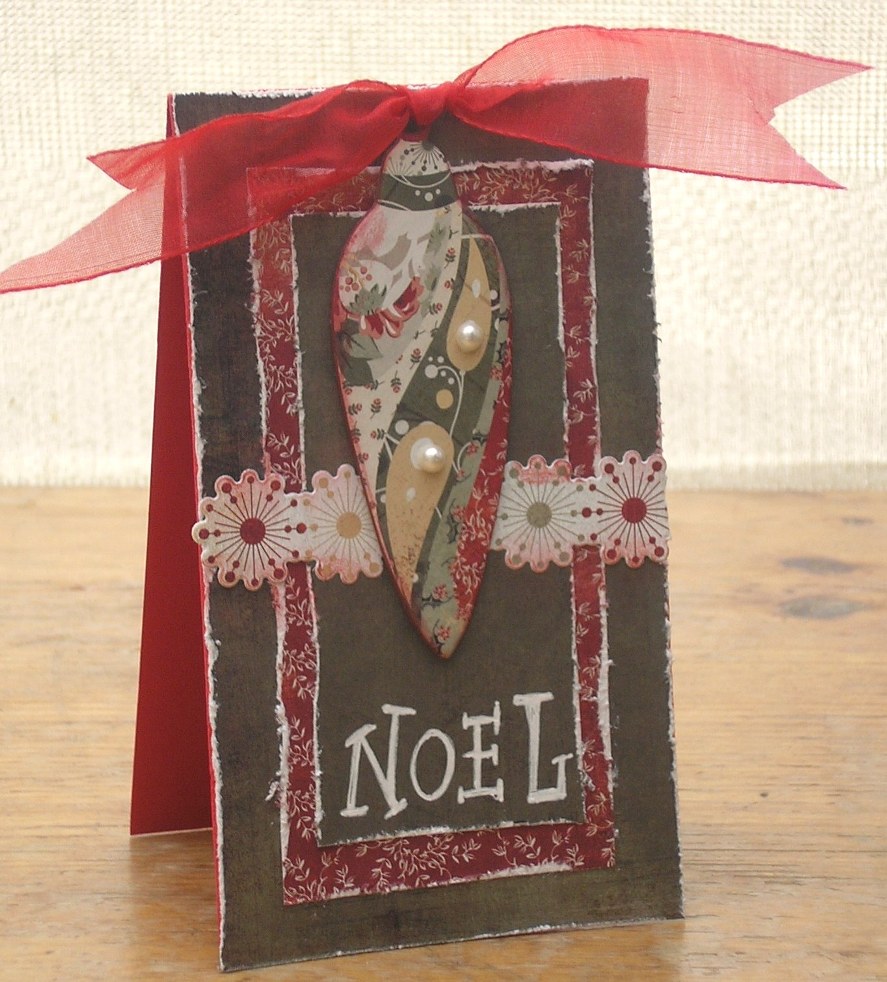
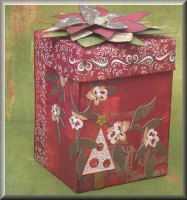
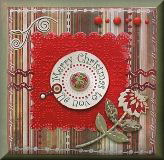
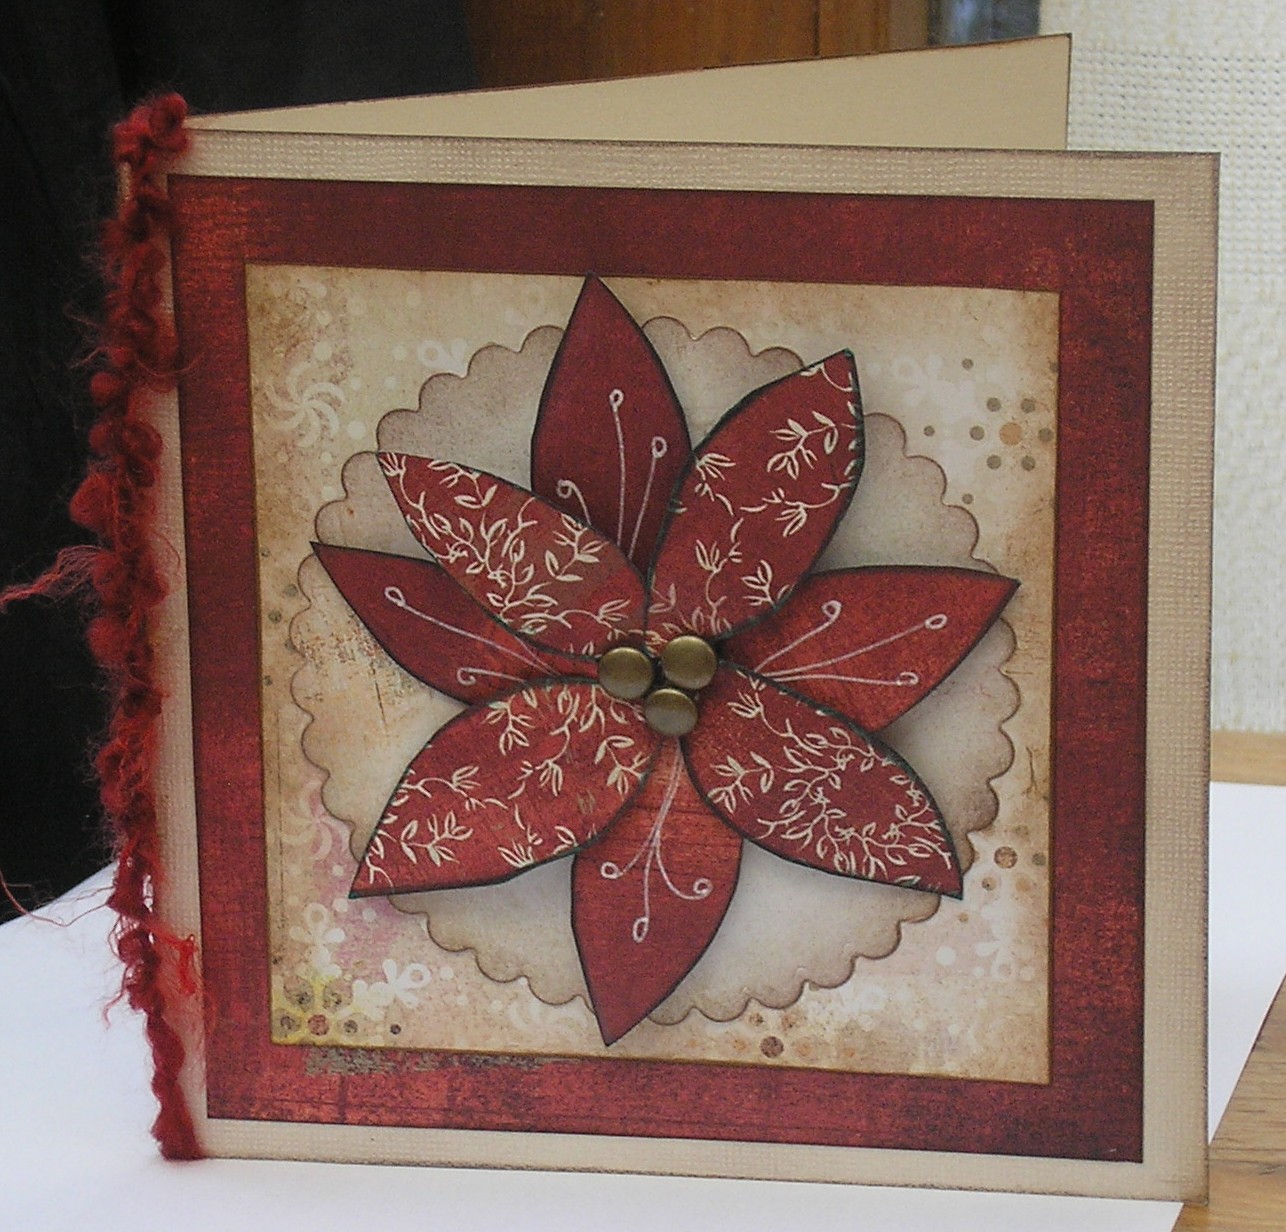
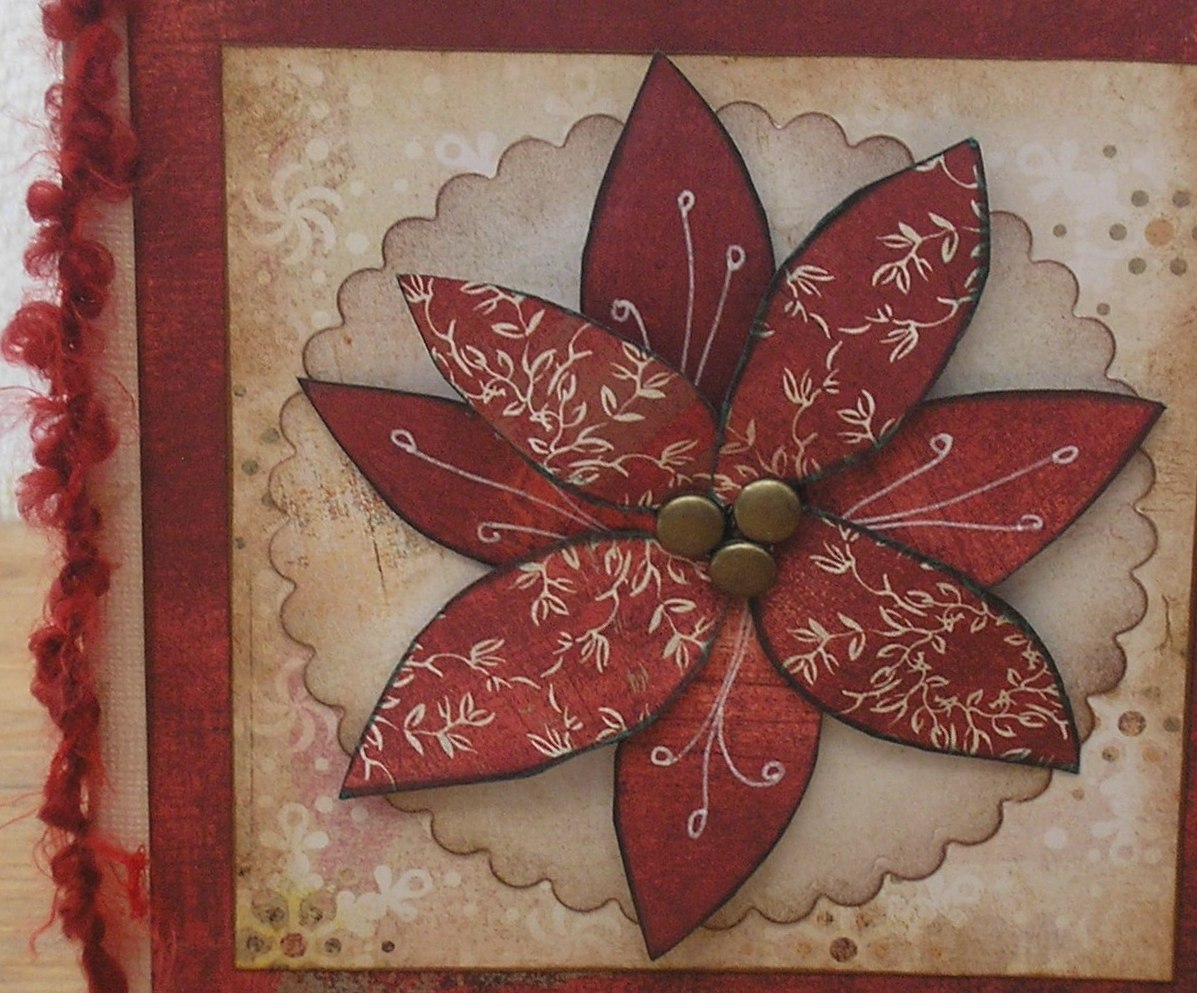
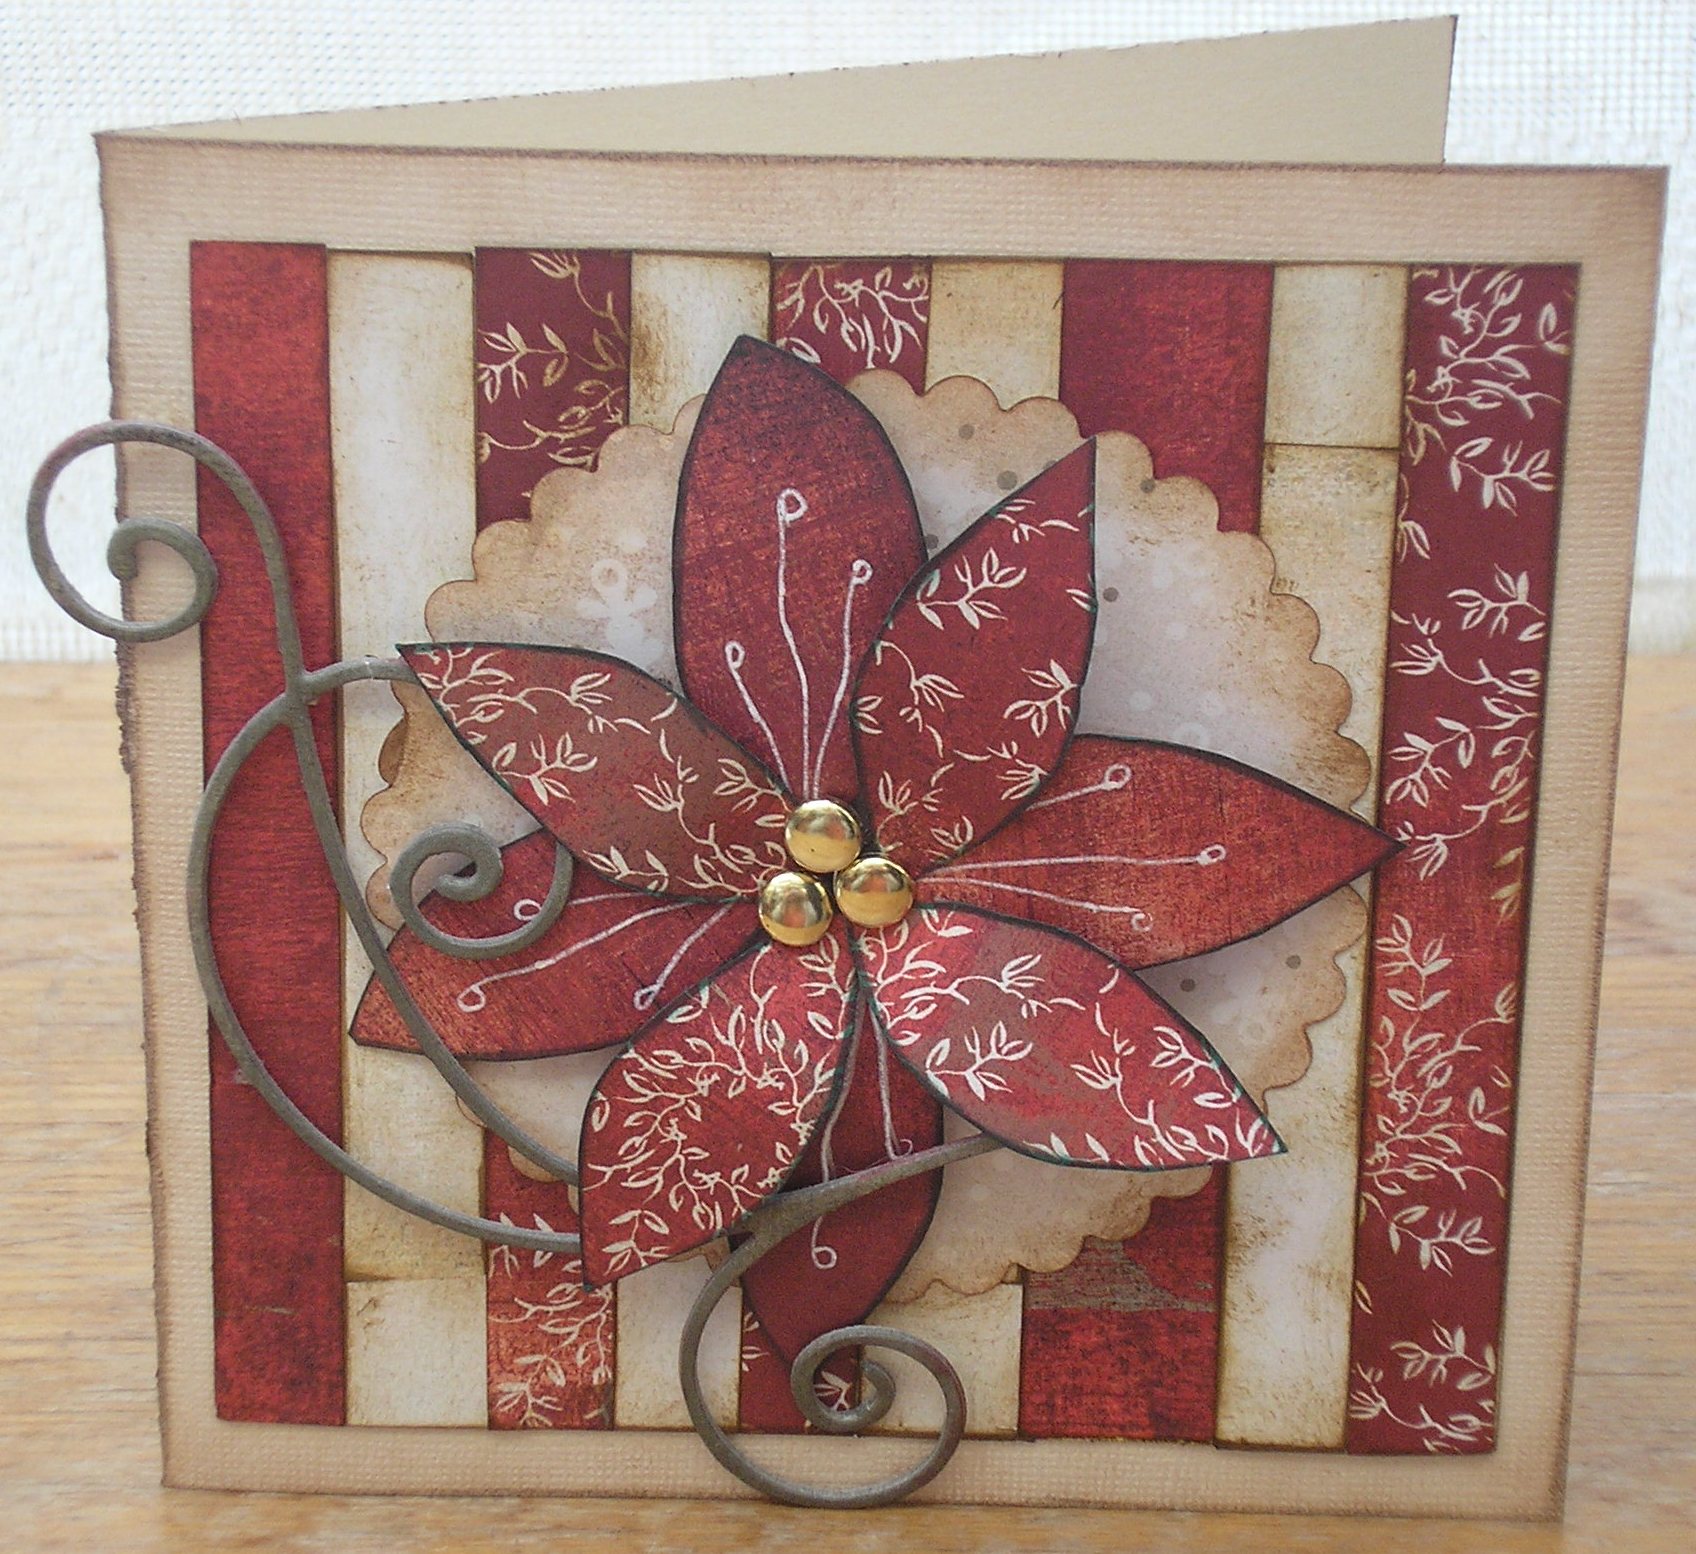
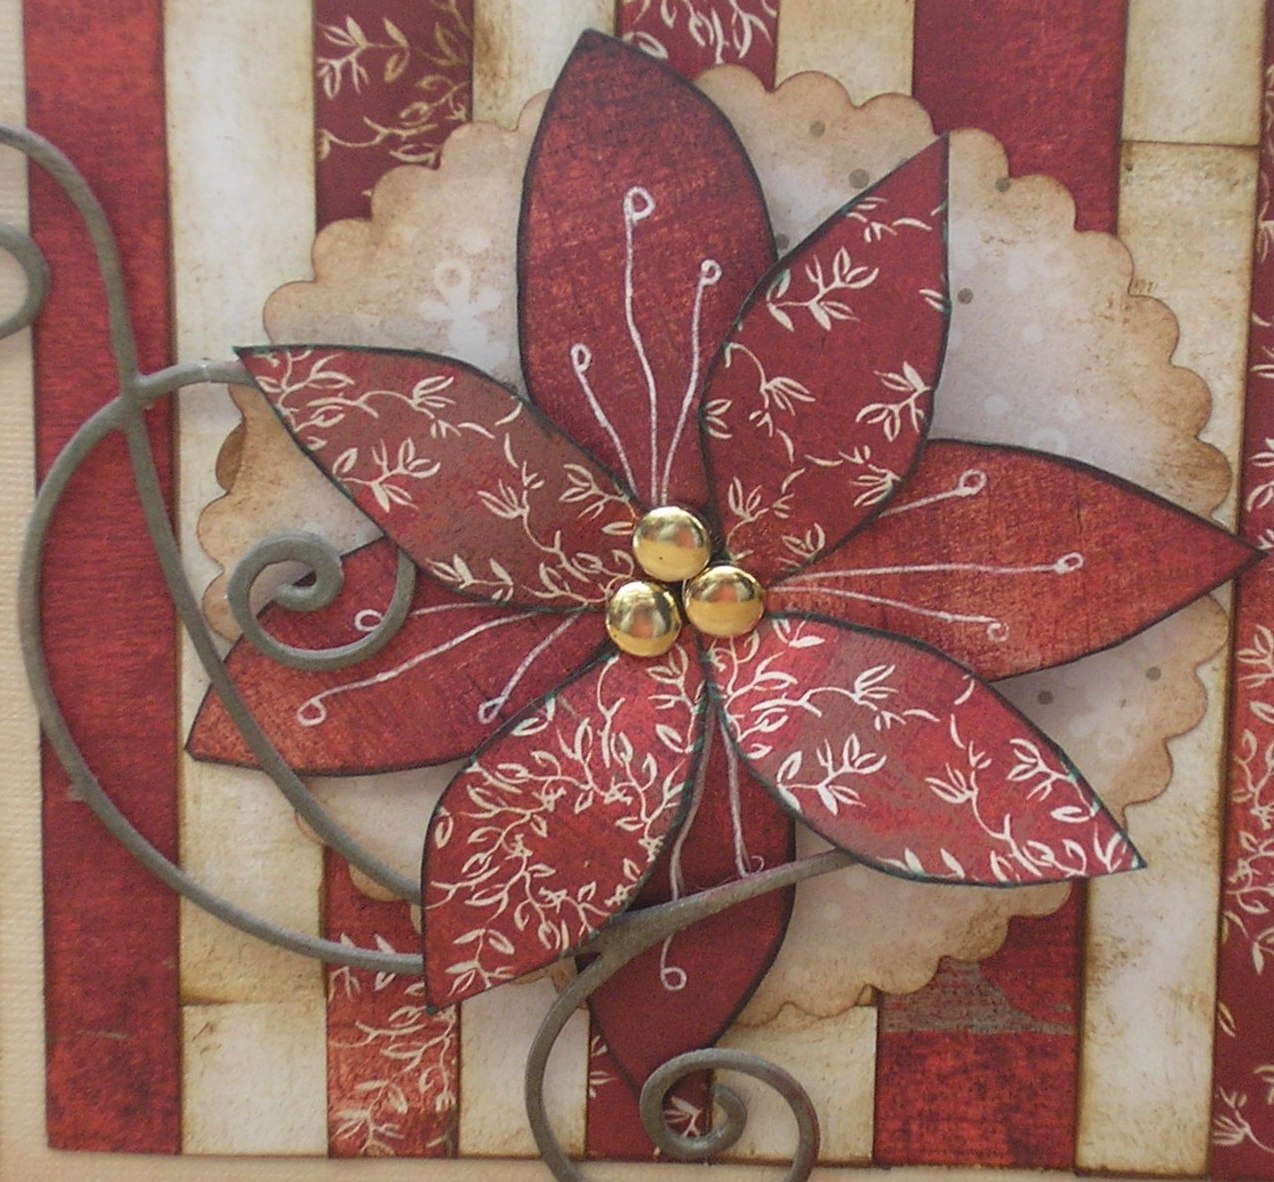
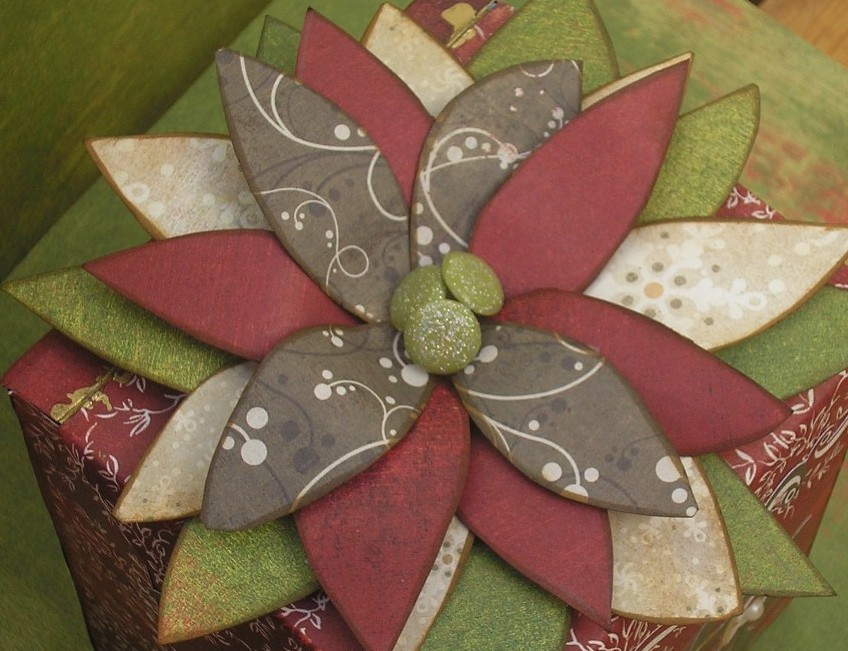
| Products used: Basic Grey Wassail Christmas Collection Instructions These lovely cards are sure to impress this Christmas. Both uses a large handmade Poinsettia flower as the focal point. To make the flower draw and cut out eight petal leaves from Wassail Paper. Doodle a little on the plain petals if you like. Ink all edges in brown Distress ink. Tape a small piece of florist wire onto the back of the petal, I used the very fine wire, this means you can bend the petals into position. Alternate the petals as pictures merging all the wires in the centre. To finish off the flower add three large brads.
Poinsettia Card 1
Poinsettia Card 2
|
||
|
|
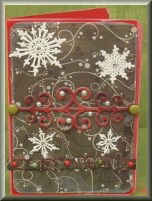
Designed by Karen Mortensen
|
|
|
Click on pictures to enlarge
|
 |
 |
 |
| Products used: Basic Grey Wassail Christmas Collection Instructions
|
|
|
|
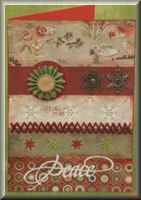
Designed by Karen Mortensen
|
|
Click on picture to enlarge
|
| Products used: Basic Grey Wassail Christmas Collection Instructions
|
|
|
Designed by Karen Mortensen
|
|
|
Click on pictures to enlarge
|
 |
| Products used: Basic Grey Wassail Christmas Collection Instructions
|
|
|
Designed by Karen Mortensen
|
|
Click on pictures to enlarge
|
| Products used: Basic Grey Wassail Christmas Collection Instructions
|
|
|
Designed by Karen Mortensen
|
|
|
Click on picture to enlarge
|
 |
| Products used: Basic Grey Wassail Christmas Collection Instructions
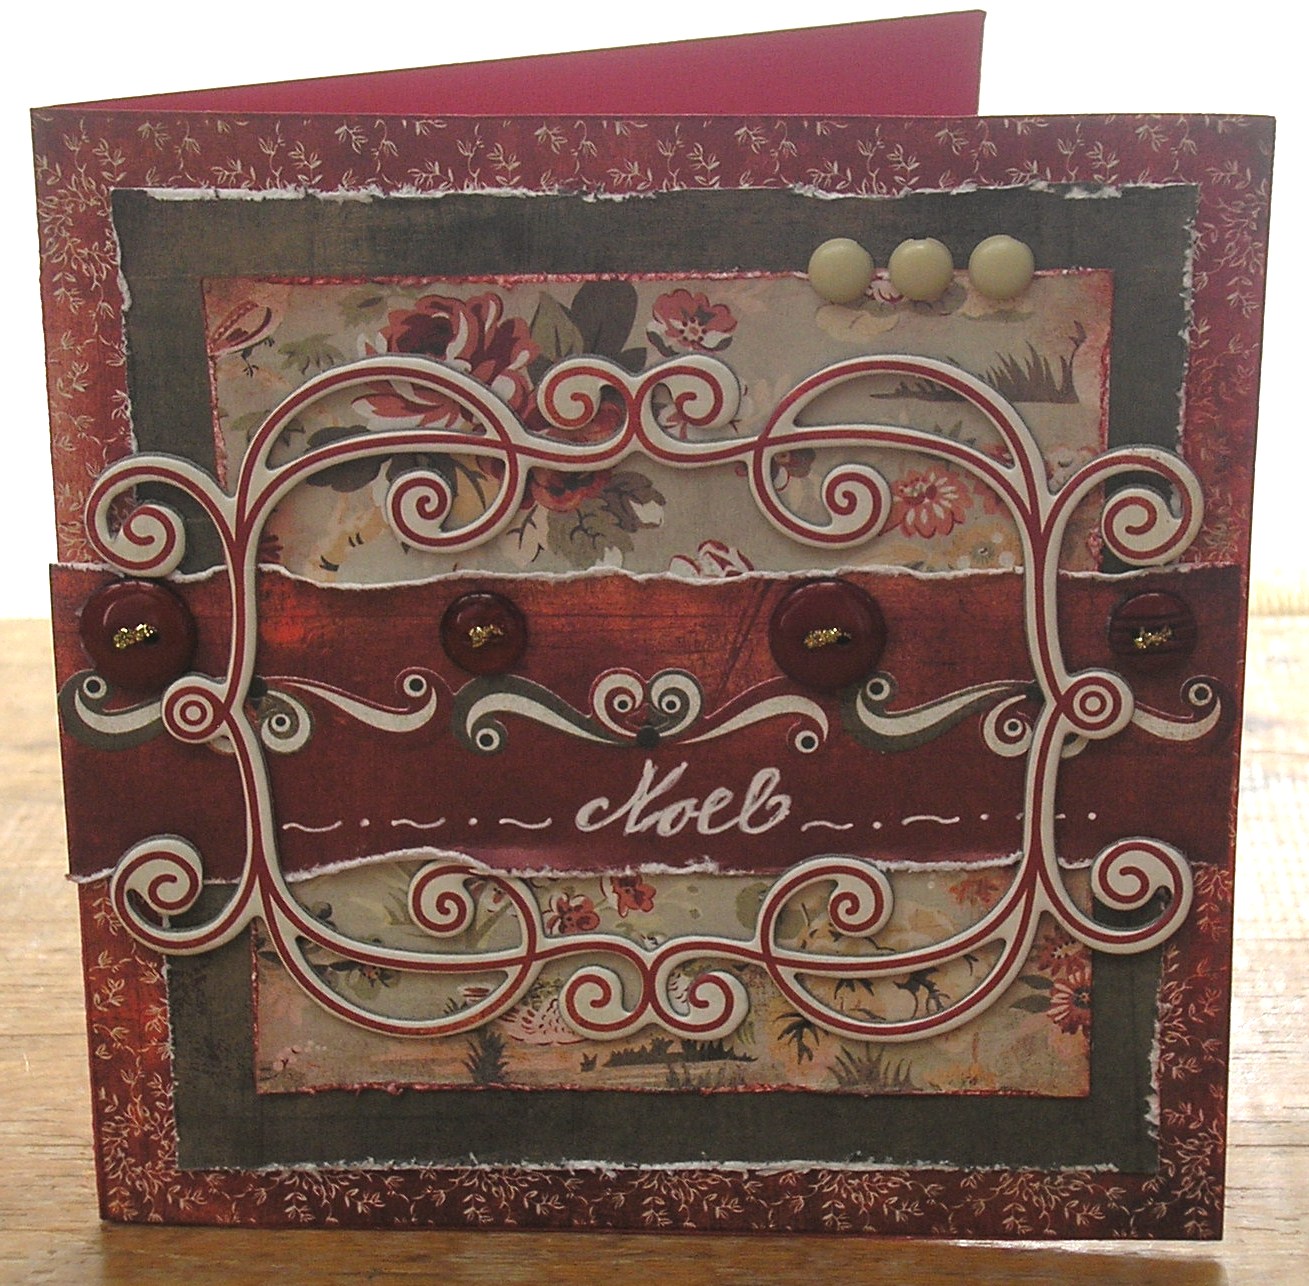
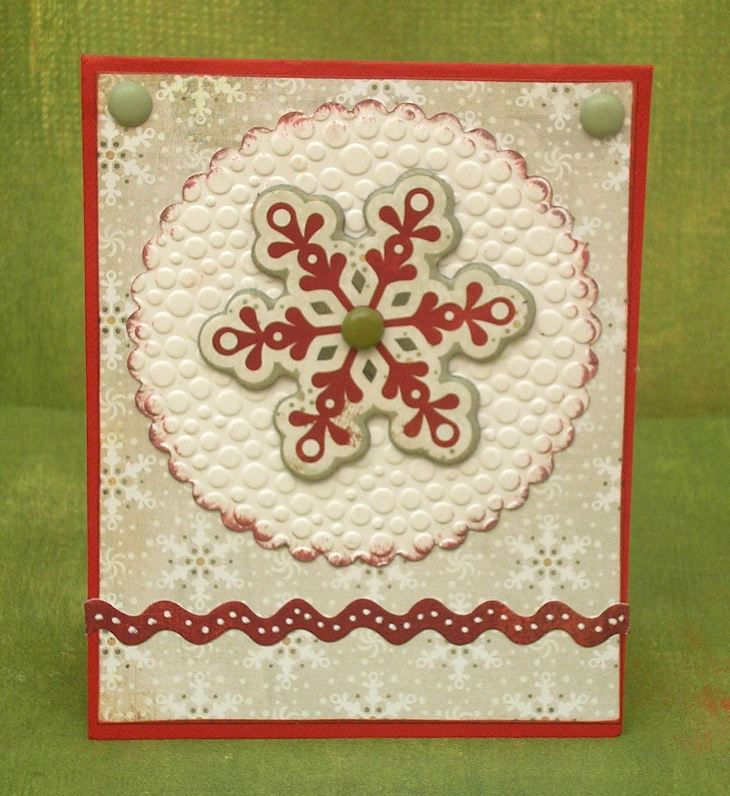
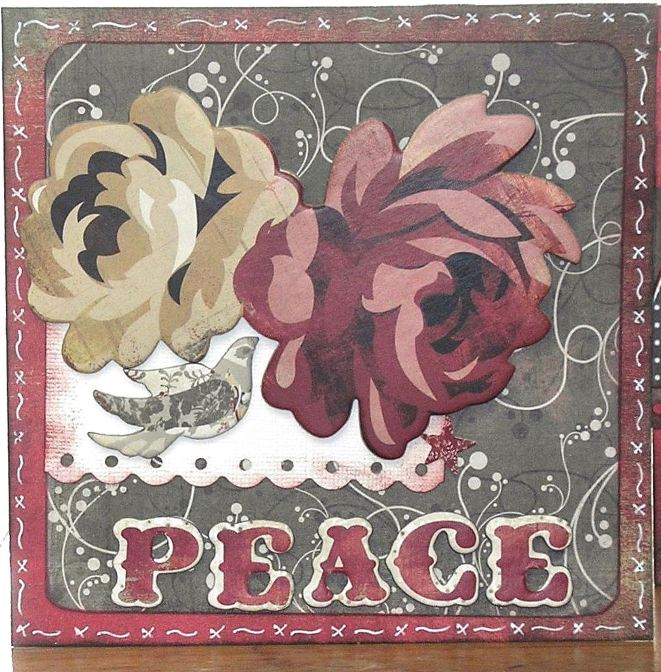
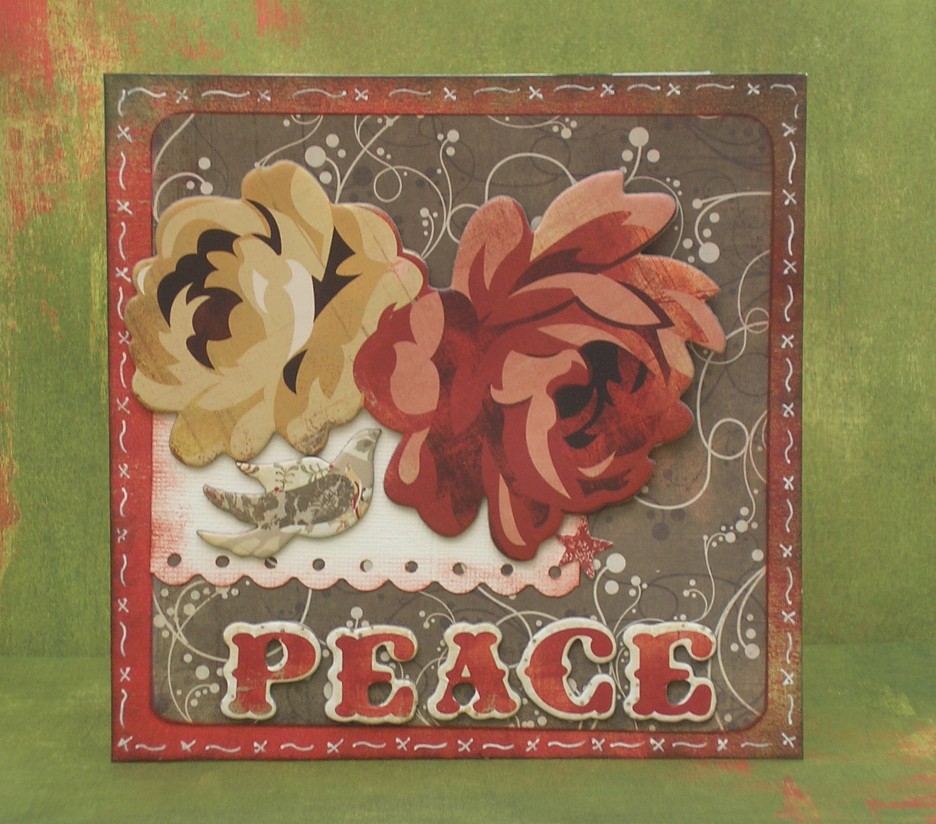
Simple card but really gorgeous in real life.
|
|
|
Wassail Christmas Flowers Card Designed by Karen Mortensen
|
|
Click on pictures to enlarge
|
| Products used: Basic Grey Wassail Christmas Collection Instructions
|
|
|
Designed by Karen Mortensen
|
|
|
Click on pictures to enlarge
|
 |
| Products used: Basic Grey Wassail Christmas Collection Instructions
|
|
|
Designed by Karen Mortensen
|
|
Click on pictures to enlarge
|
 |
 |
| Products used: Basic Grey Wassail Christmas Collection Instructions
|
|
|
|
Designed by Karen Mortensen
|
|
|
Click on pictures to enlarge
|
 |
| Products used: Basic Grey Wassail Christmas Collection Instructions
|
|
|
Designed by Karen Mortensen
|
|
|
Click on pictures to enlarge
|
|
| Products used: Basic Grey Wassail Christmas Collection Instructions
|
|
|
Designed by Karen Mortensen
|
|
|
Click on pictures to enlarge
|
|
| Products used: Basic Grey Wassail Christmas Collection Instructions
|
|
All projects copyright ® Charmed Cards & Crafts. All rights reserved.