|
|
|
|
|

These projects showcases the "Amy Butler Lotus Faded China" Collection by K & Company
|
All projects on this page have been designed and created by Design Team member Louise Brigden |
 |
|
|
|
|
|
|
|
|
 |
 |
 |
|
Designed by Louise Brigden |
|
Click on main picture to enlarge
|
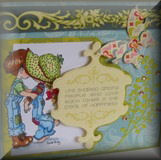
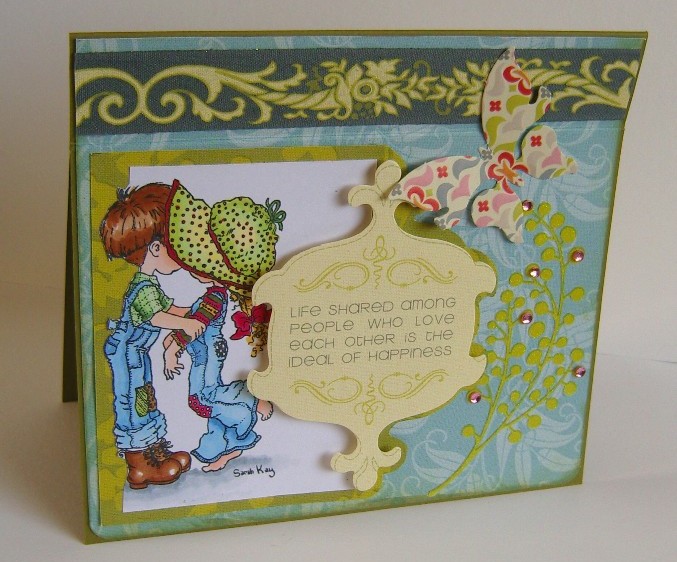
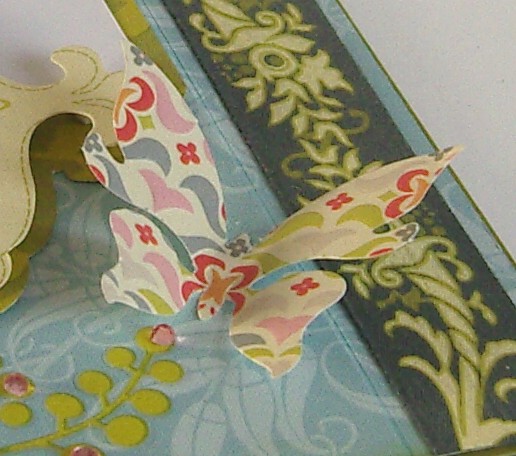
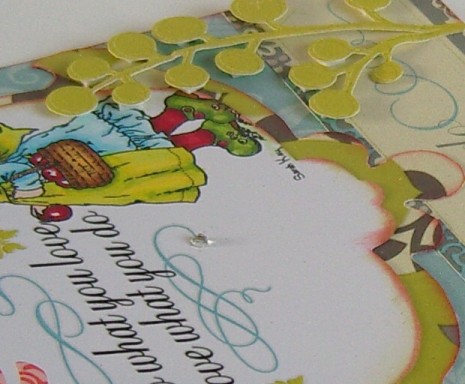
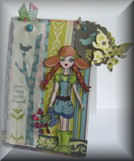
| Products used: K&Co Lotus Faded China Also used: Sarah Kay Stamp Project Instructions: “The Amy Butler Lotus faded China Die-Cut shapes are a delight for any crafter; they’re double sided, they have beautiful, stylish patterns and many of them have sentiments on them too! They really do take the work out of card making”.
Tip: Choose the colour scheme for your card before colouring your image –it’s much easier!
|
|
|
Designed by Louise Brigden |
Click on main picture to enlarge
|
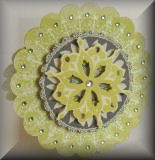
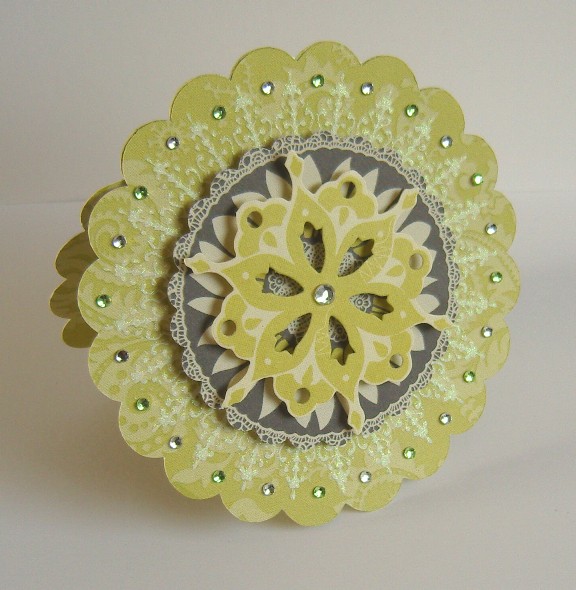
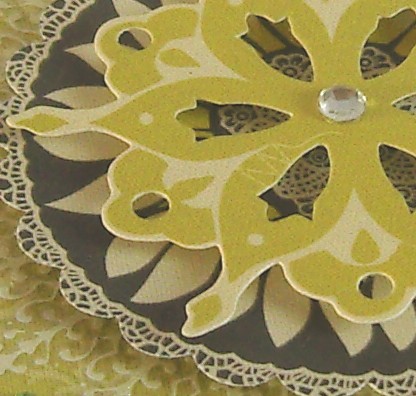
| Products used: K&Co Lotus Faded China Project Instructions: “Here again we see how the Amy Butler Die cut shapes and rub-ons make effortlessly beautiful card”
First cut or punch 2 circles which are slightly larger than the Faded China circular rub-on background. I used my Silhouette digital craft cutter but you could use a cutting compass for plain circles if you don’t have any other suitable tools. Score and fold one circle around 2cm from the edge to make the hinge then fix the two circles together at the top to make a tent fold card. To make sure the card stands nicely without rolling around cut about 1cm off the bottom of the back of the card with a craft knife and ruler. Now all you need to do is rub on the decorative circle from the Faded China Glitter rub-ons, add the gems (these come with the rub-ons) then select your circular die cut shapes form the Faded China Lotus die cut cardstock shapes pack. Layer them onto the card using foam pads then finish off with a gem in the centre.
|
|
|
Designed by Louise Brigden |
|
Click on main picture to enlarge
|
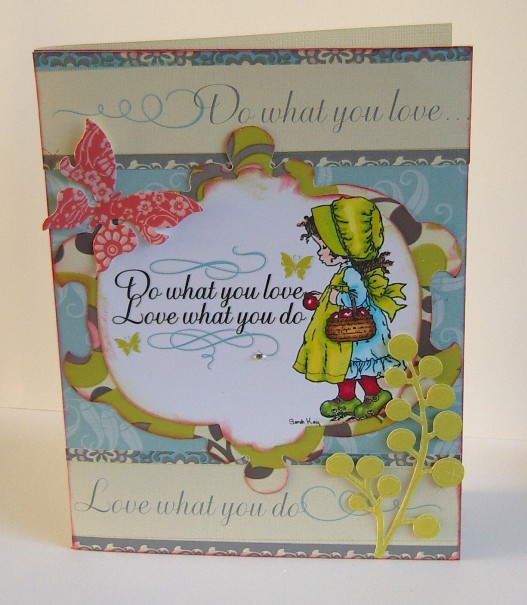
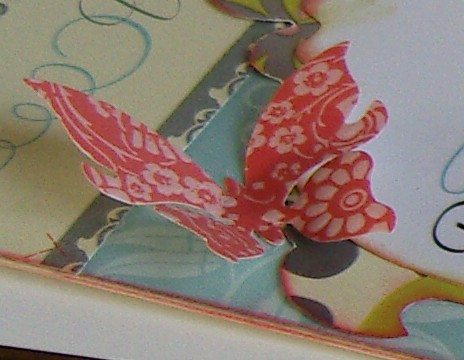
| Products used: K&Co Lotus Faded China Also used: Sarah Kay Stamp Project Instructions: “Here we see how the clever special features of some of the Amy Butler papers can be used to make a card extra special”
|
|
|
Designed by Louise Brigden |
|
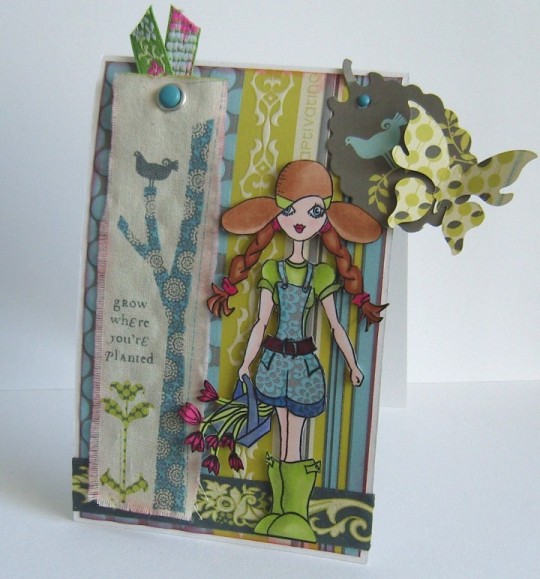
| Products used: K&Co Lotus Faded China Also Used: Holly & Madison Digi Stamp Project Instructions: “Use fabric tags for a sumptuous touchy feely finish”
|
|
|
Designed by Louise Brigden |
|
Click on main picture to enlarge
|
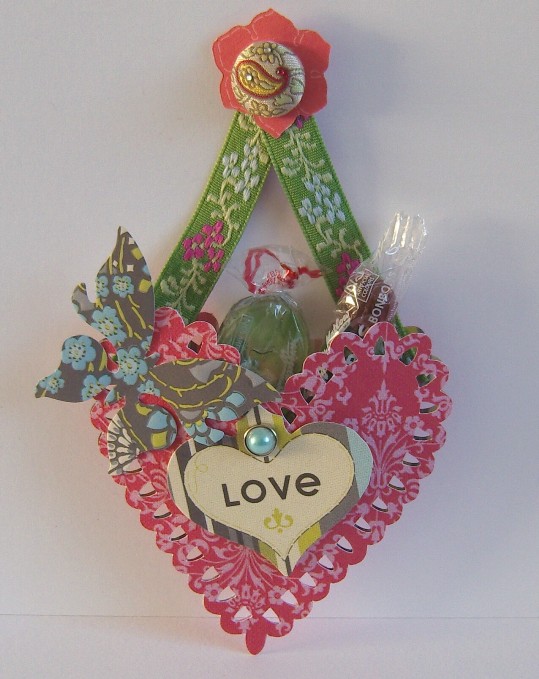
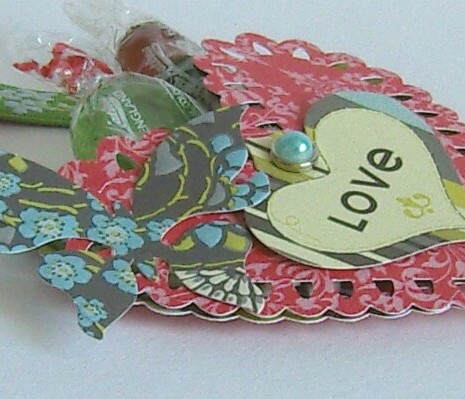
| Products used: K&Co Lotus Faded China Project Instructions:
|
|
|
Designed by Louise Brigden |
Click on main picture to enlarge
|
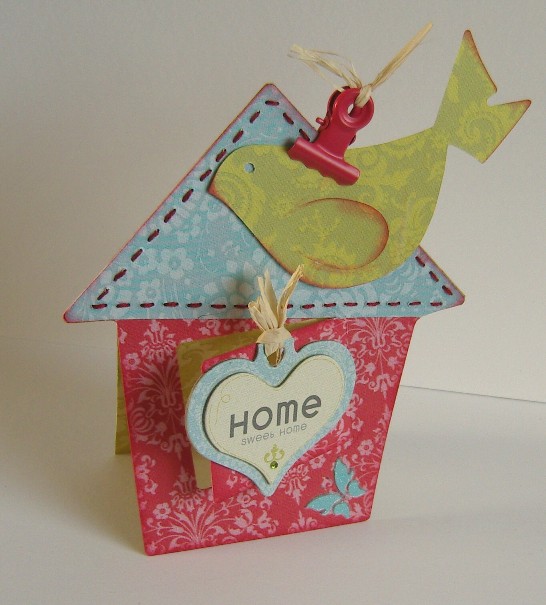
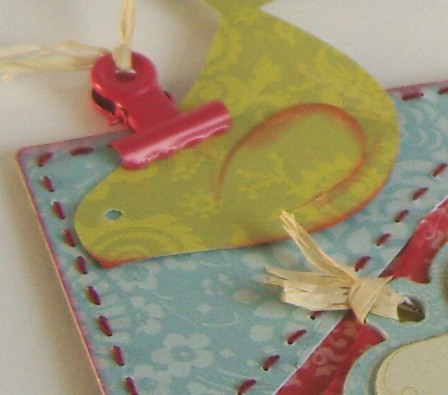
| Products used: K&Co Lotus Faded China Project Instructions:
“These little tag bags are so easy to make and would look great on a gift or even given as a gift to hang onto a door knob or hook.”
|
|
|
Designed by Louise Brigden |
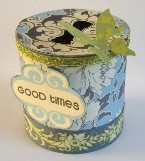
|
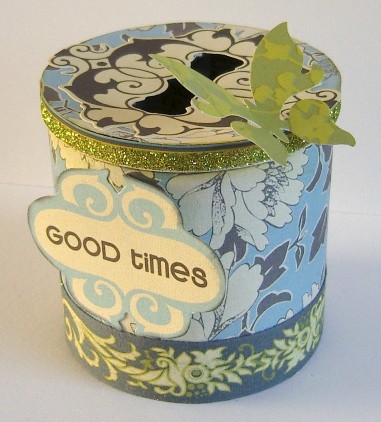
| Products used: K&Co Lotus Faded China Project Instructions: “Learn to look at your rubbish differently; this money box was an empty cotton bud tub!” This money box is made in minutes. The base: Cut a strip of Faded China paper the same height as your tub from the bottom to where it would meet the lid (not to the top of the lidless tub). Attach to the tub with double sided tape, this can be quite tricky but don’t worry if it goes on slightly crooked, the fabric tape is ideal for covering up mistakes! Now wrap around the bottom with Faded China fabric tape. Attach an Faded China die cut sentiment to the front. The Lid: Find the die cut shape for the slot (shown on the picture) from amongst the Faded China Lotus set of die cut cardstock shapes. Trace the slot shape onto the plastic lid and cut it out with some strong scissors, it doesn’t need to be perfect, make the slot bigger than it needs to be and you’ll never see the edges. Draw around the lid onto your chosen paper, cut out the circle and glue to the lid. When dry cut out the slot (again bigger than the slot on your die cut shape) add your die cut shape onto top. Finish off the lid with a strip of glittered paper from an Faded China sheet of Oxford Stripe glitter paper.
Now just attach an Faded China die cut butterfly at a jaunty angle. I used a hot melt glue gun to make sure it was secure.
|
|
|
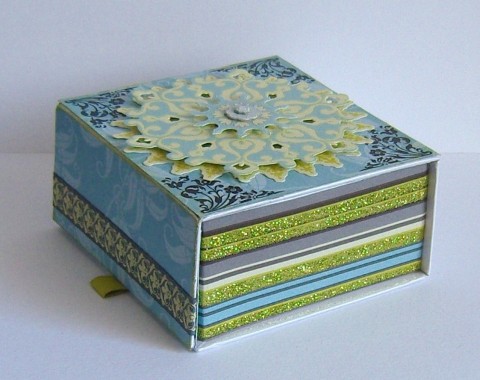
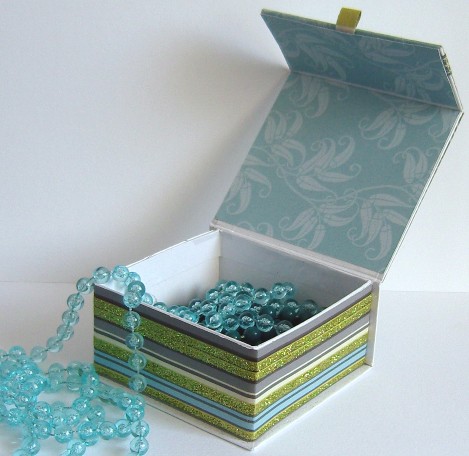
Designed by Louise Brigden |
|
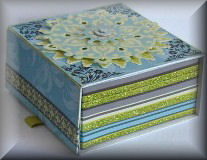
| Products used: K&Co Lotus Faded China Project Instructions: “Again I’ve recycled! This was the packaging from a digital key ring but you could adapt any square box for this project”
Simply cover your box with sections of your choice of Amy Butler Papers. I would advise a fairly simple pattern for the lid so that the design doesn’t detract from the embellishment. I’ve used Faded China fabric tape on the front flap of the lid, Faded China rub corners on the top of the lid along with a selection of decorative die cut circles from the Faded China Lotus Die cut cardstock shapes set.
|
|
|
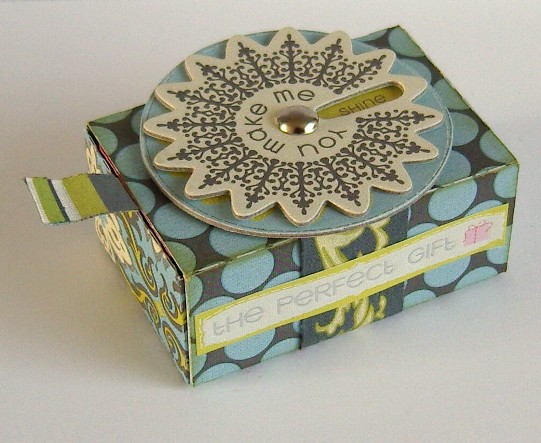
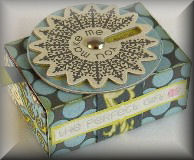
Designed by Louise Brigden |
|
| Products used: K&Co Lotus Faded China Project Instructions: Either make your own or cover a bought match box with Faded China papers. I cut mine on my Silhouette digital craft cutter and assembled it myself. The great thing about this double sided paper is that you can make everything from one sheet, and of course the patterns work together perfectly. Wrap your box cover with a strip of fabric tape then attach the funky spinning wheel from the Faded China Lotus adhesive chip board set. To make the concertinaed strip; cut several rounded rectangles of Faded China paper large enough to accommodate the Faded China embossed stickers but small enough to fit into the box. Mine are 4.2cms wide. Fix them side by side to a strip of Faded China fabric tape- leaving some spare at one end to fold over to form a pull tag. Attach the stickers as shown then fold the strip in a concertina fashion before popping into box with the tag sticking out. When complete there is ample space inside for a small gift of cufflinks or a chain.
|
|
All projects copyright ® Charmed Cards & Crafts. All rights reserved.