|
|
|
|
|

These projects showcases the "Blue Awning" Collection by K & Company
|
All projects on this page have been designed and created by Design Team member Karen Leahy |
 |
 |
 |
 |
|
|
|
 |
 |
|
 |
|
|
|
|
|
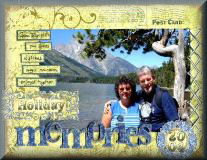
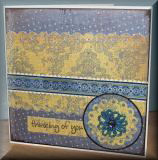
Designed by Karen Leahy |
||
|
||
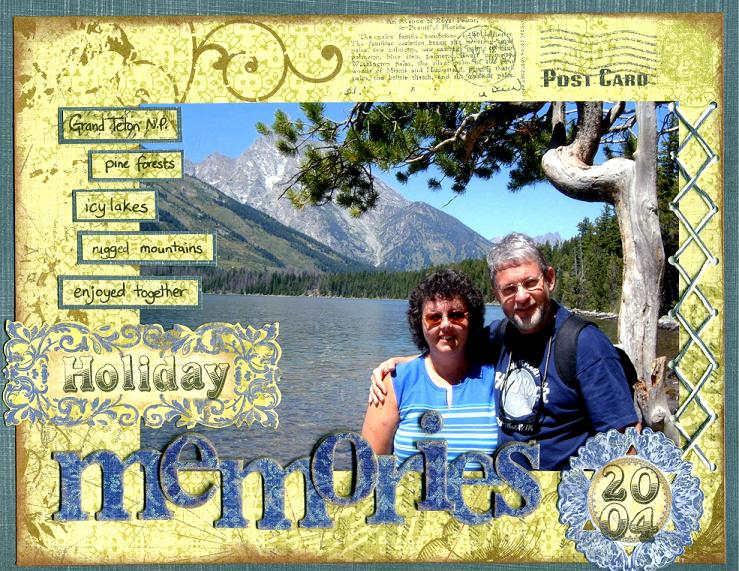
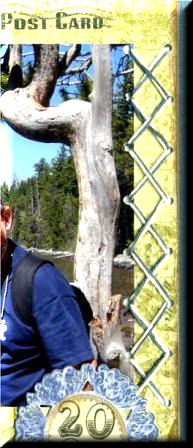
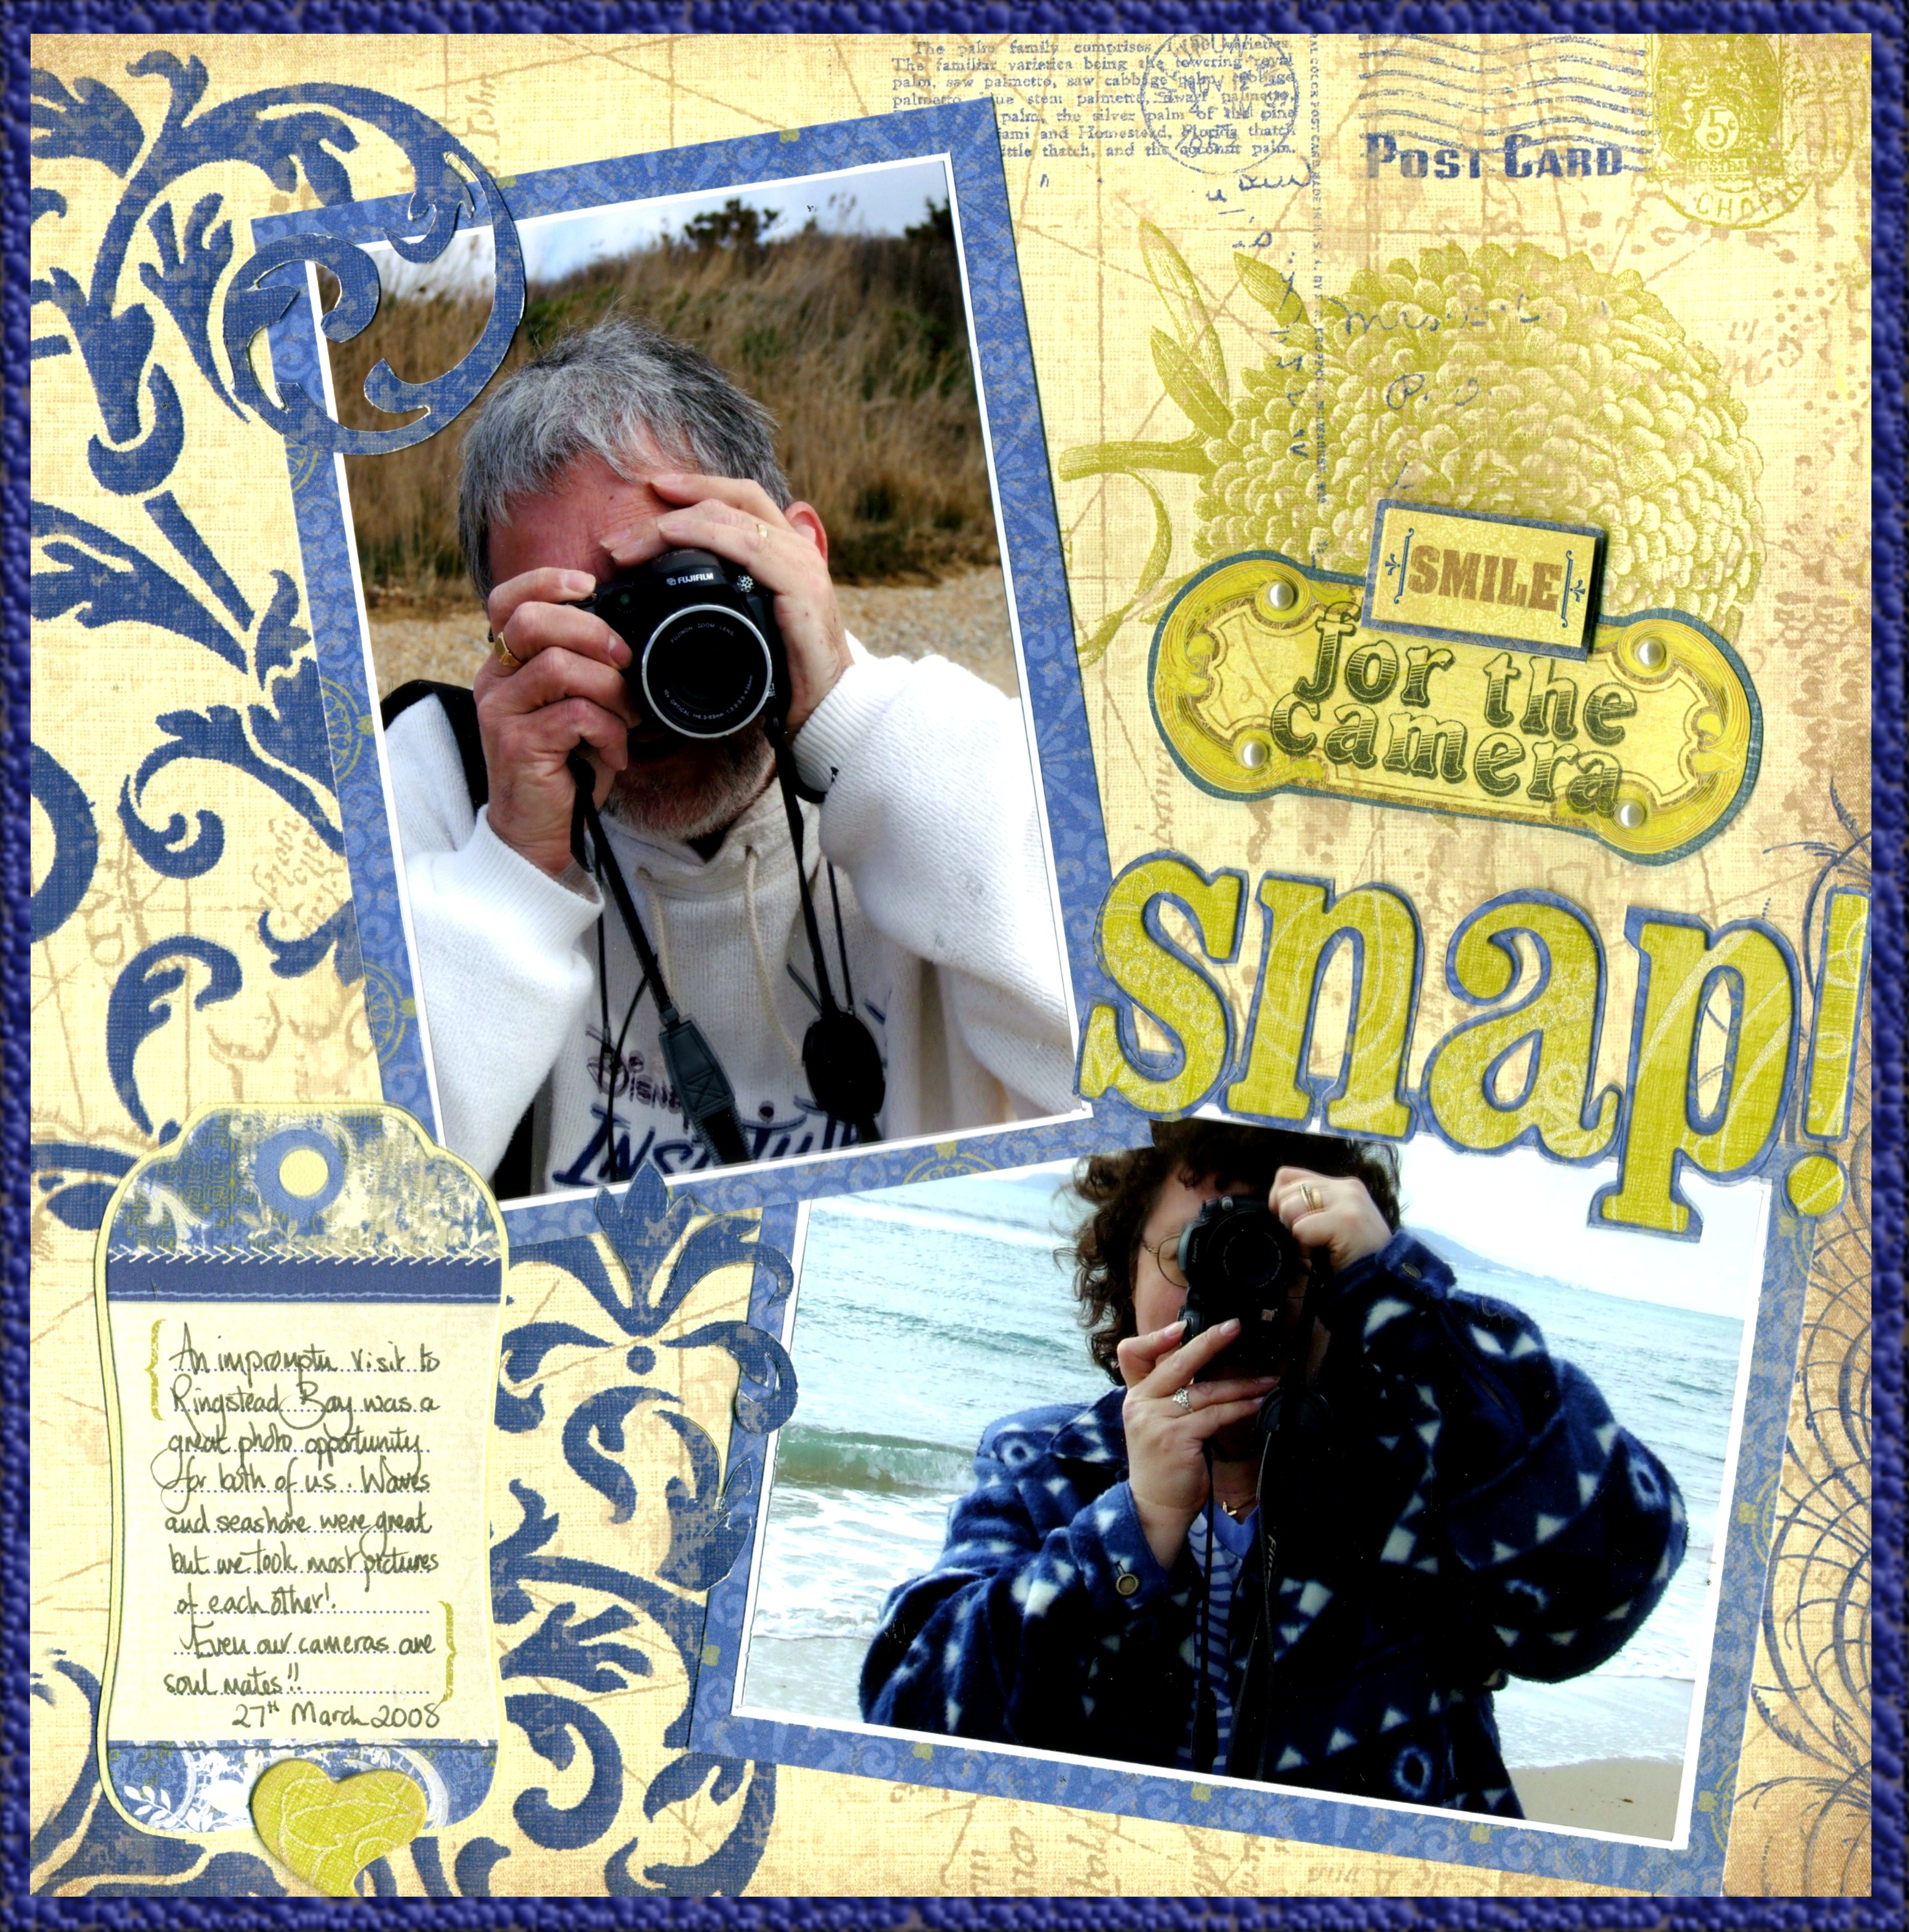
| Products used: K& Co Blue Awning Collection Instructions I loved the stamped postcard image and the bronze foil effect on the paper and so it begged to be scrapped with a holiday picture. I am currently making an album of our Wild West trip and the colours were perfect for that. Using a dark blue border made the paper pop, and I also inked the edged with a shiny copper ink pad to echo the foil detail on the paper. When using a border like this cut the inner sheet approximately ½ “ smaller both length and width ways to leave a nice border around all four sides. I used the beautiful chipboard title and added two of the journaling spots which I stamped to give the rest of the title and the date. Using journaling spots for titles is a good way to tie a page together. The page was quite ‘left side’ heavy with the journaling strips so adding some lacing along the right edge balanced the page out. Simply measure the marks on both the photo and the background and make the holes with a cropodile or similar. I used embroidery thread in two complimentary colours for the lacing.
|
|
|
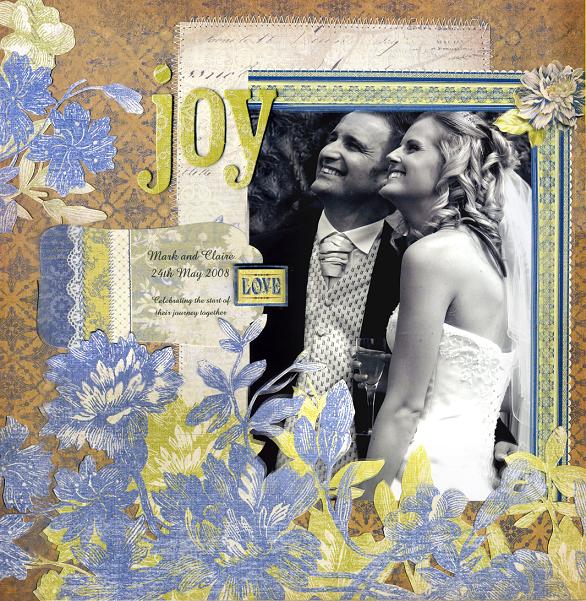
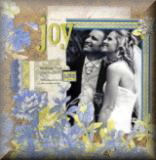
Designed by Karen Leahy |
Click on picture to enlarge
|
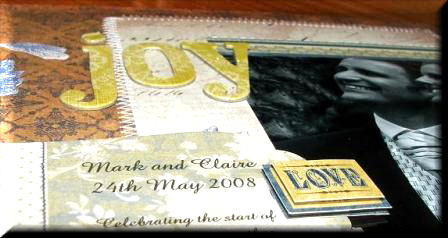
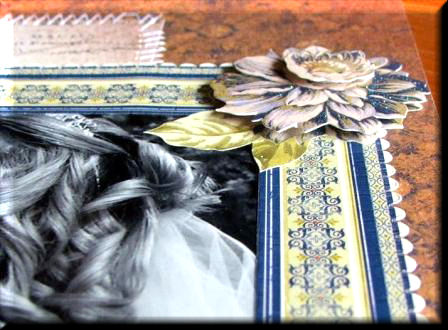
| Products used: K& Co Blue Awning Collection Project Guide Many of the Blue Awnings papers have quite a vintage feel to them and they seemed perfect for a wedding page. I love papers which have floral detail but it is always fun to cut out the border of flowers and place it over the background and picture a little to create a soft frame. It makes a page more dimensional. Remember when cutting out more intricate detail to cut the inner detail first with a sharp craft knife before cutting the bigger edges out. The papers the flowers were cut from also had a very plain centre and so I used this for the photo mat which was offset to balance the picture. The paper ribbons are gorgeous and made a really cool edge for the photo and were so easy to apply. I added one of the grand adhesions flowers in the top corner to balance the heavy floral design on the lower part of the frame. I used a tag for the date and a little journaling and rather than anchor the tag with ribbon or brads I used one of the dimensional word stickers.
|
|
|
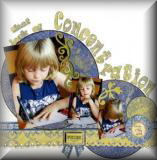
Designed by Karen Leahy |
Click on main picture to enlarge
|
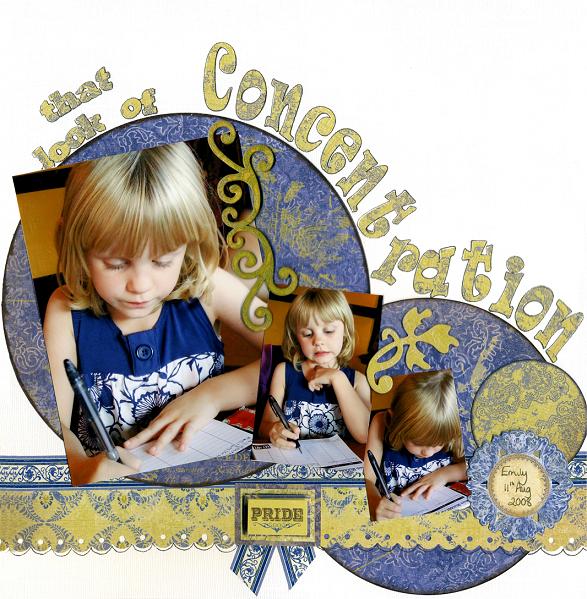
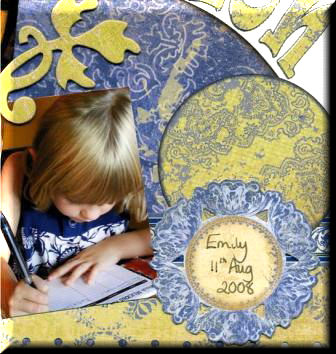
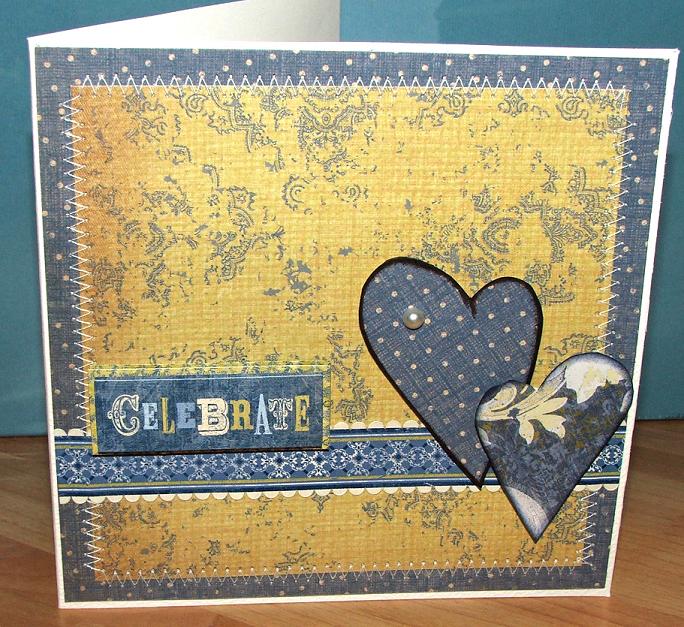
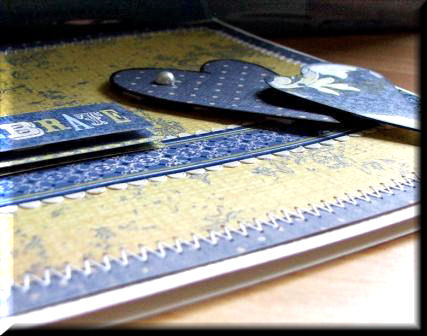
| Products used: K& Co Blue Awning Collection Project Guide I had a series of pictures I wanted to use and this informal arrangement worked for them. I cut circles from one of the dark blue papers, using two different sizes and they are edged in brown ink. I used a strip of yellow patterned paper, scalloping the edge first, as a bottom border for the page and I also added some of the self adhesive ribbon on top of that. The yellow paper was also used for a small circle and for the title, which was outlined in black once stuck on. The dimensional word and the circular journaling spot were made for this page and I added two of the chipboard flourishes to give extra dimension.
|
|
|
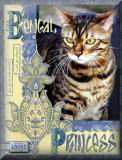
Designed by Karen Leahy |
Click on picture to enlarge
|
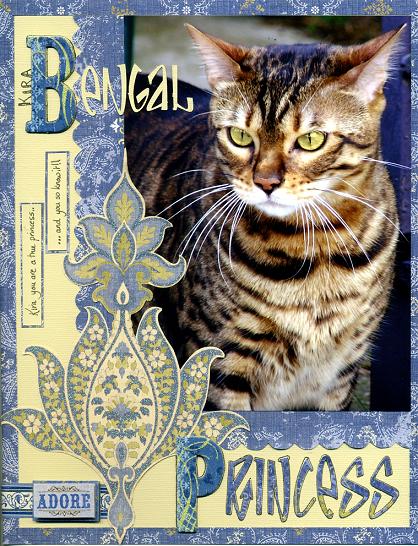
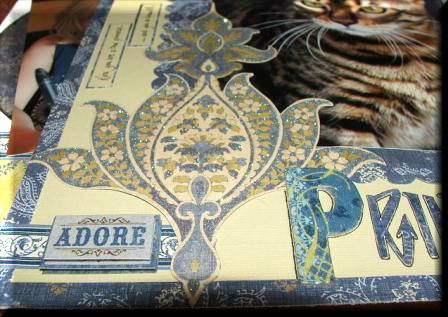
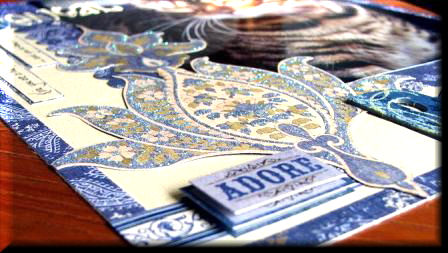
| Products used: K& Co Blue Awning Collection Project Guide The glittered papers were so rich and gorgeous that I wanted to make an element from the sheet stand out as a page embellishment in its own right. It was simple to cut with scissors and as it is very heavily glittered I feel a little goes a long way. One sheet will help make several projects. It seemed very Indian in feel which was perfect for my Bengal Princess. I didn’t want to use a whole sheet of the dark blue so I cut 1 cm strips and edged my cardstock with them, mitring the corners The mat is also a cheat! It is two more strips of the dark blue patterned paper with a hand cut scalloped edge. The strips are only along 2 sides as the picture is butted up right to the top and side edge of the page. Using the chipboard letters for just the first word of each part of the title is a way to add bang to a page but without overwhelming it.
|
|
|
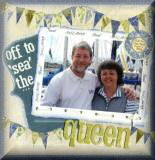
Designed by Karen Leahy |
Click on picture to enlarge
|
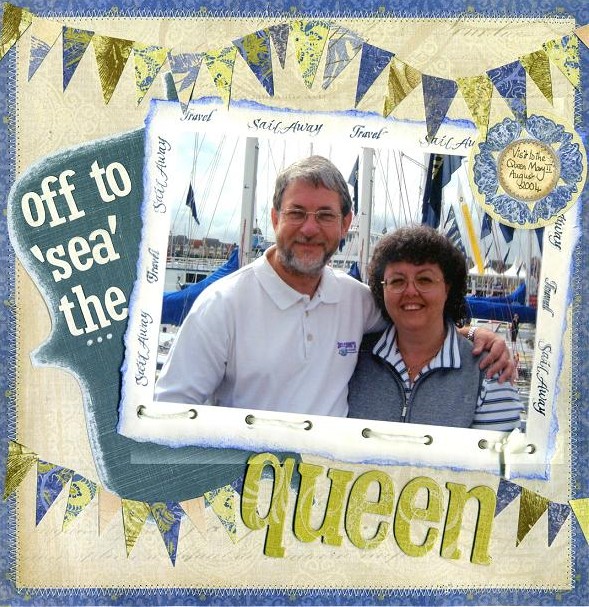
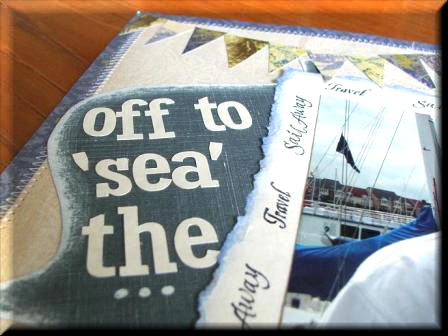
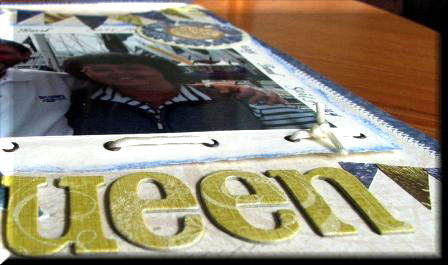
| Products used: K& Co Blue Awning Collection Project Guide First of all apologies for the pun – couldn’t help it I’m afraid. The Queen in question was the cruise ship the Queen Mary II.
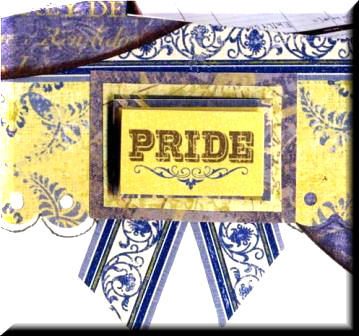
The Blue Awning papers had a very nautical feel with some of the designs and so adapted well for this page. I used a navy border and some of the cream paper, stitching one onto the other for a crisp edge to the page. The frame was made from cream cardstock, torn along all four edges and then chalked to pick up the blue from the other papers and stamped round the edge. I punched holes along the bottom edge, added eyelets and cream cord for a rope like feel in keeping with the nautical theme. The bunting was cut from scraps of papers from the Blue Awning range which had been used for different projects …. Never ever throw away scraps!
|
|
|
Designed by Karen Leahy |
Click on main picture to enlarge
|
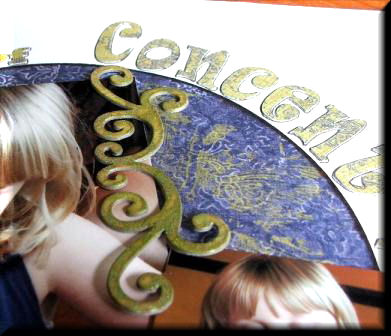
| Products used: K& Co Blue Awning Collection Project Guide I cut one of the embossed sheets of paper down to 11 ¼” and mounted it on blue cardstock. It just needed the dark blue border to hold it all together and balance the colours. The pictures and journaling strip were mounted on blue papers and I cut some of the embossed design from the background paper and slipped the photos underneath the cut swirls. I used one of the embossed word stickers for the sub title on the journaling strip and also added pearls to anchor this to the background. One of the tags made a perfect journaling base at the bottom of the page. In order to make the chipboard letters pop off the page they were mounted on the dark blue paper and cut out.
|
|
|
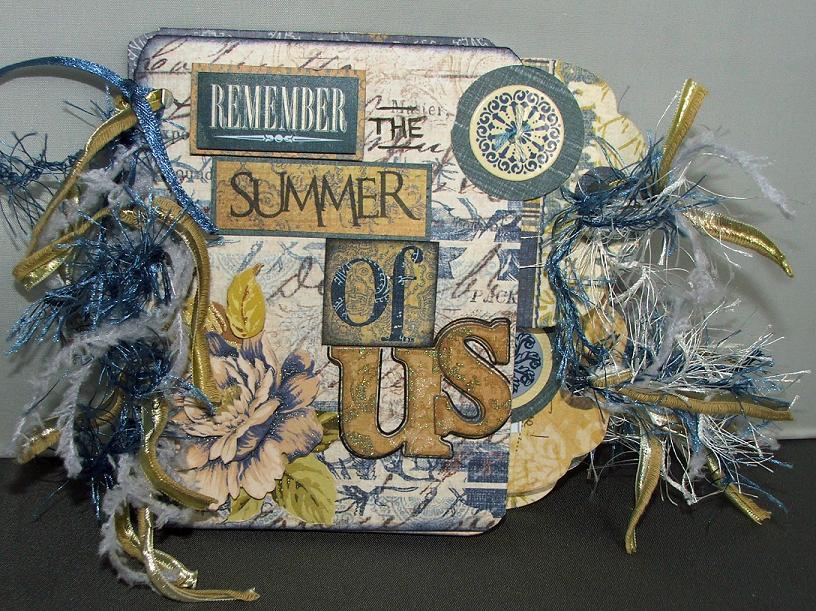
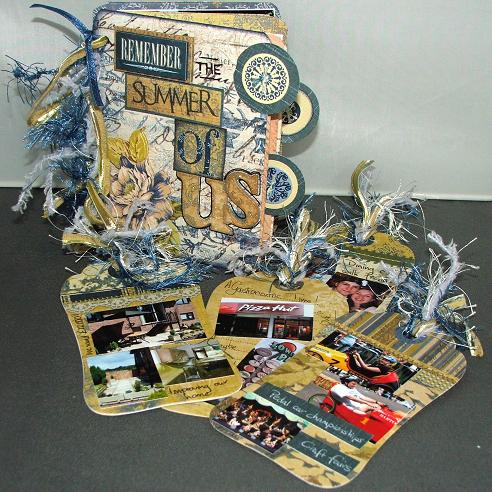
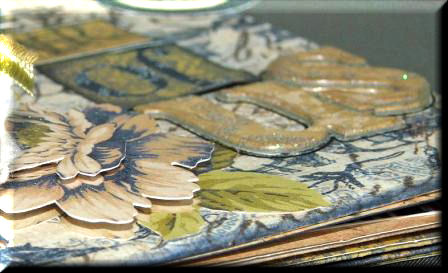
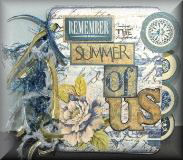
Designed by Karen Leahy |
Click on pictures to enlarge
|
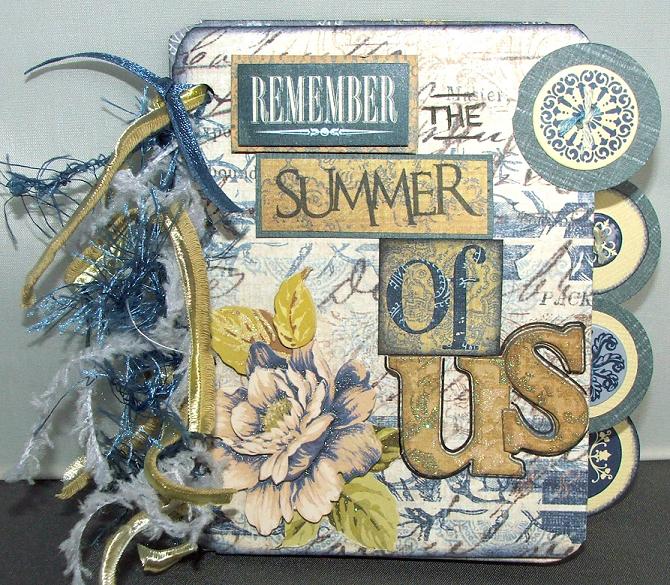
| Products used: K& Co Blue Awning Collection Instructions I thought it would be nice to look back on all the things we have done this summer.
It is super quick to make any sort of mini book when you are working with a coordinated range because you know everything will work together.
|
|
|
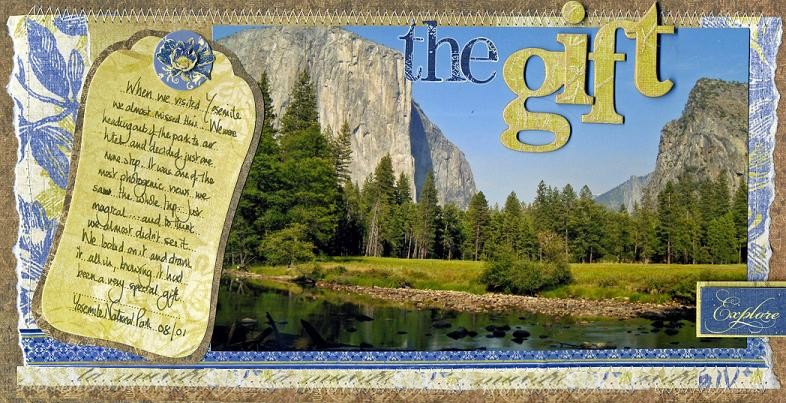
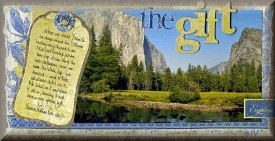
Designed by Karen Leahy |
Click on picture to enlarge
|
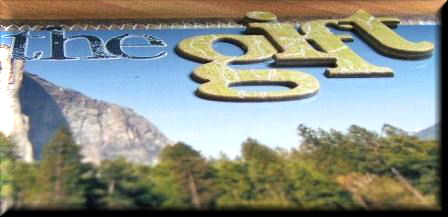
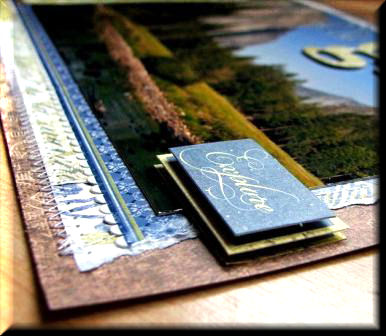
| Products used: K& Co Blue Awning Collection Project Guide The colours of the papers worked so well with this photo of Ysemite. Three different papers are stitched together, using a brown base to echo the natural feel for the photo, with blues and yellow/creams used to pick up the other colours in the picture. I used letter stickers and a chipboard word directly onto the photo. Rather than fix the journaling tag with a brad I used one of the Blue Awning buttons and a tiny three dimensional grand adhesions flower for a different effect.
|
|
|
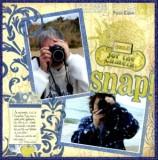
Designed by Karen Leahy |
Click on picture to enlarge
|
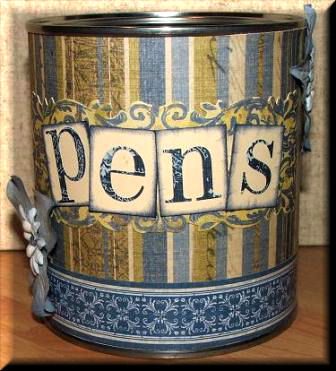
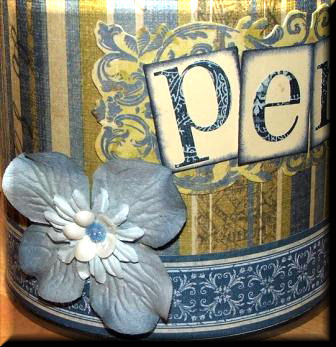
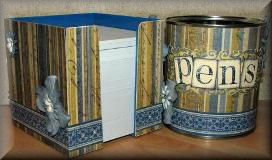
| Products used: K& Co Blue Awning Collection Instructions
|
|
|
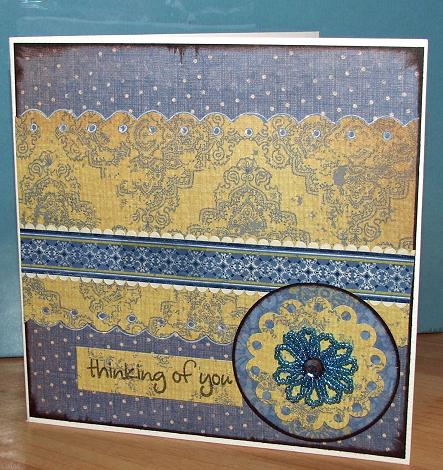
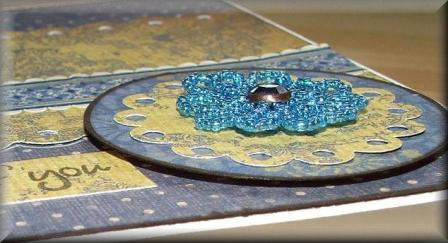
Designed by Karen Leahy |
Click on picture to enlarge
|
| Products used: K& Co Blue Awning Collection Instructions
|
|
|
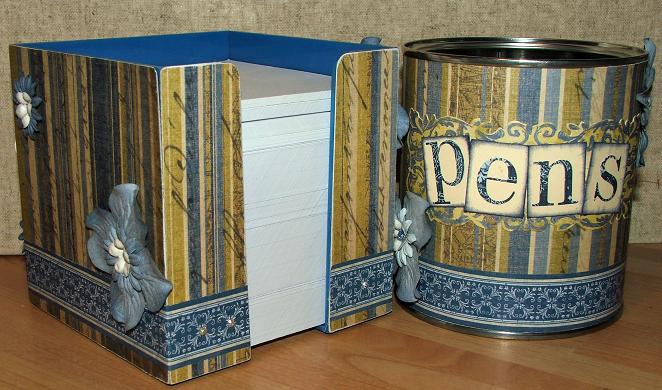
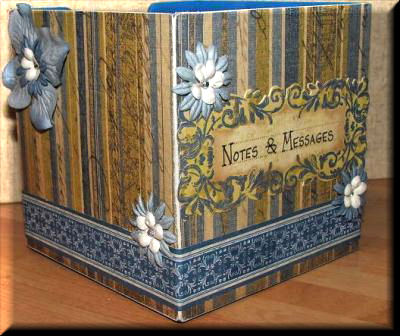
Designed by Karen Leahy |
||
Click on picture to enlarge
|
||
| Products used: K& Co Blue Awning Collection Quick Guide
|
|