|
|
|
|
|

These projects showcases the "June Bug" Collection by Basic Grey
|
All projects on this page have been designed and created by Design Team member Karen Leahy |
 |
 |
 |
|
 |
 |
 |
 |
 |
|
 |
 |
 |
 |
|
Designed by Karen Leahy |
|
|
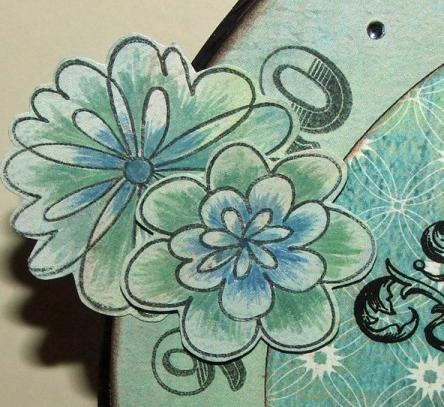
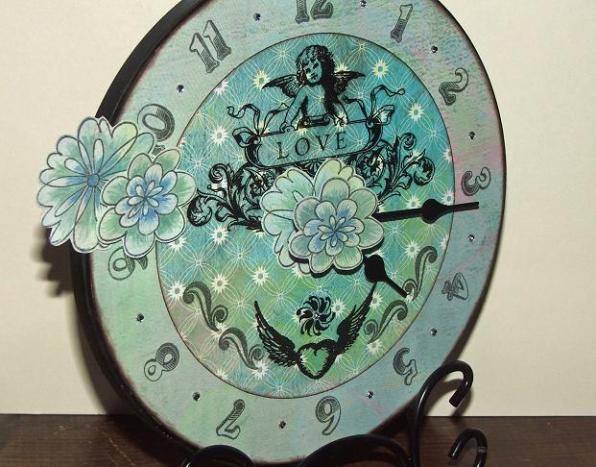
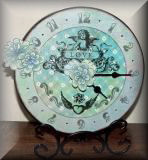
| Products used: Basic Grey June Bug Collection Project Guide I have had this clock for months – it was a sale item back in the spring – but I couldn’t decide what to do with it. When I saw the papers I realised it would go perfectly in my new bedroom. I took the clock apart. Don’t ever be afraid of doing this – it is really easy to do, pulling off the centre stud and the hands and then unscrewing the mechanism. I cute two circles from complimentary papers in the range. One of them was decorated with rub on and stamped images. The other was the stamped clock face and you do need to be accurate with that one. I use the original as a guide but also my old school protractor comes out! I added little crystals between the numbers and then mounted both circles onto the clock. I stamped some flowers onto the plain paper and then shaded them in with watercolour pencils. I mounted two on the clock and one in the centre before reassembling the mechanism. The final thing – that I have to say I love – is that there was one flower over and I stuck it on top of the pinion holding the hands. And it turns in circles, mobbing with every second. Can’t capture that in the picture I’m afraid.
|
|
|
Designed by Karen Leahy |
|
|
|
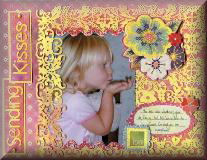
| Products used: Basic Grey June Bug Collection Quick Guide The doily lace paper from the June Bug range was so beautiful it was seriously hard not to just put it up on the wall to look at. Cutting it seemed almost sacrilege – but it had to be done. I just a rectangle slightly smaller than the page I was making, following the design as far as possible when cutting. The photo was very pretty and girly and the lace paper softened the background perfectly. I tucked the photo under the lace on one side to make more of a feature of the fact it was an overlay. I added some rik-rak – which was one of the stickers from the June Bug sheet – and also used two other stickers, the love and the journaling block. The wonderful thing about using a coordinated range is that everything automatically ‘goes together’. The accent at the top is one of the fabulous chipboard die cuts and the letters for the title are also from the same range.
|
|
|
Designed by Karen Leahy |
|
|
|
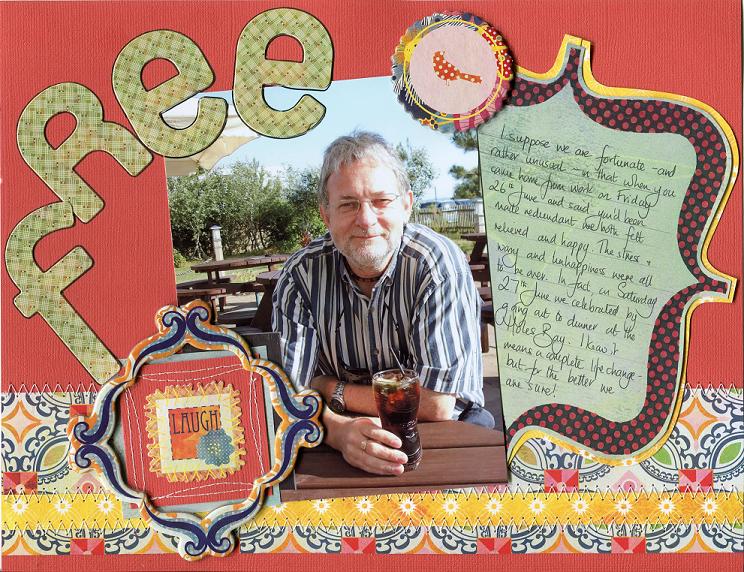
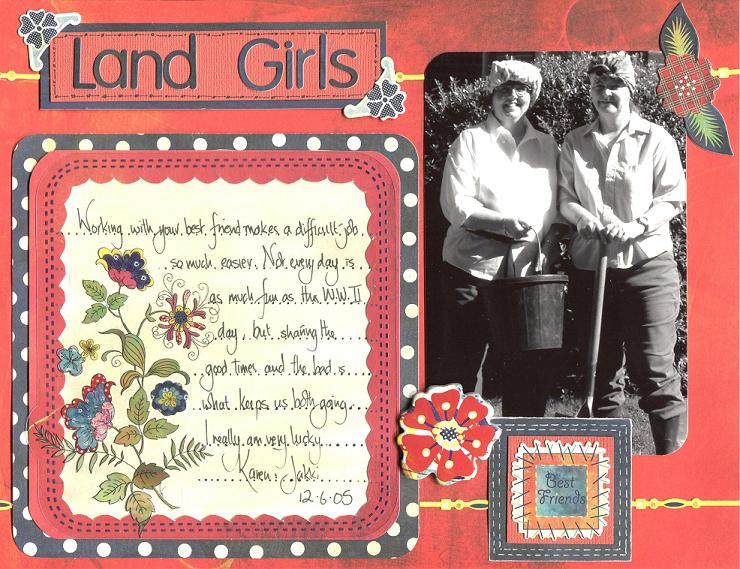
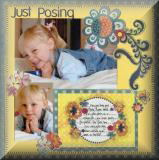
| Products used: Basic Grey June Bug Collection Quick Guide I guess making a page about redundancy seems odd when it is a happy page – but we were happy as work had been so dreadful. Consequently I wanted the title to shine out and the huge letters from the June Bug range made that so simple. The accents of yellow help to lift the page and tie it altogether without overpowering the page. I printed the journaling block on one of the plain papers from the range and using the chipboard frame made the sticker, which was sewn and mounted, pop off the page.
|
|
|
Designed by Karen Leahy |
|
|
|
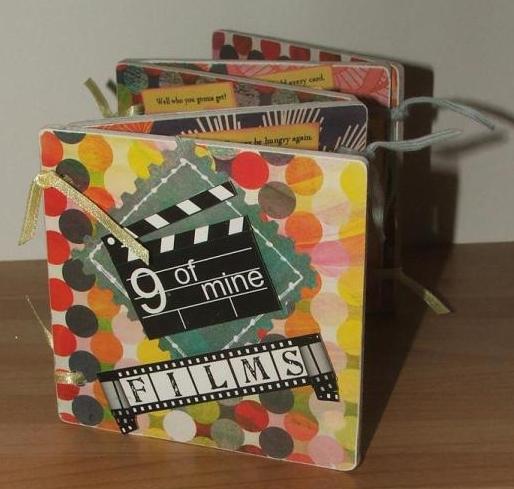
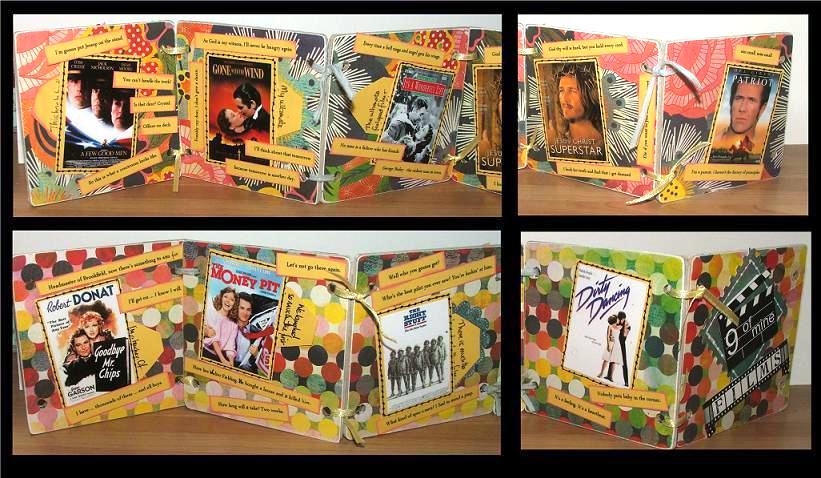
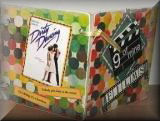
| Products used: Basic Grey June Bug Collection Project Guide For a long time I have wanted to record some of my favourite films. The mini book only had 9 pages once you had done the title so the 9 of mine seemed to fit rather than a top ten list. Plus I couldn’t really put the 9 in order of priority! It is great fun to make small mini books about things you enjoy – it records a part of you in a special way.
The June Bug range worked perfectly because they are really bright happy papers and this was a happy book. Each sheet of the wooden book was covered with papers and then sanded to seal the edges and distress them. Scrapping something like this is not easy when you don’t have photos – so I used the internet and managed to get a film or DVD cover for each film. I mounted each poster on cardstock and made sure that when I stuck it to the background I left a side unstuck for a tag. I needed to have tags for the journaling because I cheated and each film represents several others that I love. (9 of mine but it actually talks about 30 films!) I added quotes from each film (some were easier and more obvious than others) and tied the book together with ribbon.
|
|
|
Designed by Karen Leahy |
|
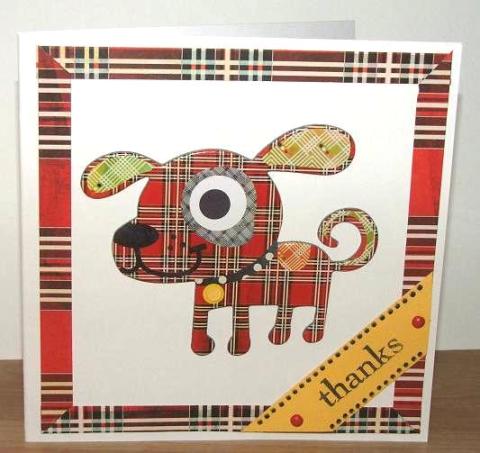
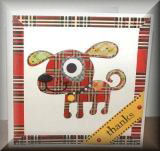
Products used: Basic Grey June Bug Collection The little Chip Sticker dog was way too cute not to showcase him on his own. I cut strips of the tartan paper and used them , with mitred corners, as a frame for the page. The yellow sentiments banner echoes the yellow identity disc the little fella wears.
|
|
|
Designed by Karen Leahy |
|
|
|
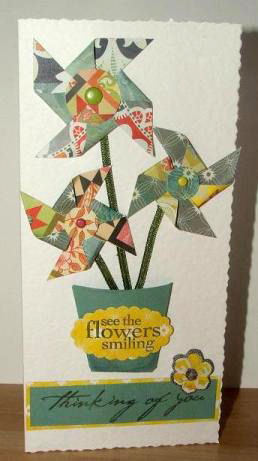
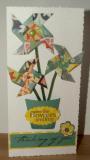
| Products used: Basic Grey June Bug Collection Project Guide This card is very dimensional and uses some really simple ideas. It works fabulously with thick double sided papers like the June Bug range. To make the flowers simply cut squares in a couple of different sizes. Cut along the four diagonals toward the centre but NOT going right to the middle. One of mine was a 5 cm square and I cut 2 cm into each diagonal. Bend the corners over towards the middle so that you end up with a pinwheel effect. I secured the four corners to the centre with a glue dot. Cut a small circle and fix over the joins with a brad. Mount the three pinwheel flowers onto the card and add ribbon stalks. The plant pot was made from cardstock with flaps along the sides and bottom which bent inwards. This meant I could stick the pot to the card using the flaps and then the pot looked dimensional like a real pot. I added the sentiment strips across the pot and the bottom
|
|
|
Designed by Karen Leahy |
|
|
|
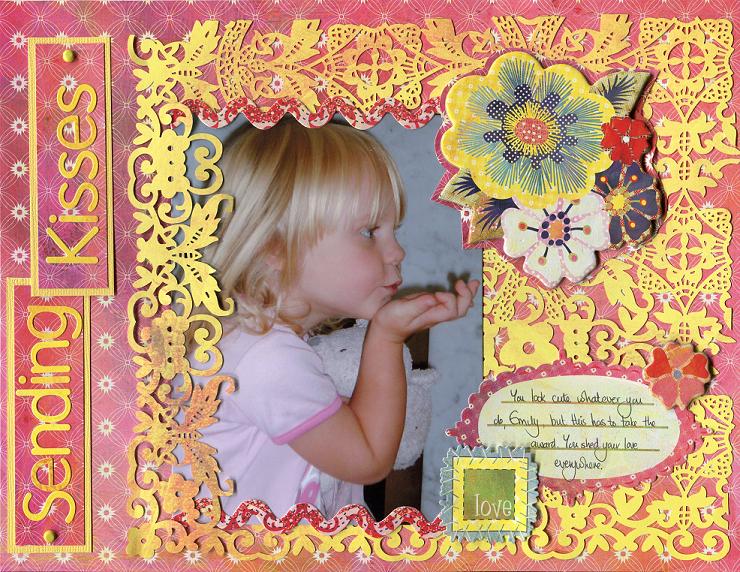
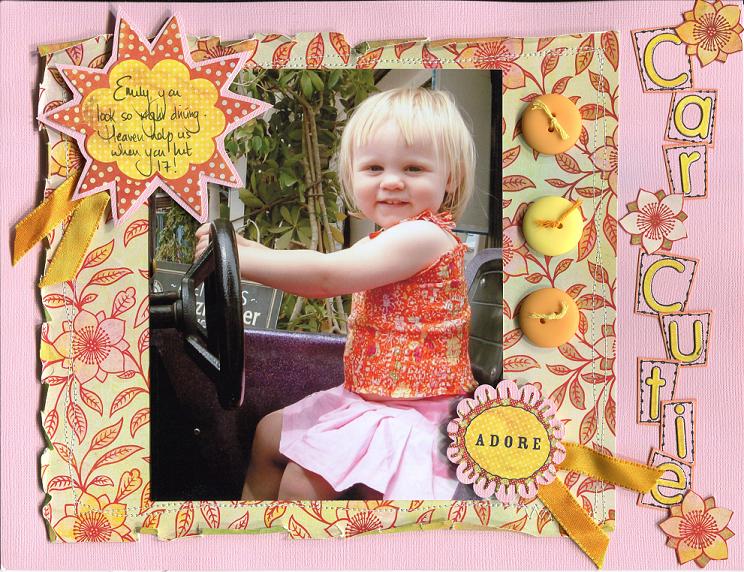
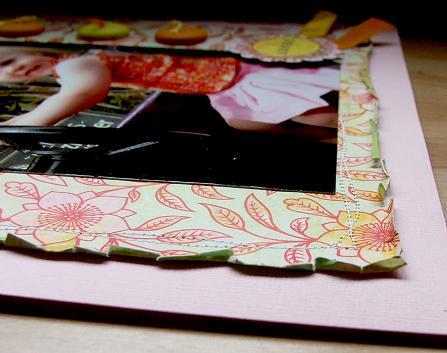
| Products used: Basic Grey June Bug Collection Project Guide I enjoy making photo mats soft especially if they are to go with a ‘soft’ subject like a little girl. I cut the mat much larger than the photo and then tore and worked the edges on three sides by pressing and rolling and crumpling till they were soft. It is important not to get the edges even and too regular – you need a far more random look. Once I was happy with the large mount I stitched it to the page using two rows of deliberately uneven and wonky running stitch. Again, if you had even rows of stitching it wouldn’t work so well with the soft distressed feel of the page. I added two of the stickers, both mounted and with ribbon added and also added three coordinating buttons to the page. The splashes of orange with the ribbon and buttons just helped tie the colours in with Emily’s top. The title was made using the June Bug alphabet stickers and mounting them on cardstock off cuts which were inked and had faux stitching around. A couple of flowers cut from the mount paper tied the title in with the page as a whole.
|
|
|
Designed by Karen Leahy |
|
|
|
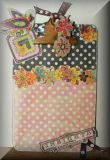
| Products used: Basic Grey June Bug Collection Project Guide The mini clipboard was just crying out to be decorated for my scrap room. The only problem with a clipboard is you are going to clip things to it so you have to keep quite a bit of it plain – not an easy task! I covered the main part of the board with two different spotted papers from the June Bug range. I liked the contrast of the dark and the light together which mixed the soft and pretty with the more graphic look. I used strong double sided tape to stick the papers to the chipboard base. It is really easy to cover under the clip just by making slits in the paper. Once the base was covered I sanded the edges to give a really secure bond and to give a more worn distressed look. I covered the join with one of the sticker strips from the June Bug sheet. It was so pretty and picked out colours from both papers.
I stamped the phrase on the pink paper and mounted it on the dark before fixing it with foam pads. I figured the bottom corner could be left without anything clipped to it, as could the very top. I mounted the dreams sticker from the sheet on pink and then black card to make it larger and make it stand out more. I couldn’t resist one of the chipboard birds added to the top. The chipboard is really thick so it was just perfect for the job. I wanted to pretty up the ‘business end’ of the clipboard so I mounted two of the chipboard flowers on cardstock so they had a coordinated back. I punched holes through them with a crop-adile and then hung them from the clip with ribbons and added another ribbon just for decoration.
|
|
|
Designed by Karen Leahy |
|
Click on picture to enlarge
|
|
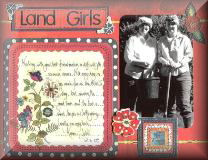
| Products used: Basic Grey June Bug Collection Quick Guide This page looks so simple – but it took me an age to get the shape right. The June Bug range has some simply gorgeous red stickers with t that were just so elegant. I wanted to make one of them the focus of the page and so the photo was adapted accordingly. Because the edge at the bottom was a square and simply didn’t work, I covered it with a torn piece of paper and added one of the stickers and some ribbon. The lettering for the title is also from the June Bug range.
|
|
|
Designed by Karen Leahy |
|
Click on picture to enlarge
|
|
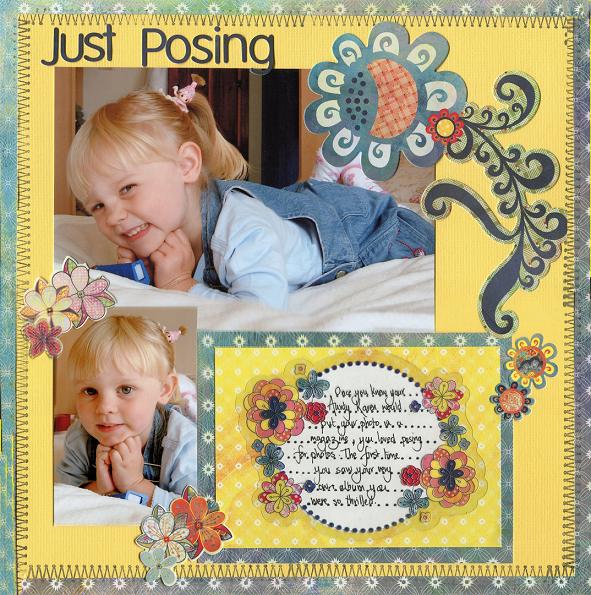
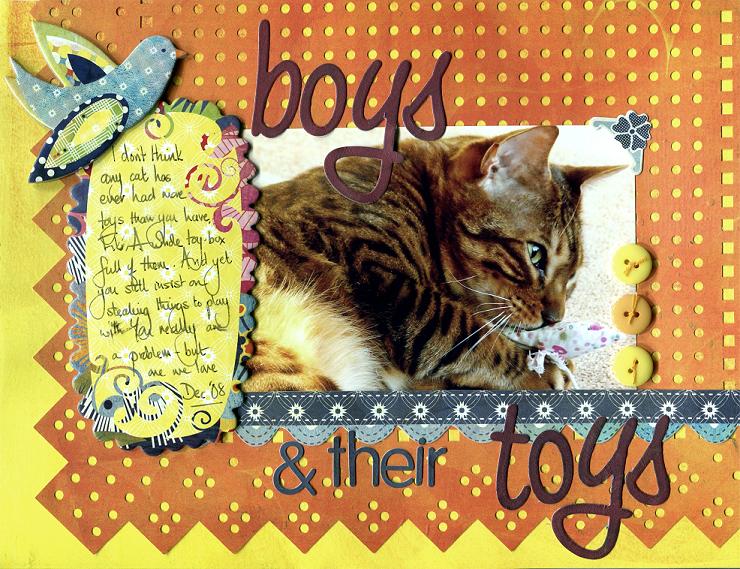
| Products used: Basic Grey June Bug Collection Quick Guide I love these pictures of Emily but it was hard to find a colour that made them pop – the yellow from the range was just the ticket and the page was inspired by the beautiful transparency journaling block from the range. The yellow cardstock was mounted on the blue patterned paper but as it wouldn’t be seen I did cut a square of the patterned paper from behind to use as the mount for the journaling. The flower stickers, both the large one and the numerous small ones, added a softness to the frame and draws the eye in.
|
|
|
Designed by Karen Leahy |
|
Click on picture to enlarge
|
|
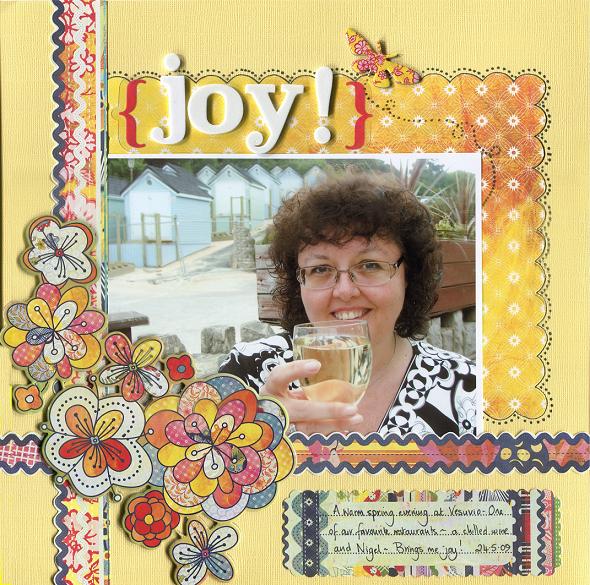
| Products used: Basic Grey June Bug Collection Project Guide It is rare I get a photo of me I am happy with and when I do I like to scrap it. And no – the happiness and joy are not just from the glass of wine (which only looks huge because it is so close to the camera …. Honest!)
The June Bug papers are such a great mix because there are a lot of soft colours but also a lot of really bright happy papers and embellishments.
The yellow patterned paper was perfect for cutting a scalloped edge. You just needed to follow the lines of the circles on the paper to get the perfect finish. To add a bit of extra definition to the edge I outlined it in black and added dots. The two border strips which frame two sides of the photo were cut from another sheet of patterned paper. The journaling block at the bottom was half of one of the transparency journaling blocks. I used it split into its two parts as I wanted to use the transparency part so that the brackets framed the title. The huge chipboard flower cluster was the only accent this page really needed. I could use it over and over again – it is gorgeous. I did just add one little butterfly at the top because he was too cute to leave off – and I added a trail of flying dots to give him flight.
|
|
|
Designed by Karen Leahy |
|
Click on picture to enlarge
|
|
|
Products used: Basic Grey June Bug Collection Quick Guide
|
|
|
Designed by Karen Leahy |
||||||
|
||||||
|
Products used: Basic Grey June Bug Collection Quick Guide
|
All projects copyright ® Charmed Cards & Crafts. All rights reserved.