|
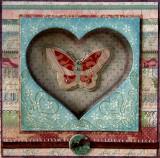
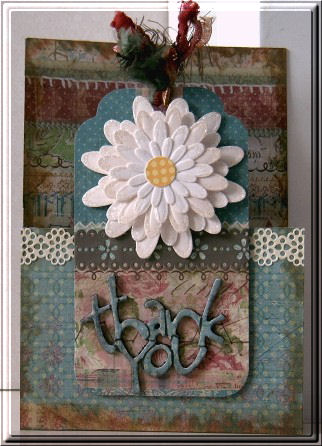
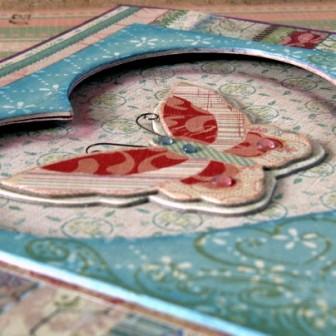
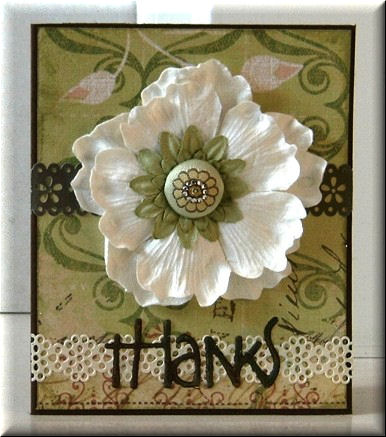
Card 1 - By Louise Brigden
Products used: K&Company's
Margo Collection |
|
Click on picture to enlarge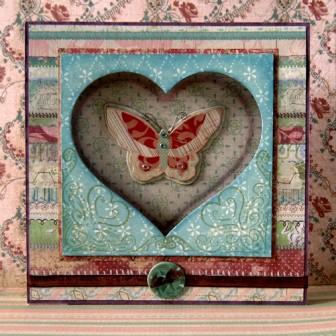 |
 |
|
Card 1 Instructions:
-
Cover a 17cm
square card with a slightly smaller square of K&Company Margo Paper-
Patchwork Stripes.
-
Cover a smaller
square of thick cardstock with some coordinating paper and cut a
heart shaped aperture. I used my Sizzix heart die.
-
Layer it onto
another, slightly larger square of paper and stick in position with
PVA glue or double sided tape.
-
Cut through all
remaining front layers with a craft knife, using the heart shape as
your guide.
-
Cover the inside
of your card with your choice of papers from the Margo collection
and attach a K&Co Wild Saffron chipboard butterfly so that when the
card is closed it appears in the centre of the heart.
-
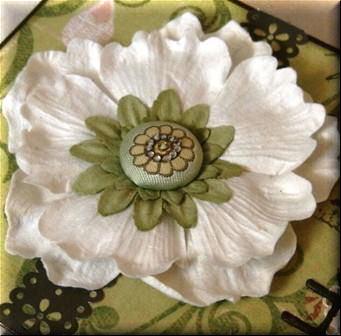
Finish off the
front of your card with some ribbon and a Margo chipboard button
then, using some
Dovecraft blending chalks make a heart shaped outline inside
your card by using the aperture as your guide with the card closed.
|
|
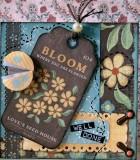
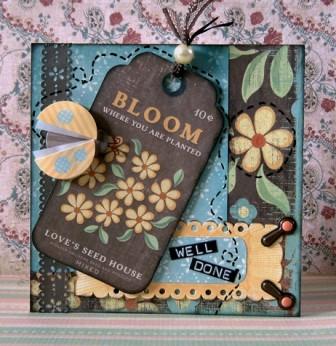
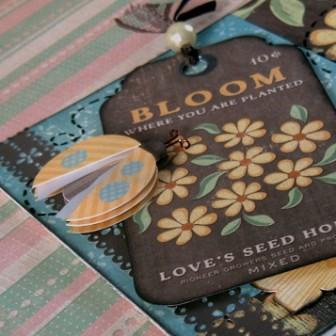
Card 2 - By Louise Brigden
Products used: K&Company's
Wild Saffron Collection.
Click on picture to enlarge |
|
 |
 |
|
Card 2
Instructions:
-
Cover a 13.5cm
square card with K&Co Wild Saffron-Wild Flowers paper and ink the
edges with black ink. Take a smaller piece of Wild Saffron- Wild
Garden paper, ink the edges and attach to the card, lining it up to
the upper left corner.
-
Smooth on a length
of Wild Saffron Paper ribbon down the left side.
-
Attach a yellow,
Wild Saffron Die Cut Tag and add your choice of sentiment.
-
Now, using foam
pads attach a Wild Saffron Tag (from the Tag Pad) at an angle and
place a Wild Saffron Ladybug on top.
-
For a finishing
touch add some ribbon and a bead to your tag, some photo anchors to
the sentiment tag and some doodling to show the ladybug’s trail.
|
|
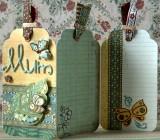
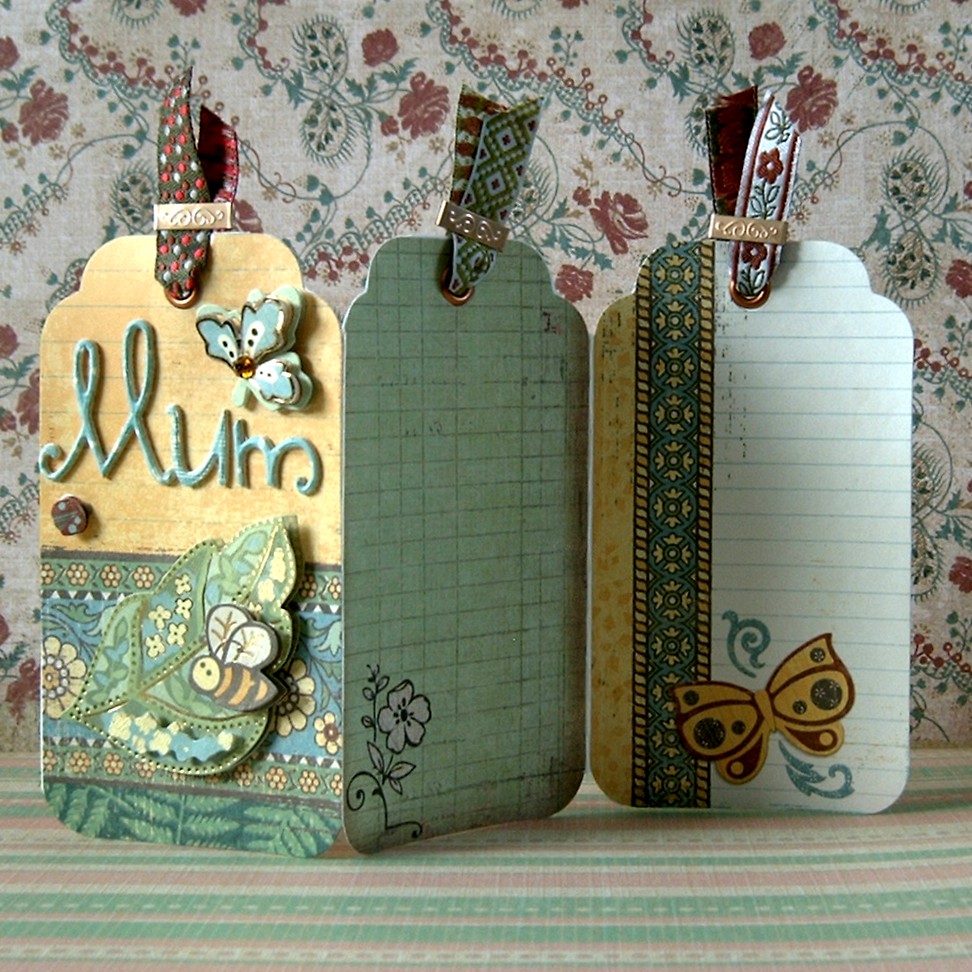
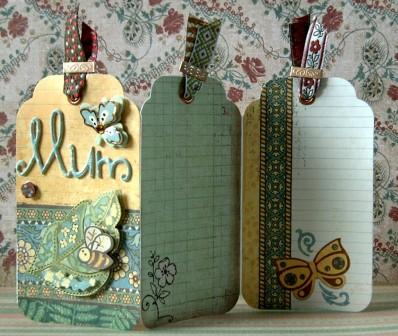
Card 3 - By Louise Brigden
Products used: K&Company's
Wild Saffron Collection.
Click on picture to enlarge |
|
 |
 |
|
Card 3
Instructions:
-
Choose 3 Wild
Saffron tags (from the Tag Pad), make a 2-fold concertina card to
the width of a tag, open it up and attach your three tags next to
each other then trim around the edges.
-
Add an eyelet to
each hole- I used the
Crop-A-Dile. Now add some ribbons of your choice.
-
Embellish the
front with some Wild Saffron Grand Adhesion Leaves and a sentiment
of your choice
-
And that’s it!
Simple.
|
|
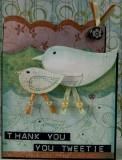
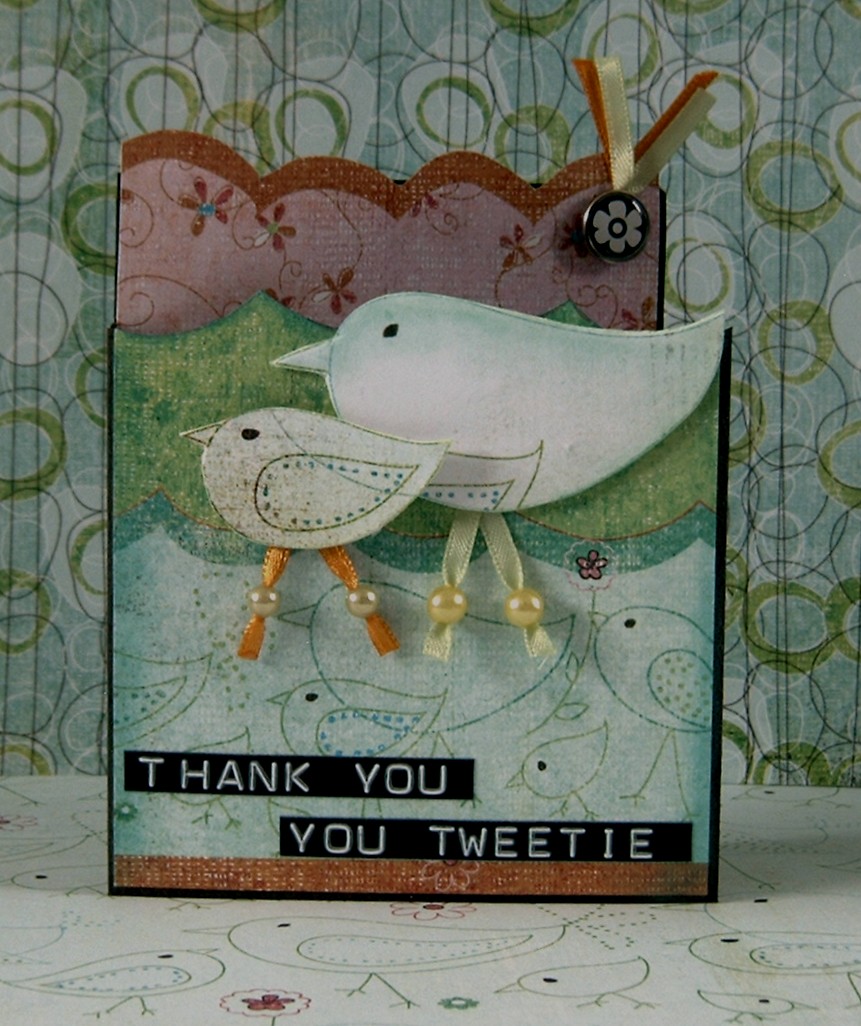
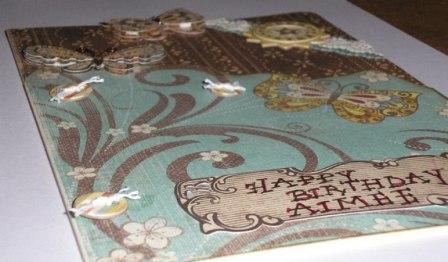
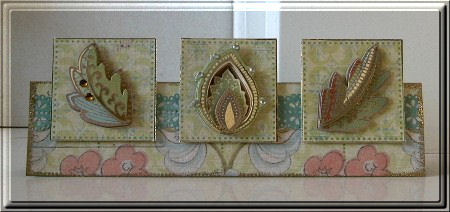
Card 4 - By Louise Brigden
Products used:
Basic Grey Pheobe Collection
Click on picture to enlarge |
|
 |
 |
|
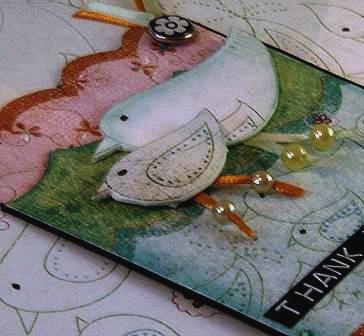
Card 4
Instructions:
-
Cut a small side
fold card, slightly cropping the height of the front.
-
Trim along the
wavy lines of some Basic Grey- Pheobe- North Beach paper and attach
it to the inside and the outside of your card with the wavy lines
covering the straight lines of the card base, so becoming the top of
your card.
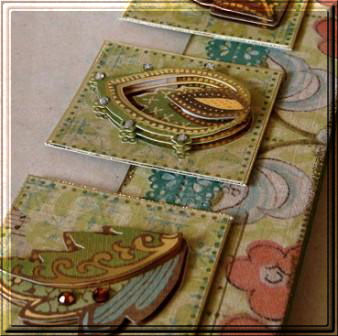
-
Cut out 2 birds
from some Basic Grey- Phoebe- Japanese Tea Garden paper fix it onto
some thick card then cut out again.
-
Attach thin satin
ribbon for the legs and add beads for an extra sweet finishing
touch.
-
Now add a
sentiment of your choice – I used a DYMO label maker.
-
Finally, attach a
fancy brad and some ribbon to the top right corner.
|
|
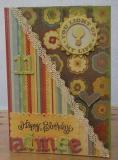
Card 5 - By Karen Mortensen
Products used: K&Company's
Wild Saffron Collection.
|
|
 |
 |
|

|
|
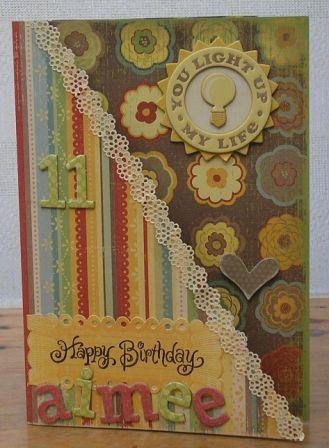
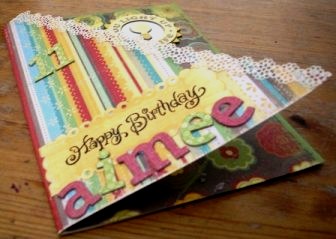
Card 5
Instructions:
- Cover the front of an
A5 card in Wild Saffron paper. The paper used is from
the 12x12 Pad and is double-sided
- Cut a piece of the same
paper (but we are using the reverse this time for a
coordinated look) the size of the fully opened
card. Cut from left top corner down to bottom right
corner.
- Stamp or write a
greeting on a tag from the Wild Saffron Die Cut Tag
pack. Stick onto paper 2 as shown. Add the name and age
of the recipient. I used chipboard letters.
- Cut a strip of the Wild
Saffron Paper Ribbon and glue onto the cut edge so that
half is over the edge.
- Glue the back of paper
2 to the card but leave the front unstuck so that it
opens. The card now opens both at the front and
normally.
- Add chipboard
embellishments to the original front of the card as
shown (Wild Saffron Adhesive Chipboard Buttons).
|
|
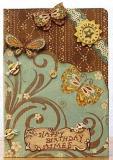
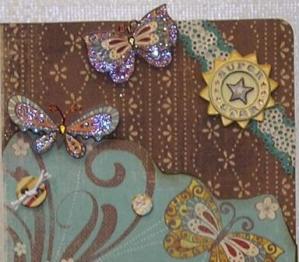
Card 6 - By Karen Mortensen
Products used: K&Company's
Wild Saffron Collection.
|
|
 |
 |
|
|
|
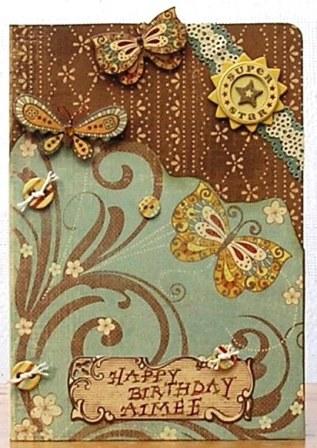
Card 6
Instructions:
- Cover the front of an A5 card in Wild
Saffron Brown Pixies paper. Round off the top right-hand corner
with a corner rounder punch.
- Cut around the swirl, butterfly and flowers
from a Wild Saffron Butterfly Swirl sheet of paper. Ink the edges
with brown ink. Stick onto card as pictured.
- Stamp or write a greeting on a Wild Saffron
Tag from the Die-Cut pack. Stick onto card.
- Add a strip of Green Wild Saffron Paper
Ribbon diagonally to the top right-hand corner and layer it with a strip of
Cream Paper Ribbon. Embellish with a Super Star Chipboard shape from the
Wild Saffron Adhesive Chipboard Button pack and add a few of the smaller
buttons from the same pack here and there on the card.
- Add two Wild Saffron Butterflies Grand
Adhesions to the card, one positioned slightly above the top edge.
|
|
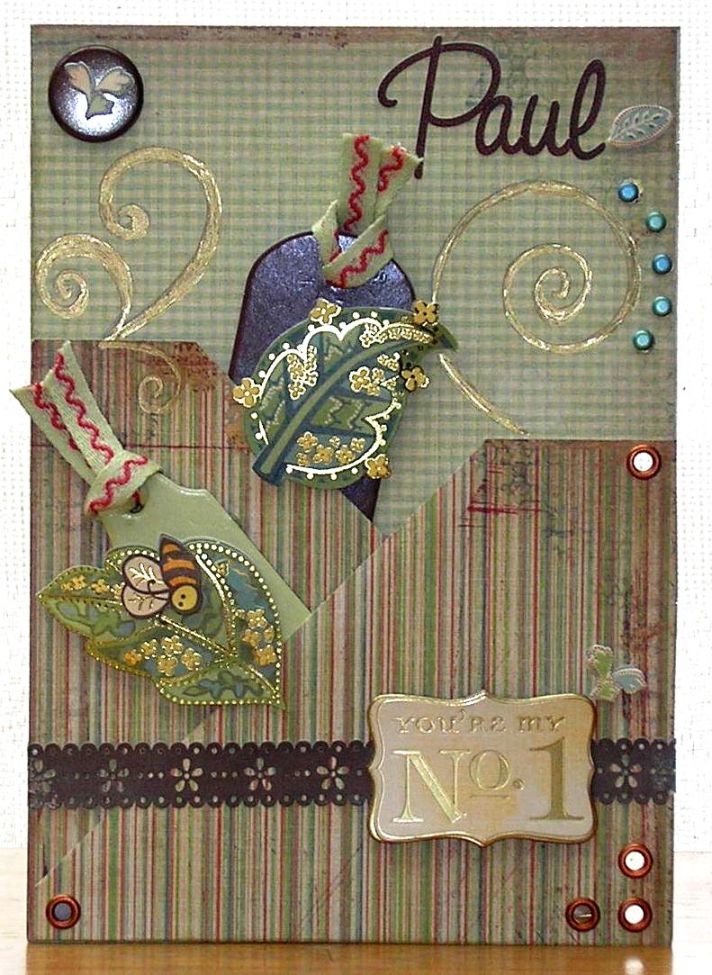
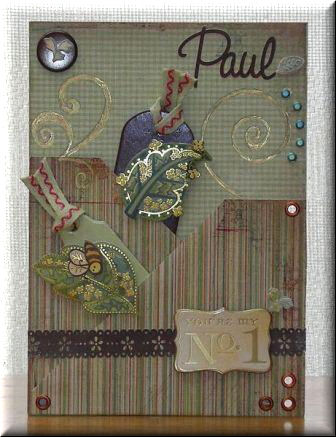
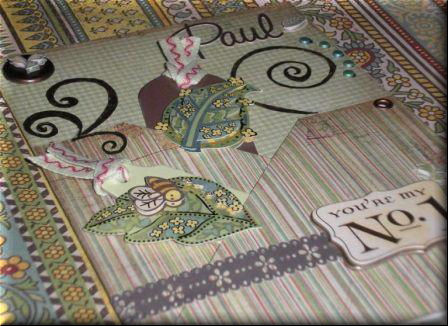
Card 7 - By Karen Mortensen
Main products used: K&Company's
Wild Saffron Collection and
Margo Collection |
|
 |
Click images to
enlarge...
 |
|
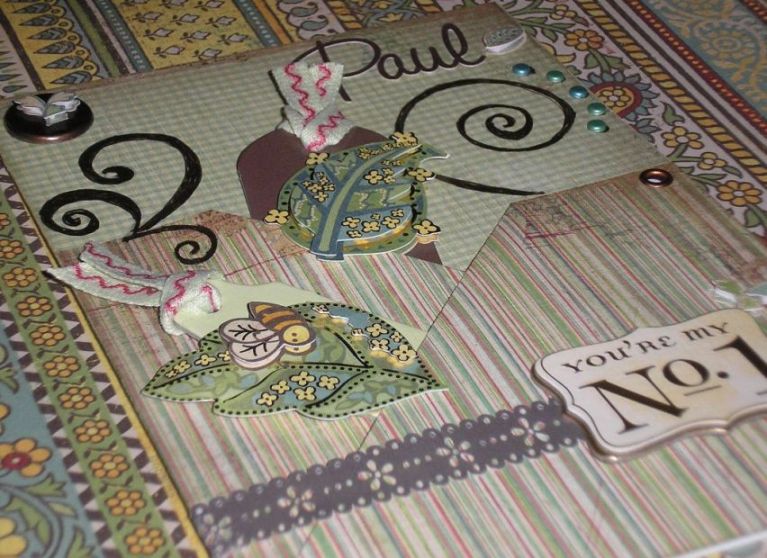
Card 7
Instructions:
Paper One: From the Margo 12x12 Paper Pad
Paper Two: Margo Fushia Skinny Stripes
-
This card size is A5 so cut a piece of
paper one the size of your card (here 210mm x 150mm folded), fold
and score.
-
Cut two pieces of paper two: one
measuring 140mm x the width of your card; the other measuring 115mm
x the width of your card. Fold them on one side as pictured, the
tallest piece with a 35mm top edge and the smallest piece with a
45mm top edge and 10mm side edge.. Stick them onto paper one but
leave the fold sides unstuck so we can insert the tags later.. Ink
any plain edges.
-
Doodle either freehand or using a
template in gold metallic pen: TIP: Doodle in pencil first
then go over with the permanent marker. Add
small metallic green brads around one of the doodles.
-
Add a
HOTP Great Big Brad in the top left-hand corner.
-
Glue the paper card you have made onto
your base card.
-
Insert large copper eyelets: three
large eyelets into the bottom right-hand corner, one in two corners
of paper 2 as pictured.
-
Adhere Brown Wild Saffron Paper Ribbon
around the card - back included. Place a "You're my No. 1"
Wild Saffron chipboard accent on top of the ribbon.
-
Take two tags, I have used one brown
chipboard tag and one green chipboard tag from K&Company's
To Go Solid Shapes & Tags Tin. Insert ribbon to the top (I
used
Basic Grey Urban Couture Ribbon) then top each one with a Wild
Saffron Leaf Grand Adhesion. Insert one into each unstuck side of
paper as pictured, letting the bottom of the leaves slide outside to
the front. When you are happy with the position pop a little glue to
the back of the tags so they are firmly stuck down.
-
Add the name of the recipient. I used
Basic Grey Mellow Alphabet Stickers. Add a small leaf from the
Wild Saffron Leaves Grand Adhesion Pack next to the name, on top of
the Great Big Brad and above one corner of the "You're my No. 1"
accent.
| |
 |
|
|
 |
|
|
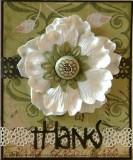
Card 8 - By Louise Brigden
Main products used: K&Company's
Wild Saffron Collection and
Margo Collection |
|
 |
Click images to
enlarge...
|
|
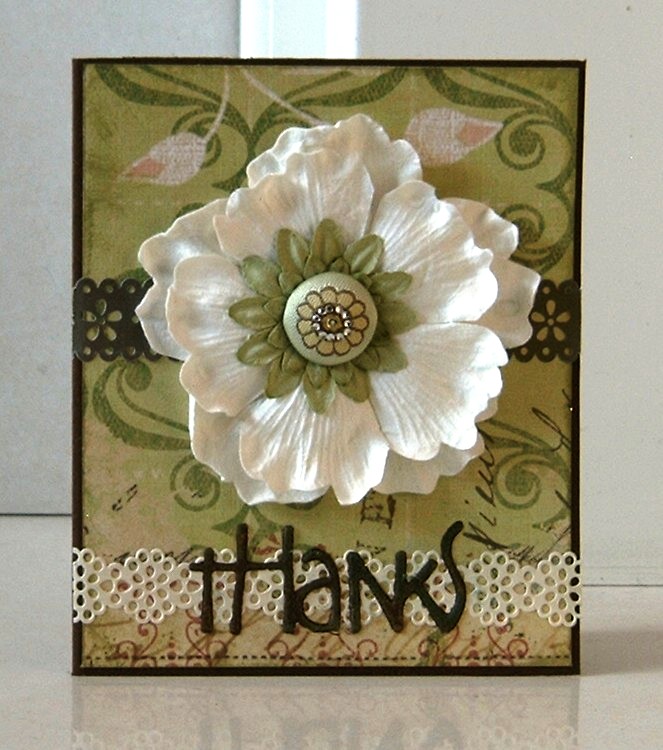
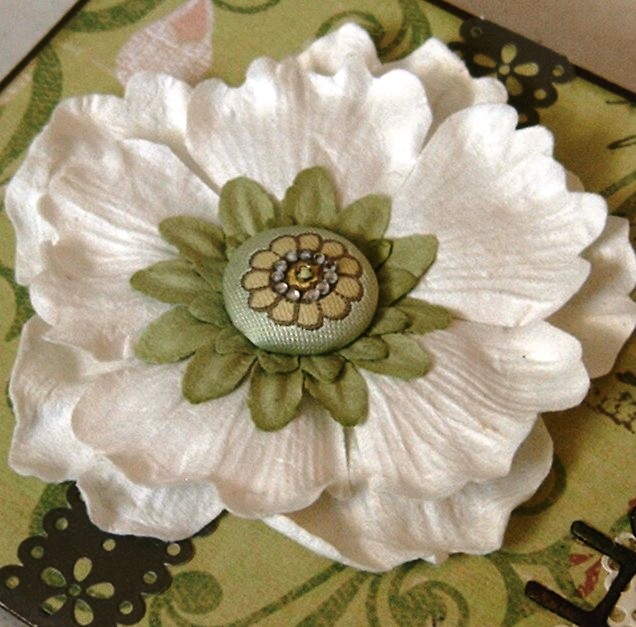
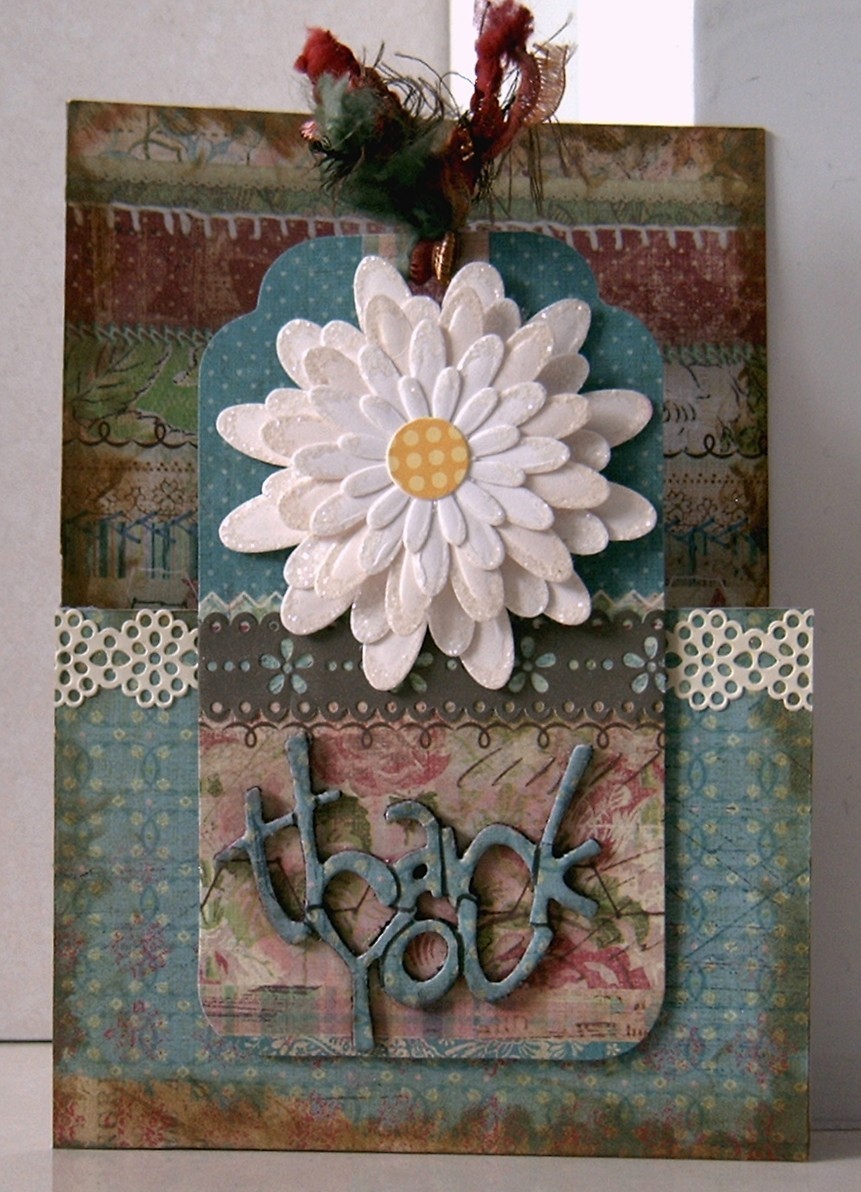
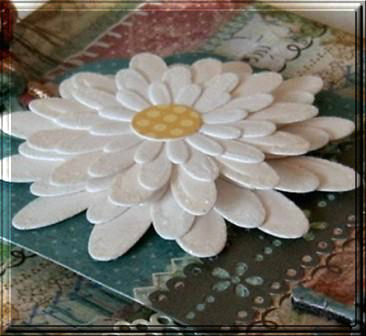
Card 8
Instructions:
-
Make a card blank
94mm X 112mm and cover it with K&Co paper, leaving a border
showing.
-
Add 2 lengths of
Wild Saffron paper ribbon across the card (see picture)
-
Attach a sentiment
of your choice to the bottom
-
Now simply attach
a selection of 3, layered, Prima flowers, with one of the super lush
Wild Saffron Fabric Brads.
I’ve
kept this card nice and simple because I think that beautiful brad is
really all it takes.
|
| |
|
|
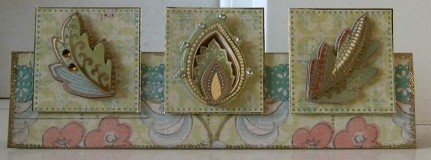
Card 9 - By Louise Brigden
Main products used: K&Company's
Wild Saffron Collection and
Margo Collection |
|
 |
 |
|
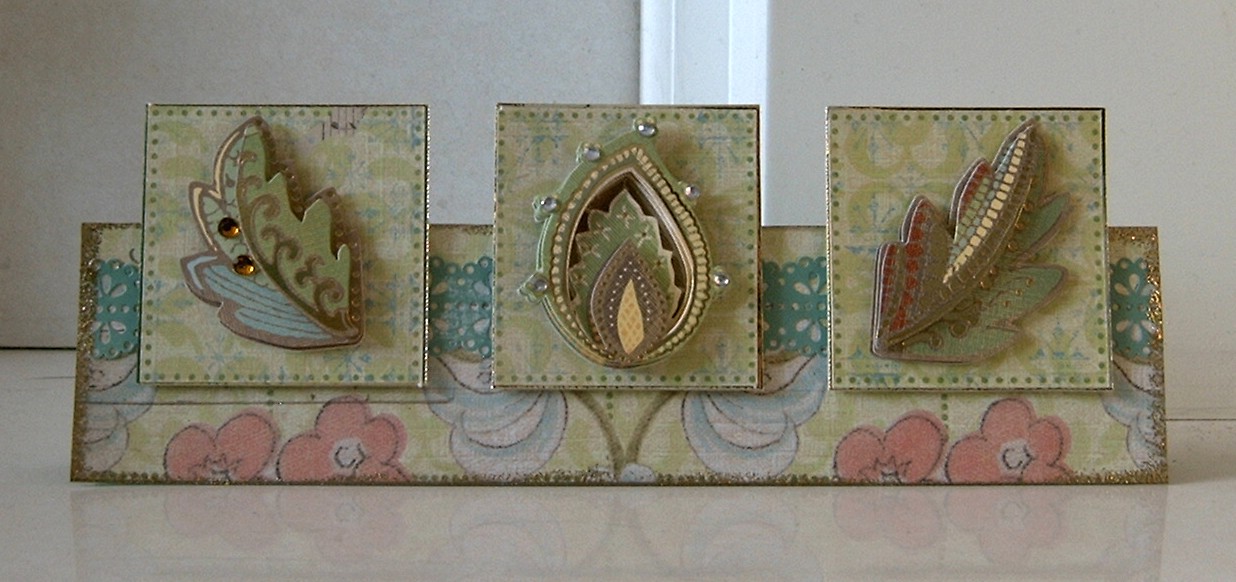
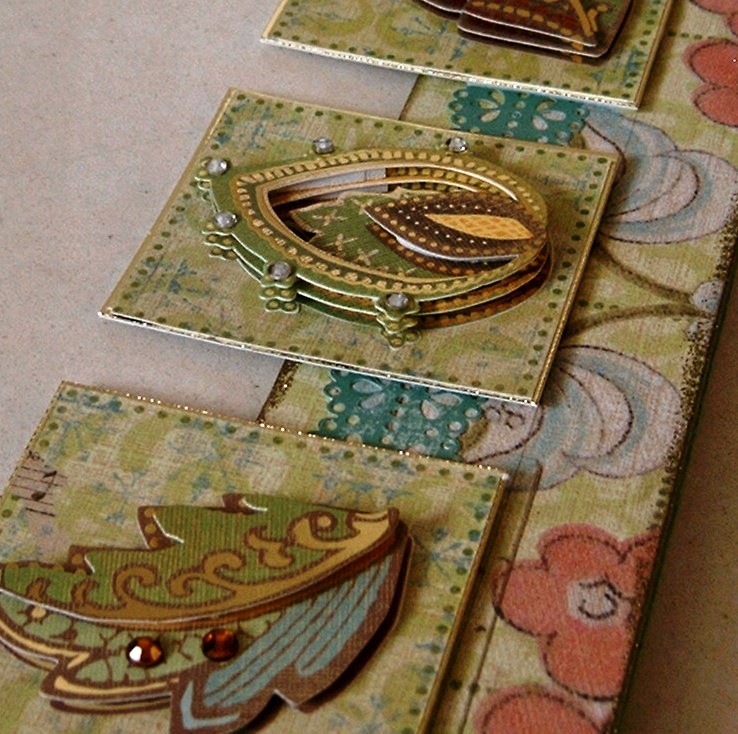
Card 9
Instructions:
-
Make a card blank
212mm X 50mm and cover it with the flowery side of some K&Co Margo
paper –Dots and Florets.
-
Add a length of
Wild Saffron paper ribbon across the card – towards the top.
-
Ink and heat
emboss the edges of your card with Gold Sparkles embossing powder.
-
Next cut out three
of the squares from the reverse side (please note that only the
paper from the Margo 12x12 Paper Pad is double-sided) and mount them
on some gold card, leaving a little bit showing around the edge.
-
Lay your card
blank on a long envelope (DL size) and use it as a guide to position
your three squares onto your card with foam pads. This way you know
your card will fit the envelope perfectly.
-
Finally embellish
each square with one of the luscious K&Company Wild Saffron Grand
Adhesions Leaves.
I love
these double sided papers, no longer do I have to hunt for coordinating
papers for my projects, it’s all done for me!
|