HomeBack

Design Team Projects

January 2008


January's  projects showcases four separate collections:

  • Karen Leahy worked with K&Co Smitten Collection

  • Lou Brigden worked with Basic Grey Two Scoops Collections

  • Caroline Scattergood worked with Imaginicse For Peeps Sake collection

  • Tracie Hudson worked with Imaginisce Loves Me & Smitten Collection

  • Karen Mortensen worked with a variety

Click on the pictures to see the projects.


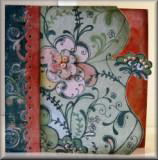
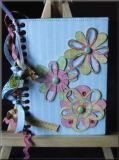
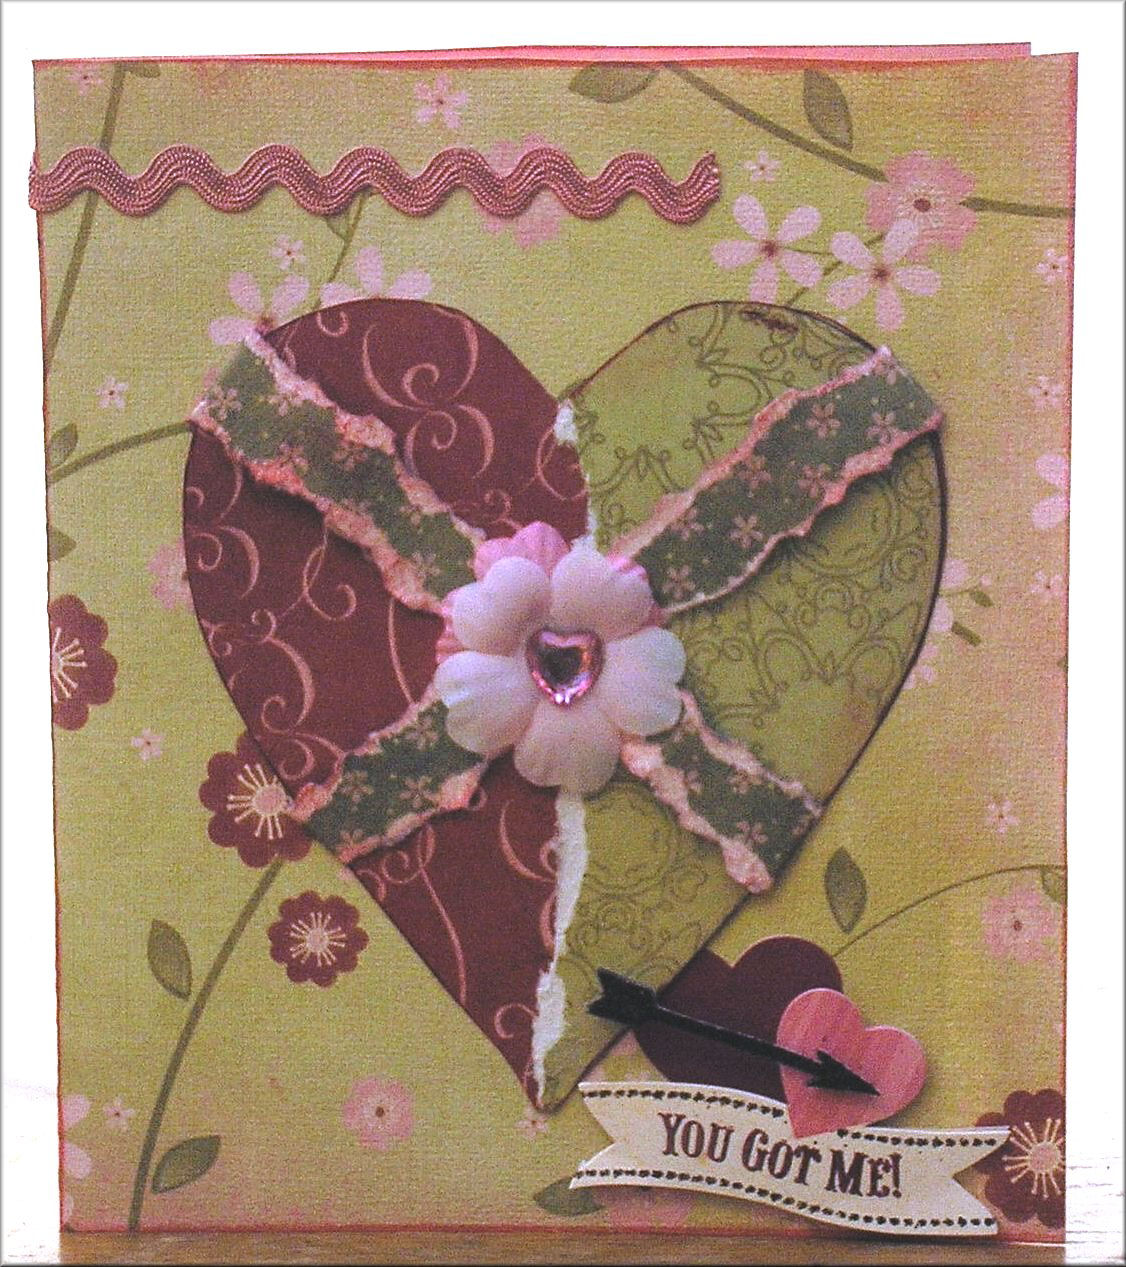
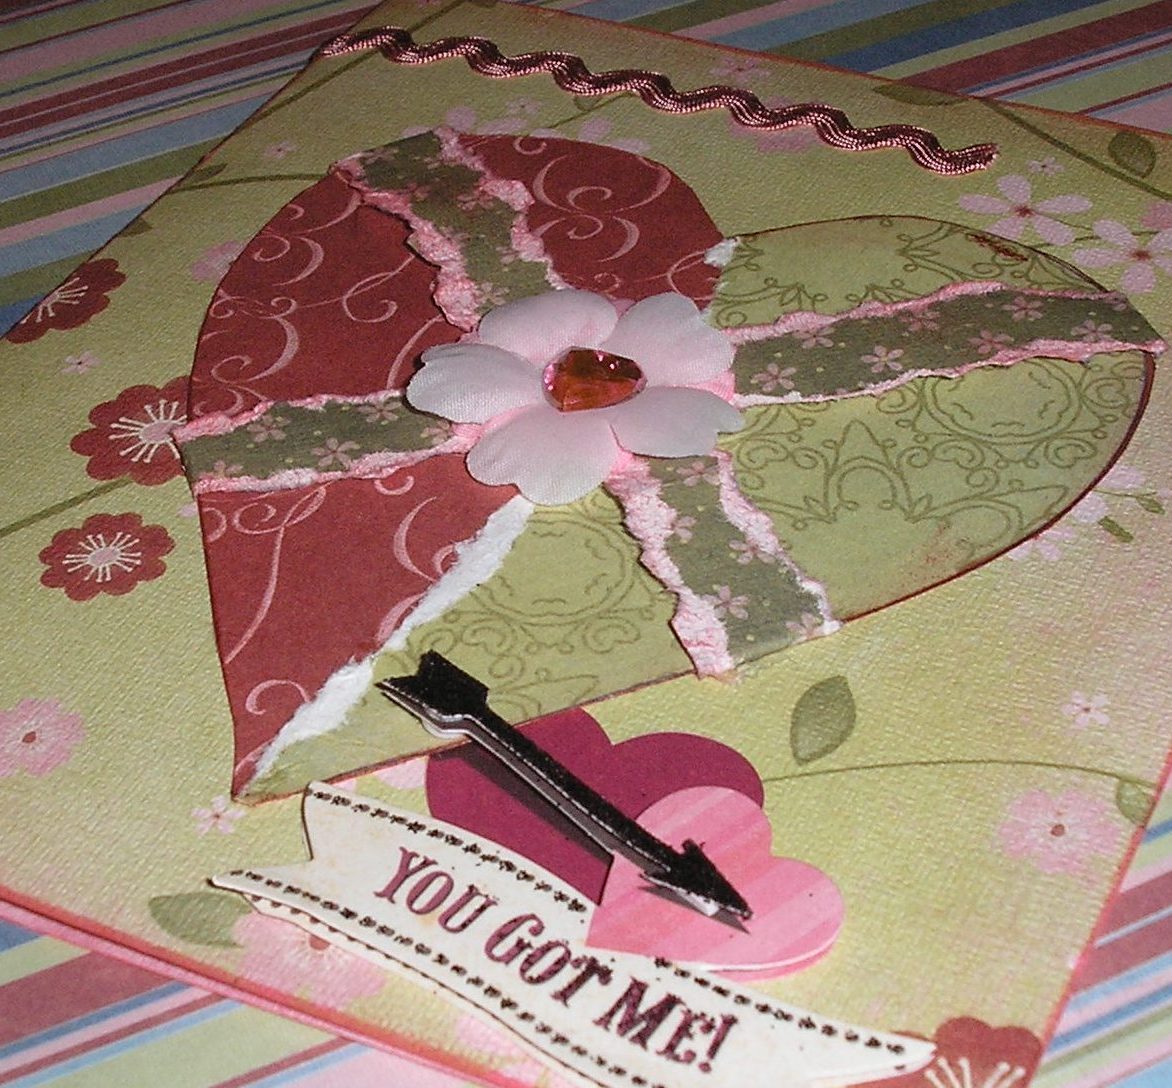
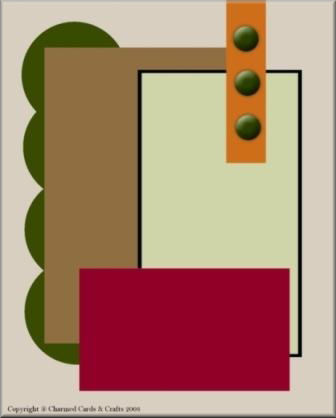
Project 1 - By Karen Mortensen

Products used:

Products used: Imaginisce "Loves Me" Collection, Basic Grey "Two Scoops" Chipboard and brads

       Click on picture to enlarge

         Project 1 Instructions:

  • Cut a piece of Imaginisce "So Happy Together" cardstock, making sure the top is an undulating line,  to measure approx 21cm x 30cm. Fold in half to make a card 21cm x 15cm. Cut out the top along the undulating line. Ink all edges of the card with gold metallic paint. Use a paintbrush to get a soft wispy effect.

  • Glue on pink Imaginisce ribbon (from the Ribbons & Blooms pack) on two of the undulating lines on the cardstock as shown.

  • Cut a round shape from a piece of bare 1.5cm thick chipboard. Paint or ink in burgundy. When dry paint with Tim Holtz Crackle Paint "Shabby Shutters". When dry top with a Basic Grey Two Scoop Chip Shape. Glue onto the top as shown.

  • Push a large yellow Basic Grey Two Scoops brad through three pink blooms from the Imaginisce Ribbons & Blooms pack and attach to card as shown. Stick on a blue and pink flourish from the Basic Grey Two Scoop pack as shown.

  • Cut out a piece of wording from Imaginisce "Words Can't Express" cardstock. Ink the edges in red and attach to card. You can mount on foam pads if so wished..


Back to Top


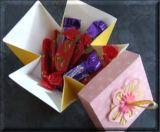
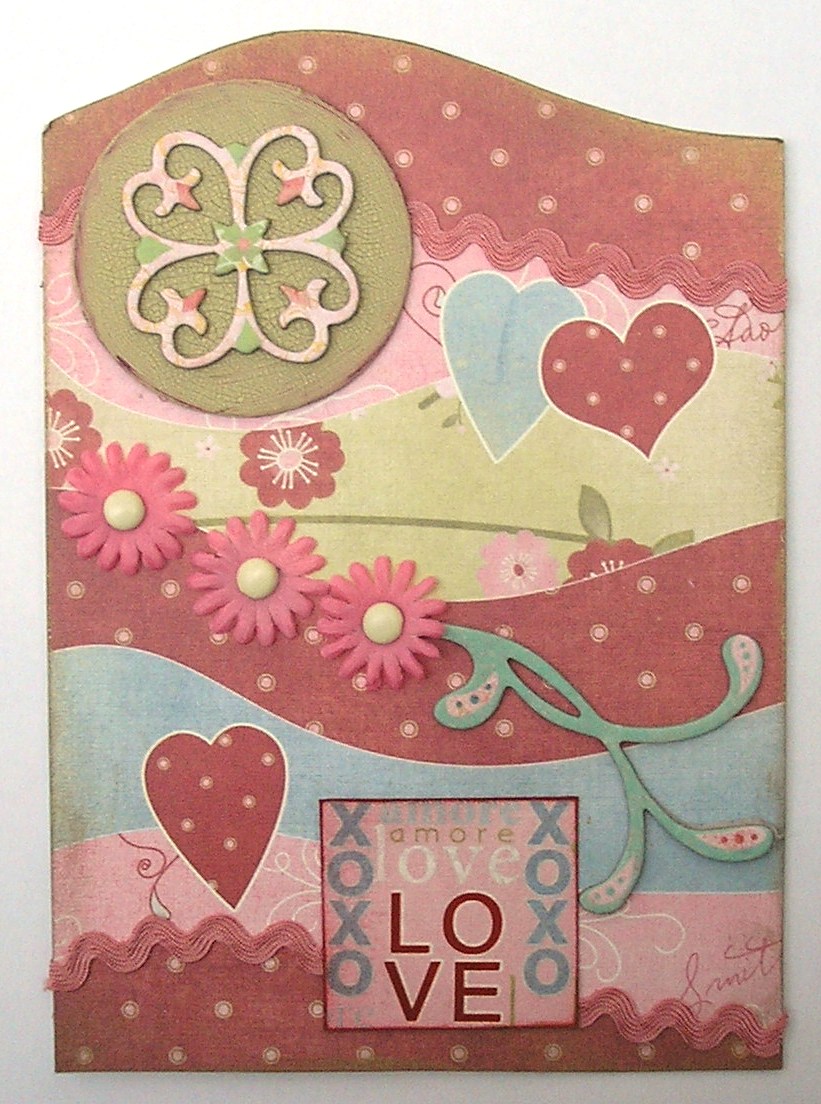
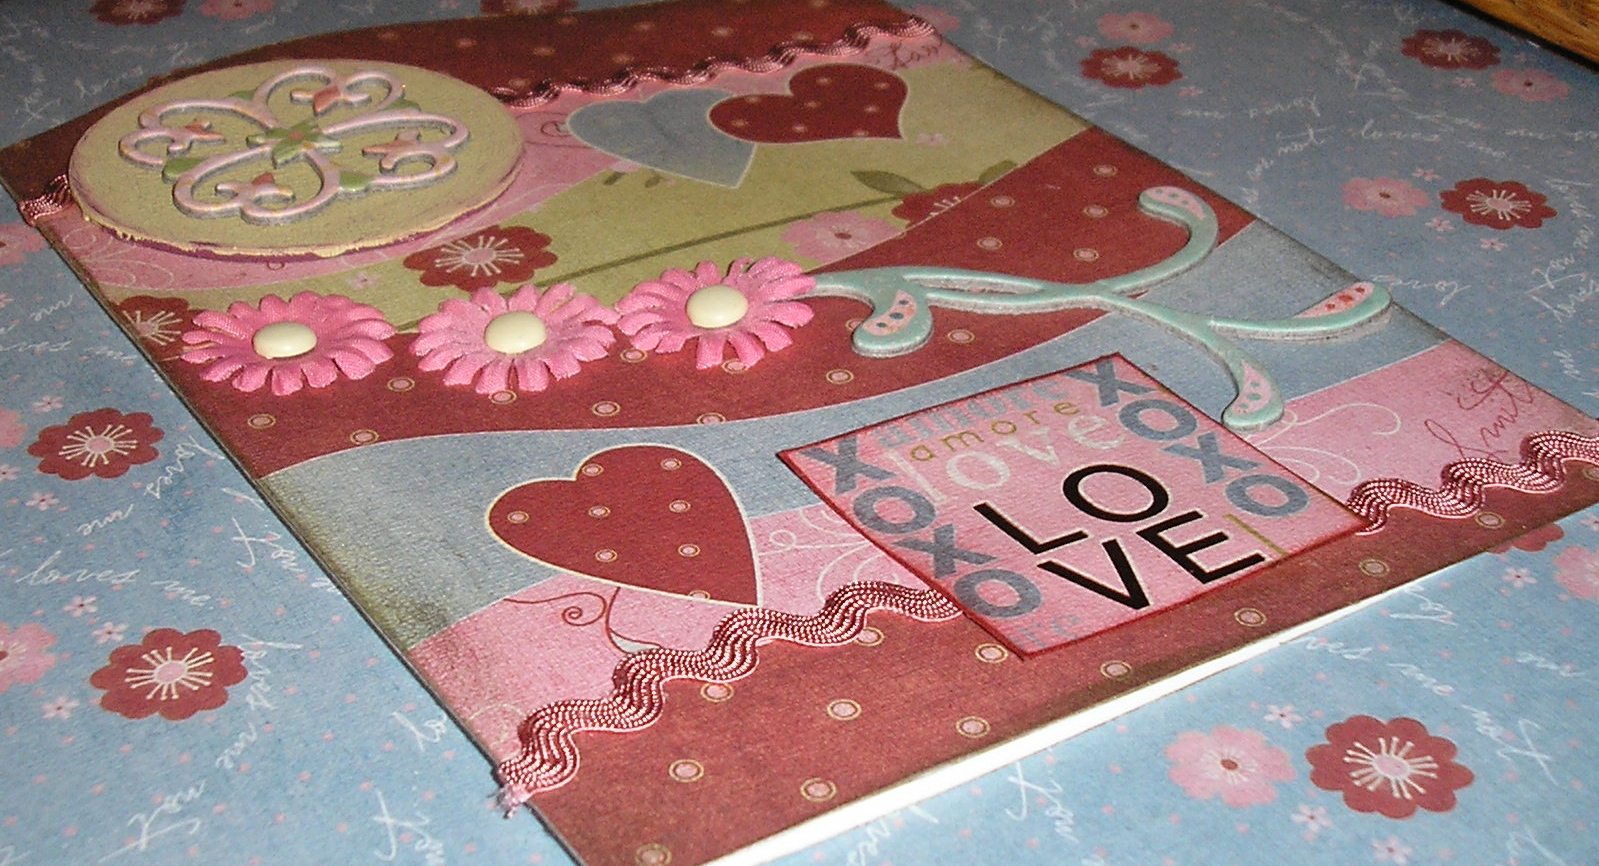
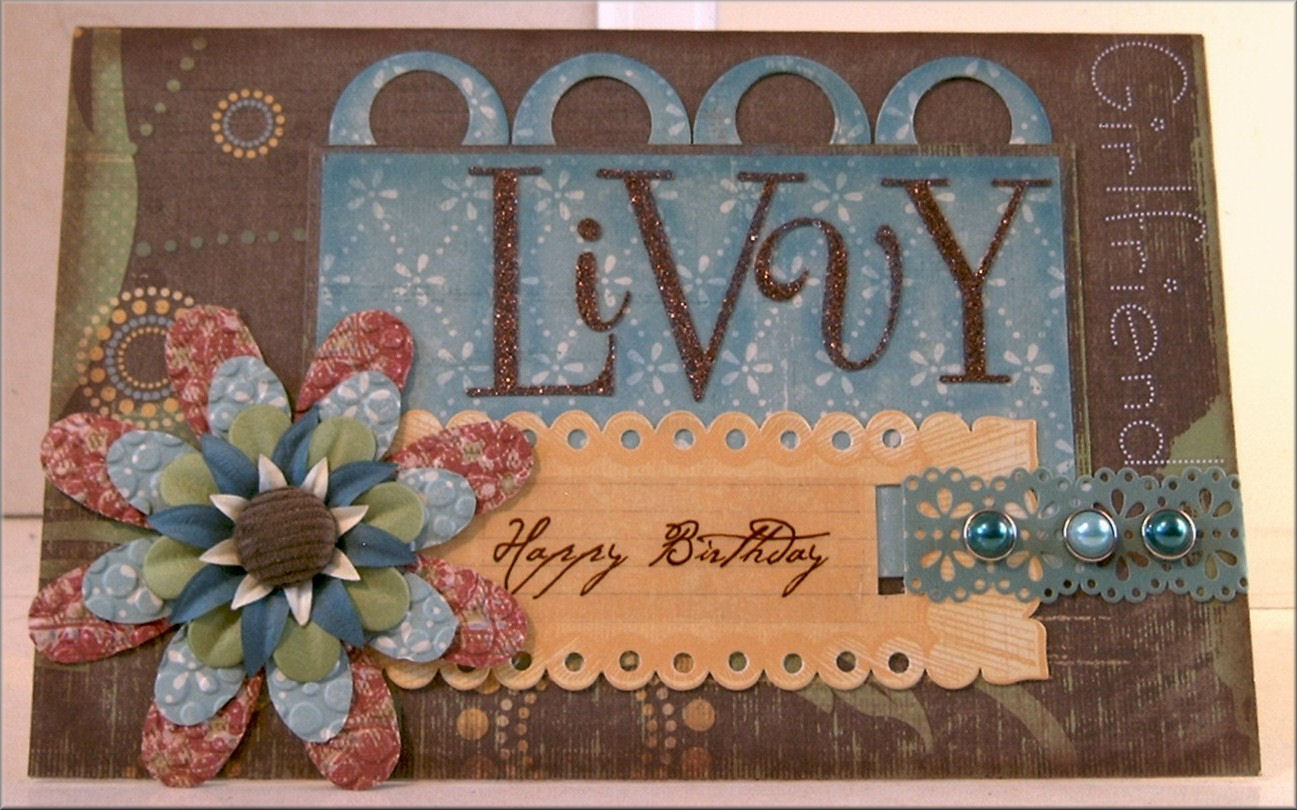
Project 2 - By Karen Mortensen

Products used: Imaginisce "Loves Me" Collection

                          Click on picture to enlarge

 Project 2 Instructions:

  • Cut a piece of Imaginisce "Love is in the air" cardstock into size 30cm x 18cm. Fold to make a card size 15cm x 18cm. Ink edges with pink ink.

  • Draw or die cut a heart made of two pieces of different Imaginisce paper, I used the reverse of "Words Can't Express" and the reverse of "Wild Hearts". Tear one of the pieces so that the white torn edge is visible.

  • Tear a long strip of Imaginisce paper, I used "Weak in the Knees", again with the white edges visible. Ink the edges lightly with pink ink. Wrap the strip around the heart to form an "X".

  • Stick on a "You got me" K & Co Smitten Grand Adhesion in the lower right-hand side. Stick the large heart to the card so it slightly overlaps as shown. Glue a small Imaginisce "Little Kisses" flower to the middle of the "X" and place a pink heart crystal from the "Loves Me" range in the middle.

  • Attach a length of Imaginisce "Loves Me" Ribbon (from the ribbons and Blooms pack) to the card as shown.


Back to Top


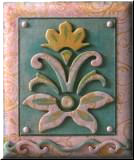
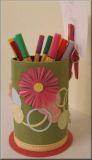
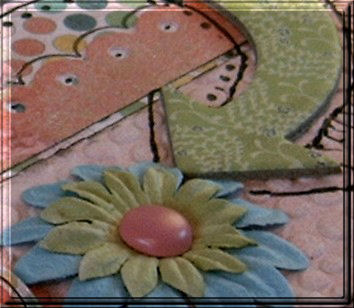
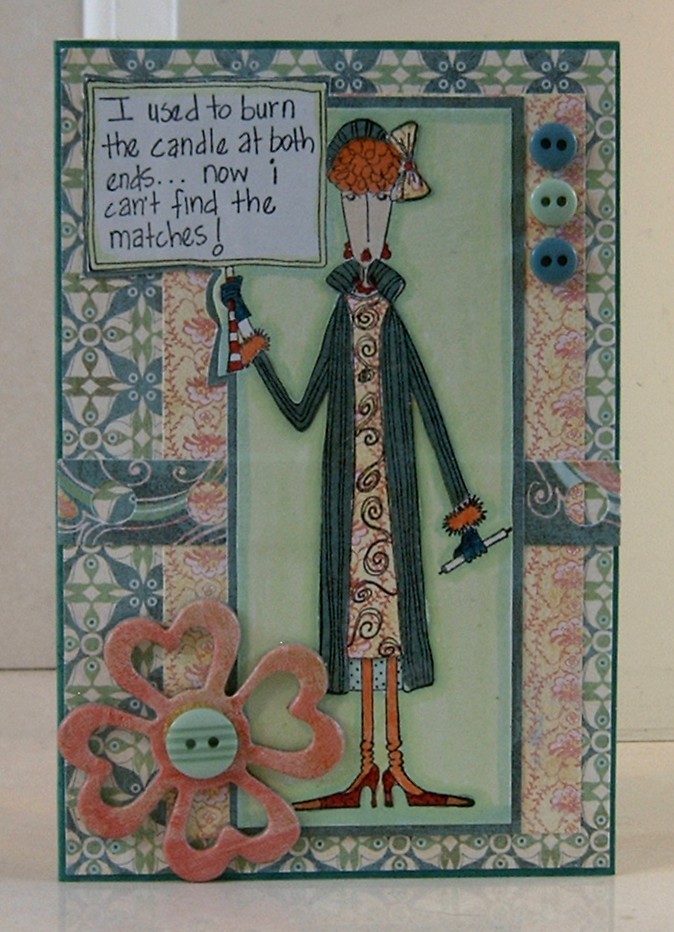
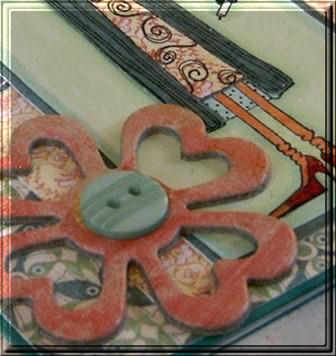
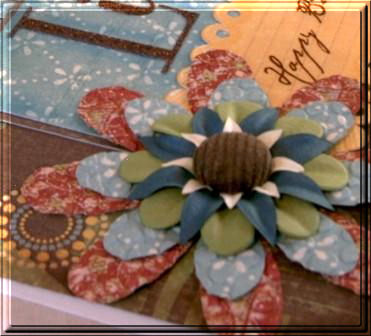
Project 3 - By Karen Mortensen

Products used: Basic Grey "Two Scoops" Collection

                          Click on pictures to enlarge

 Project 3 Instructions:

Papers used here from the Two Scoops collections are: Swirl, Spumoni, Mint Chocolate Chip, Sprinkles.
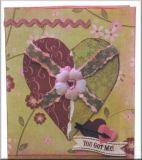
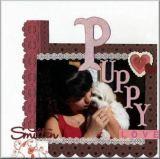
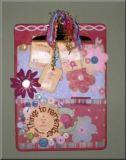
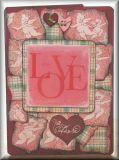
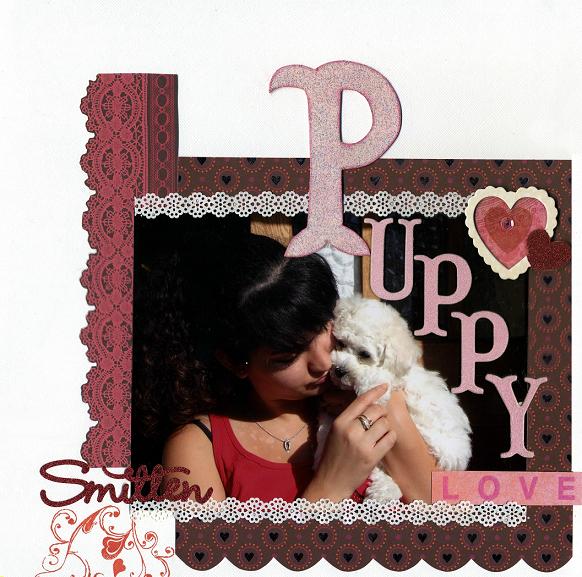
  • Using the "Swirl" paper as the base paper cut to size 21.5cm x 30cm, fold to make a card size 21.5cm x 15cm.Ink all edges with red ink.

  • Using the sketch below construct as follows: Dark Green circles: Mint Chocolate Chip (draw along the edges of the circles with a gold metallic pen as shown above), Brown piece: Sprinkles, Light Green piece: Spumoni. The Burgundy piece: Cut a piece of plain chipboard into size 9.5cm x 6cm and paint with Tim Holtz Crackle Paint "Shabby Shutters" (seal the chipboard first if very absorbent) Ink the edges with Red or Pink ink when dry.

  • Cut a strip of the Mint Chocolate Chip Paper and scrunch it up to distress. Ink edges and rub on the surface with Gold Metallic ink. Glue onto card. Attach a variety of small and large pink Two Scoops brads. Attach a chipboard turn from the Two Scoop Chipstick pack to the bottom small brad.

  • Adhere the card to a base card (Bazzill or similar).

  • All the chipboard pieces, including the "Be Mine" wording are from the Two Scoops Chipstick pack. Rub them all lightly with gold metallic paint along the edges and attach as shown.


Back to Top

Project 4

Puppy Love by Karen Leahy

Products used: K & Company Smitten Collection

                          Click on picture to enlarge

 Puppy Love Instructions:

I used a sheet of white cardstock and the following two papers from the K and Co Smitten range: Smitten Mini Hearts Foiled and Smitten paper Love Thermography
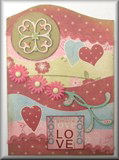
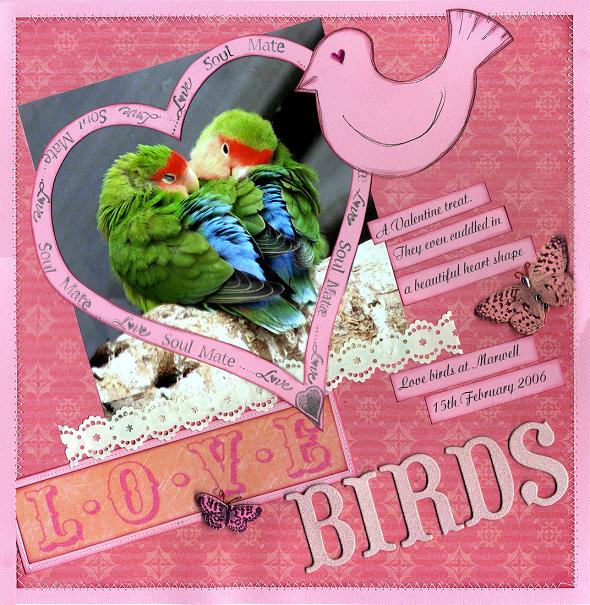
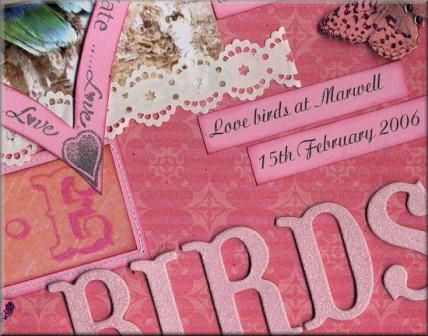
  • The embossed paper was so easy to cut into scallops as you just followed the circle design. No need for a cutter, a template or anything. Just cut according to the pattern on the paper. Likewise the lacy stripes flat paper was begging to be cut out along the lacy edge.

  • Stick the two pieces  of patterned paper onto the card at right angles to each other.

  • Mount the picture on the background and then ‘seal’ the top and bottom edges of the picture with two strips of the white adhesive Smitten Paper Ribbon which is so pretty and so easy to use.

  • I handcut a larger P, inked it and embossed it with stardust embossing powder to tone it in with the K and Co Smitten chipboard letters and then adhered the "P" and the chipboard letters onto the picture. The word "Love" was cut from the sheet of Smitten

  • The page was finished off with some swirls from a stamp set, one of the Smitten chipboard hearts and the beautiful glittery word ‘Smitten’ which just sums up how Kyla feels about her lovely little puppy Buttons.


Back to Top

Project 5

Love Birds by Karen Leahy

Products used: K & Company Smitten Collection

                          Click on main LO picture to enlarge

Love Birds Instructions:

It was too cute for words to see these two love birds making their little heart shape at Marwell the day after Valentine’s day.
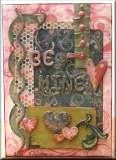
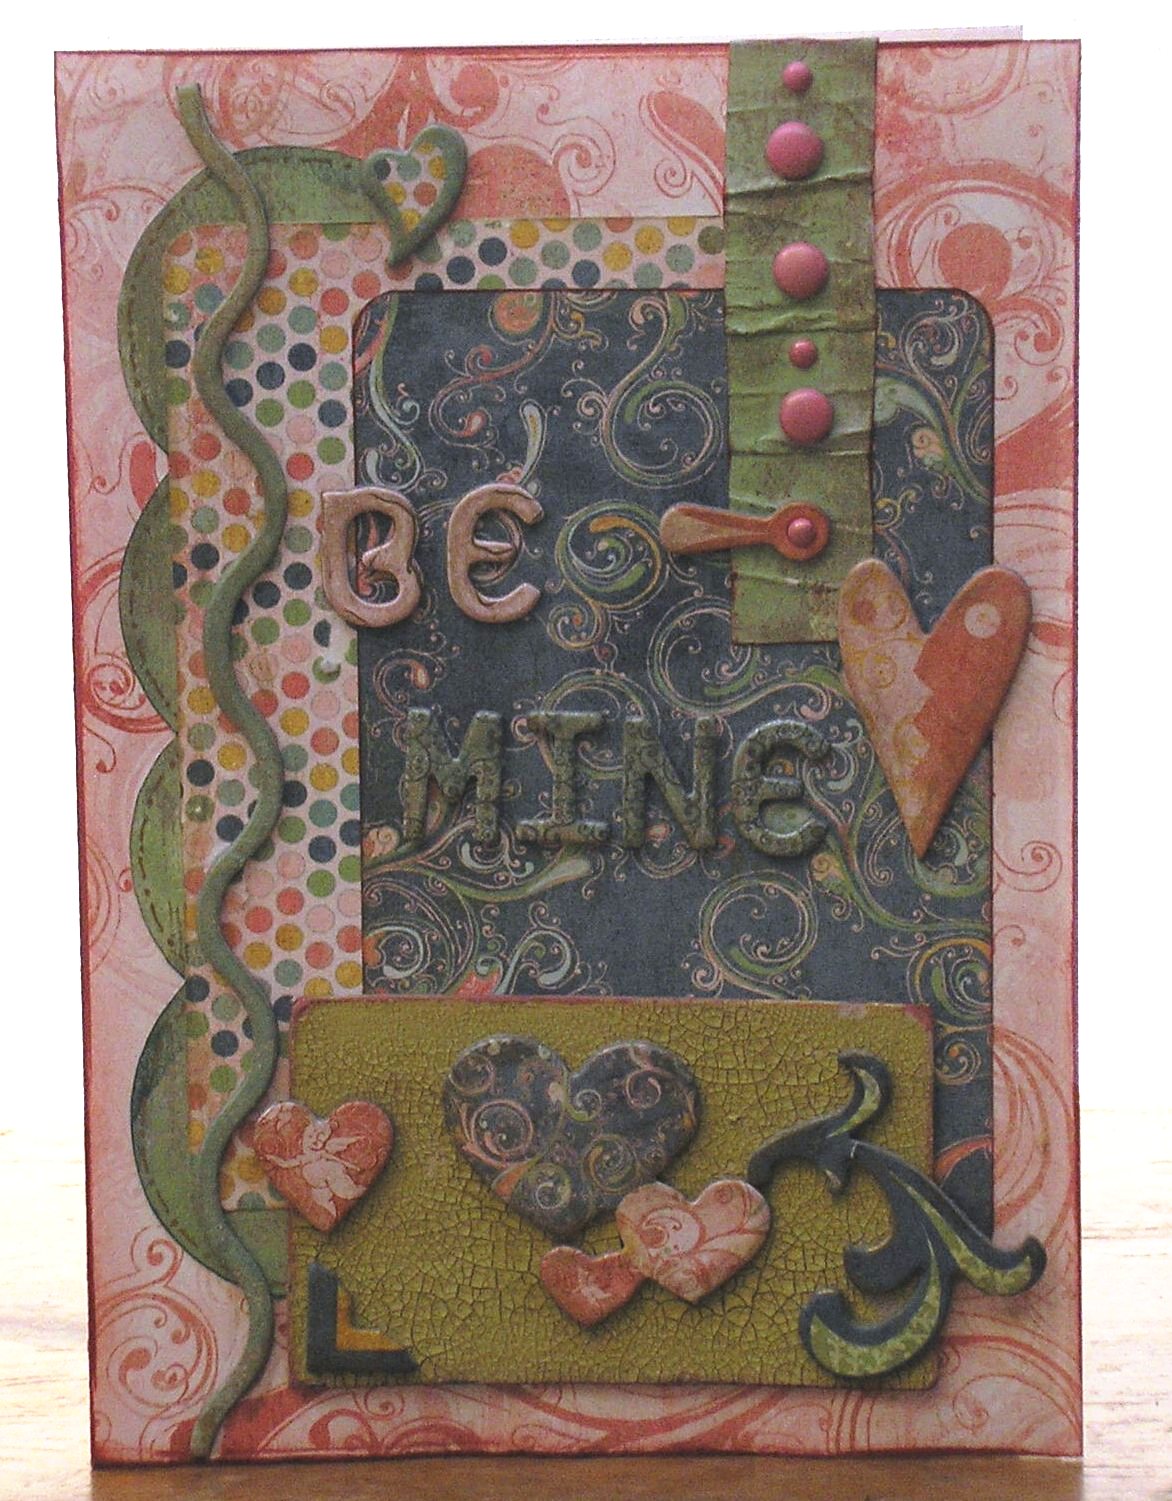
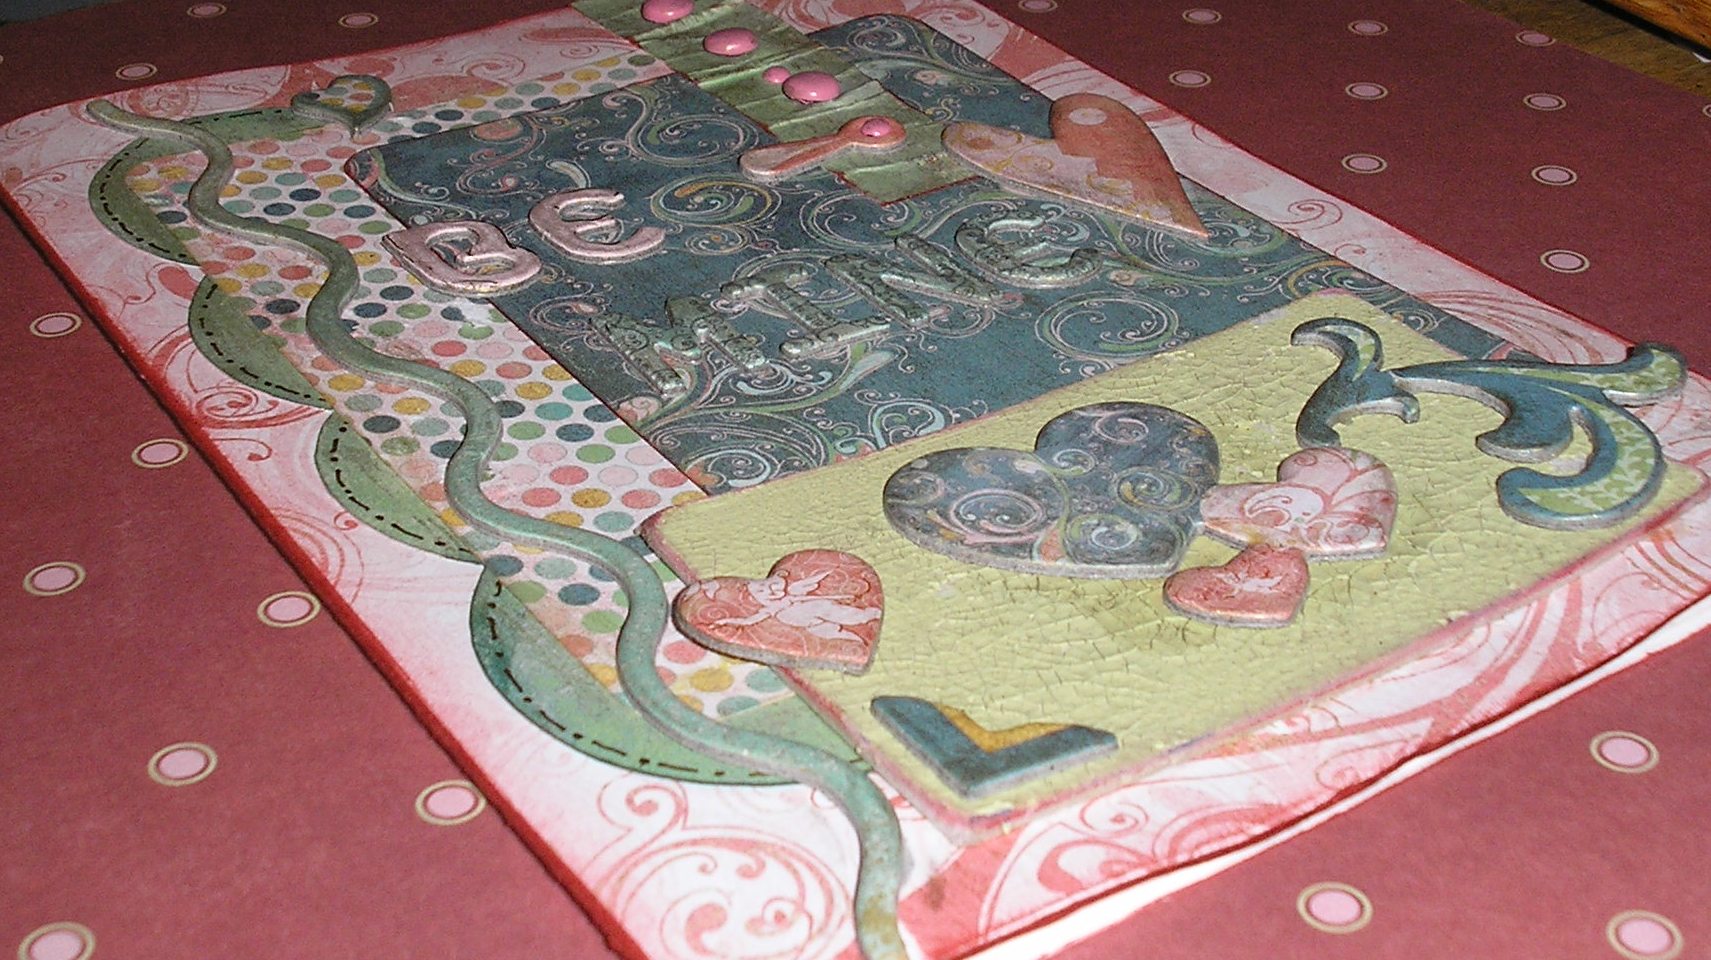
  • I mounted a sheet of Smitten Flourish flat paper onto the card background, having cut it down to an 11 ½ “ square. I sewed round this join.

  • The heart was cut out of pink cardstock and stamped with love words and added as a frame for the main part of the picture.

  • A strip of the K and Co Smitten white adhesive Paper Ribbon softened the edge of the pictures and also tied the word LOVE, cut from the Smitten Love Thermography sheet, in with the page as a whole.
    I used some of the Smitten Grand Adhesion butterflies and a quirky little hand cut cardstock bird, with a shiny heart for an eye, and the rest of the title was created using the fabulous Smitten chipboard letters. You gotta love that gentle bling!


Back to Top

Project 6

Be Mine card by Karen Leahy

Products used: K & Company Smitten Collection


    Click on picture to enlarge

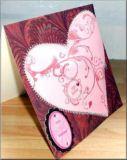
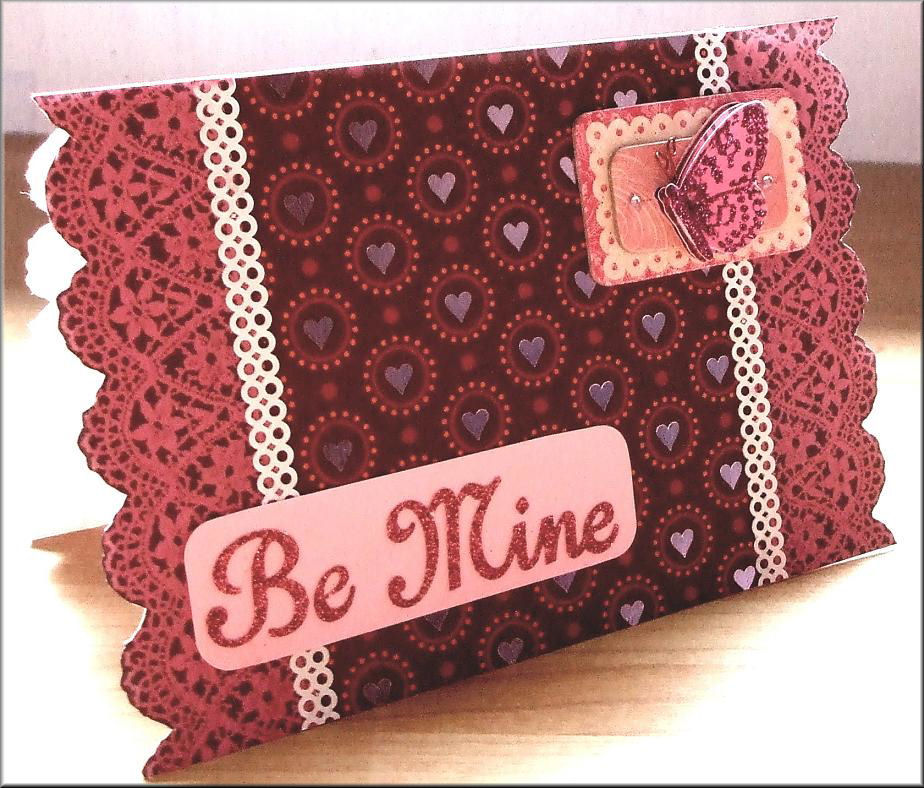
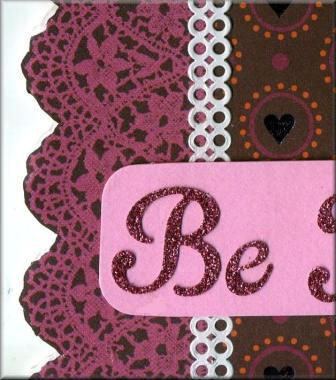
 Be Mine Card Instructions:
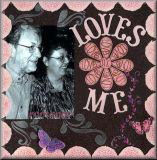
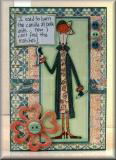
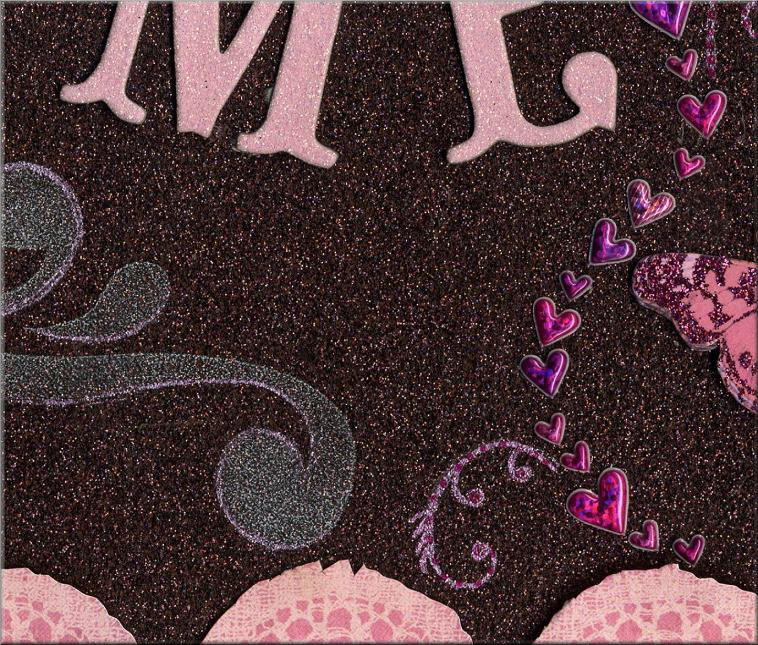
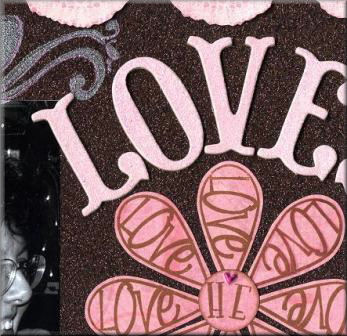
  • Stick a wide strip of the Smitten mini hearts foiled paper down the centre of a card.

  • Stick a strip of lace from the Smitten White Paper Ribbon down each side of the card and then trim the edge of the card, when folded so you cut both front and back, around the lace to give the card a lacy edge.

  • Mount the "Be Mine" sparkly Smitten sticker onto a scrap of coordinating card and stick to the card.

  • Use one of the Smitten chipboard tags, topped with one of the Grand Adhesion butterflies, as the element to balance the sentiment.


Back to Top

Project 7

He Loves Me by Karen Leahy

Products used: K & Company Smitten Collection

Click on pictures to enlarge

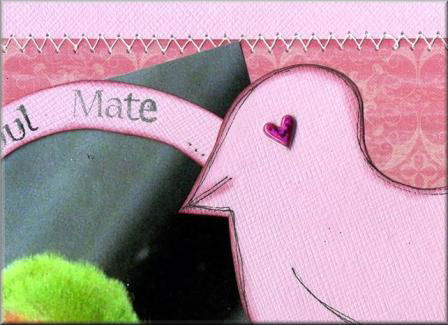
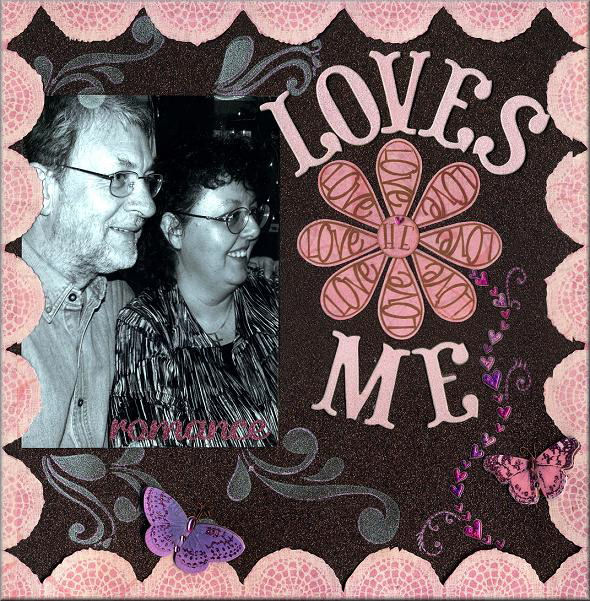
 He Loves Me Layout Instructions:

I wanted this page to be a play on the old daisy game – he loves me, he loves me not – but only with the positive of course!

I used the gorgeous Smitten brown glitter paper for the background. It takes a bit of encouragement to get things to stuck to it, but it is worth the effort for the finished effect. I trimmed the border from a sheet of Smitten Butterflies paper and stuck the lace all round the edge of the page, tucking in the picture underneath. I cut out petals and made the flower, using the centre of the butterfly paper which was just plain pink.

Instead of a stitched or ribbon stem I used the wonderful shiny little Smitten heart stickers to make the stem and finished the page with Grand Adhesion Butterflies, the Smitten chipboard letters and lots of stamped swirls outlined in soufflé pens. The sad thing is that, unless seen in real life, you just can’t see the sparkle this page has.
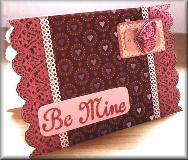
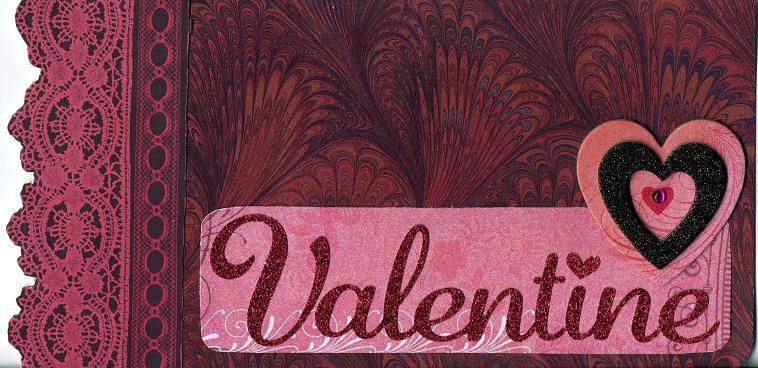
   

Back to Top

Project 8

Valentine Card by Karen Leahy

Click on picture to enlarge

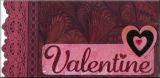
 Valentine Card Instructions:

Products used: K & Company Smitten Collection

I loved the effect of the lace edge on the card so couldn’t resist using up another scrap of the lace paper on this card, this time teamed with the smitten marbled paper which gave a more masculine feel. It was a very simple card to make with just the Valentine word added, on a piece of scrap pink paper from the butterfly paper, and one of the fabulous chipboard hearts.


Back to Top

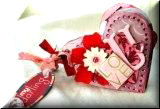
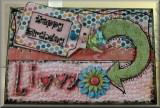
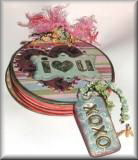
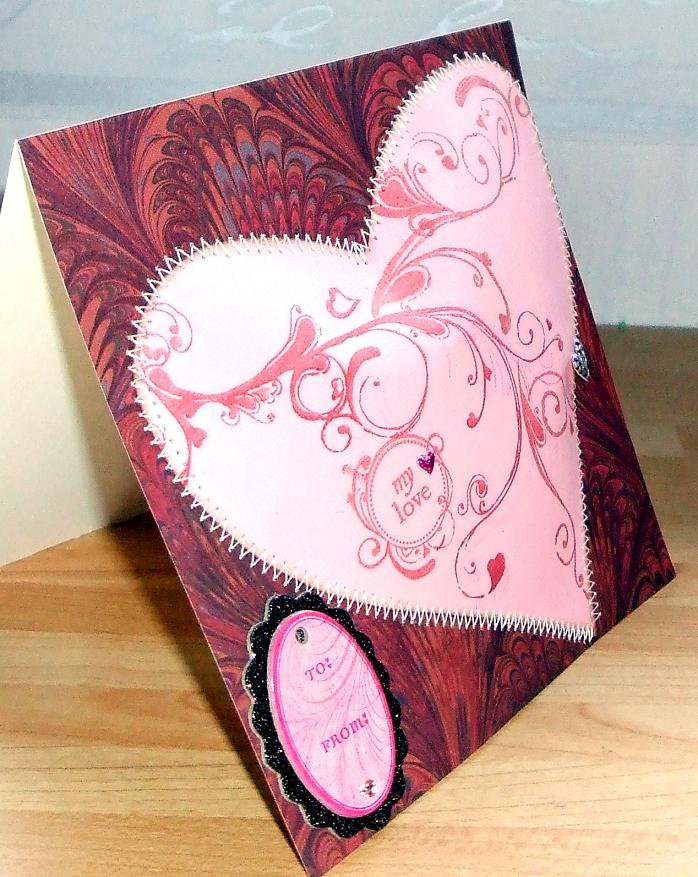
Project 9

Padded Heart Card by Karen Leahy

Click on picture to enlarge

Padded Heart Card Instructions:

Products used: K & Company Smitten Collection

I remembered the padded cards you used to see when I was younger and thought it would be fun to try and achieve that effect.
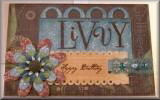
  • I cut a heart from cardstock and stamped it all over with Basic Grey Two Scoops Clear Stamps.

  • I then stuck cotton wool padding to the back, leaving a gap about 1/8” from the edge all the way round.

  • I covered a square card with the marbled paper and then sewed the padded heart onto the card. It was a little fiddly, but with gentle encouragement it worked. There was one little pucker, but I covered it with a heart sticker.


Back to Top

Project 10

Kiss by Karen Leahy

Click on picture to enlarge

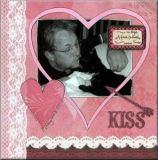
Kiss Layout Instructions:

Products used: K & Company Smitten Collection

This is a very special picture of Simba, a fur baby we lost in 2003, the day after this picture was taken. It really was a kiss goodbye.

I used the Smitten paper Pretties, cutting it down as this is an 8” x 8” page.

I cut a cardstock heart (it is actually the remains from the heart used on the padded card and the Love Birds page) and framed the picture with it.

I added some of the paper lace and another strip of the lacy paper at the bottom and used the words from the sticker sheets as a title. As the words and the arrow didn’t stand out so well, I outlined everything in fine black journaling pen.


Back to Top

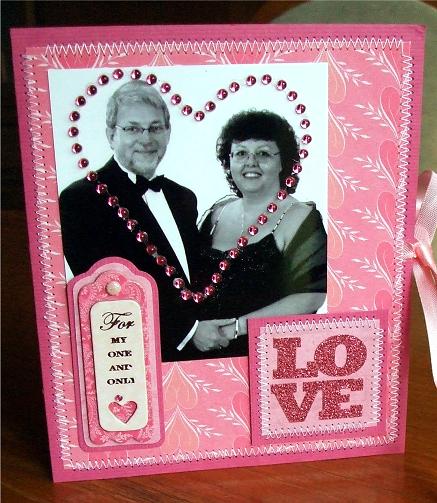
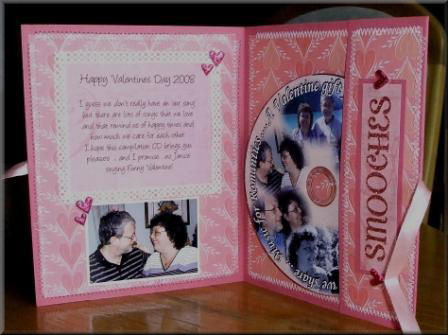
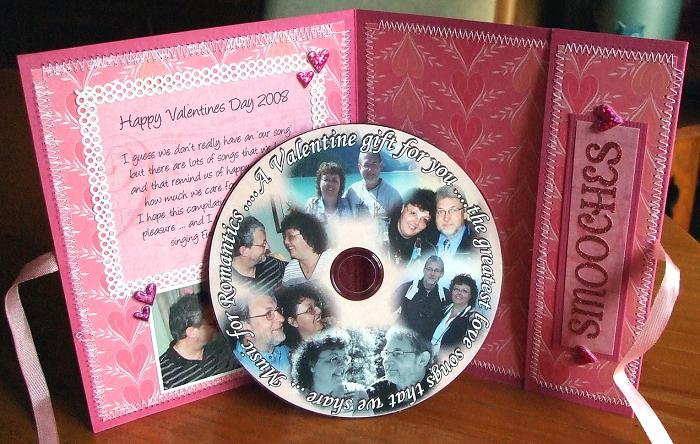
Project 11

Valentine Gift CD and case by Karen Leahy

Click on picture to enlarge

Front Cover

Inside

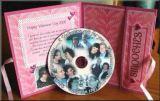
Valentine Gift CD Instructions:

Products used: K & Company Smitten Collection

This make a quick and very simple gift for any occasion, but I thought it would be nice to make Nigel a CD of some of our favourite songs for Valentine’s Day .

I made the cardstock folder using pink cardstock and the Smitten Heart Stripe paper following the downloadable instructions and template here

I stitched all round the edge of every side and then embellished the front with a photo of my husband and I, circled with the gorgeous heart gem sticker, and one of the cardstock stickers, mounted on contrasting card. I used one of the glitter sticker words on both the inside CD flap and on the front cover.


Back to Top


Project 12

By Louise Brigden

                      Click on picture to enlarge


Project 12 Instructions:

Products used: Basic Grey "Two Scoops" Collection

  • Make a square 137mm card blank and cover the front in ‘A la mode’ paper, positioning it so that the flower is in place to cut away (see image)

  • Following the design on the paper cut away the right hand side of the front of the card as shown then chalk all the edges with Dovecraft chalks.

  • Apply some coordinating paper to the inside of the card.

  • Now make a fold in the front of your card, about an inch in from the edge, stick it down on the inside of the card. Cover this newly created spine with some coordinating paper and add a decorative border (from the Two Scoops element sticker sheets) along the fold.

  • To finish it off add a matching sticker (also from the elements sticker sheet) on foam pads to the large flower .Embellish with some adhesive stones.


Back to Top


Project 13

By Louise Brigden

              Click on picture to enlarge


Project 13 Instructions:

Products used: Basic Grey "Two Scoops" Collection

  • Take an A5 card blank and cover it, as shown with two coordinating papers from the Two Scoops range, emboss the plain paper before you attach it .

  •  Hide the join with a decorative border from the Two Scoops Element sticker sheets.

  • Now decorate it with;

    Two Scoops Chip Sticker- green arrow

    Tag- with Two Scoops fibres added

    Sentiments of your choice.

    Two prima flowers, layered and attached with a ‘Two Scoops’ brad


  • To make it funky add your own doodling around the top edge of the card and around the arrow. I’ve also inked the edges but of course, as with the doodling this is optional.


Back to Top


Project 14

By Louise Brigden

                       Click on picture to enlarge


Project 14 Instructions:

Products used: Basic Grey "Two Scoops" Collection

  • Make a side fold card blank measuring 9cm x 13.4cm. Cover it with Two Scoops-‘Water Melon Ice’ paper, leaving a very thin edge of the card blank showing.

  • Layer a piece of coordinating paper measuring 7cm x 12 cm onto your card, slightly off centre as shown.

  •  Stick a decorative border sticker from the Two Scoops element sticker sheets onto your card horizontally, just lower than half way.

  • Now stamp your image (mine’s Stamps Happen – Burn the Candle) onto white paper with black ink, then again onto two coordinating papers for the clothes. Carefully cut out the clothes from the patterned papers and stick them onto your white image. Now colour in the remainder of your picture with Dovecraft markers, I used pastel green for the background.

  • Cut out your image as shown, layer it onto a darker paper, cut out again- leaving a 2mm border and attach it to your card.

  • Add a Two Scoops chip sticker flower to the bottom left corner then add a Two Scoops button to the centre. Add three more buttons in a row in the top right corner.

  • Finish off your card by applying  some ‘Glossy Accents’ onto parts of the stamped image and leave it to dry.


Back to Top


Project 15

By Louise Brigden

                       Click on picture to enlarge


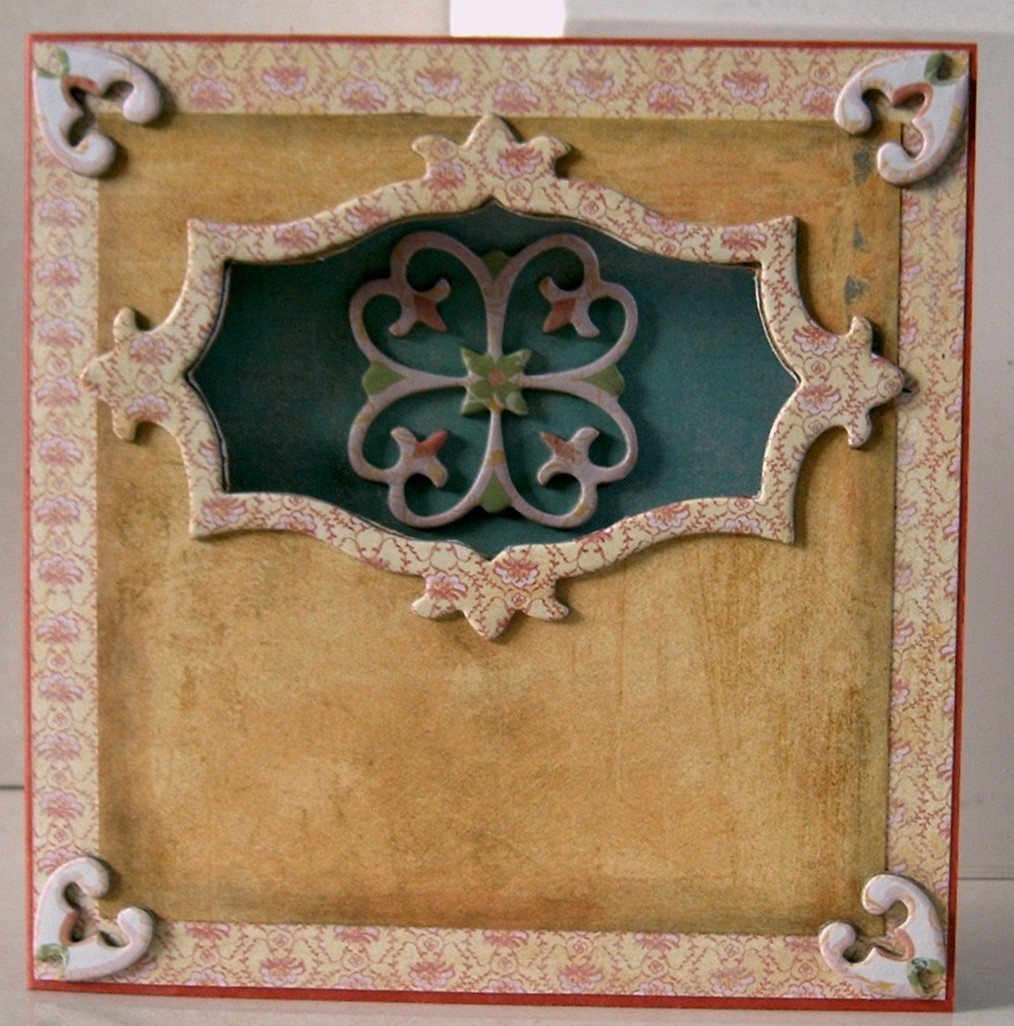
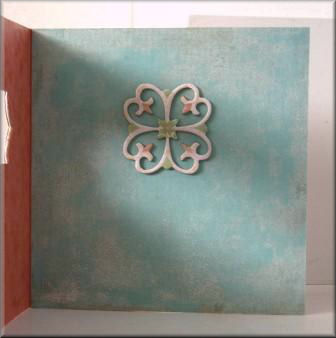
Project 15 Instructions:

Products used: K&Company's Wild Saffron Collection and Margo Collection

  • Cover an A5 card blank with K&Co- Wild Saffron – Green Swirl paper.

  • Double layer a 11.5 x 6.5 cm rectangle of two coordinating papers. Using a 1” circular punch make 4 circles In the same paper that you’ve just used for your rectangle.  Now, if you have a smaller hole punch make a hole inside each of your circles (optional). Attach these to the back/top of the rectangle.

  •  Now fix the whole thing, slightly offset onto your card. Add your chosen name or sentiment in brown K&Company glitter stickers.

  • Now take a Wild Saffron Die cut tag, cut a slot and thread it with some Wild Saffron paper ribbon. Now fix the tag, again slightly off set as shown.  Stick down the ribbon. Add sentiment.

  • Make two paper flowers – big and small. Dry emboss them to give texture then layer them, finishing off with a Margo – paper flower brad. Attach to the bottom left corner.


Back to Top


Project 16

By Louise Brigden

                       Click on picture to enlarge

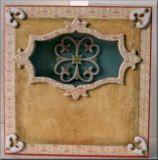
Project 15 Instructions:

Products used: Basic Grey "Two Scoops" Collection

  • Make a square 14.5cm side fold blank in a colour that compliments your chosen papers.

  • Cover it in Two Scoops paper – I used Dreamsicle, leave a small border of your base card showing.

  • Now layer another, smaller square of Two Scoops Paper on top –I used Butter Pecan.

  • Chalk the edges.

  • Take the patterned frame from the Two Scoops chip sticker set and lay it in position, sticky side up and draw around the inner edge.

  • Put the frame aside and cut around your pencil lie with a craft knife.

  • Now stick the frame in position.

  • Cover the inside of your card with Two Scoops- Non- Fat- Yoghurt paper.

  • With the card closed position the flower chip sticker within the aperture.

  • Use the waste pieces from inside the flower as decorative corners.

Note. I decided to leave the space under the aperture empty because I thought it looked elegant that way, but there is easily enough space to add a sentiment if you wish.


Back to Top


All projects copyright ® Charmed Cards & Crafts. All rights reserved.


Top 50 Scrappers