|
|
|
|
|
Charmed Cards & Crafts October 17 Kit Project Instructions
These are the instructions for using our October 17 Kit. The kit is based on the Basecoat collection by Kaisercraft. Our design team member Cal Summer used the kit to create four layouts from her sketch.
© Charmed Cards & Crafts 2017
|

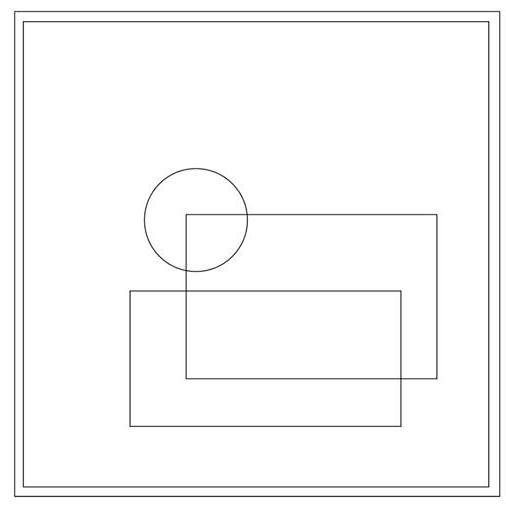
Basecoat Sketch. Carolyn used this simple sketch to create four, very different, layouts.
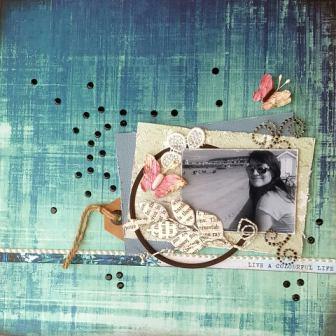
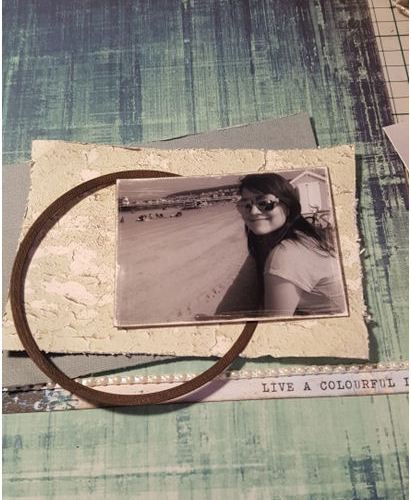
Layout One – “Live a Colourful Life”
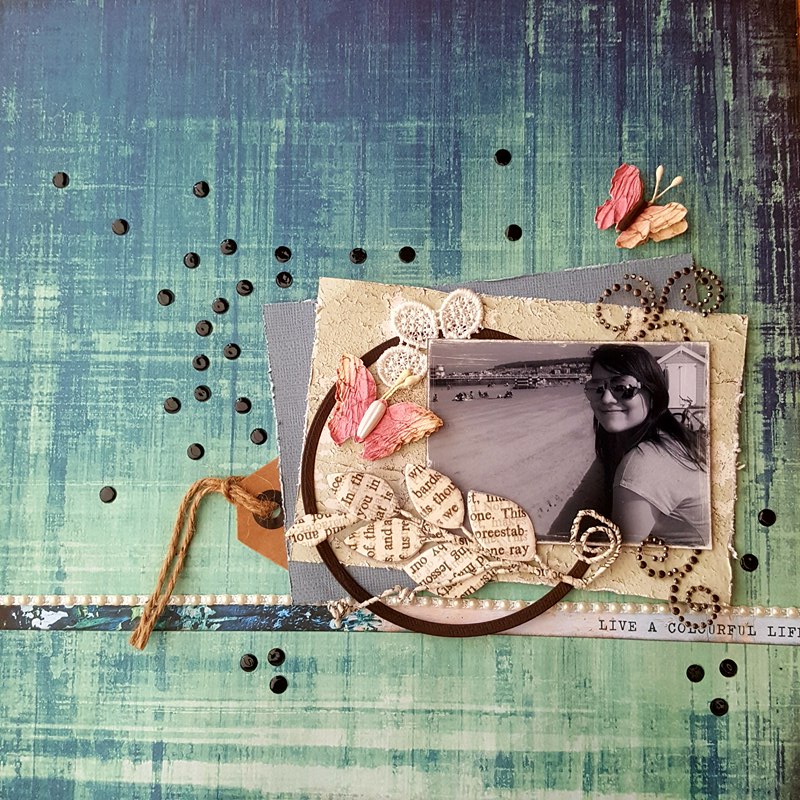
Papers Used: "Scraped" - "Metal Panels"(b side) plus sentiment strip at bottom of page - Plain cardstock “Elephant Ears”
All embellishments are from the kit.
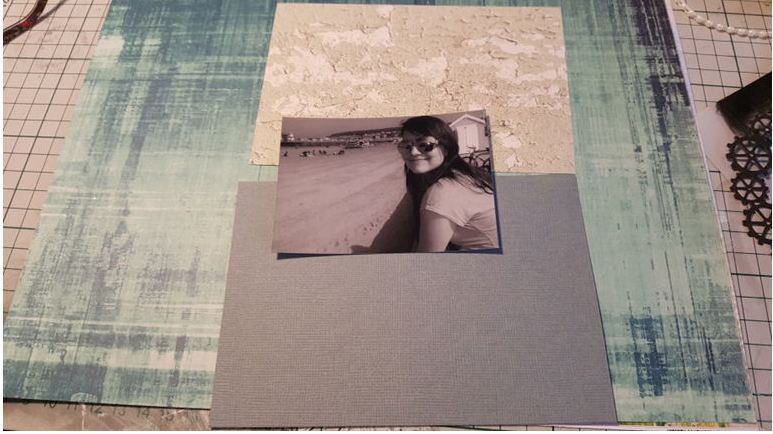
1. Crop your photo to the desired size and distress the edges using a nail file.
Cut two pieces of paper roughly 6x4 inches from the plain cardstock “Elephant Ears” and the patterned paper “Metal Panels” (I used the “b side”).
Distress the edges with the edge of one of your scissor blades.
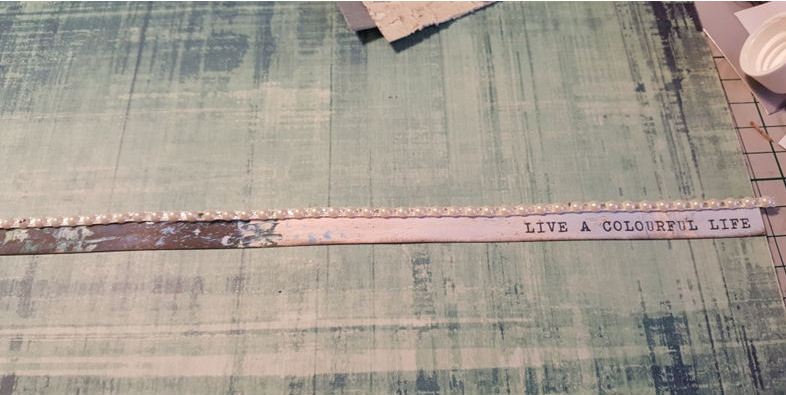
2. Take the sentiment strip from the bottom of the “Metal Panels” paper and adhere about one third of the way up your “Scraped” paper.
Adhere the pearl strand from your embellishment pack to the top of the strip.
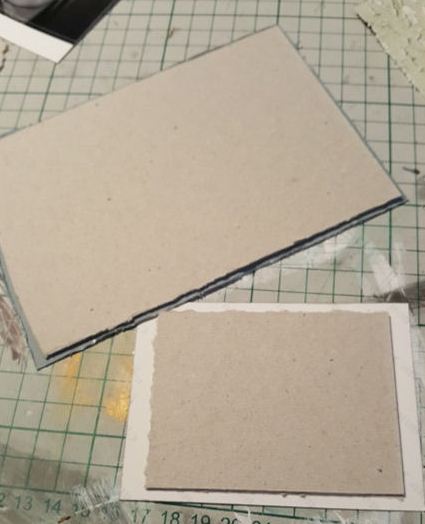
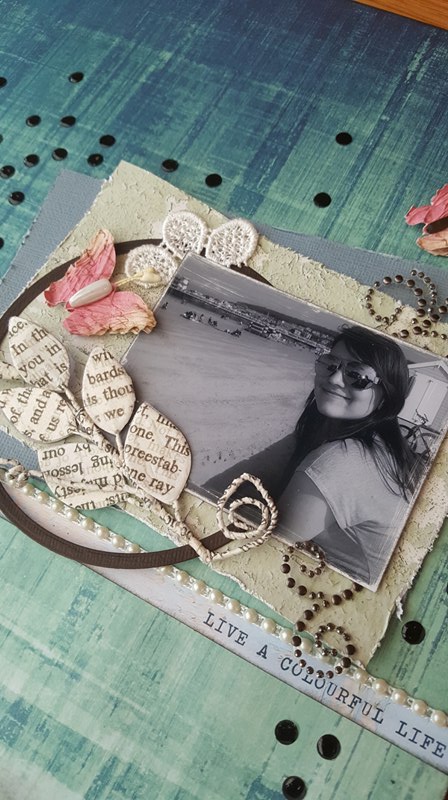
3. Glue some chipboard off cuts to the back of your photo and the “Metal Panels” paper to give them some depth.
4. Start to layer up your page. On top of the “Scraped” paper just above your sentiment strip and on the right hand side add your “Elephant Ears” piece at an angle.
On top of that layer the “Metal Panels” piece and then your photo. I used the outside part of the clock die cut from the embellishment pack and coloured it black, and then slipped it underneath my photo on the left hand side.
5. Add various embellishments – cut the Prima lace flower in half and slip under the top left corner of your photo.
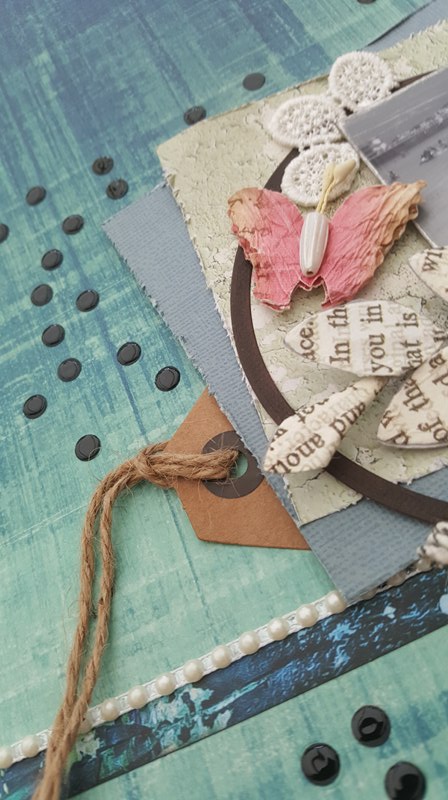
Add two of the Prima gem flourishes (I kept mine on the acetate and cut round them).
Add the two Petaloo butterflies and Prima paper leaves.
Tug the brown tag behind the stack with your journalling.
Finally, I scattered punched circles from my hole punch onto the page and added some glossy accents on top.
Your layout is now complete.
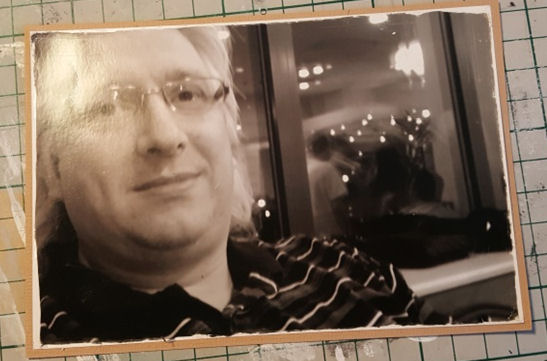
Layout Two – “My Husband the Engineer”

Papers Used: "Boardwalk" - "Derelict"(b side) - Plain cardstock “Pebble”
All embellishments are from the kit except for the word "engineer".
1. Distress the edge of your photo with a nail file, then mat it onto some of the “Pebble” paper.
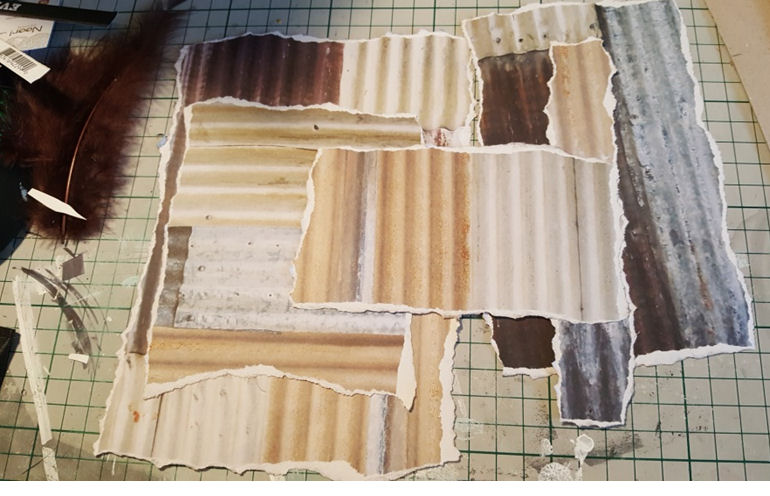
2. Tear your “Derelict” paper into five pieces of differing sizes. If you tear the paper towards you on the side you want to use you will find it leaves you with the white inside of the paper showing which can be a very nice effect.
3. Glue some chipboard off-cuts to the back of your photo (not included in kit) and several of the “Derelict” pieces to give them some depth. Then layer them up and glue on top of each other ending with the matted photo.
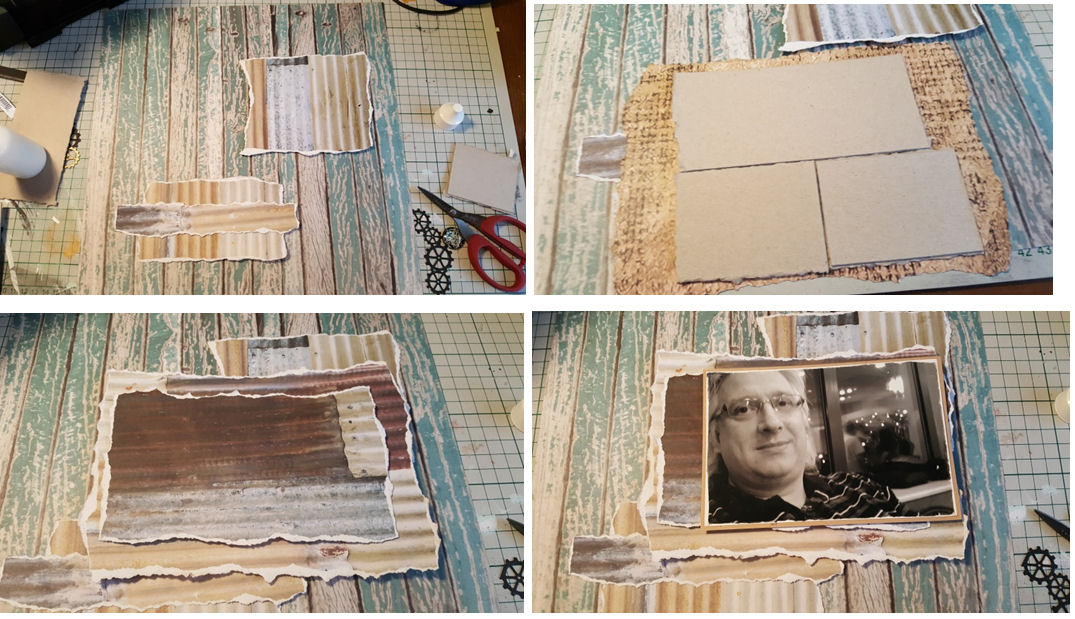
4. Add embellishments to your page.
I cut about a quarter of the cogs die cut away and put the larger piece at the top left hand side of my photo. I added the smaller off-cut to the bottom right.
I then added the metal cogs, the cabochon and some more of the cog die cuts to my page.
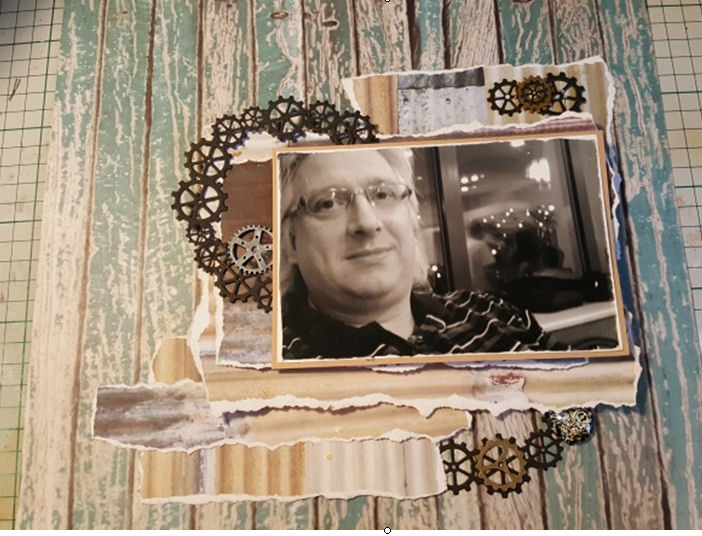
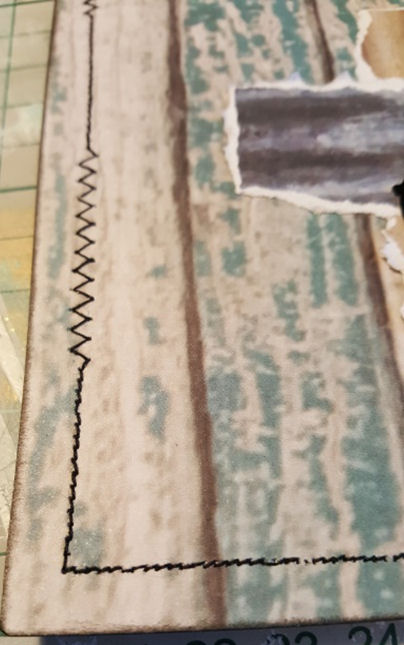
5. Finally I used my sewing machine to sew around the outside edges of my page,. If you do not have a sewing machine you can draw the stitches on and it will still have a good effect.
I also added the title from some old letter stickers I had in my stash. Lastly I inked the edge of my paper for definition.
Your layout is now complete.
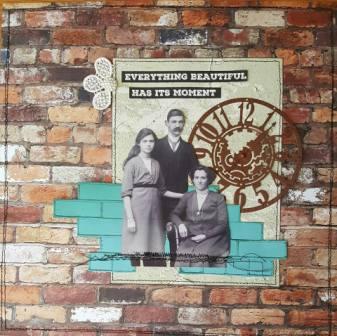
Layout Three – “Time for Family”

Papers Used: "Knotted wood” (b side) - "Metal Panels"(b side) - "Abstract Art"(b side)
All embellishments are from the kit.
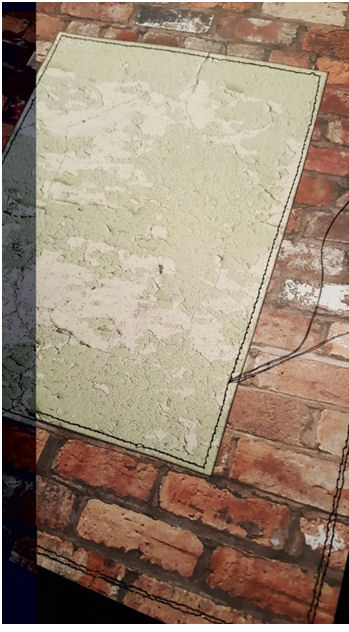
1. Cut a piece of the “Metal Panels” paper roughly 5x7 cm. Adhere to the “Knotted Wood” paper to the right of centre.
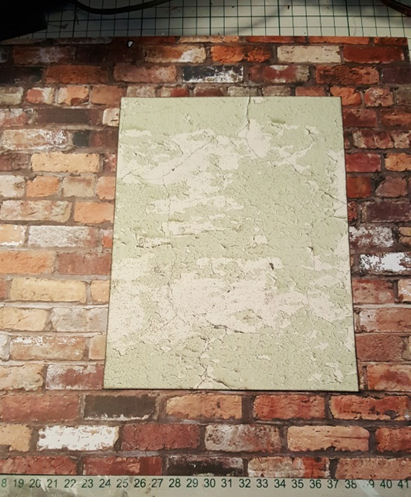
2. I used my sewing machine to sew around the “Metal Panels” piece and also around the very edge of the whole 12x12 sheet. If you don’t have a sewing machine you can just draw a rough line around the same areas.
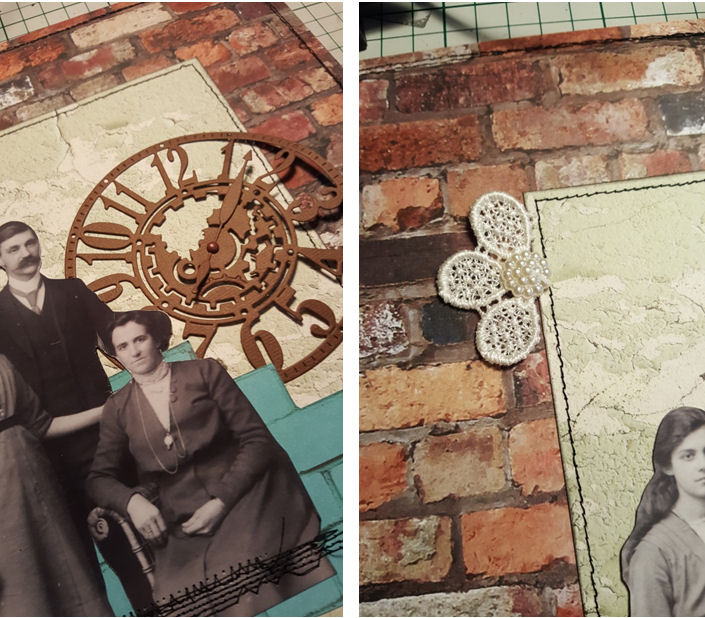
3. Cut out some of the bricks on the back of the “Abstract Art” paper. I also cut around the family shot of my grandmother and her parents. I adhered these to the backing papers and then used my sewing machine to make lines of stitches to “ground” my photo.

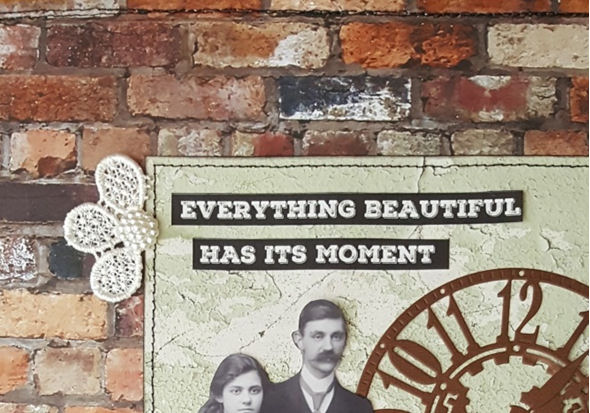
4. I added the die cut of the clock underneath the photo and added the second half of the Prima lace flower and the pearl button to the top left of the “Metal Panels” paper.
5. Finally I added one of the sentiment strips at the bottom of one of the 12x12 patterned paper pages to the layout.
Your page is now complete.
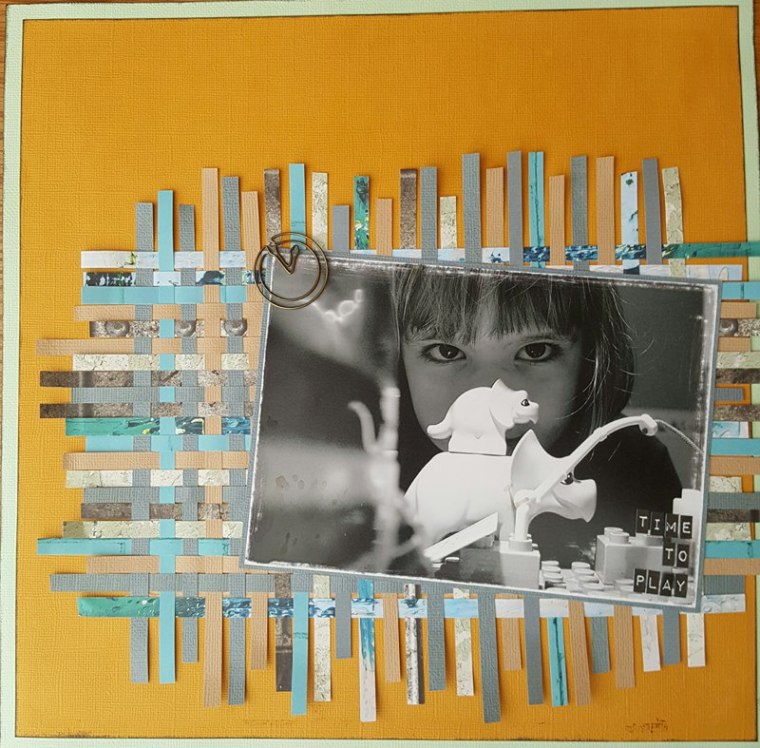
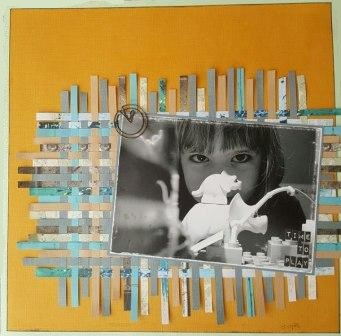
Papers Used: "Metal Panels" - "Abstract Art" – Plain Cardstock “Elephant Ears” – “Pebble” - “Spiced Pumpkin” – “Avocado”
All embellishments are from the kit.
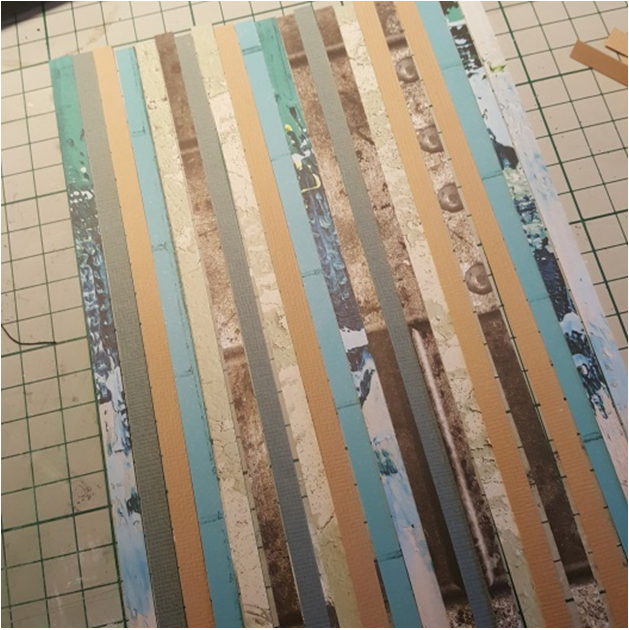
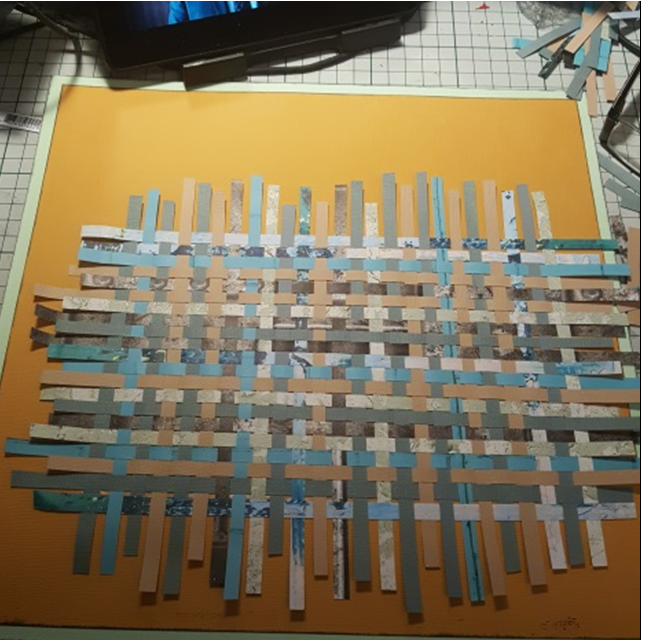
1. Cut lots of 0.25 inch wide strips of the patterned paper and the “Elephant Ears” and “Pebble” cardstock. Lay about 22 strips down side by side as in the photo. I found it helpful to adhere them to my mat with some double sided sticky tape at the very top.
2. Start to weave your paper – take another of the 0.25 inch strips and put it under the first strip, over the second, under the third, over the fourth and so on. Repeat with a second strip but go over the first strip so you are alternating which way the consecutive strips are threaded across the paper.
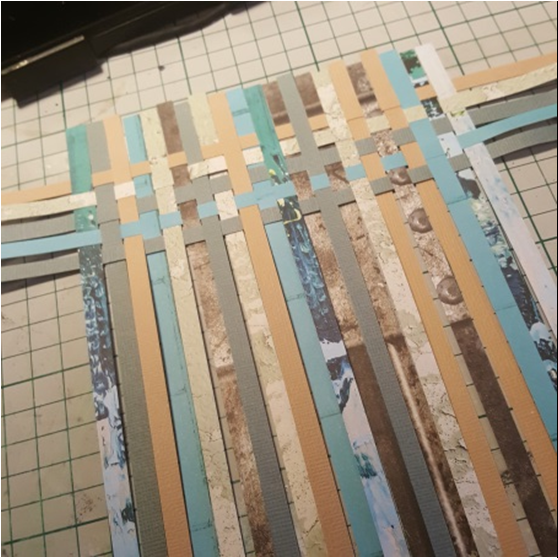
3. Do this with all your paper and until you have a large area of woven paper. Gently remove from the double sided sticky tap and carefully trim the outside edges of the weave. I found it was helpful to secure the weave with double sided sticky tape on the reverse side prior to trimming. .

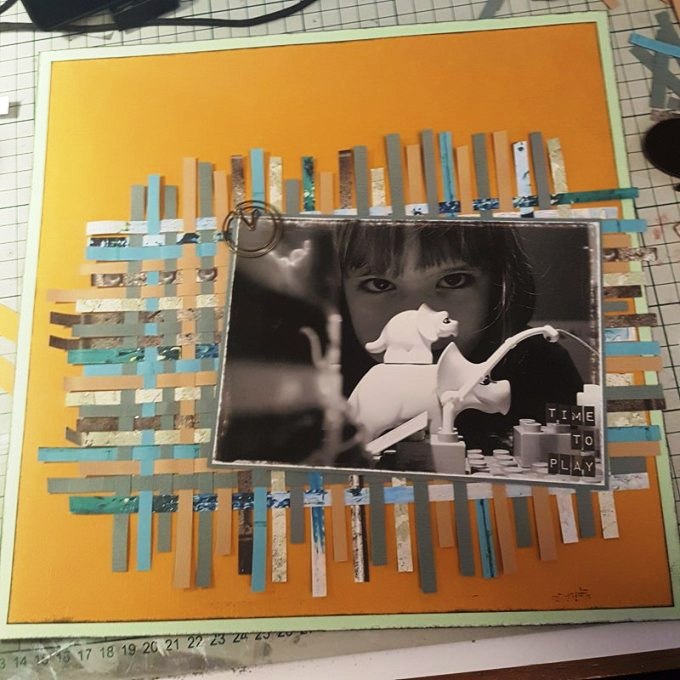
4. Cut the “Spiced Pumpkin” cardstock down to 11.5 inches square. Ink the edges of this piece and add to the 12x12 piece of “Avocado” cardstock.
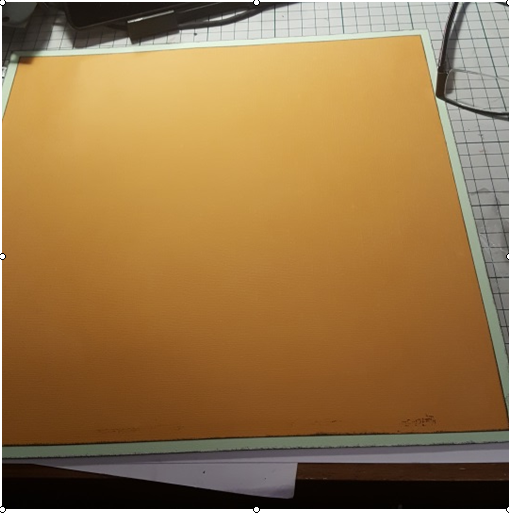
5. Adhere your woven mat to this plain cardstock base.
6. Distress the edge of your photo with a nail file and mat with “Elephant Ears” plain cardstock. I added some single letter stickers I had in my stash to form the title.
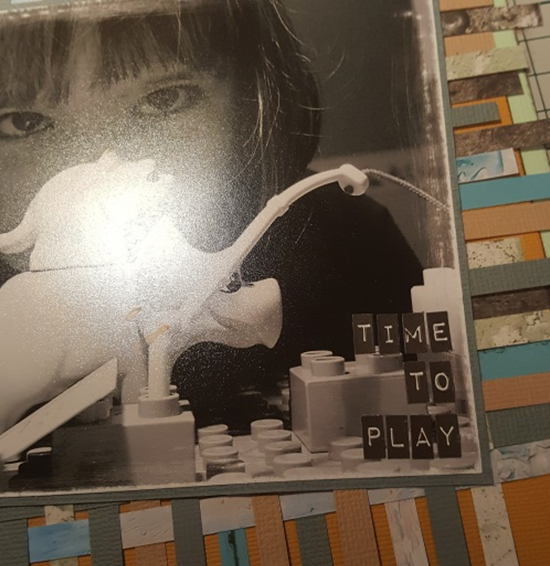
7. Finally add the metal clock clip to the top left hand side of your matted photo.
Your layout is now complete.
ALL PROJECTS © Charmed Cards & Crafts 2017.. All rights reserved.
