|
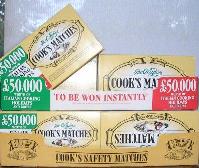
Step 1
Empty all the
matchboxes - plenty of matches there if the electricity
fails!

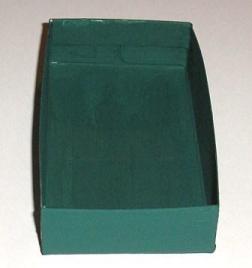
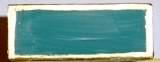
Paint all 24 empty
matchbox drawers green. Only the drawers, put the sleeve
of the boxes aside for now. Don't forget the bottom of
the boxes, we want those painted also.
Step 2
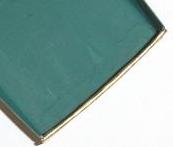
When the drawers are completely dry run a
thick gold pen along the edges of the front. I used a
gold Posh Impressions Accent pen.
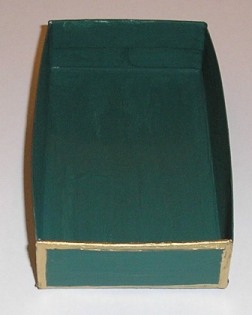
Make sure the very top edge is covered in
gold.
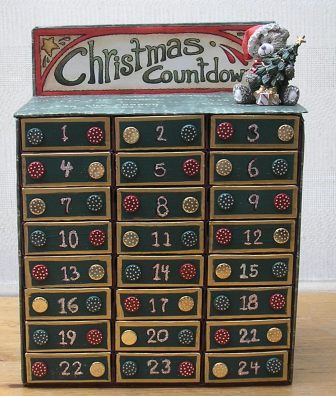
Step 3
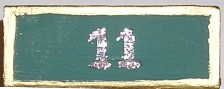
Using a red pen write
a number on the centre of each box front, from 1 though
to 24. Go over the number with a glue pen and
immediately sprinkle with silver, gold or white ultra fine
glitter. When dry blow away excess glitter. You could
emboss if you like in which case you will need to write
over the number with an embossing pen before sprinkling
with the glitter.
Step 4
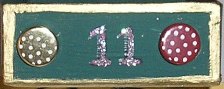
Mark the same distance
from the edges and top of the box on both sides of each
box - 10mm from the edges and 12.5mm from the top. Make
holes where marked and push a brad through each hole.
Leave the brads
sticking out a little from the front and secure with
tape over the fastened brad ends at the back to
eliminate movement. Arrange the brads so that the same
colour is never repeated twice in any row, vertically or
horizontally.
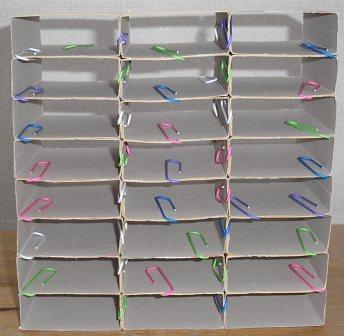
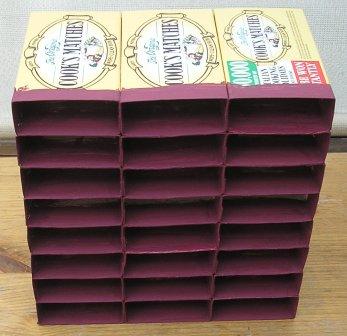
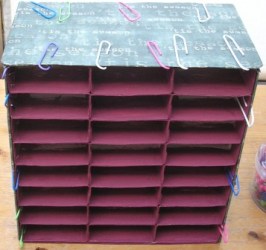
Step 5
Glue the matchbox
sleeves together in rows of three to form the frame.
Hold together with large paperclips or clips whilst
drying.
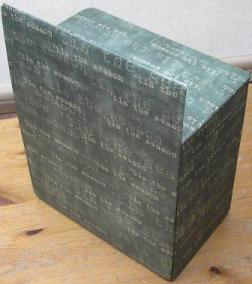
Step 6
Paint the frame. We
will be covering the sides, the top and bottom, and the
back, so only paint the areas that are going to be
visible.
Step 7
The Bottom of the
Frame
Cut a piece of
cardboard or chipboard and glue it to the bottom of the
frame. You can cover it in paper first if you like.
Hold the bottom onto the frame with paperclips until
it is dry to ensure a tight bond..

When dry paint the
front edge. If you are leaving the box free-standing
then you need not paint the bottom. If you are hanging
it up then paint the bottom or wrap in paper before
gluing to the frame.
Step 8
Cut two pieces of
cardboard each measuring 121mm x 203mm. These are the
side panels. Measure the sides of your frame to make
sure they are that size, if not modify accordingly. Wrap each piece in
Christmas paper and glue to the frame.
To wrap glue the
cardboard/chipboard to the paper, fold in
the corners
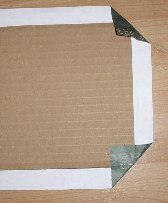
then fold in the
sides.
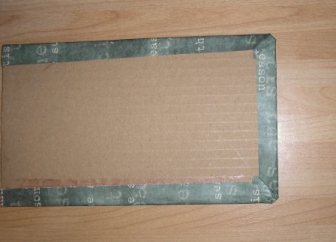
Measure the top of
the frame and cut a piece of cardboard in that size.
Cover in the paper and glue to the top. Make sure any
clips you temporarily use does not dent the paper.
You now have your sides and top in
place. Leave to dry.
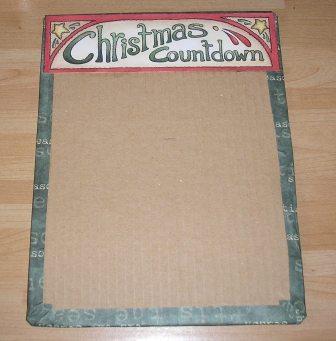
Step 9
The header board is shown below. For a
printable sized template please
click here. (Opens in
new window. Print direct from your browser on
heavyweight printer paper or download to resize as
required. To download right-click on the picture and
choose "Save Picture". This will save the image to your
computer.)

Cut out the
header. Measure a piece of cardboard/chipboard the width
and height of your frame plus the height of the
"Christmas Countdown"
header and wrap in
Christmas paper on one side (this will be the back of
the frame extended up for the header). Glue the
header onto the back of the board you just covered, we
want the covered side to face outwards (see step 10).
Step 10
Glaze the header on everything except for
the cream and white background (glaze the red borders,
the stars and the title etc). Leave until completely
dry.
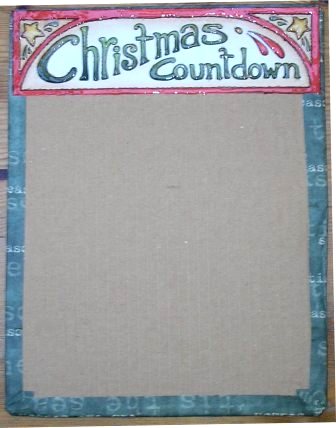
Stick the back panel and header to the
back of the frame. Put the glue onto the frame itself
rather than the back pane.
Step 11
Wax the drawers for the advent calendar.
An old candle works well (don't use a coloured candle as
the colour may rub off on the drawer). Just rub the
candle on the sides and bottom of each drawer. This will
help them glide easily in and out of the frame.
Insert all the drawers into the frame.
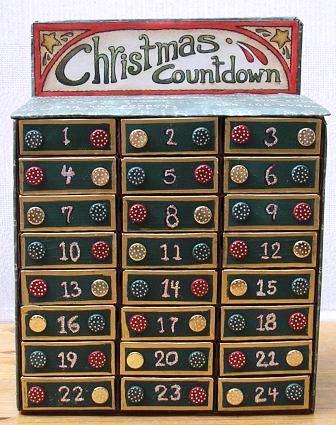
It is up to you whether you choose to
decorate the advent box further.
|