|
|
|

Tri/Quad-Shutter Card Class
Class created and designed by Karen Mortensen for Charmed Cards & Crafts
|
I have been asked to create a class for this type of card following the pop-up card class. Very impressive for many occasions and especially suited for those "special cards".
Class supply List: Two 12" x 12" sheets of plain cardstock Patterned Paper (I used Basic Grey Wisteria papers) Embellishments of your choice. I used K&Co and All my Memories embellishments
Tools: Punches: Martha Stewart Edge punch Ruler Scissors or paper cutter Pricking tool
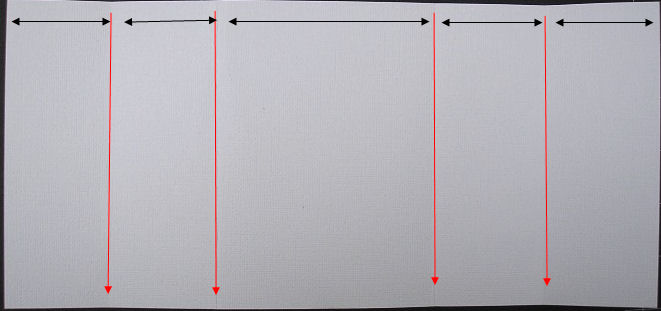
Step 1 Cut a 12x12 piece of cardstock into size 12" x 5.5" Score and fold on the long side at the following points: 2" - 4" - 8" and 10"
2"wide 2" wide 4" wide 2" wide 2" wide
2" point 4" point 8" point 10" point
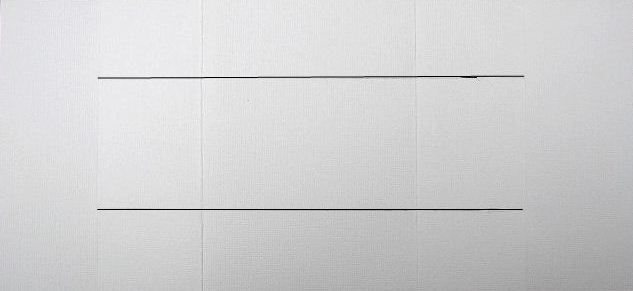
Step 2
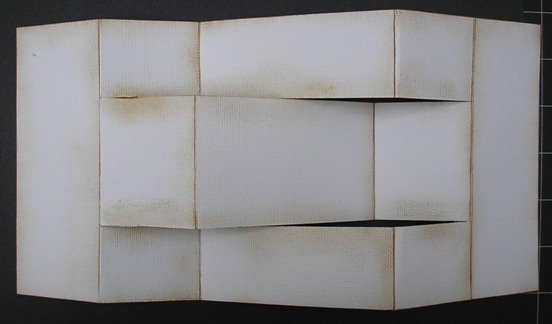
Measure 1.5" from the top and 1.5" from the bottom and 2" in either side and cut a line top and bottom as indicated by the black lines below. You are bypassing the first fold and the last fold.
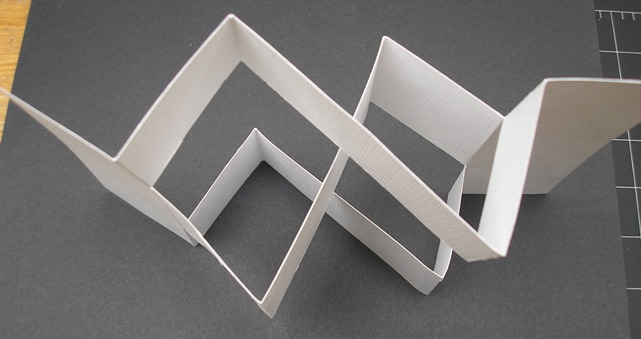
Fold card as below:
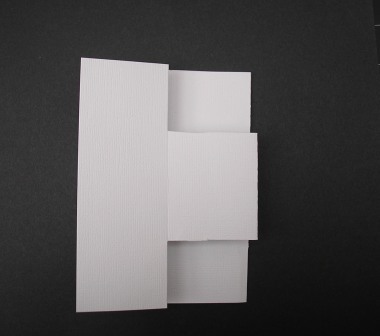
This is the shape when closed
Step 3
Ink all edges (Optional)
Step 4
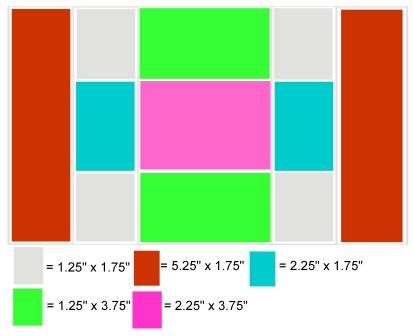
Take the second sheet of plain cardstock. I used a purple sheet of cardstock for the matting here to coordinate with the Basic Grey Wisteria paper I will be using later. We are matting all the pieces on our card so cut 11 pieces as indicated below, you can see here where they will be placed - the colour is only used as guidance:
These sizes will give 1/8" margin on all pieces.
Step 5
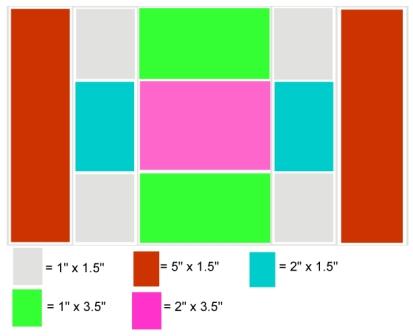
Now for the patterned paper. Cut pieces and sizes as indicated below, again colours is only used a guidance:
These sizes will give an 1/8" margin against the matting.
Step 6
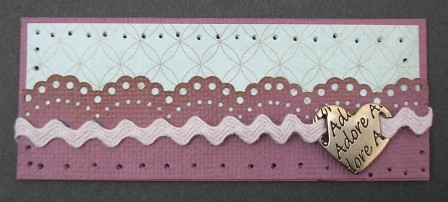
Attach a piece of ribbon to the middle mat and add a ribbon slide or a bow
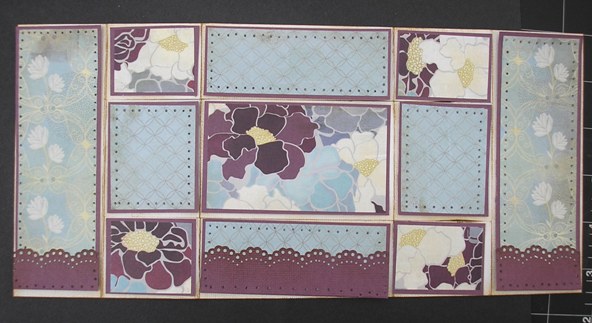
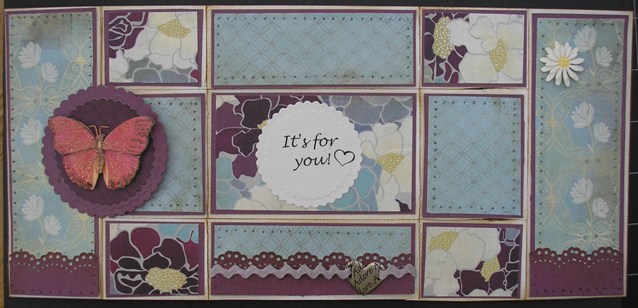
Stick all the pieces onto the card. You can see why you need the bow or embellishment on the right side when you close the card:
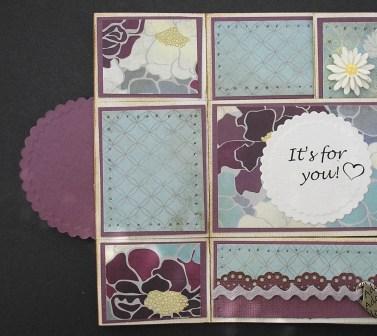
Step 7
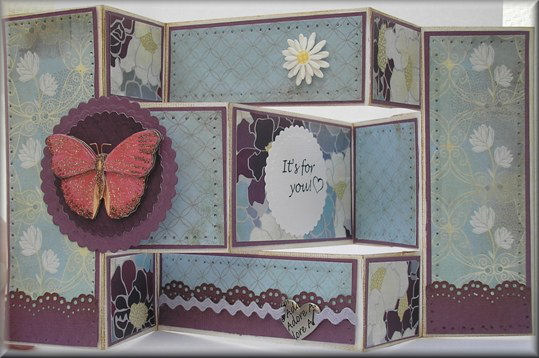
Cut some decorative circles. I used my Nestabilities and cut two circles for the front (one 2.5" circle matting the other) and another 1.75" circle for inside the card. Add a sentiment to the circle for inside the card and stick it on (see picture for guidance) Attach the 2.5" circle to the front of the card ensuring you only stick down half or you will interfere with the workings of the card. This view with the front folded back will show this intent:
Step 8
Finish with any embellishments you may wish to add. I just added some K&Company 3-D Daisies and a K&Co Cut 'n Paste butterfly but you can go to town and embellish to the nines.
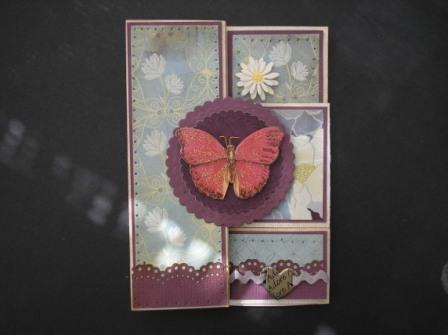
Here is the front of the card but there are several way you can close it so experiment.
We hope you enjoyed the class |
All projects copyright ® Charmed Cards & Crafts.