|
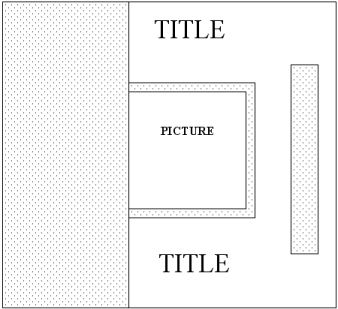
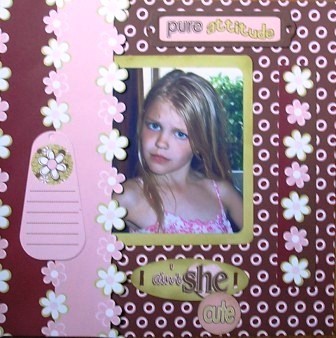
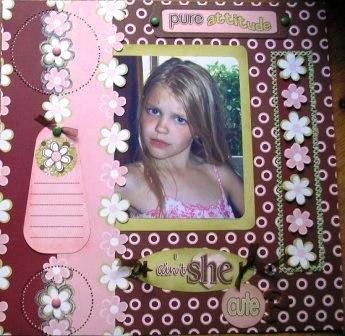
Here is the basic
sketch of our layout.
Step 1
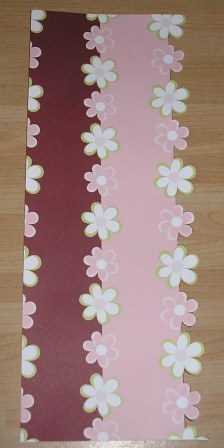
Cut the "Vine"
paper at the second full row of flowers, cutting each
flower out in full on one side.
Step 2
Cut a strip of flowers
from the remaining Vine paper. Cut out two pink
and one white flower so that your strip ends with two
large white flowers.
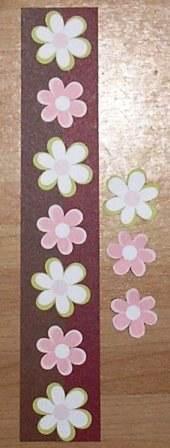
You still have a bit of
Vine paper left, cut out the flowers left on the
sheet and put them aside - you will need four white and
three pink flowers later.
Step 3
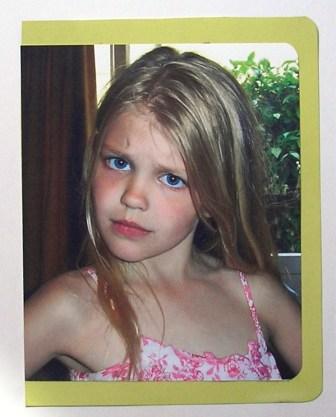
Round the corners on
the side of the photograph that is going to be showing.
Turn the last bit of Vine paper over onto the
green side (this paper is double-sided) and mat the
photograph onto it with a 1cm margin. Matting simply
means placing your photograph onto a piece of cardstock.
Round the corners of the cardstock as you did the
picture.
Ink the edges of the
matt very lightly with "Shabby Shutters" distress ink.
Whilst you have the
ink out use it to ink the edges of the "ain't she" and
"cute" chipboard from the Coco Design
Board pack.
Step 4
Arrange how you want
the main elements of your layout. A good tip here is to
take a picture to help you remember how it is when you
take it off again.
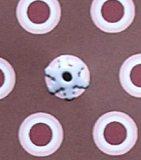
Make a hole for an
eyelet to the right of the "ain't she" chipboard inside
one of the circles. Remove everything from the layout
and insert the eyelet (if you don't know how to work
with eyelets see our "How To .. Eyelets"). Thread
ribbon,through the "ain't she" ribbon slide and through
the eyelet. Stick the ribbon down on the back of the
paper.
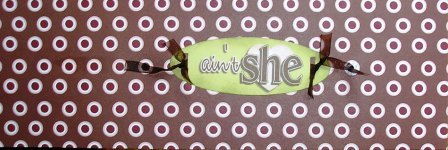
Thread the ribbon
through the slide and stick it down. Leave the ribbon
unstuck either side and tie ribbon around each side as
shown. Glue down the ribbon on the left-hand side (the
bit that is going under the side panel).
Step 5
Glue the picture and
the left-hand side pane down sliding the picture under
the flower border. Leave a few of the cut flower petals
unstuck for a 3D effect. Glue the small flower panel to
the right-hand side. You are now ready to sew.
Place the area you are
going to work on onto a piercing mat, then mark holes
with a paper piercer around the flower panel.


Front and back
Cross stitch where you
marked the holes.

 Close-up Close-up
Step 6
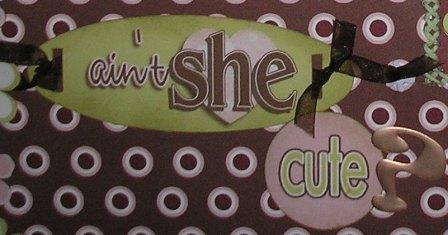
Attach the inked "Cute"
chipboard and the metal question mark below the
"Aint She".
Step 8
Take the flowers you cut
out earlier and attach on foam pads on top of the
flowers in the stitched flower panel.
 
Step 9
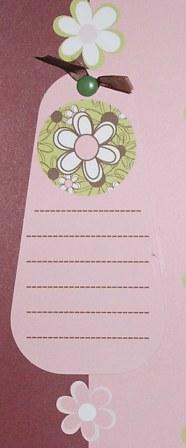
Attach the journaling
chipboard with a green brad and adhesive so it isn't
loose. You can ink the edges if you like. Wrap a bit of the brown ribbon around the brad.
Step 10
Attach the "pure
attitude" chipboard with brads (glue it onto the paper
first as the middle part is detachable).

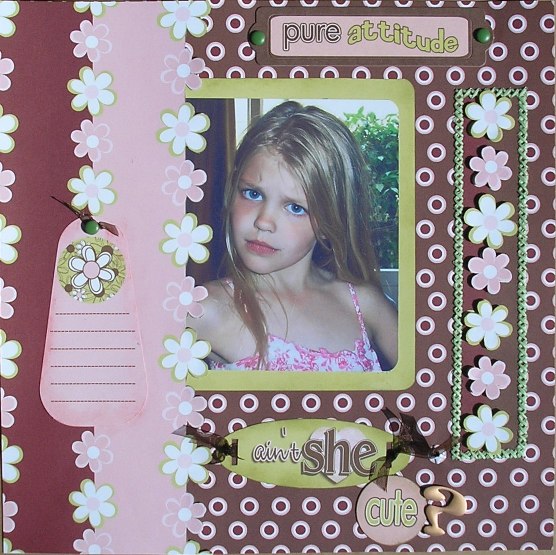
If you prefer an
uncluttered layout then add your journaling and leave
the layout as it is now - or you can embellish further.
Here are a few further optional enhancements.
Step 11
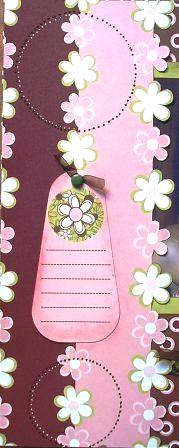
Draw two circles on
the left-hand border. To do this use a cup or similar -
I used a cup for the top circle and an egg cup for the
smaller circle. Lightly mark the outside with a pencil
then dot over it with a green Sakura Glaze pen. When dry
add another half circle inside the green circle on the
darker side using a white Glaze pen.
Step 12
Liberally go around
the flowers within the circles with white and green pens
in a random sketchy fashion then insert brads into the
middle white flowers.
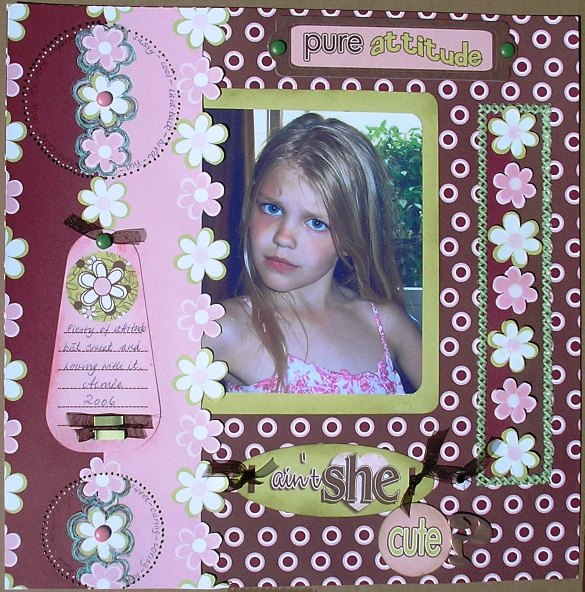
Step 13
Add a bit of ribbon
secured with two large green decorative staples on the
journaling tag. Glaze the flowers on the stitched flower
border. Add your journaling. Write inside the circles.
Add a "BUT" before the "ain't she" title.
Play around with it and have fun!
|




 Close-up


