 |
 |
|
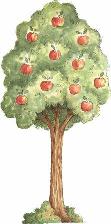
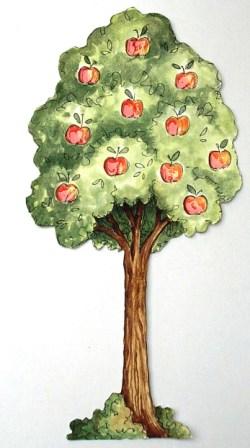
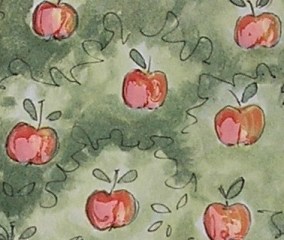
Tree complete.
Close-up of glossy
apples above
|
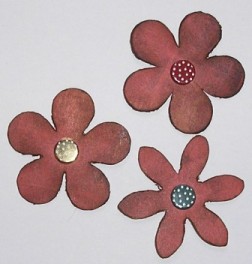
Step 2
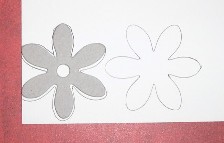
Cover three
chipboard flowers in paper. To do this trace
around each flower and cut them out. Paper
used here is Basic Grey Blush "Romance".
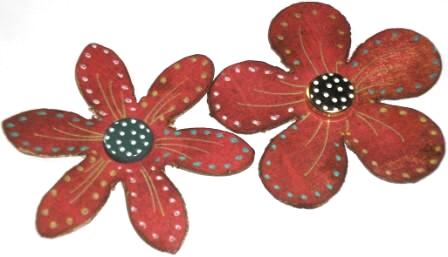
Glue the cut-outs
onto the chipboard flowers. Now we are going
to distress the flowers so file the edges.
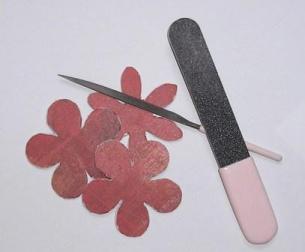
Then brush brown ink onto
the edges. Try brushing the ink on with a circular
motion.
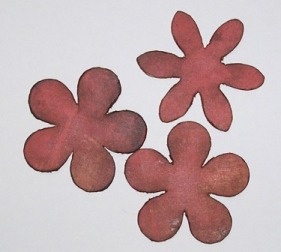
Mark the centre and push a brad
through the centre of each flower.
Decorate the flowers. Dot the petals of
the flowers with gold, green and white pens (I used
Sakura Gelly Roll Glaze Pens) and draw gold flourishes
as shown below.
Step 3
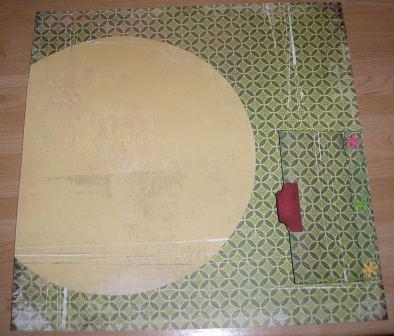
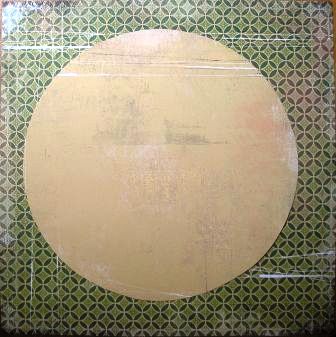
Draw a large
circle 24.5cm in diameter on the reverse side of the
"East of the Sun" paper and cut it out.
The picture below shows the circle on the background
paper. Don't throw out the leftover paper, we are
going to use that next.
Step 4
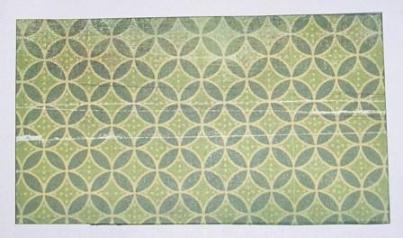
Take the leftover
paper from cutting the circle and cut a rectangle
measuring 13 cm x 7cm. This is for your
journalling. Now cut a slightly larger
rectangle from a sheet of "Kisa" paper. You could
cut out the part of the paper that is going to be
under the circle but ensure you cut in the right
place before doing anything. Make this rectangle
13.5cm x 7.5 cm.

Cut another
rectangle, also measuring 13.5cm and 7.5cm. You can
use any coordinating paper, I used
"Sun of the East" paper again. Glue the "Sun
of the East" paper to the back of the Green paper so
that each side now has a patterned paper showing.
Ink the edges of
the green paper. I used Tim Holtz "Pine Needles"..
Don't overdo it, we only want a slight contrast. Be
careful not to get any ink on the other side.
Fold down 1.5cm from the top.
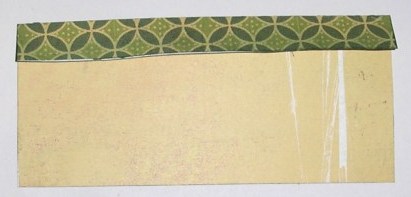
Fold it both ways to give a sharp
crease edge. Open it up again.
Step 5
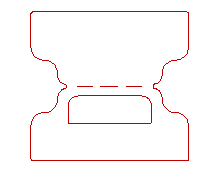
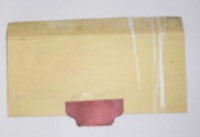
Print and cut out
out the template below (ignore the rectangle in the
middle). Glue the template to the back of the red
cardstock and cut it out. The stippled line is just
showing were we are going to bend it. Ink the edges
if you like.
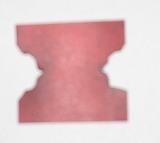
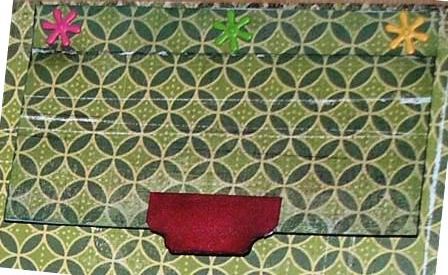
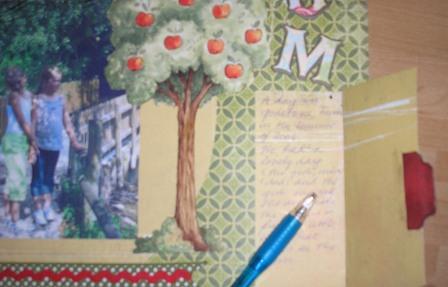
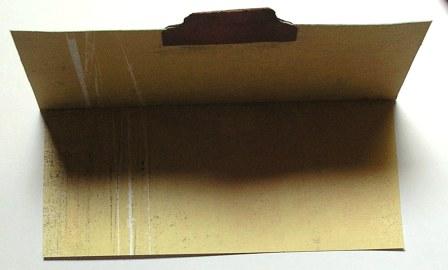
Fold the tab

I apologise for the blurry pictures, my camera
decided to play up!
Glue the tab to
the centre edge of the folded edge paper (we want
the tab on the opposite side to the folded edge).
The paper goes inside the tab. Leave the decorative
edges of the tab outside the paper as shown. You can
glue the tab between the two pieces of paper if you
prefer, in which case you need to do this before you glue the two pieces of paper
together in step 4.
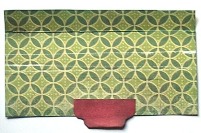
Picture above shows both sides.
Step 6
Glue the smaller
"East of the Sun" rectangle we cut earlier to the
fold on the journalling top. Glue it ONLY to the
top. Leave equal space either side.
Step 7
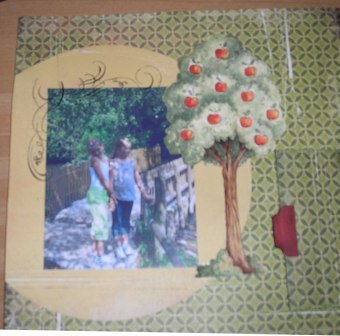
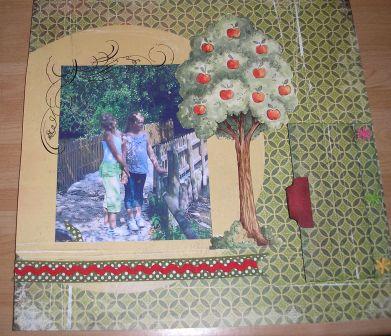
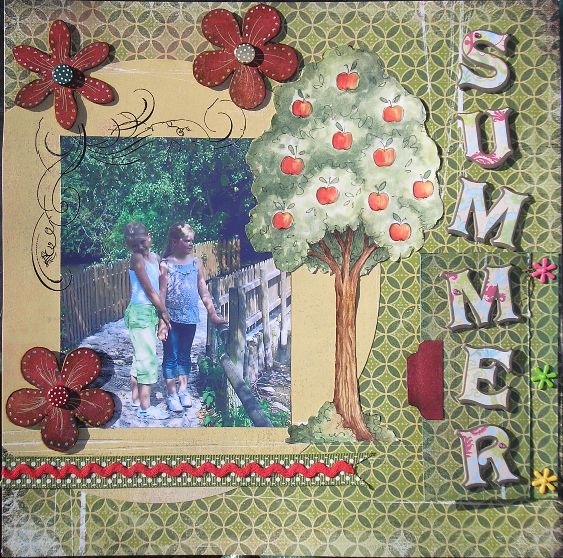
Lets start putting
things together. Arrange the main features of your
layout on the paper.
Remove everything leaving just the
circle and the journalling section in place. Glue
the circle onto the paper and trim the edge in line
with the paper. Mark where to put the journalling
section.
Step 7
Lets go back to
the journalling section. Punch three small holes
through the top flap to take three flower brads.
Make sure the holes are the right size for the brad.
Put one in the middle and the other two 1cm from
each edge.
Glue the journalling section to the layout in the
position you determined earlier, leaving it slightly
in from the right-hand side edge. Make sure you
don't glue down the edges of the top. Put the
adhesive on the bottom piece of cardstock only. You
want to be able to open it!