|
Pop-Up Card
This class is copyrighted and may not be reproduced on any other website.
A fun and easy pop-up card based on a geometrical design Class created and designed by Karen Mortensen
Class Supply List:
Optional for decorating the card:
Tools:
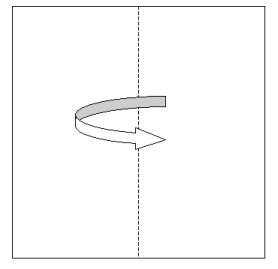
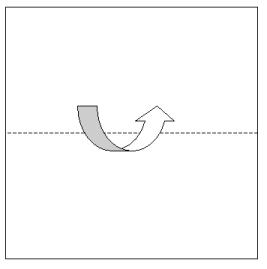
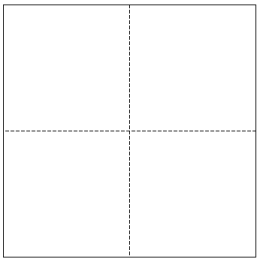
Take your piece of A4 cardstock and fold it into four. Use a bone folder to make nice sharp creases.
Open up the sheet and fold it again on the longest side
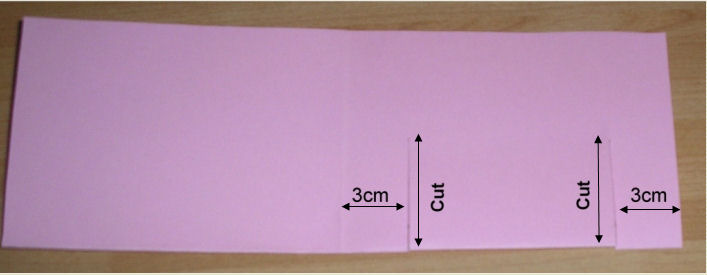
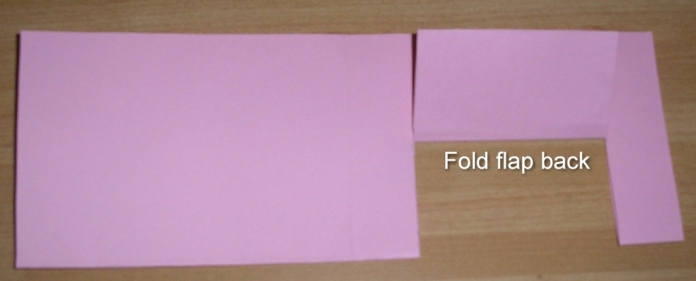
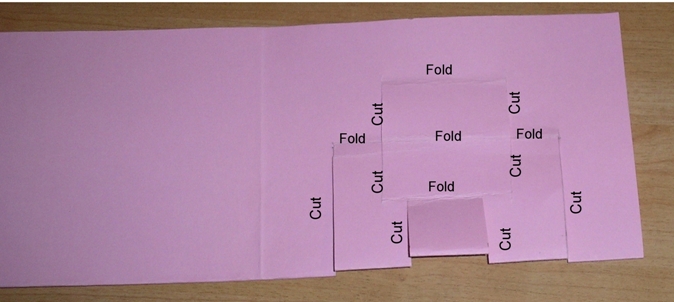
We are now working on one half of that long piece. Turn it so that the folded edge is towards you. Using a pencil mark it 3cm in from each side and half-way up the sheet. Cut along the line
then fold the flap back. You can score the line between the two cuts first if you are finding it difficult to fold. Erase any visible pencil lines.
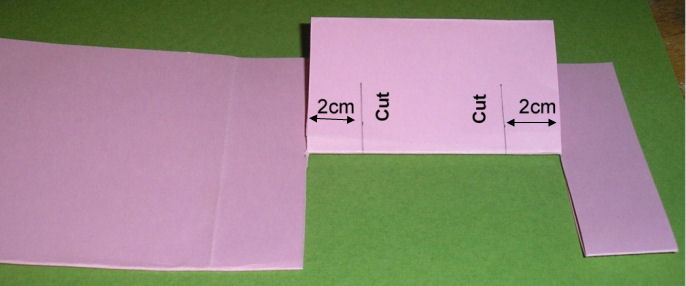
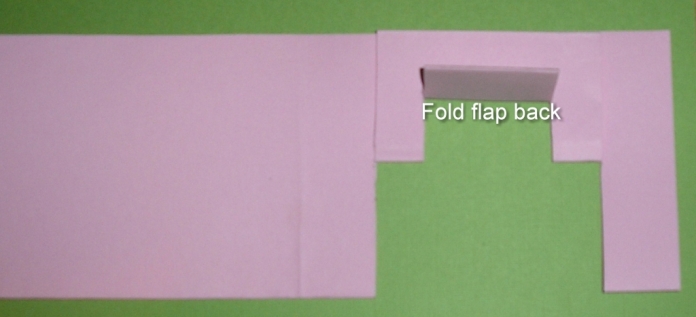
Now measure in 2cm either side on the folded flap and half way up the flap. Cut along the lines through both layers and fold back the second flap as before.
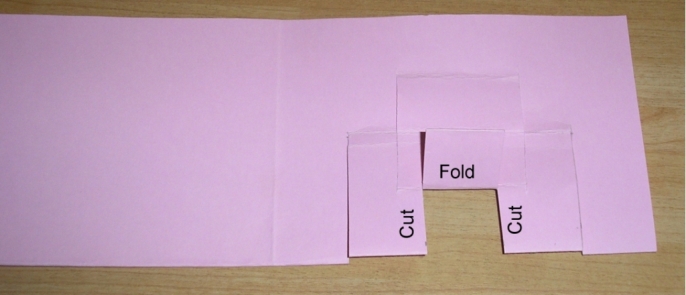
Fold the flaps back down again until you have the sheet back to just half-folded, folded side towards you. Measure in 3cm either side of the first flap you made and cut up to the first fold, Fold the new flap back as you did before. .
It now looks like this
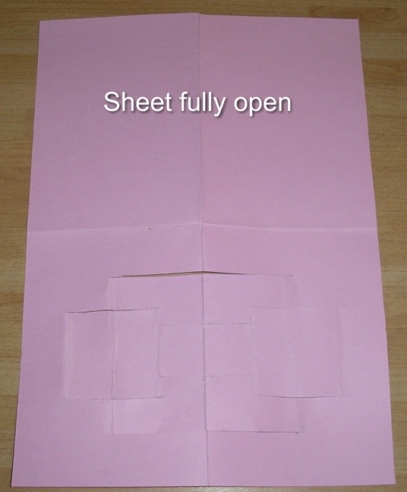
Open up the sheet completely ...
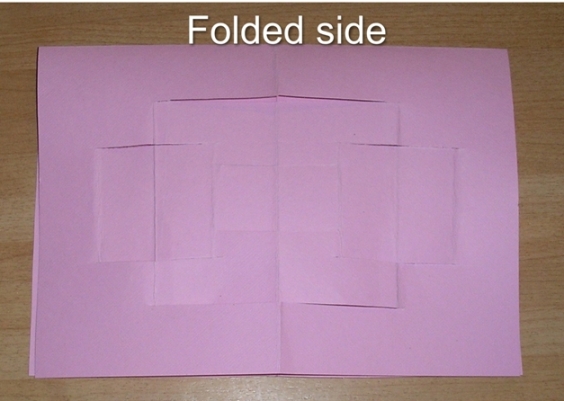
..........and fold the other way so that you have the entire cut pattern in front.
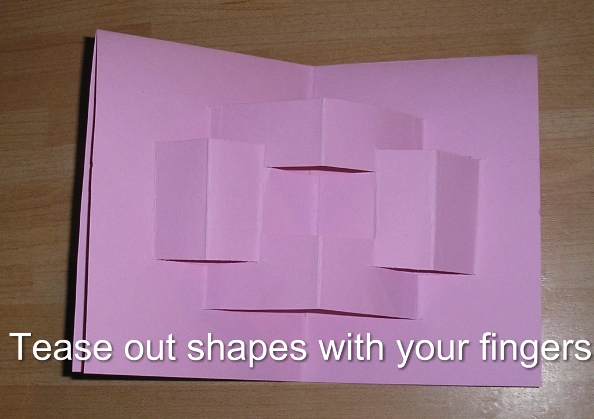
Tease the cut areas out to resemble boxes
Glue the edges of the card (only the edges) together.
Decorate the card as you like. Add any rub-ons etc whilst laying the card flat (without the pop-out shapes protruding). I used the following to decorate my card:
We hope you enjoyed the class.
All projects copyright ® Charmed Cards & Crafts. All rights reserved.
[Back to Top] [Back to Classes]
|


