Swing Card Swing cards are easy to make and great fun. Class created and designed by Karen Mortensen
This class is copyrighted and may not be reproduced on any other website.
Class Supply List:
Optional for decorating the cards: Yellow Card: Heart Card: Hearts made from Perfect Pearls and Clear Ultra Thick Embossing Enamel
Tools:
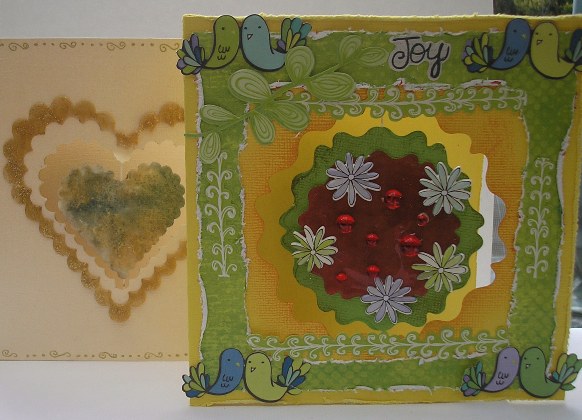
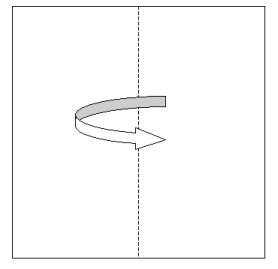
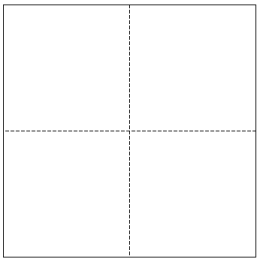
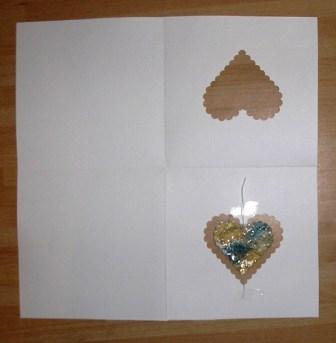
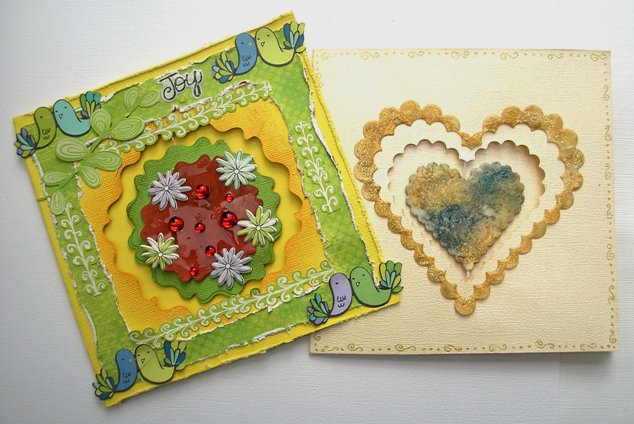
I'll be working on both the cards above at the same time. Take your piece of 12" x 12" cardstock and fold it into four. Use a bone folder to make nice sharp creases.
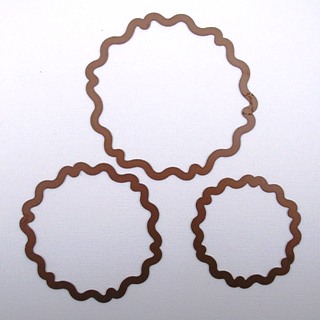
Decide on the shape you want the aperture. You can have any shape, as long as you have a smaller shape to go inside it. So square, rectangle, round, or a fancy shape as I have done here. I used Nestabilities dies for both my cards. My yellow card uses three sizes as I layered one on the other:
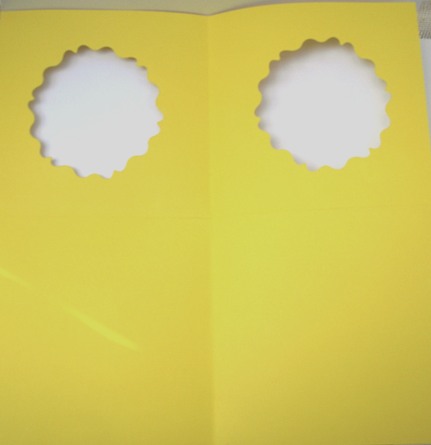
The largest die is the aperture. Fold the cardstock in half and punch through the two layers.
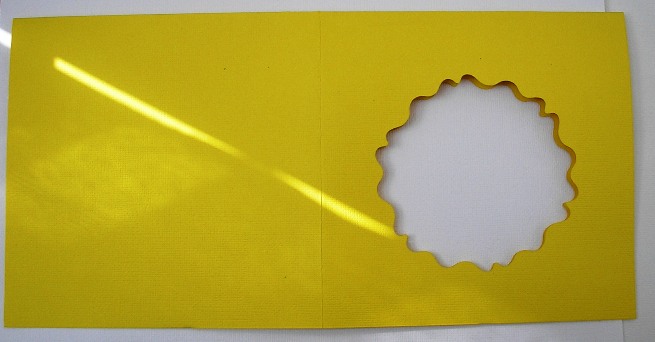
This is how it is when open:
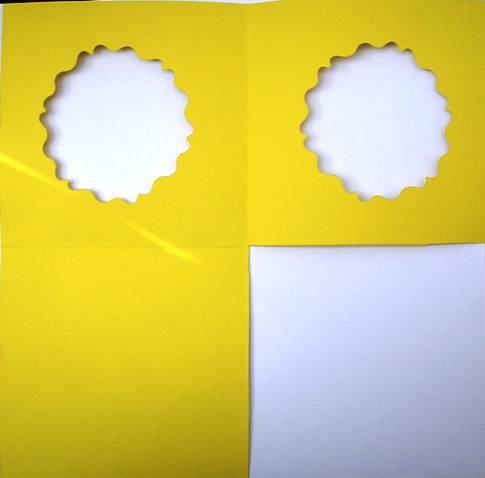
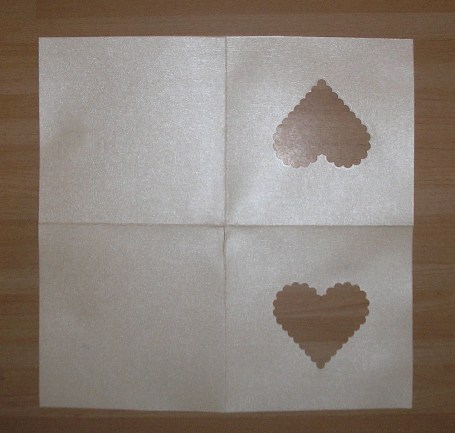
If you want a thicker card you can leave it like that. If you are planning on decorating the inside with additional paper etc you may want to make it less thick so cut out one quarter (one square). I left my Heart card as it was but cut my yellow card down:
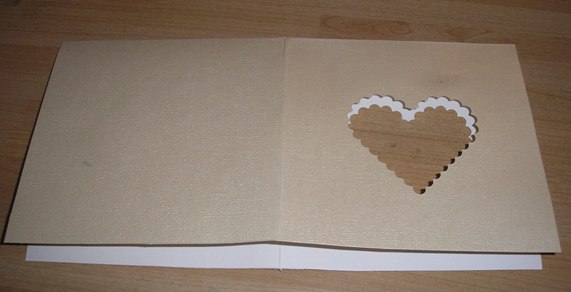
Here's my Heart card at this stage:
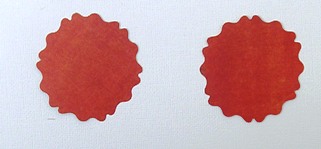
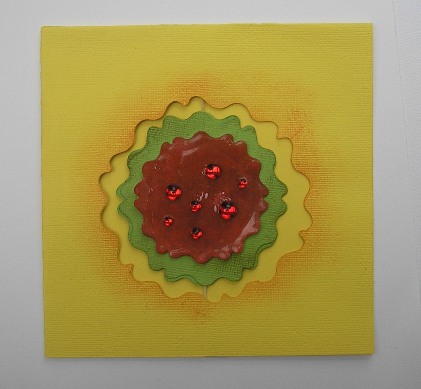
Ink the edges of the aperture now if you want to. Punch out the smaller shapes, making sure they have room to move inside the aperture. I only used one shape for my heart card but two layered shapes for my yellow card.
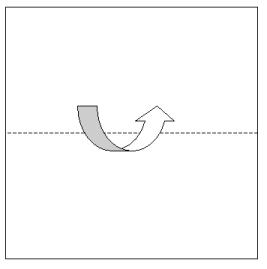
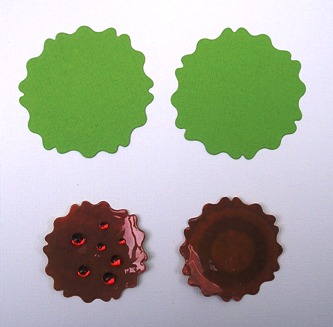
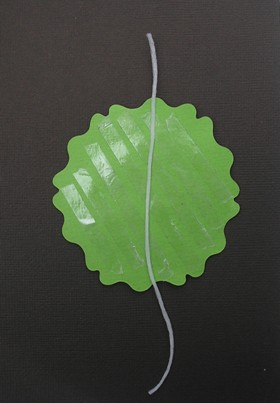
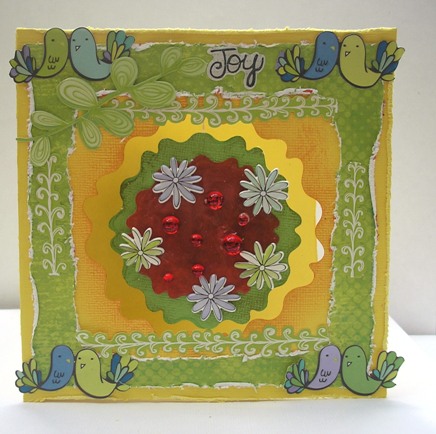
On the picture above I have enamelled the red circles and decorated with crystals on one side. Cover the back of one of the shapes with double-sided tape then position a piece of tooth floss, thread or thin wire going down the centre. This is what the piece will swing from. Tooth floss is particularly good as it's strong yet flexible.
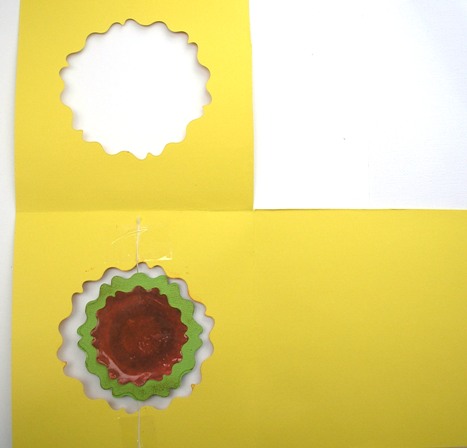
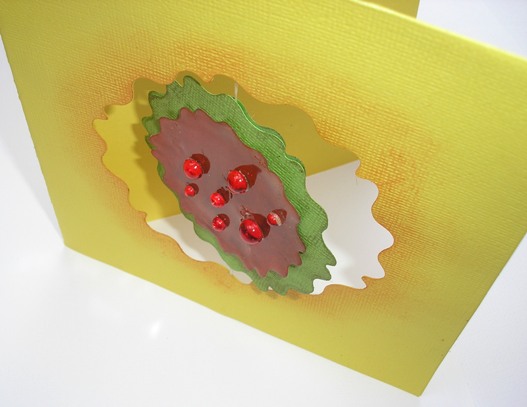
Put the two sides together then position in the aperture. I just attached mine with a piece of tape at either end:
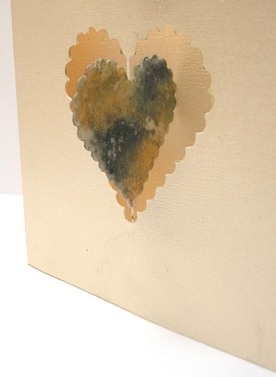
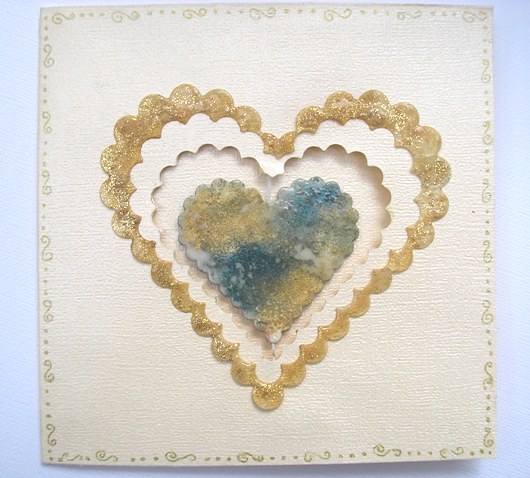
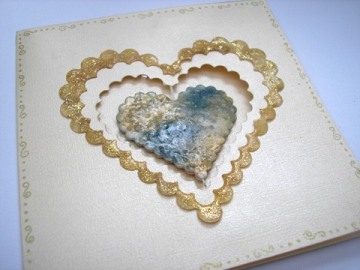
***Technique As you can see I decorated the heart for my Heart card. This is how I did it:
The cardstock heart here has become a very impressive embellishment.
Fold the flap down and glue together. You now have your card.
Decorate as you wish. On my heart card I punched out a bigger heart shape (from the same set) and heat embossed with Embossing Enamel and a little gold glitter, and doodled a simple gold border:
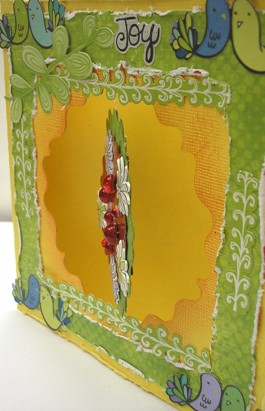
My yellow card was decorated a little more (see class supply list for details) and I distressed edges with a Tim Holtz Paper Distresser:
We hope you enjoyed the class.
All projects copyright ® Charmed Cards & Crafts. All rights reserved.
[Back to Top] [Back to Classes]
|