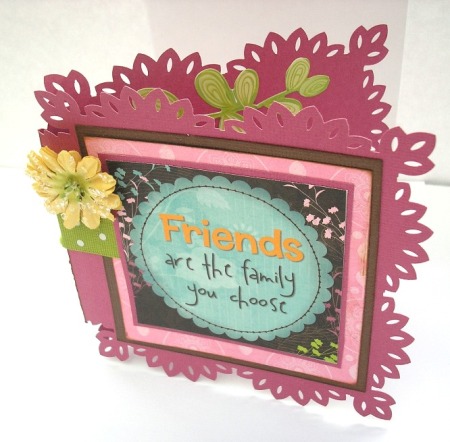
Punch Around The Page Card
The Punch Around The Page punches make for a lovely card. Karen Mortensen shows you exactly how to do it. This class is copyrighted and may not be reproduced on any other website.
Class Supply List:
Optional for decorating the card: Tools:
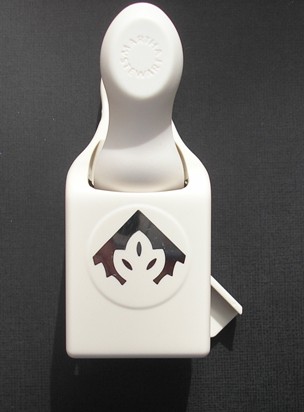
The Punch Around the Page punches from Martha Stewart are super easy to use and enable you to make fun edges and borders quickly and without fuss. Some of the sets come already packed in two, whilst others have the corner and edge punch separately. Make sure you get the right corner punch and edge punch to allow the design. To enable you to get the correct pattern all around the page (or card in this case) you need to adhere to specific sizes. These sizes are not in any way limiting and they increment in 1.75" , thus allowing both small and large projects. You do not have to have identical measurements on all sides, you can have rectangles as well as squares. Here are the sizes that work together: 3.25", 5", 6.75", 8.5", 10.25" or 12"; as you see the sizes increment in steps of 1.75".
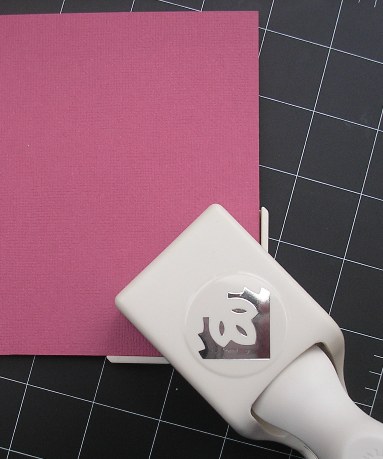
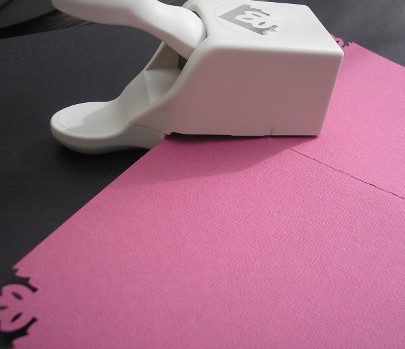
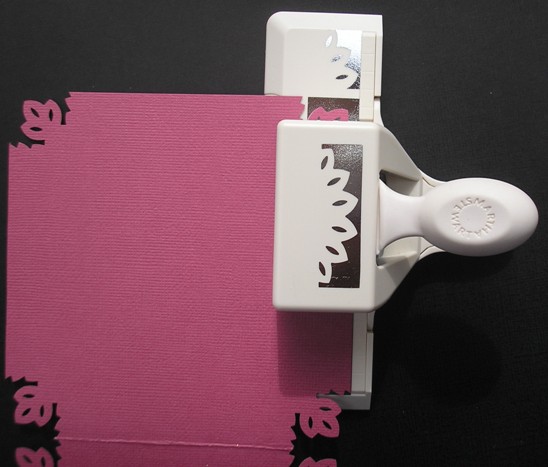
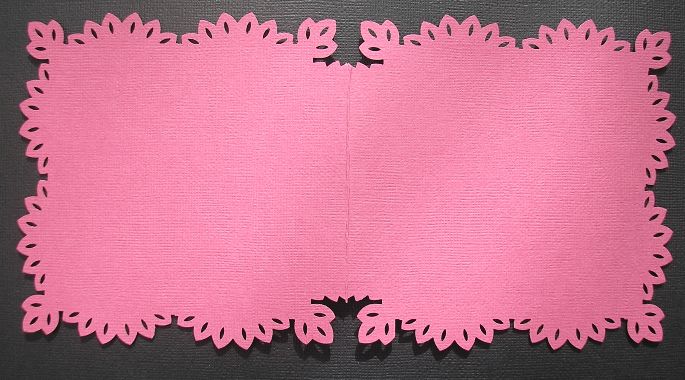
Step 1 My cardstock measures 5" x 10", which makes a card sized 5" x 5". Score the middle to make a fold. Open the wings of the corners punch and position the corner of the cardstock into it, ensuring the corner is in the punch and each side lay snugly against the wings:
Punch all the four outer corners:
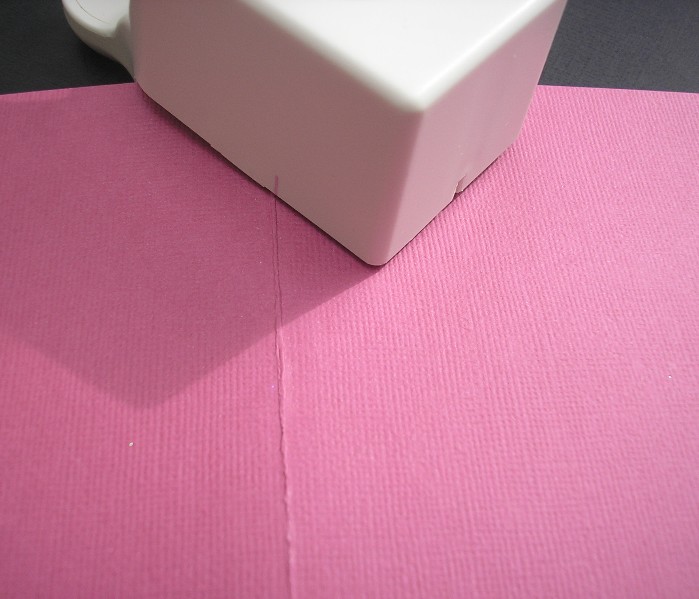
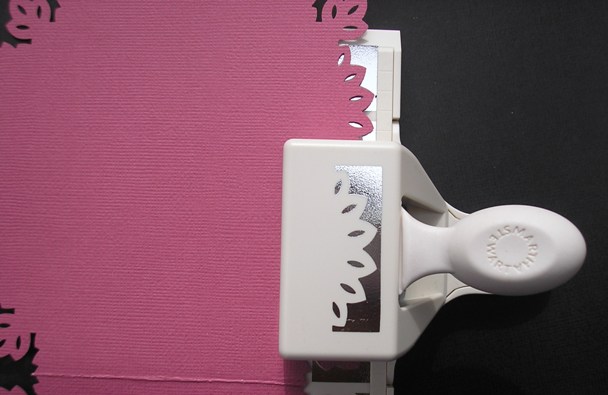
Step 2 Next we want to punch the four centre corners of the card. For this step we want only one of the wings open, so close the other:
Line up one of the inner corner edges with the corner punch making sure the open wing is flush with the edge of the punch. On the side of the punch there is a little line mark, this is on the side, NOT the front (where there is is another). Line the mark up with the score fold as shown here:
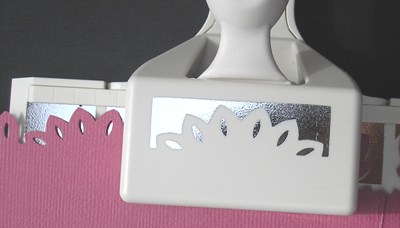
See how that little line mark sits against the fold. Click image to enlarge.
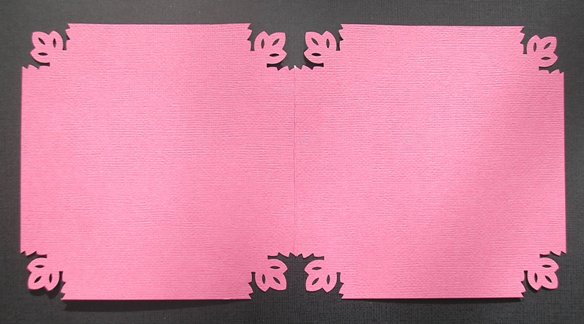
Repeat for all four inner corners, ensuring the punch is positioned as instructed. Open and close wings appropriately leaving only one open at any one time.
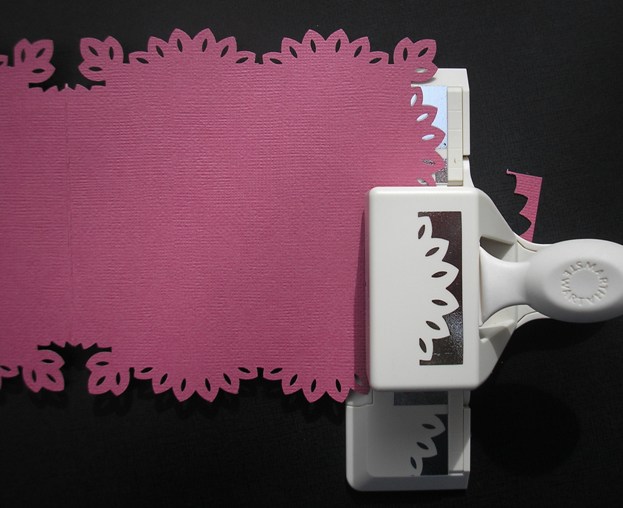
Using the edge punch, punch the design all around the sides. On the punch the design of the corner is imprinted, all you do is align the two, i.e. fit the corner into the shape on the punch:
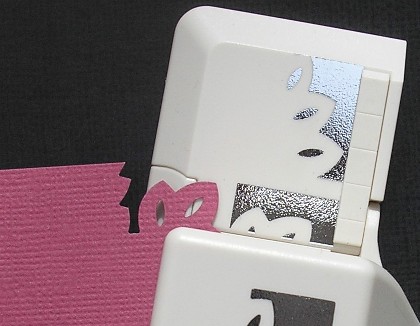
Once you have made the first punch you just move the punched design on the card into the main pattern on the punch:
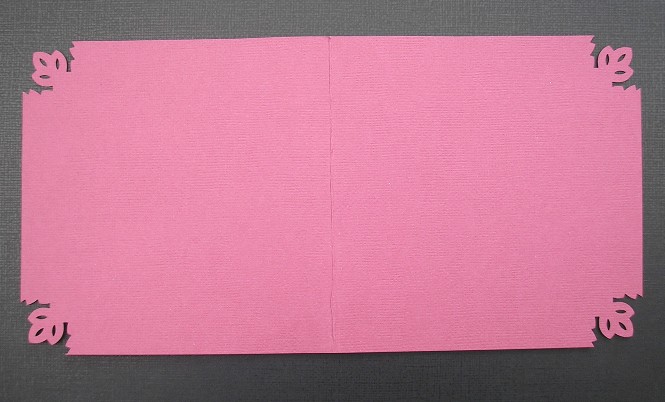
Follow the design all around
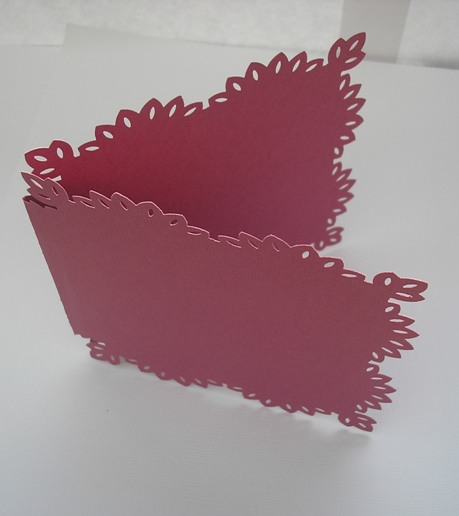
Fold the card back into shape
...and decorate as you wish
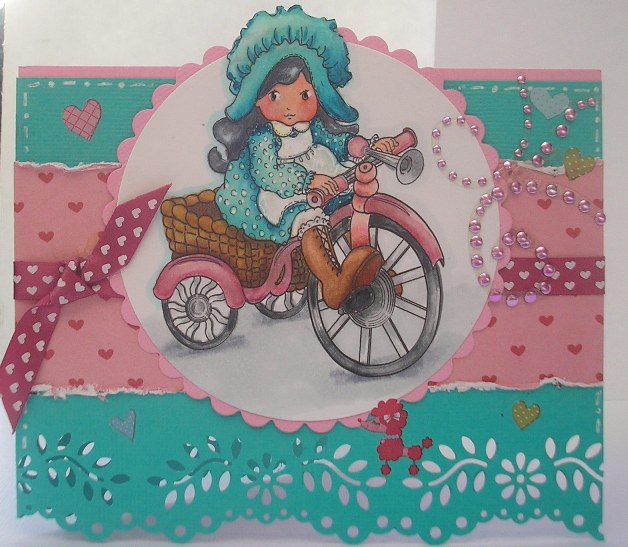
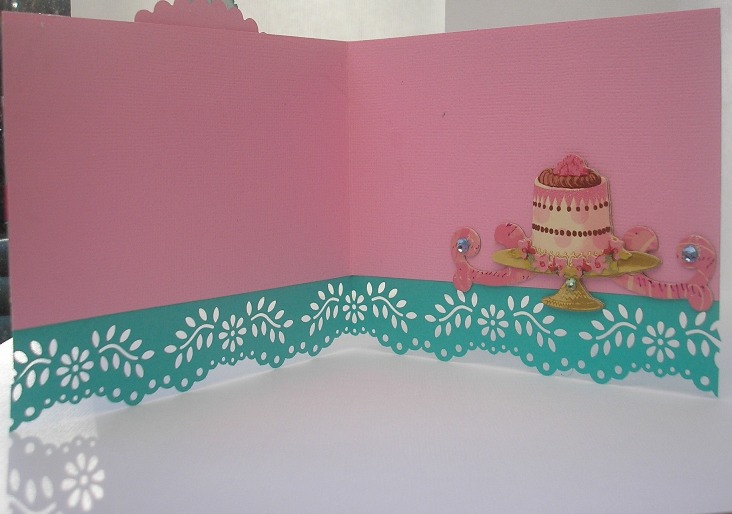
The edge punches are also super if you just want one or two edges. The deep edge punches especially make for a very attractive border as you can see below:
Products used in my deep edge example card: Image from the
Sugar & Spice digi-stamp bundle. We hope you enjoyed the class.
All projects copyright ® Charmed Cards & Crafts. All rights reserved.
[Back to Top] [Back to Classes]
|