|
Step 1
Take a piece of 12x12
paper. You can use patterned but a plain paper is much
easier to work with..
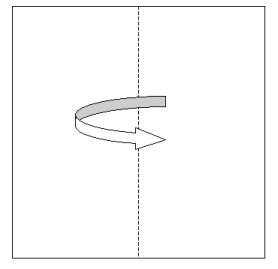
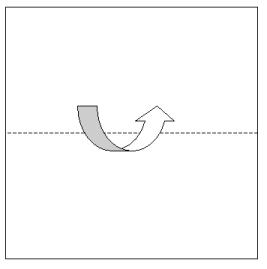
Fold the paper in the
middle as shown. Using a bone folder will give a
cleaner, sharper edge.
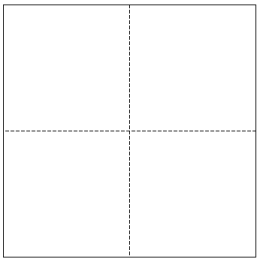
Step 2
Open up the paper and
fold the other way as shown.
You now have four
squares
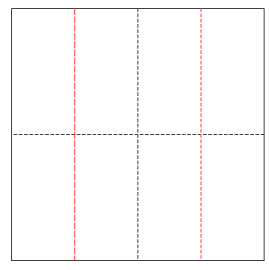
Step 3
Open up your paper, lay
it flat and fold again so that you have 8 squares
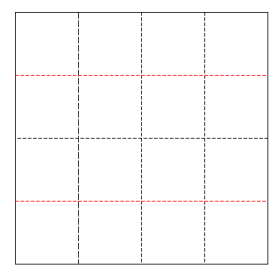
Step 4
Open up your paper, lay
it flat and fold again so that you have 16 small
squares.
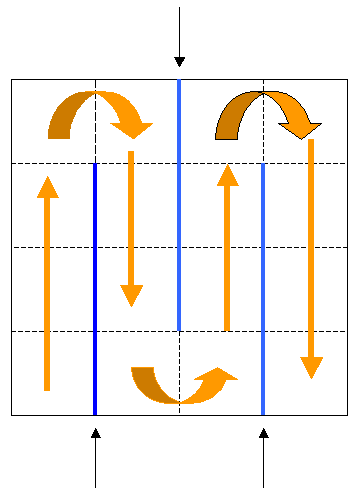
Step 5
Lay your paper flat
then cut it along the thick blue lines following the
direction of the black arrows. Now fold the squares up
concertina style as shown by the orange arrows.
Experiment a little with how you fold, the folded book
should have little pockets at the top and side on some
of the folds. It is entirely up to you how you fold your
book but you will be amazed at how much of a difference
the folding makes to the finished result.
Step 6
Cut two pieces of
chipboard/book-board a little larger than your book
pages. You can also use two coasters. Cover with paper,
paint, or decorate as you like. Glue a length of
ribbon or fibre to the inside of the
covers as shown. Make sure you leave a gap in the middle
to accommodate your book being opened and closed. Try
with the book inside the cover just to make sure.

Step 7
Before gluing the book
onto the covers you can decorate the pages. You can do
that either before folding, directly onto the pages
after folding, or, as I do, make mini layouts separately
and then glue each one into the book. I find the latter
the much better option.
When you have finished
decorating your pages glue your book to inside the
covers and tie with the ribbon.
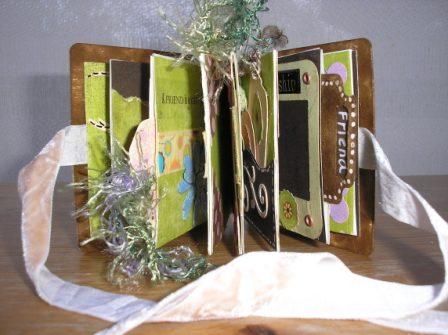
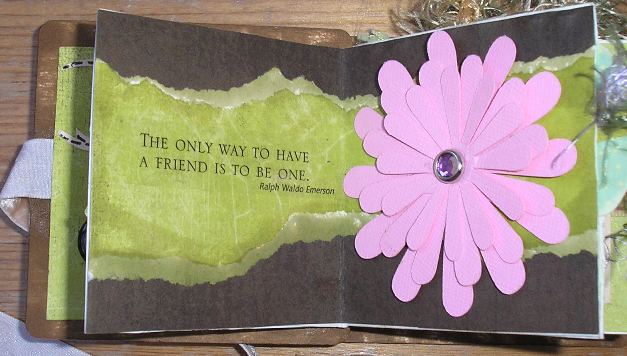
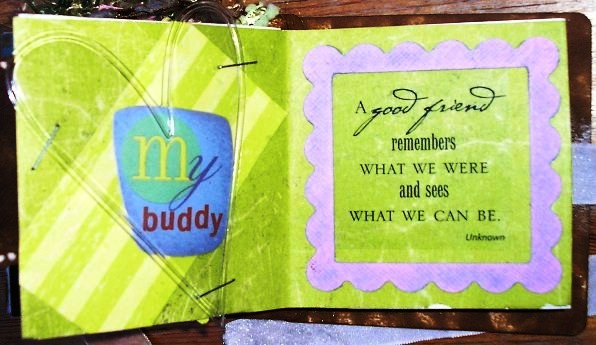
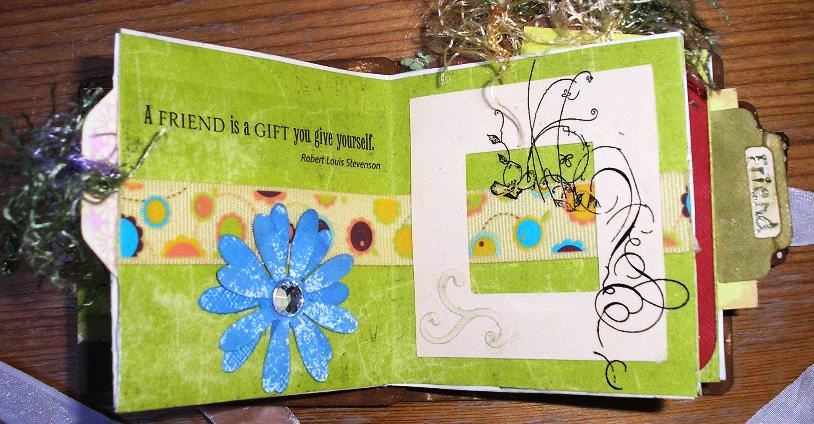
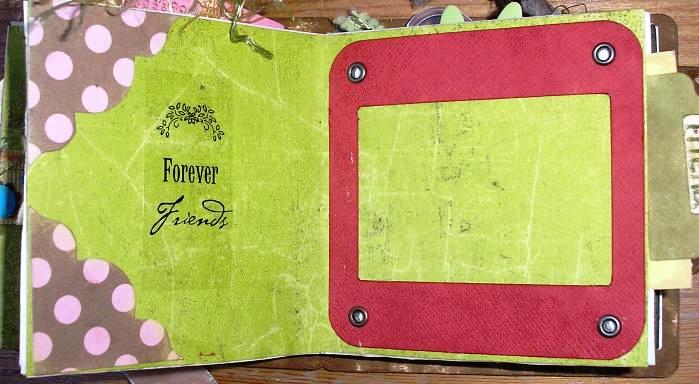
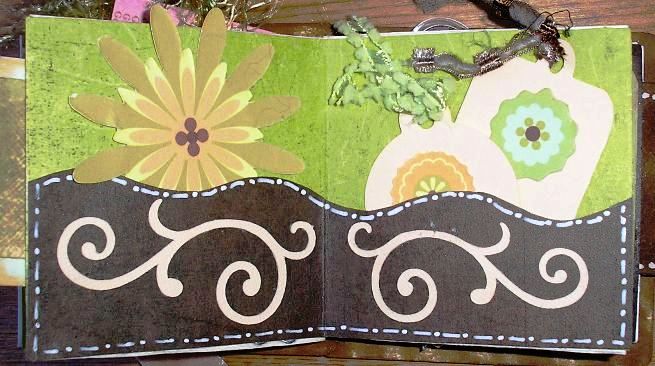
Below are are some pages
from a finished maze book. The pockets have tags and
journaling that can be pulled out.
|