|
|
|
|
|

Card Making Ideas: Fussy Cutting
by Karen Mortensen
Have you seen papers that you love but think they are not suitable for cards because of large patterns? Think again. Most paper companies these days produce 6x6 or 8x8 pads for card makers, but don't dismiss the 12x12's solely because of larger patterns, instead look at them and think "how can I incorporate this into my design?".
Here I use papers with larger designs and cut out the elements I need. The cards here focus on flowers and leaves, but you can employ the concept to many designs. You can of course likewise employ the concept to a variety of projects, including scrapbook layouts, not just cards.
 |
|
 |
 |
|
|
|
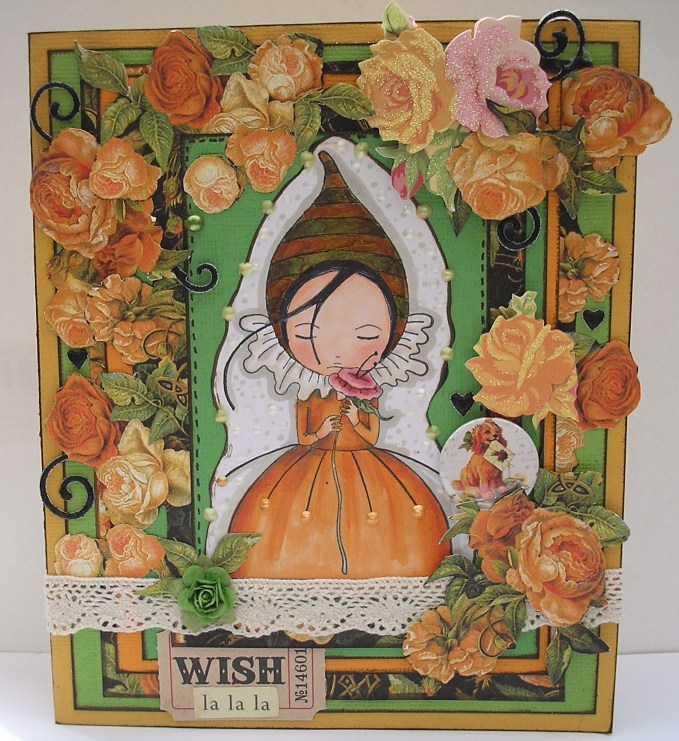
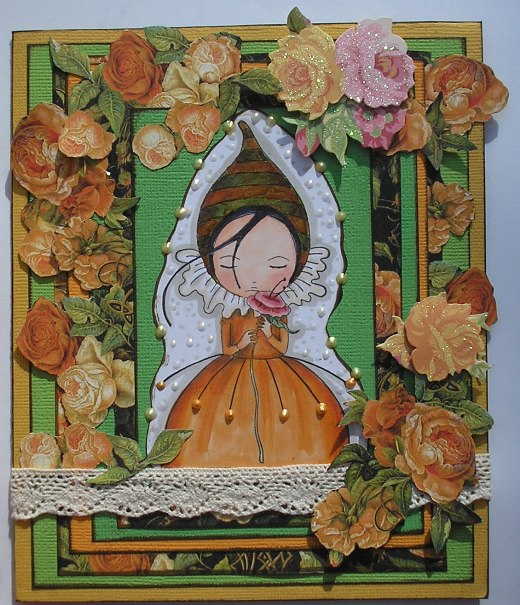
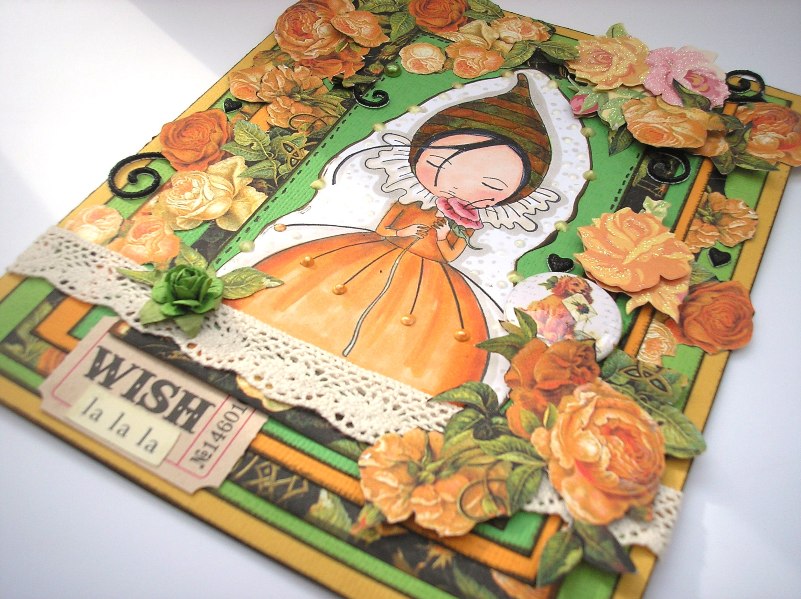
This card uses one sheet of 12" x 12" Graphic 45 An Eerie Tale "Enchantment" patterned paper, plus plain cardstock. The image I used here is a Mirabelle "Pursuit of Happiness" stamp. I stamped on a piece of plain white card and cut around the image for a random shape. All edges on all layers and around the image were inked with Brown Distress Ink.
Step by Step Guide: Stamp and colour image. Cut it out as on picture. Ink edges Layer image onto a plain piece of green cardstock. Ink edges Layered this piece onto a piece of the main pattered paper "Enchantment". Ink Edges Layer onto a piece of orange cardstock. Ink edges Layer again onto a second piece of the same patterned paper. Ink Edges at this point I stopped to add a few fussy-cut flowers before the layers were tightly glued together, so cut out a variety of flowers from the main sheet and arrange them as you like between layers continue the layering on two more layers as below:
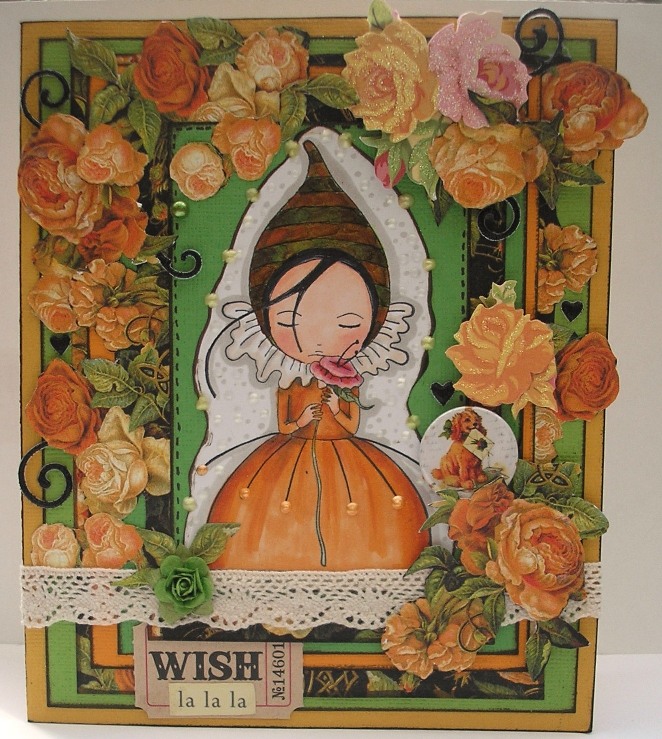
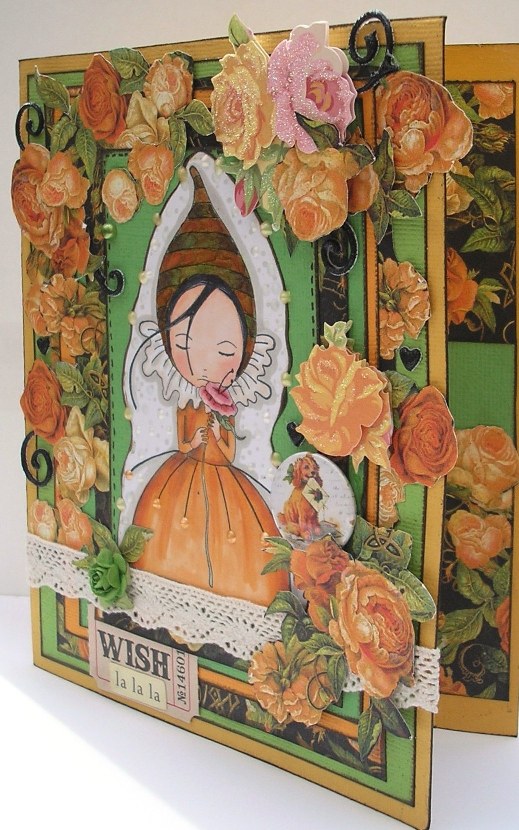
Add a piece of lace at the bottom of the card (see picture below). Now add more of the cut-out flowers, placing them between layers etc. I also added a few K & Company Cut 'n Paste glittered Roses Grand Adhesions as they complemented the others perfectly. I dotted the image with a Viva Pearl Pen outside the image, and used Cantaloupe Liquid Pearls on the dress itself. Leave to dry.
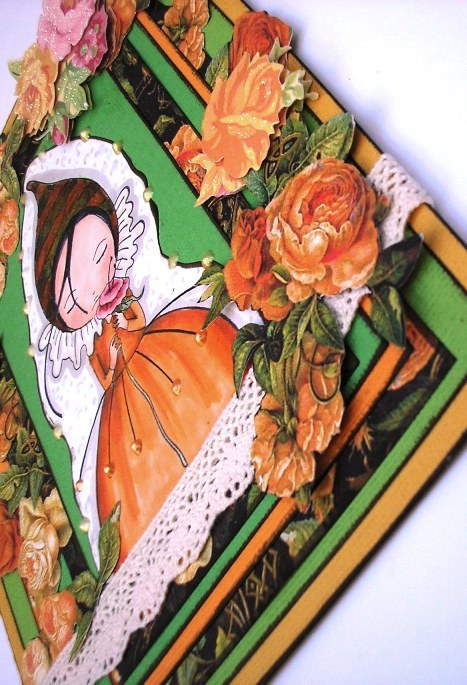
Continue adding the cut flowers, and any other embellishment you might like. I used a Tim Holtz Adage Ticket for the sentiment and a rose above it, as well as a few black paper swirls and one green pearl:
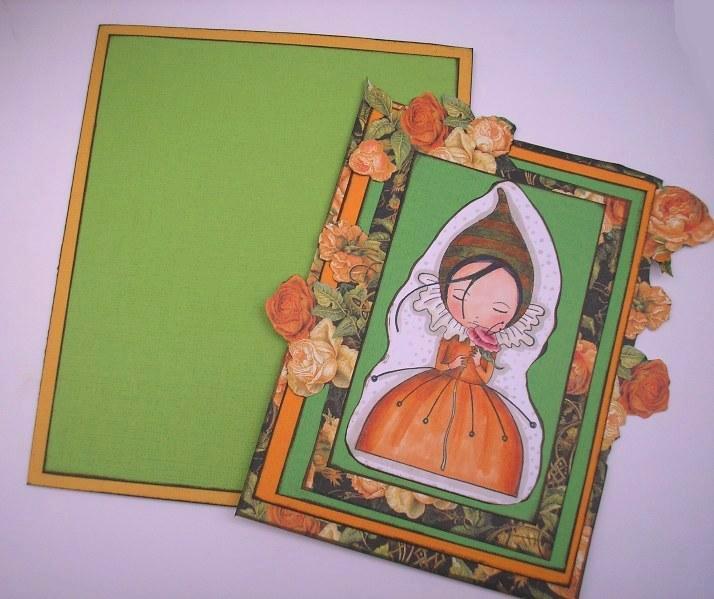
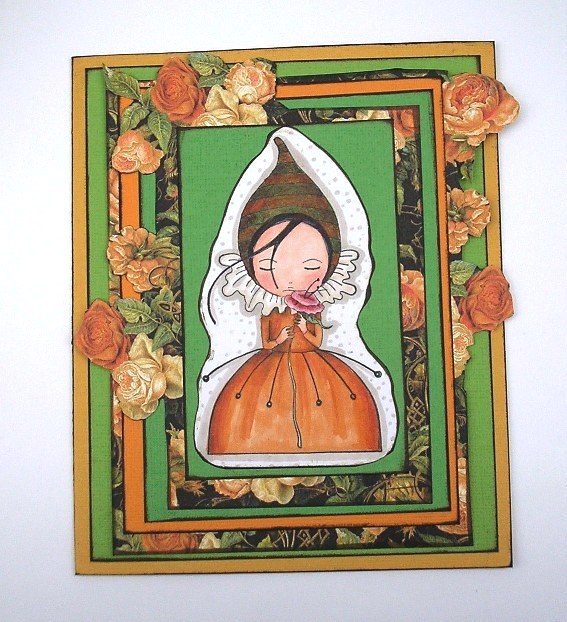
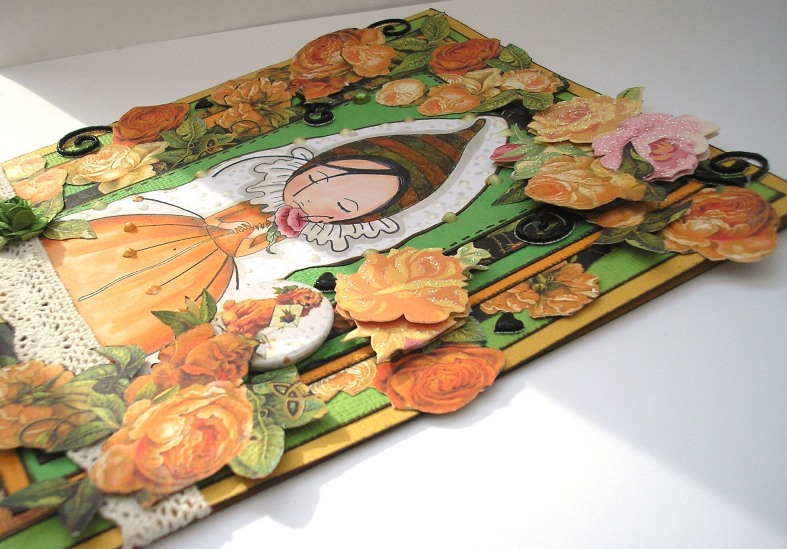
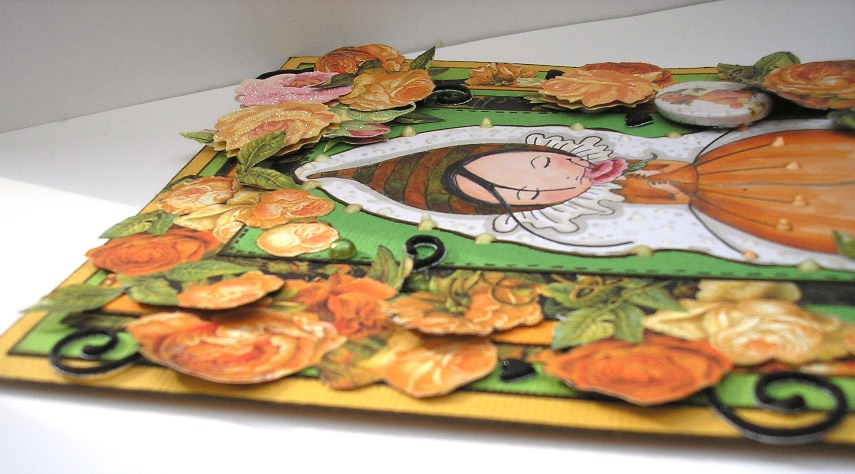
You can see how the layers work here:
Even after using the Graphic 45 An Eerie Tale "Enchantment" paper for both the outside and the inside of card one, I still have paper left over from that one single sheet, so I decided to use the remainder on another card.
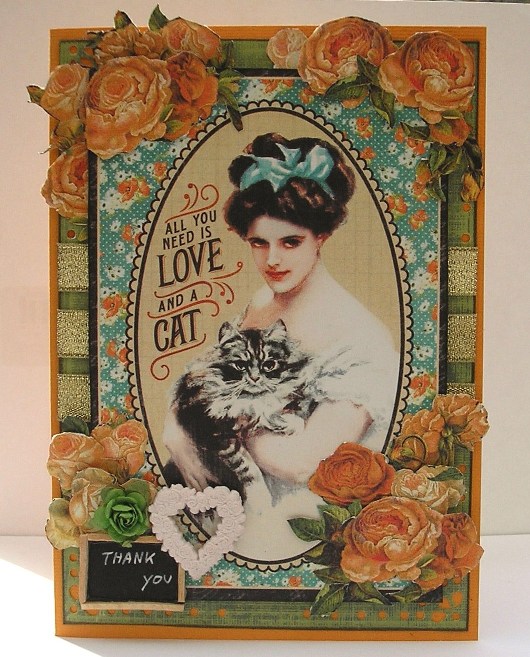
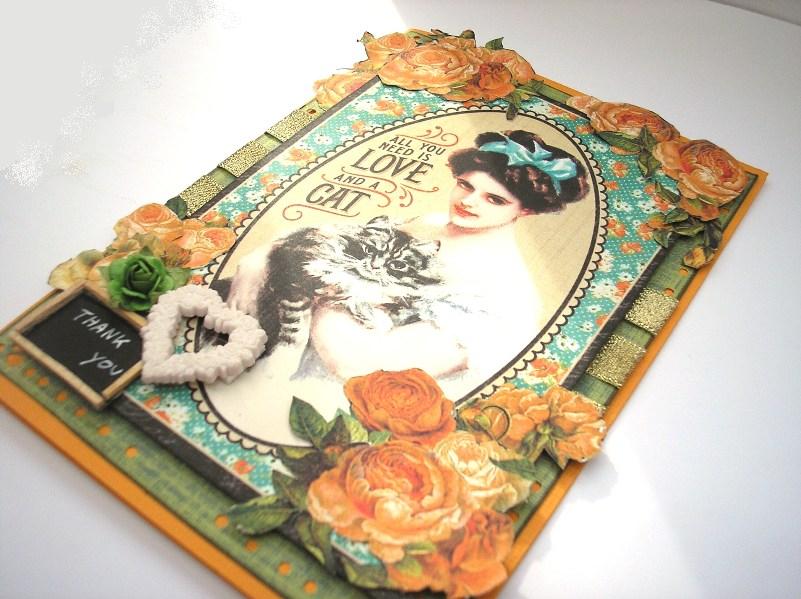
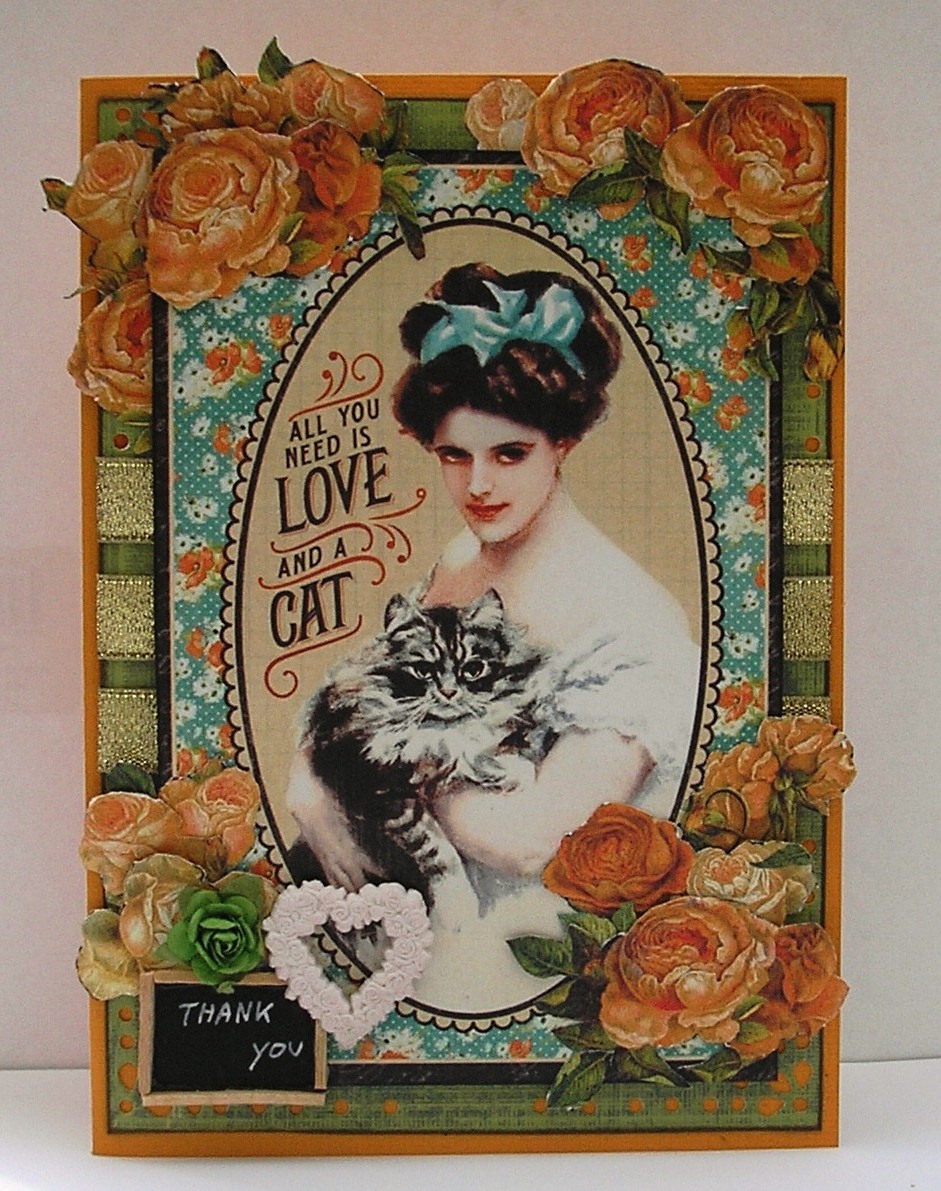
For this card I used one of the lovely images from Graphic 45 Raining Cats & Dogs "Well Bred" paper. Many manufactures include sheets such as this within their collections, which contains panels of images perfect for card makers. Here is a step-by-step guide to this card: Take a sheet from the K&Co Wild Saffron Die-cut mat pat. Ink edges. As an alternative use other cardstock of your choice, the size of this panel is 17cm x 12cm. Adhere three strips of metallic gold ribbon to the middle of the panel Cut out the image from the sheet. Using foam tape or foam pads layer onto the Wild Saffron panel (or panel of your choice) Make a card from a piece of plain orange cardstock measuring 18cm x 25cm, so the card measures 18cm x 12.5cm. Ink edges Stick your centrepiece onto the card. Cut a piece of black cardstock into size 3cm x 2.5cm. Write your sentiment with a white pen. Cut a few matchsticks into appropriate sizes and glue onto the sides to make a little "chalk board". Add it to the corner. I also added a Dress-it-up heart button
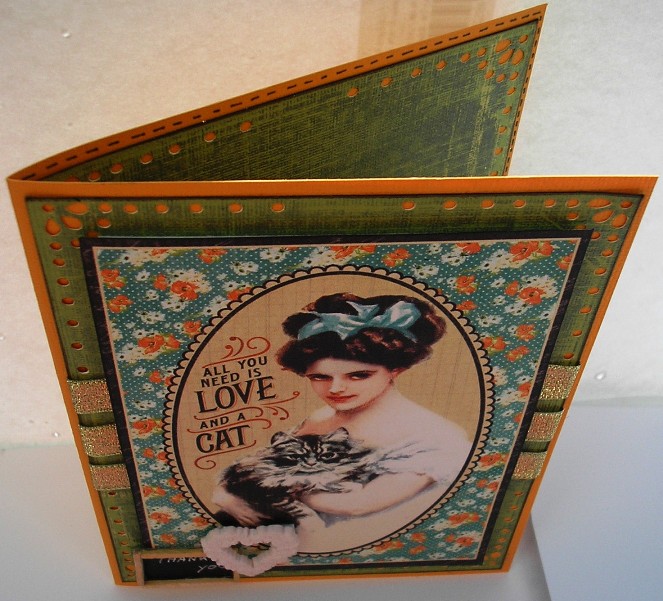
Add a piece of cardstock to the inside of the card, to compliment the front:
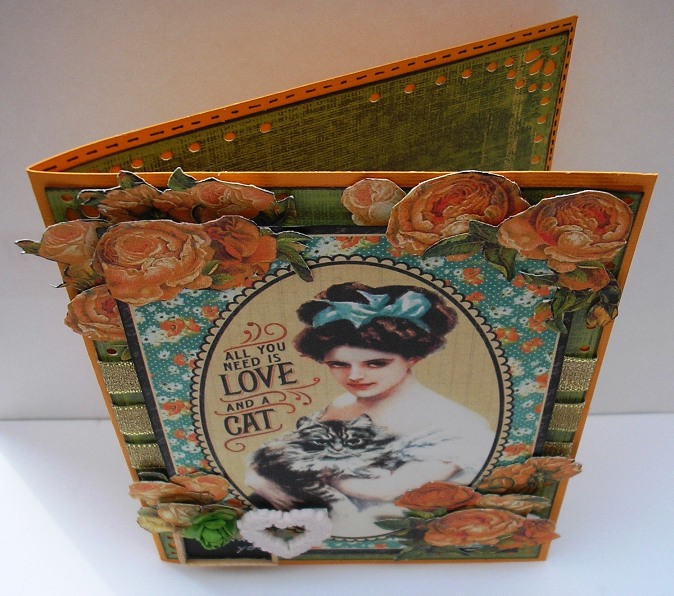
Now add your fussy-cut roses from the sheet of patterned paper.
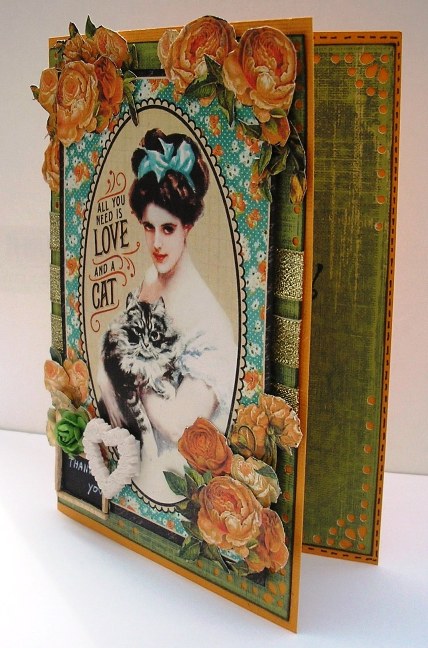
TIP: If you want to eliminate white edges just run them over an ink pad in the same colour. You can see here how the layers worked to give a 3D effect.
A green paper rose was the only other embellishment I added:
|
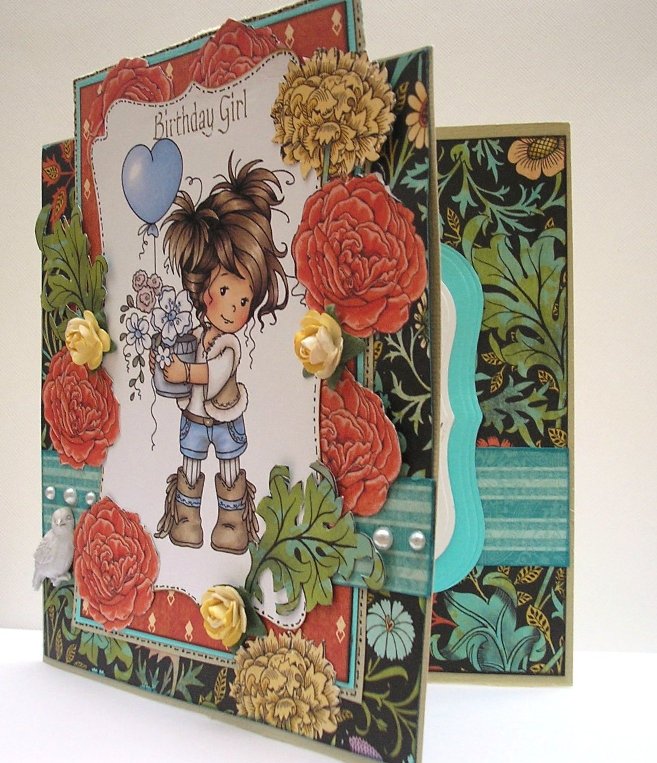
Here is a third card using "fussy cutting"
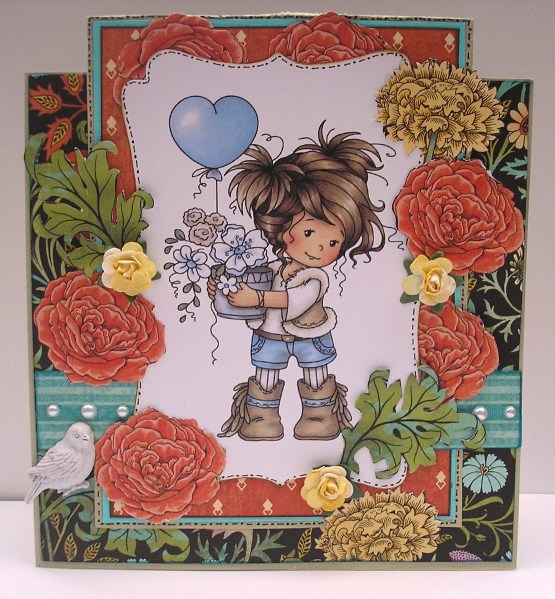 |
The paper I am using
here is "Gorgeous" from the
Graphic 45 Couture collection. This is a larger card, measuring 8" x 6".
Cut a fold 12" x 8" piece of plain cardstock into 8" x 6", then measure a piece
of the Gorgeous paper slightly smaller to go onto the front, don't glue
it on yet.
Create a centrepiece. I used a
Wee Stamp topper from the "Hopeful" sheet on another of the
Couture papers "Lovely" (I used the largest image). Arrange
where you want the topper piece to go, then using a craft knife cut around the
large flower designs that lie around the edges of your centrepiece, cutting only
the areas that are below your design, so that the flowers are still part of the
background paper, but will lift in part and sit on top of your topper..
Glue your background paper onto the front of your card, taking care not to glue
down the cut areas.
Glue the centrepiece
on the card, ensuring you lift the flowers to sit on top. I added a little
border strip that I cut from a piece of the reverse side of the Gorgeous
pape (it is a double-sided paper). I then cut out various pieces from the
remaining sheet, including more flowers and some leaves.
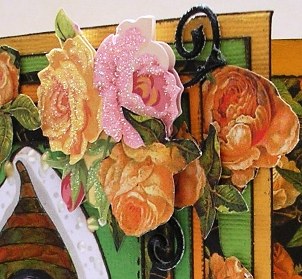
TOP TIP: If you are going to pop flowers behind something, cut
them in half. The top two roses behind the wee stamp topper is one rose cut in
half.


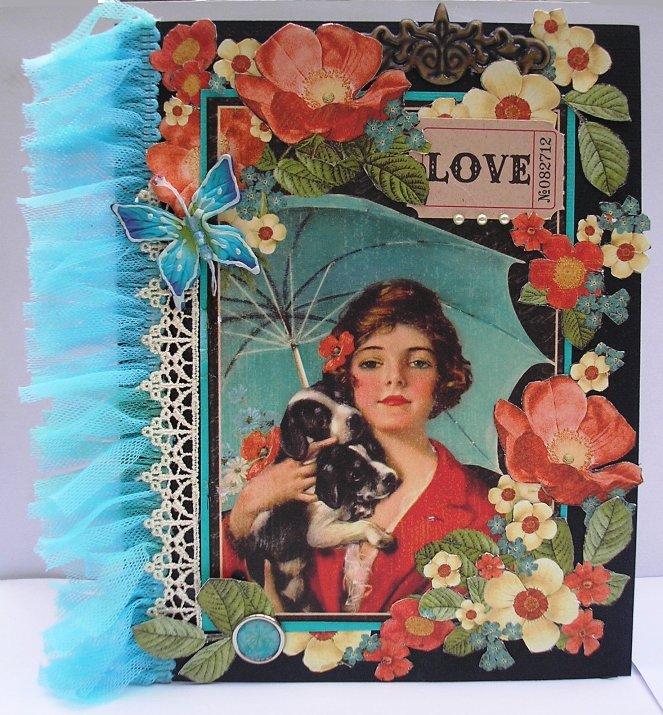
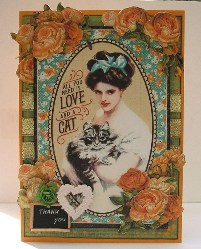
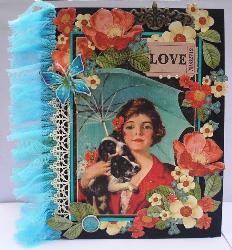
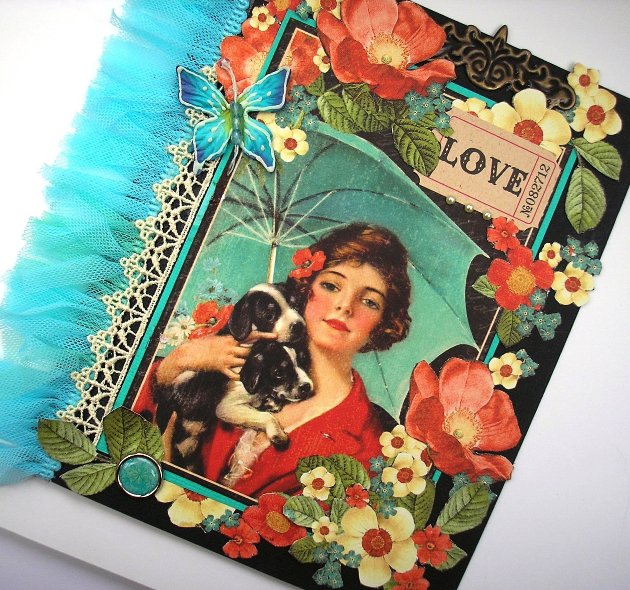
This card uses the "Cats Meow" paper from the Graphic 45 Raining Cats & Dogs Collection, for the fussy cutting and the inside of the card, and one of the fabulous panels from the "Well Bred" sheet for the main image for the front of the card. I cut out a piece of "Cats Meow"for the inside of the card, and then cut out elements for the front from the remainder of the sheet.
Fold a piece of black 15" x 6" cardstock into a card measuring 7.5" x 6".
Layer the main image onto teal cardstock, leaving a margin all around the image.
Cut out flowers and leaves from the Cats Meow paper and arrange around the image, along with other embellishments you might like to use.

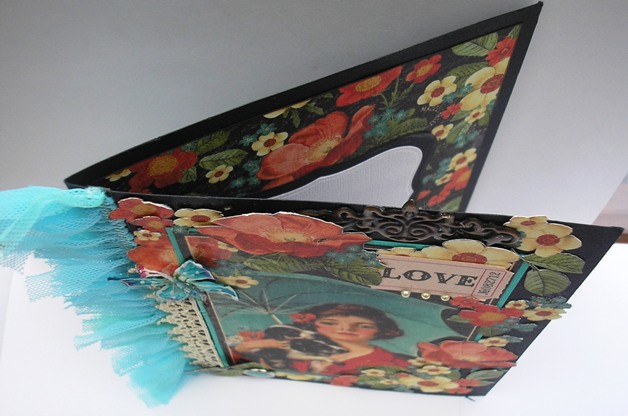
The trim I used on the side is a discontinued Bo Bunny Trim I had left over, but you can easily replicate this by cutting into layers of tulle or a similar fabric.

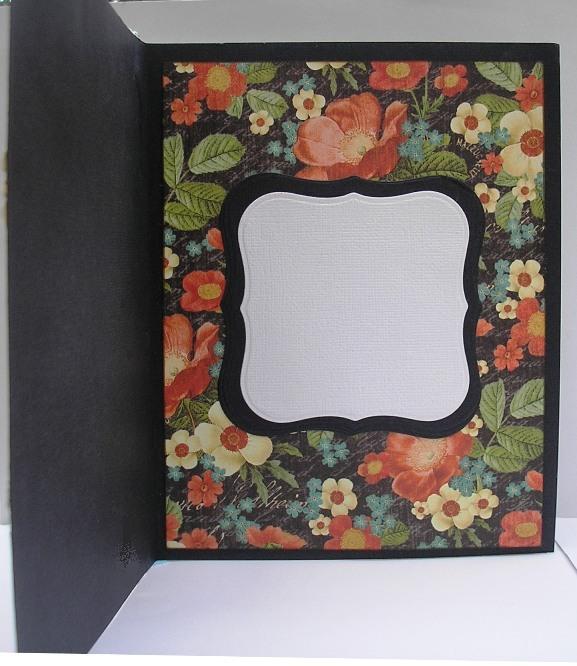
The inside of the card. Simple, but effective. The centre was cut from a Spellbinders die set.
Also used: Lace, trim (see previous description), a Prima metal embellishment, Butterfly, few pearls, Basic Grey Glazed Brad, and a Love ticket from the Tim Holtz Adage Ticket Pad.
|
All projects copyright @®Charmed Cards & Crafts. All rights reserved.