|
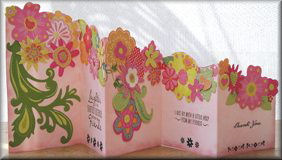
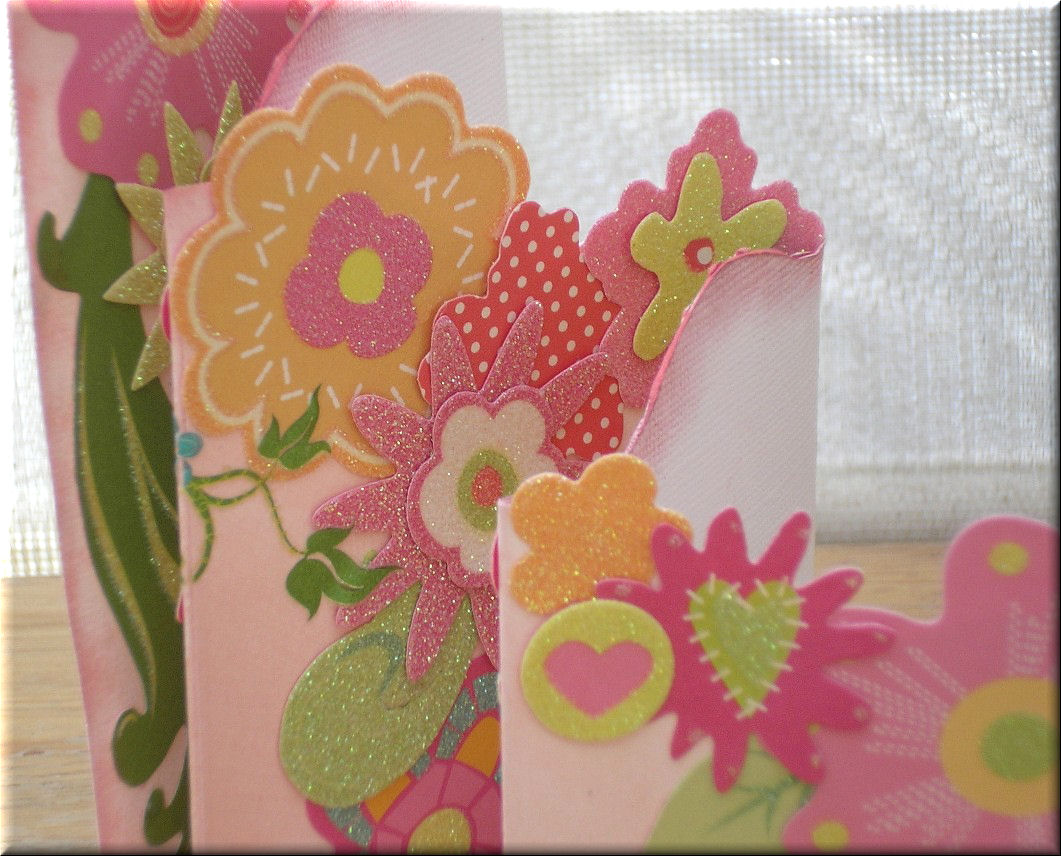
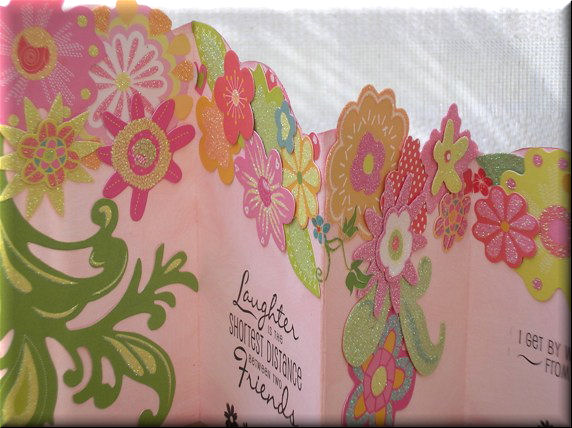
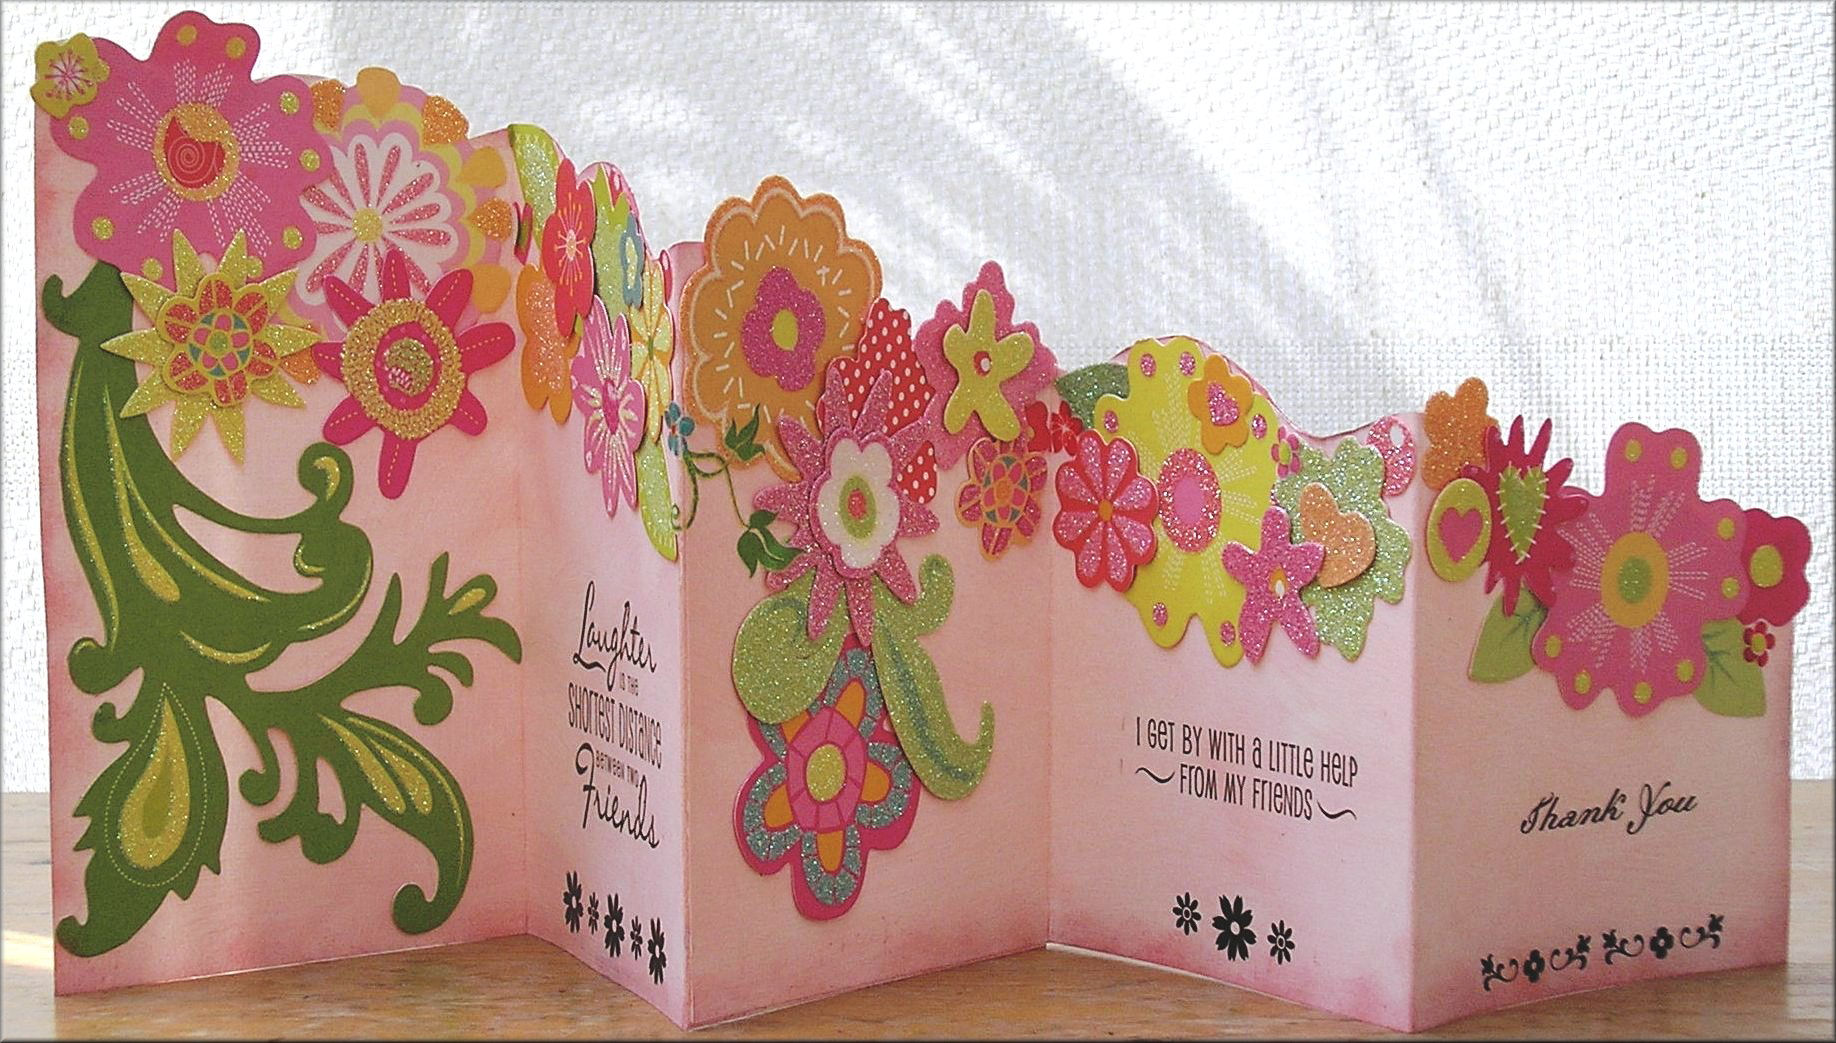
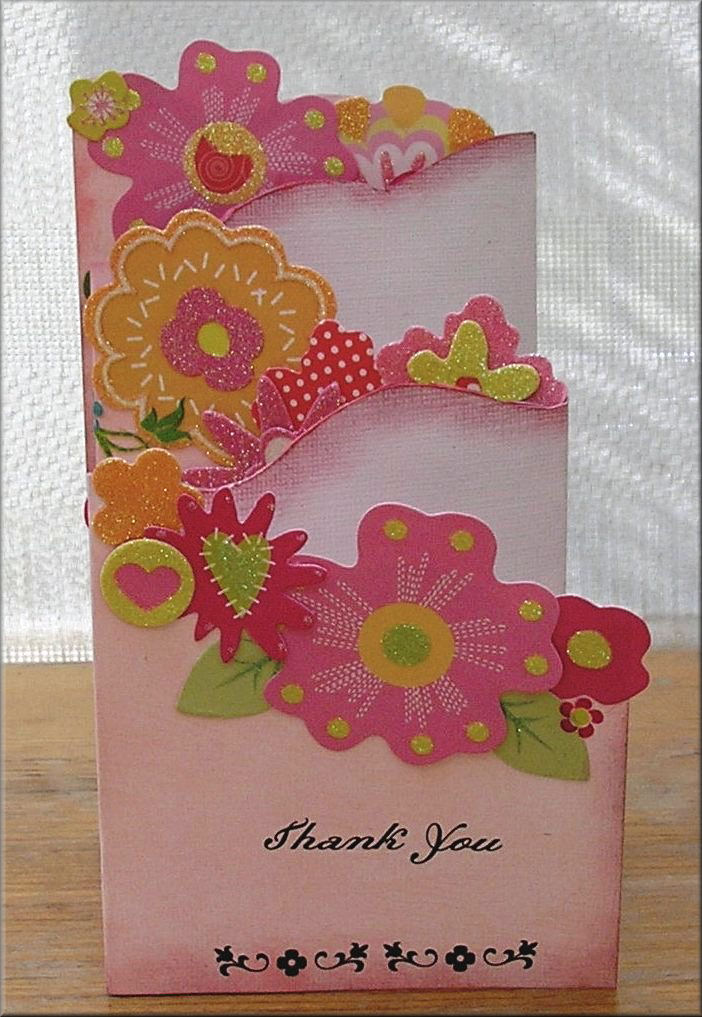
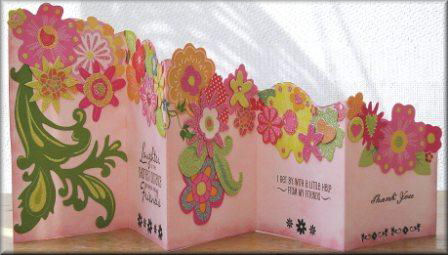
Concertina Card
Designed by Karen
Mortensen
|
|
Click on pictures to enlarge
|
|
Front of card
 |
 |
 |
 |
|
Products used:
Tools:
Instructions
-
Cut the white Bazzill
into size 17.5cm x the width of the Bazzill (30cm). Fold into three
equally sized pieces (width 10cm each).
-
Fold the remaining
piece of Bazzill in the same way (three folds the same width as the
others).
-
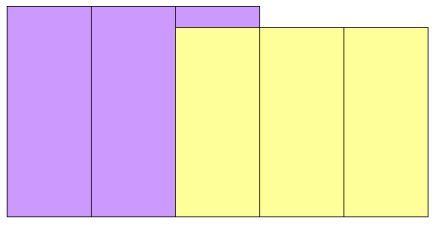
Glue the piece onto the
last piece of the taller (first) Bazzill. Glue it to the plain side:
glue the left hand pane on the smaller card onto the right-hand pane
of the taller piece with the edge against the spine of the last
fold. You now have a five-fold piece of Bazzill. The width should be
50cm. See the sketch below for guidance. Lilac folds is the first
taller piece, yellow is the second. Note how the second piece
overlaps the first.
-
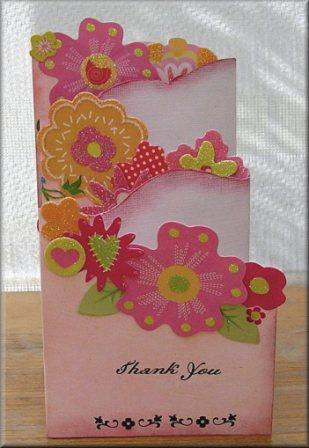
Draw an undulating line
from the top left-hand side down to the right-hand side of the last
smaller panel - see pictures for guidance. Cut along the line you
just drew. Sand down any rough edges then ink both sides of the top
edge with pink ink. On the textured side use a paintbrush to
draw the ink further in from the edge.
-
Using an ink sweeper
"sweep" acrylic paint to entirely cover the plain side of the
Bazzill. Leave to dry.
-
Brush the edges of the
painted side with the pink ink.
-
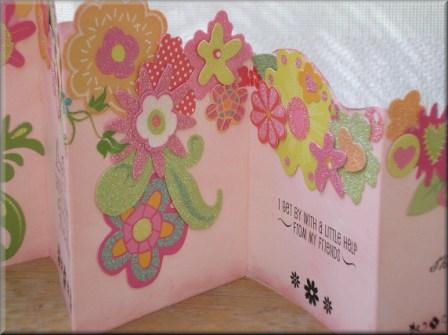
Cover the undulating
line with Berry Sweet Floral Die-Cuts. Ensure that you do not cover
the folds. Leave the florals poking above the edges on every other
edge but you must ensure that the die-cuts are in line with the edge
on the second and third panel. We do not want to see
them poking out when we fold the card (see picture of front of card
for guidance).
-
Add some Berry Sweet
rub-ons here and there where you need to cover a space
-
Add some more Berry
Sweet Die-Cuts to two of the panels. Add rub-ons to the others. You
can leave one blank for your own written message.
|
|
|
|
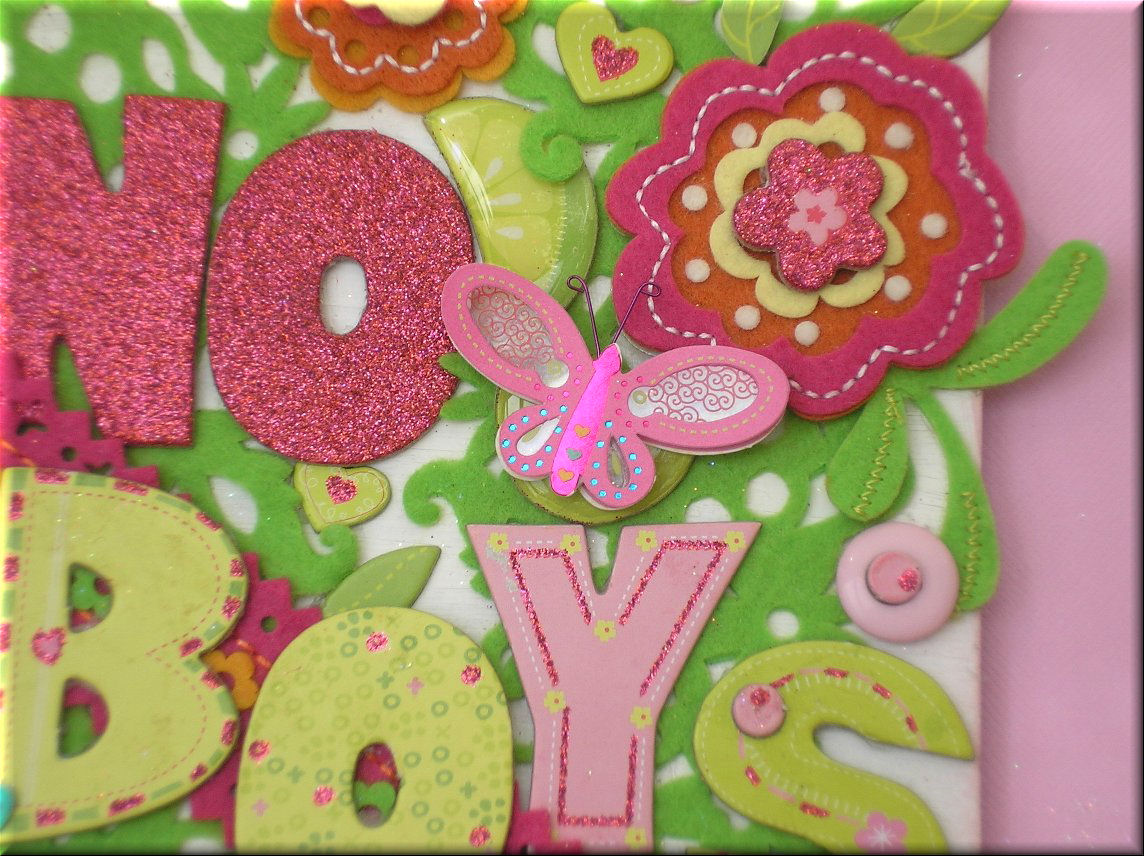
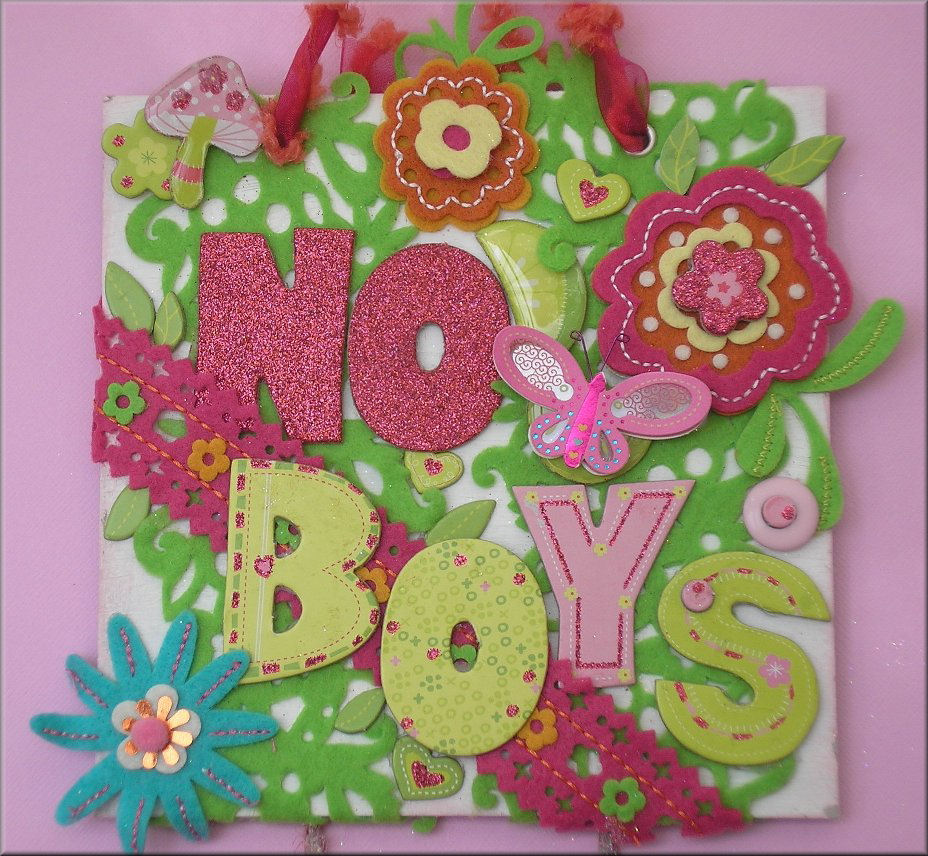
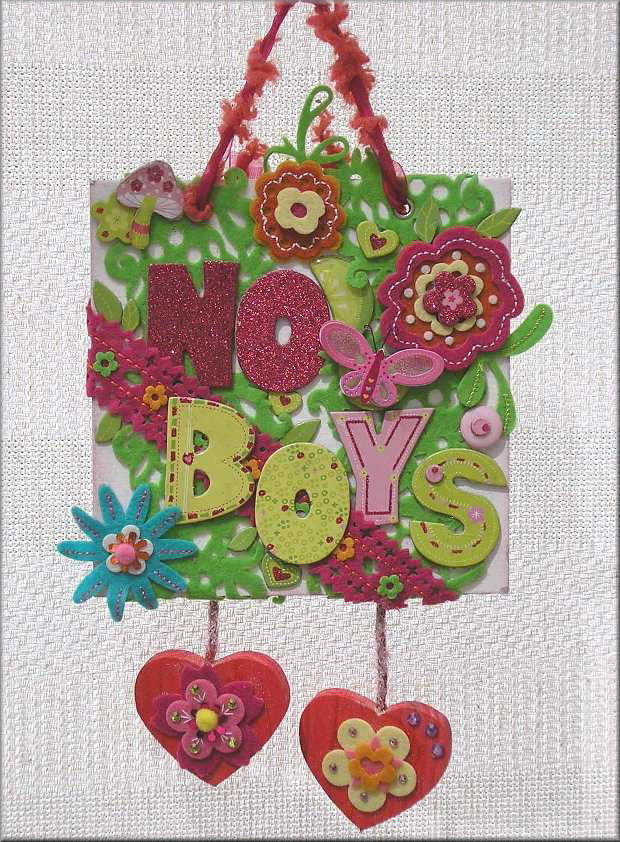
No Boys - Door Hanger
Designed by Karen
Mortensen
|
|
Click on pictures to enlarge

|
 |
 |
 |
|
Products used:
Instructions
-
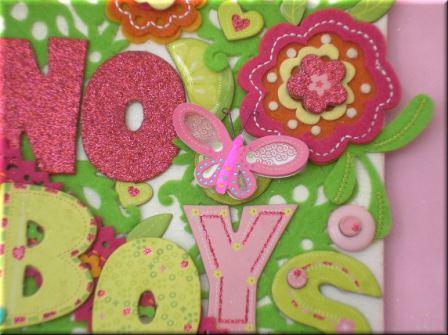
Cover the chipboard
square with the white acrylic paint. Leave to dry.
-
Wrap green Berry Sweet
Floral Felt Trim twice around the board.
-
Punch two holes at the
top of the board and insert two large eyelets.
-
Attach pink Berry Sweet
Floral Felt Trim diagonally around the board.
-
Arrange all other
elements as you want them and glue onto board (see pictures for
guidance)
-
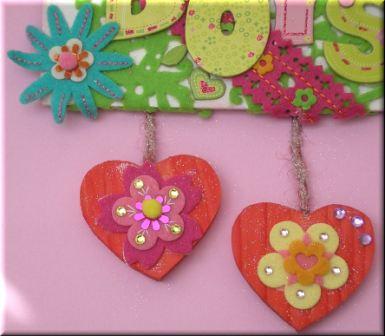
Ink the two wooden
heart and jute with pink ink. Cover the jute with disappearing glue
and sprinkle with ultra fine glitter. I also sprinkled the
hearts with glitter. When dry top with Berry Sweet Floral Felt Grand
Adhesions and small rhinestones. Attach the jute to the back of the
board with the hearts hanging side by side slightly below one
another.
-
Twist some orange
fibres around pink organza ribbon. Feed through the eyelets and tie
together at the back.
|
|
|
|
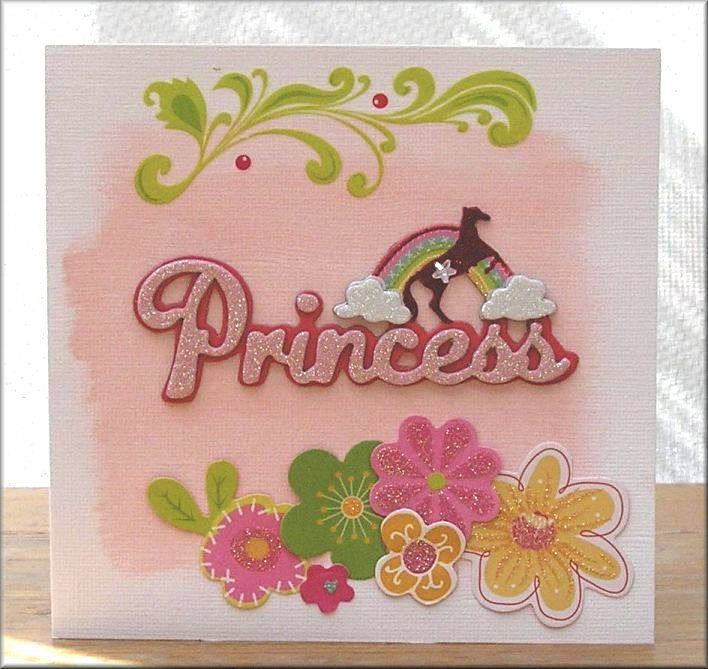
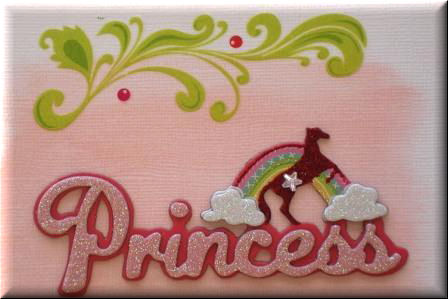
"Princess" Card
Designed by Karen
Mortensen
|
|
Click on picture to enlarge
|
 |
 |
|
Products used:
Tools:
-
Paper Trimmer
-
Ink Sweeper
Instructions
-
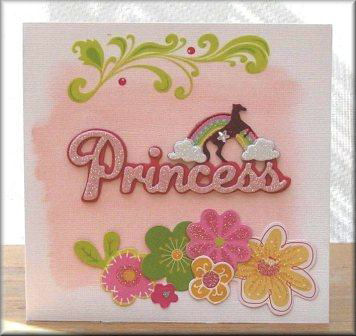
Cut the White Bazzill
to fold into a 6x6 card
-
Using an ink sweeper
apply the acrylic paint to the card (see picture). Leave to dry
-
Add rub-on to the top,
Floral cardstock die-cuts to the bottom and Princess Chipboard to
the centre.
|
|
|
|
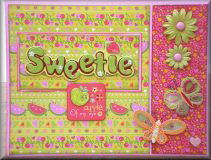
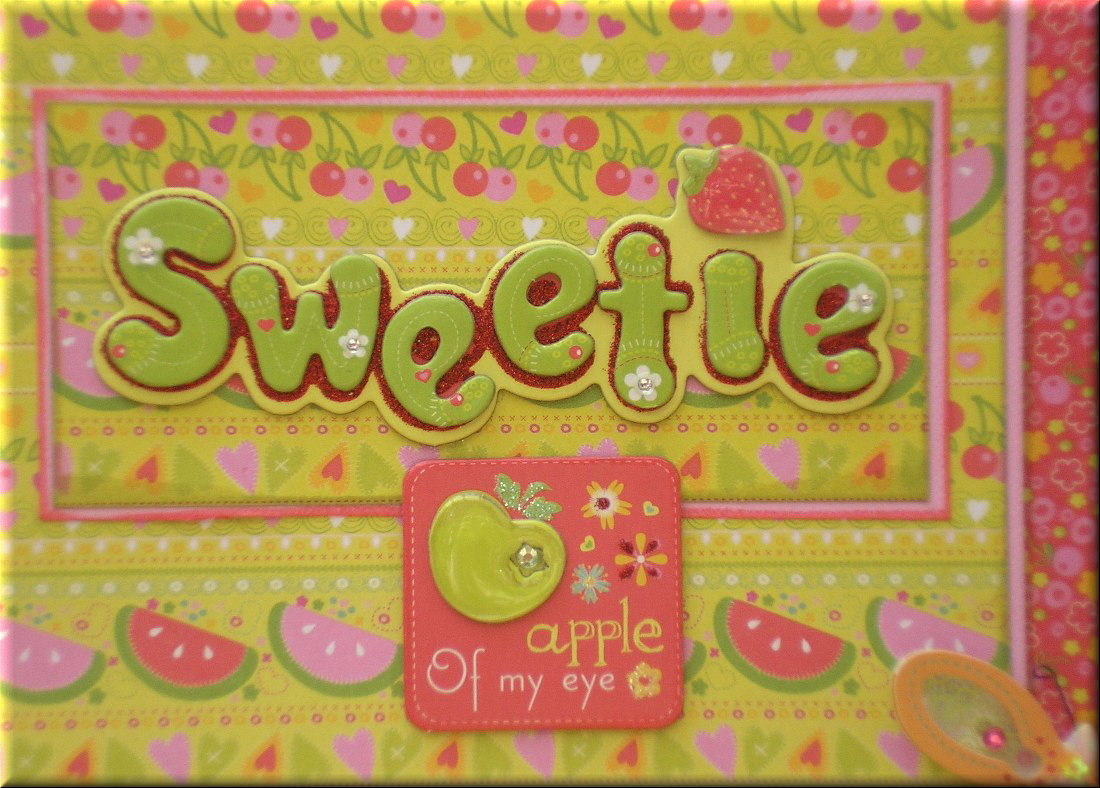
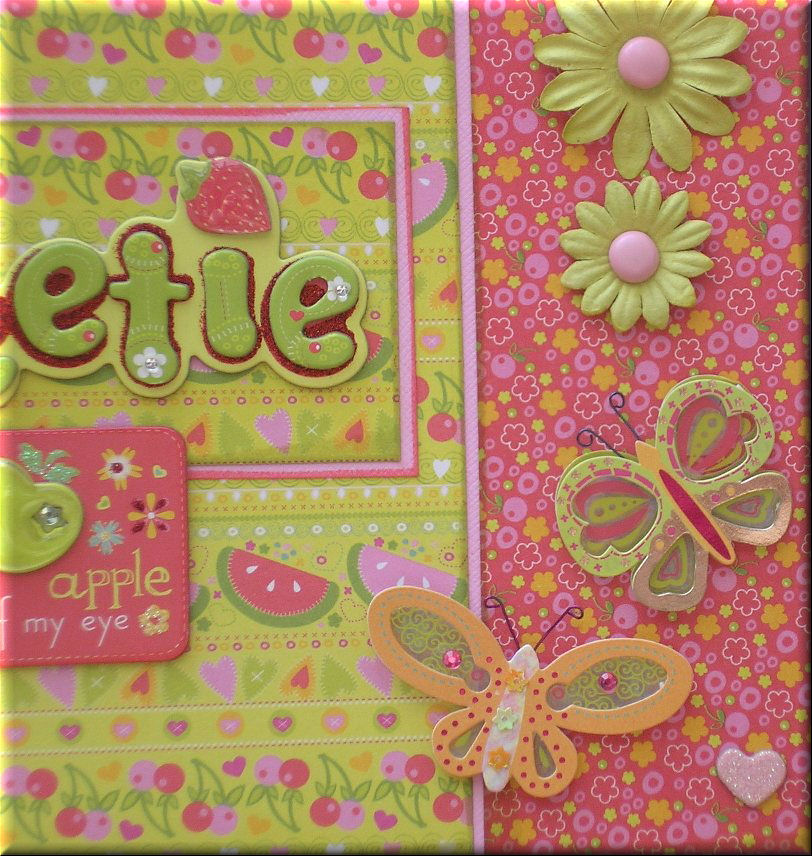
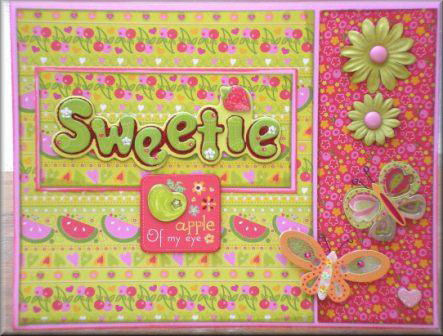
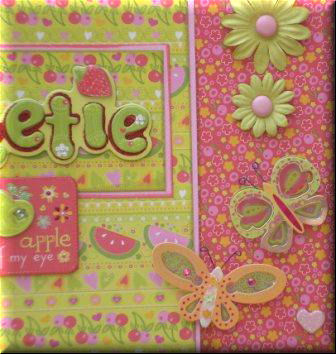
"Sweetie" Card
Designed by Karen
Mortensen
|
|
Click on pictures to enlarge
|
|
 |
 |
|
Products used:
Instructions
-
Fold the Bazzill
horizontally to make a card sized 19.8cm x 15cm. Ink edges with pink
ink
-
Cut two coordinating
pieces of Berry Sweet Paper into sizes 13.5cmx 14.5cm (paper A) and
5.3cm x 14.5cm (paper B). Ink edges with green ink. Stick onto card
with an edge of the underlying card showing all around (see picture
for guidance).
-
Cut a piece of Paper A
into size 5.5cm x 12cm. Ink edges with green ink. Mat onto a piece
of slightly large Pink Bazzill. Ink edges with pink ink. Stick onto
Paper A (see picture for guidance).
-
Add the embellishments
as pictured.
|
|
|
|
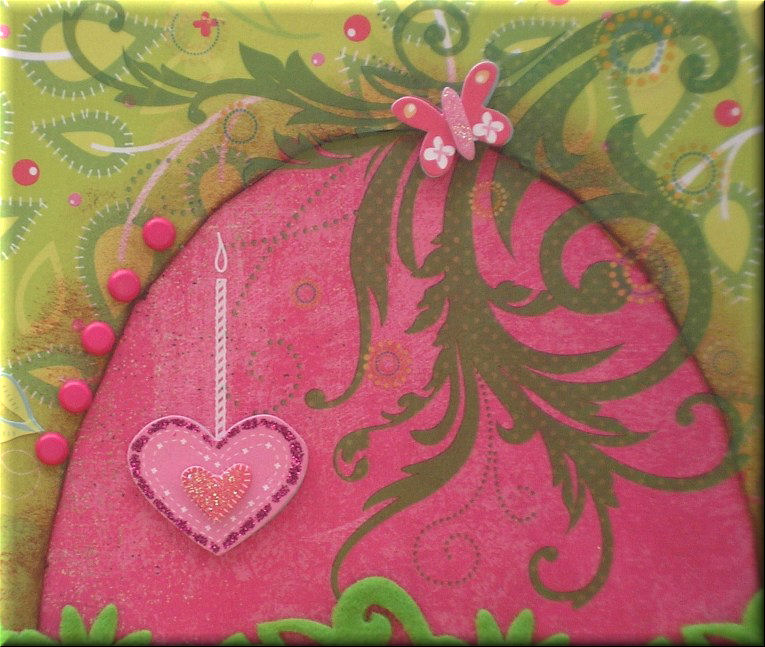
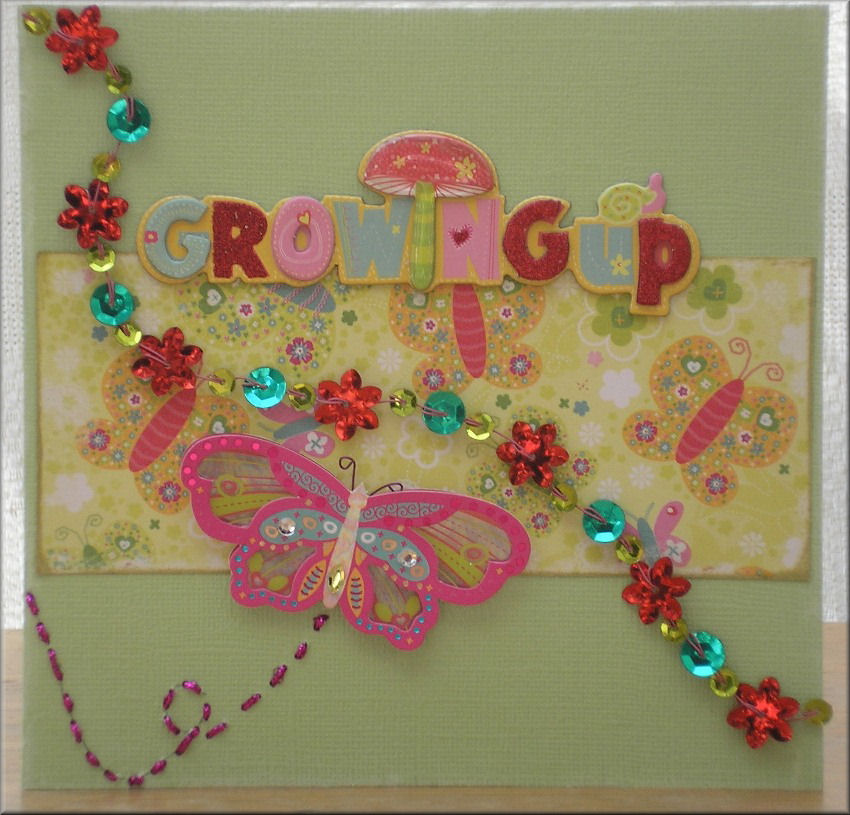
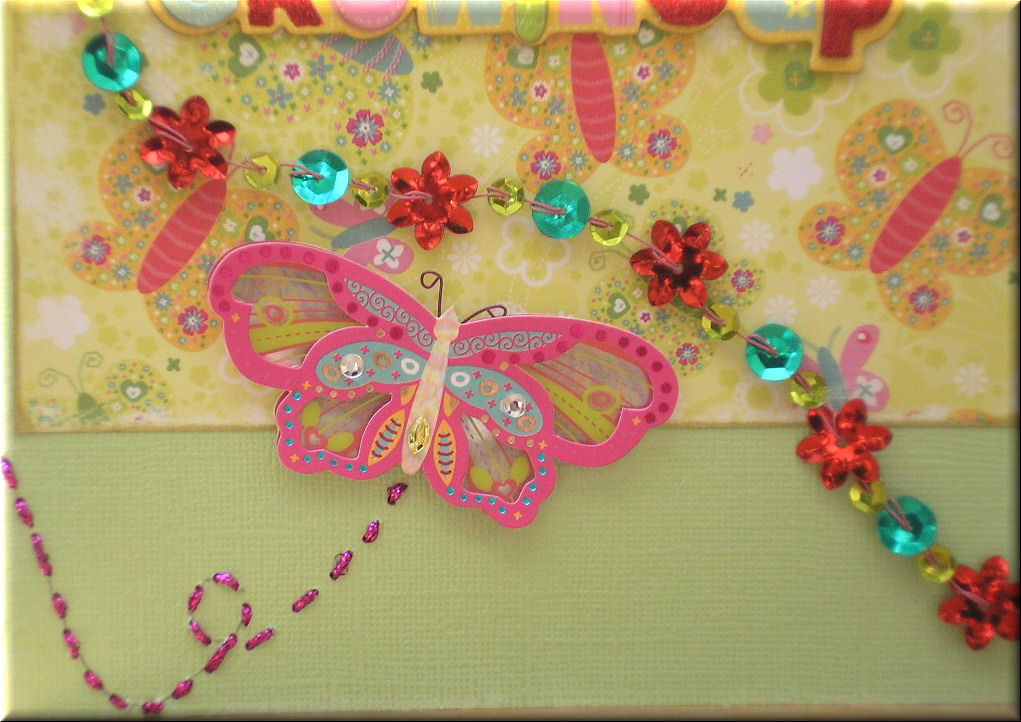
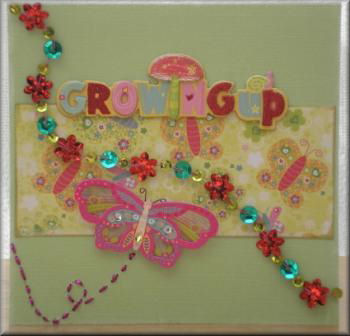
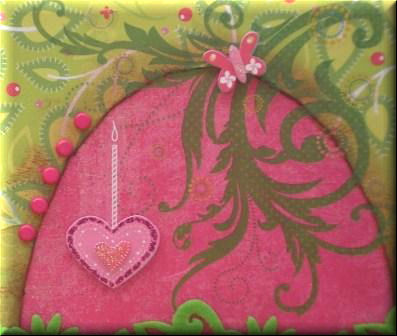
"Growing Up" Card
Designed by Karen
Mortensen
|
|
Click on pictures to enlarge
|
|
 |
|
Products used:
Tools required:
Instructions
-
Cut and fold the
Bazzill into a card size 6" x 6"
-
Sand the edges of the
card all around
-
Cut a piece of Berry
Sweet Butterfly paper into size 5.75" x 2.5". Ink the edges then
stick onto centre of card.
-
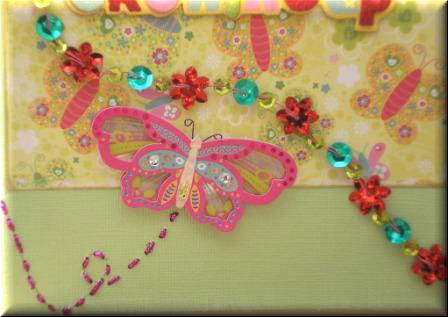
Attach a Berry Sweet
Adhesive Chipboard (Growing Up) at the top of the paper.
-
Attach a Berry Sweet
Border from corner to corner as shown
-
Attach a Berry Sweet
Butterfly Grand Adhesion as shown
-
Draw a trail from the
butterfly. Pierce where the stitching will go then sew with
sparkling pink thread. Make sure it is neat as it will shown
at the back.
|
|
|
|
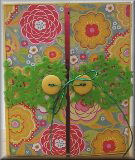
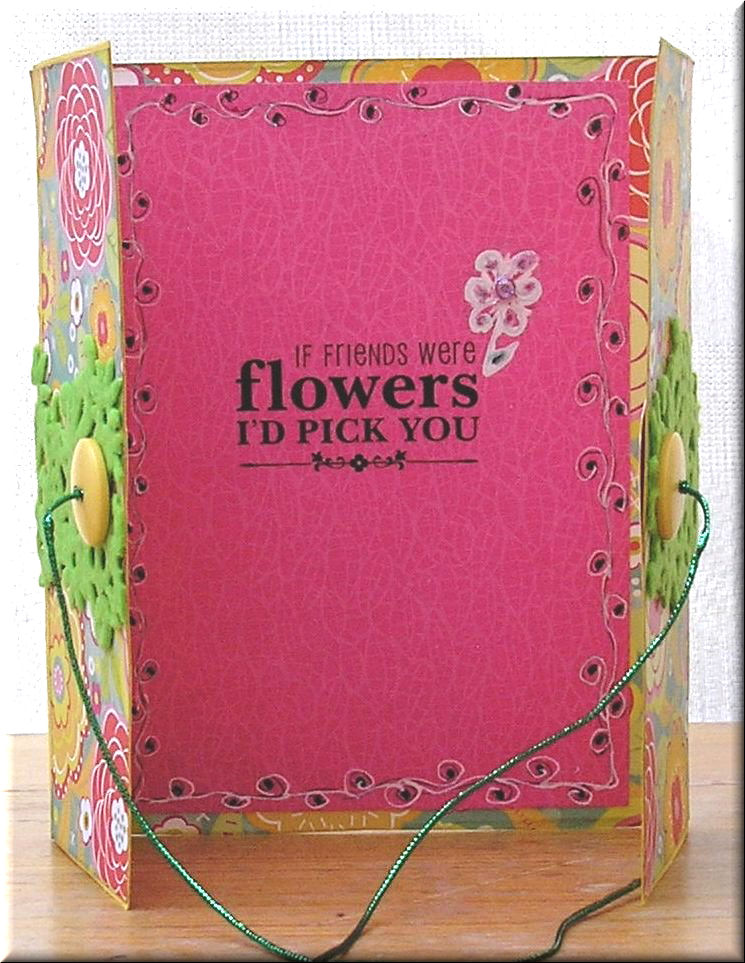
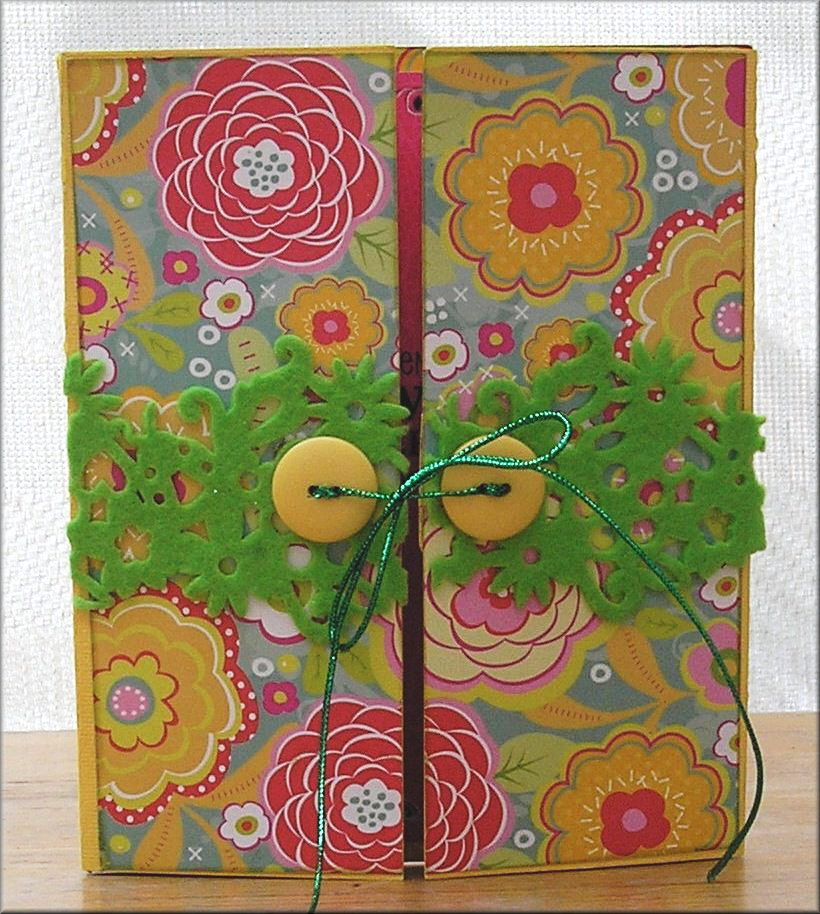
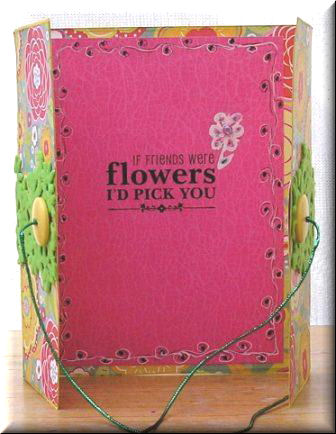
Gatefold Card
Designed by Karen
Mortensen
|
|
Click on pictures to enlarge

|
 |
 |
|
Products used:
Tools:
Instructions
-
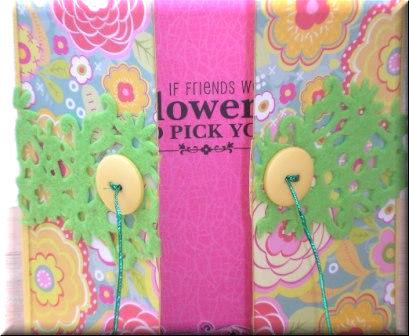
Cut the Bazzill into
size 12" x 7". Fold the two edges on the longer side towards the
middle to form two 3" panels.
-
Cut two Berry Sweet
paper panels to fit onto the front of each panel. Leave a margin all
around so that the edge of the Bazzill will show except for in the
middle where you want them to join up. Cut the paper so that the
pattern will flow from one side to the other (see picture for
guidance). Glue onto the panels.
-
Glue a piece of Green
Berry Sweet Floral felt trim to the middle of the card. Cut down
along the centre opening.
-
Sew on two large yellow
buttons with sparkling green thread. Leave the thread hanging on the
outside enabling you to tie the two panels together.
-
Open the card. Glue the
same paper you used on the outside to the centre panel inside. Cut
out two of the flowers from the remaining paper and glue on the
inside where you stitched on the buttons.
-
Glue a coordinating
paper on top of the other (I used a pink paper from the Berry Sweet
Mat Pad).
-
Rub-on a sentiment. You
can also print one on the paper first.
-
Doodle around the edges
and doodle a little flower above the sentiment. Go over it with some
Sakura Gelly Roll Glaze pens (I used white, pink and green pens).
|
| |
|
|
|
|
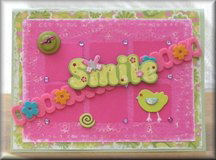
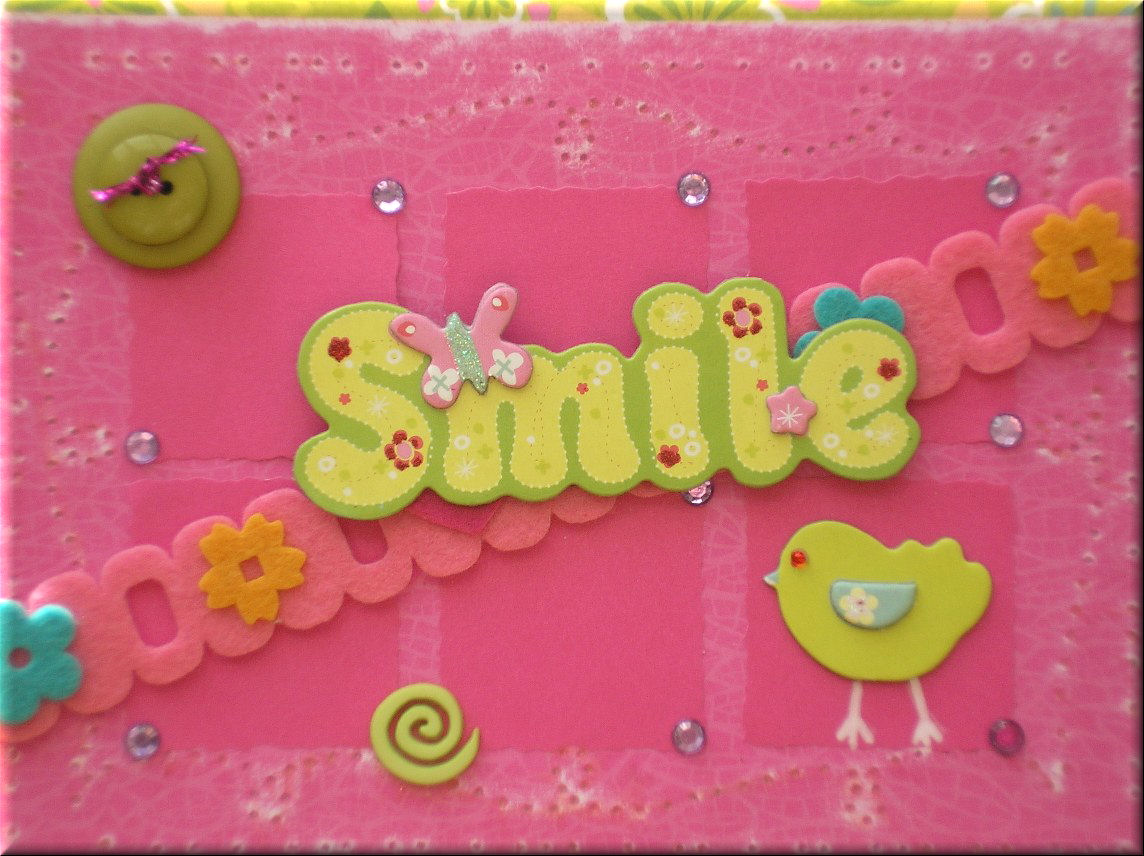
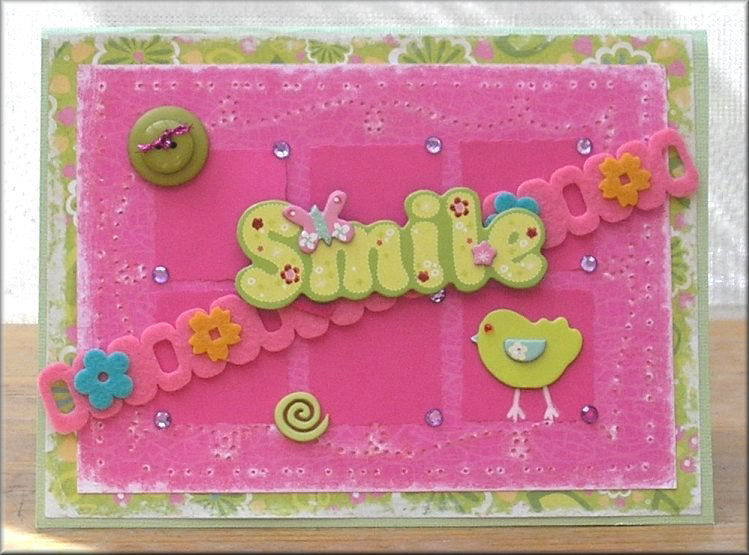
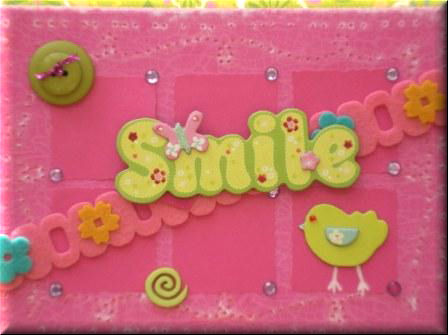
"Smile" Card
Designed by Karen
Mortensen
|
|
Click on pictures to enlarge

|
 |
|
Products used:
Tools:
Instructions
-
Cut the Bazzill into
size 11" x 7.5". Fold the longer side to make a card 5.5" x 7.5"
(horizontal fold)
-
Cut a piece of Berry
Sweet paper (I used the 8.5x8.5 pad) slightly smaller than the front
of the card. File/sand down the edges for a distressed look.
-
Take a piece of pink
paper from the Berry Sweet Mat Pad. Cut a tiny bit of the
length.
-
Prick a pattern all
around inside the edges of the pink paper. I pricked a plain
edge plus a fancy edge inside that
-
File/Sand down the
edges of the paper to distress and lightly go over your pricked
pattern also. This will show the pattern more clearly.
-
Cut six small 1.5"
squares with paper shaper scissors for a fancy edge out of a
slightly darker pink paper. Stick onto the pricked piece.
-
Glue the pink paper
onto the patterned Berry Sweet paper
-
Glue the patterned
Berry Sweet paper onto the card
-
Add a Berry Sweet
Border as across the card (see pictures for guidance)
-
Add a large button
topped with a smaller button threaded with pink sparkling thread.
(see pictures for guidance)
-
Add Berry Sweet
Adhesive Chipboard (see pictures for guidance)
-
Add small jewels (see
pictures for guidance)
-
Add one Dress it Up
swirl button (see pictures for guidance)
|
|
|
|
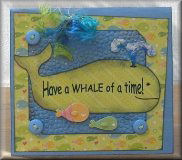
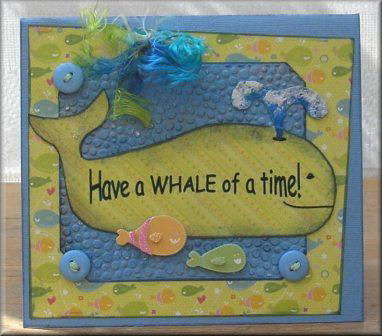
"Whale of a time" Card
Designed by Karen
Mortensen
|
|
Click on picture to enlarge
|
|
Products used:
Tools:
Instructions
-
Cut and horizontally
fold the Bazzill into a card sized 6.5" (width) x 6" (height)
-
Cut a sheet of Berry
Sweet Whales paper slightly smaller than the front of the card. Cut
it in a funky shape (see picture). Do not glue onto card yet. Ink
the edges with green ink.
-
Cut a piece of the
remaining Bazzill into size 4.5" x 4.75". Emboss on the plain side.
Cut the corners off and ink the edges with blue ink
-
Glue embossed piece
onto the Berry Sweet Whales paper. Stitch a button to three of the
corners.
-
Attach piece onto the
card. See picture for placement.
-
Print a sentiment onto
a piece of coordinating Berry Sweet paper.
-
Draw a whale around the
sentiment. Cut it out and ink the edges. Draw an eye, mouth
and air hole with a black Sakura Glaze Pen. Colour in the water with
a blue Sakura Glaze pen. Rub some Snow Writer on the top of the
water for froth and sprinkle with clear glitter.
-
Draw lines on the
whales tail fin with a glue pen and sprinkle with glitter.
-
Glue whale onto card.
-
Finish with Berry Sweet
Whale Grand Adhesions from the Icon pack and some Basic Grey fibre.
|
|
|
|
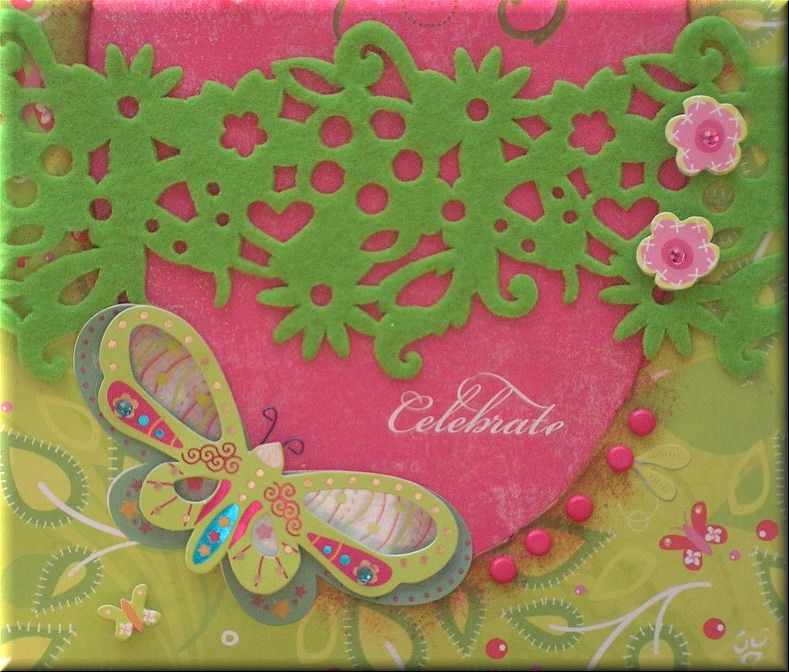
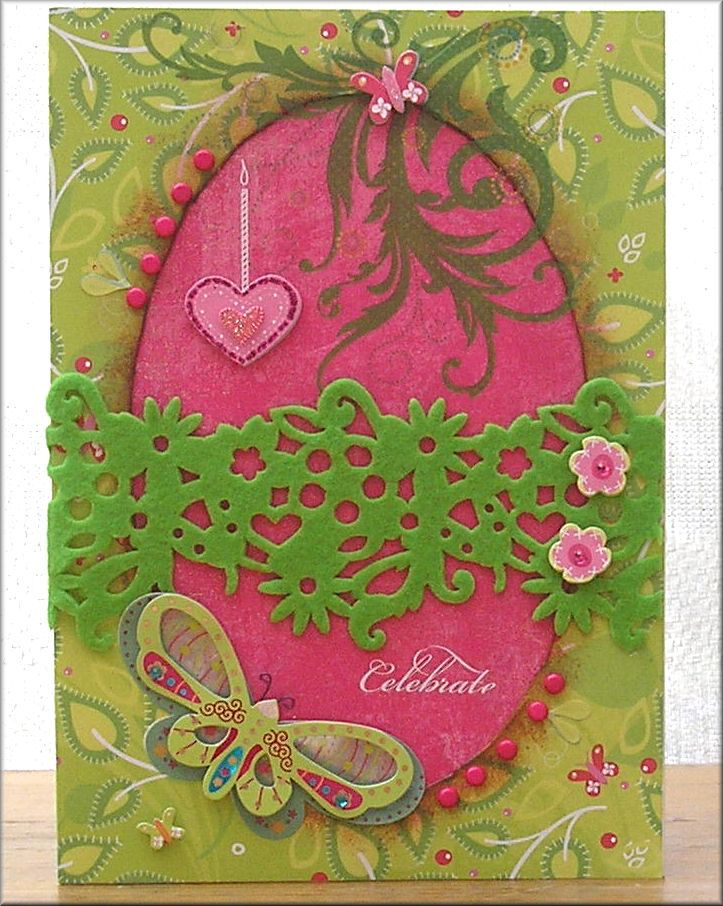
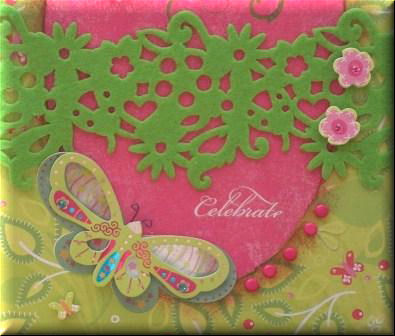
"Celebrate" Aperture Card
Designed by Karen
Mortensen
|
|
Click on pictures to enlarge

|
 |
 |
|
Products used:
Tools:
-
Paper Trimmer
-
Scissors
-
Paint brush
Instructions
-
Completely wrap the
card (front and back) in the Berry Sweet Lime Garden paper.
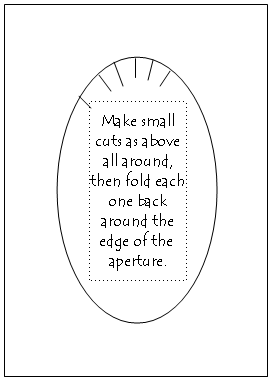
-
From the back cut some
of the paper in the centre of the aperture away. Make small cuts in
the paper all around and wrap it around the back of the aperture.
-
Ink the edges of the
aperture.
-
Attach five bright pink
brads to two of the edges of the aperture (see pictures)
-
Glue a piece of
coordinating paper on the panel inside the aperture. I used a
Basic Grey paper. Glue the two folds (panels) together.
-
Rub on a large Berry
Sweet Swirl
-
Glue a length of green
Berry Sweet Floral Felt Trim across the width of the card (see
picture)
-
Add a Berry Sweet
Butterfly Grand Adhesions and a heart and two flowers from the Berry
Sweet Icons Grand Adhesions sheet (see picture)
-
Rub on a white Basic
Grey "Celebrate" sentiment and a candle (from the same Birthday
sheet) rising above the Berry Sweet Heart Grand Adhesion.
|
|
|
|
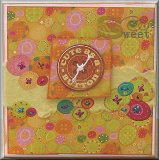
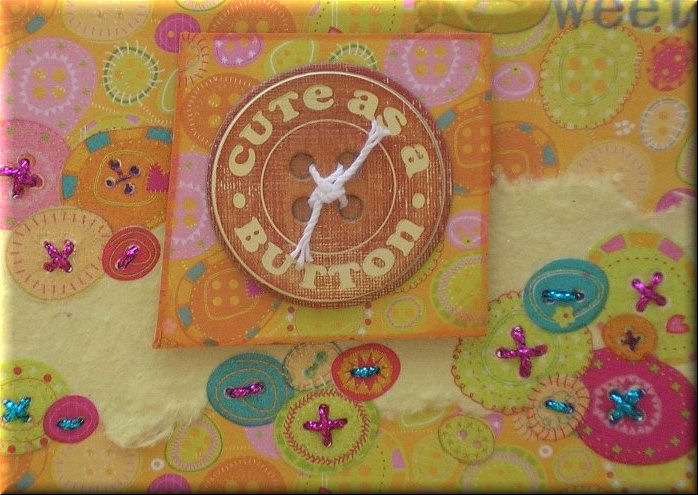
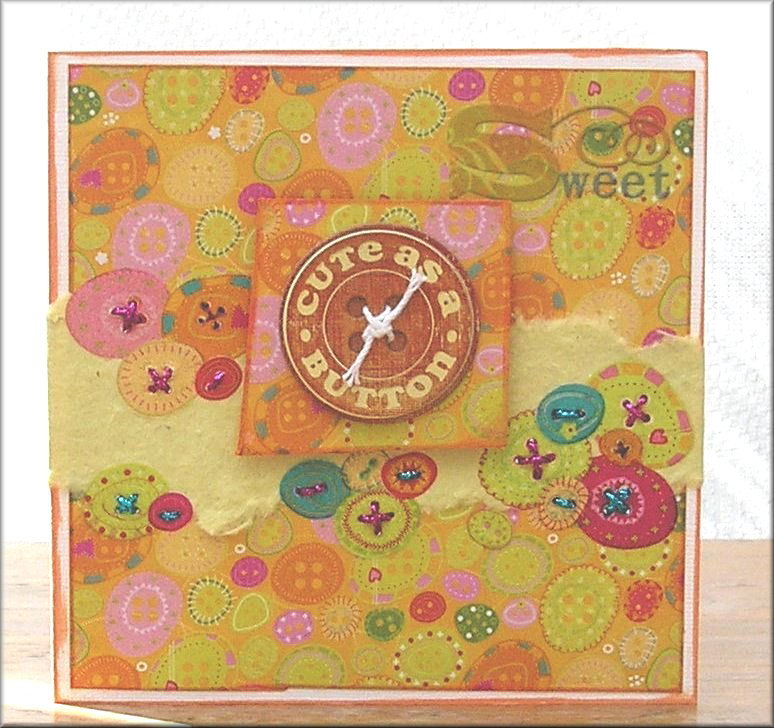
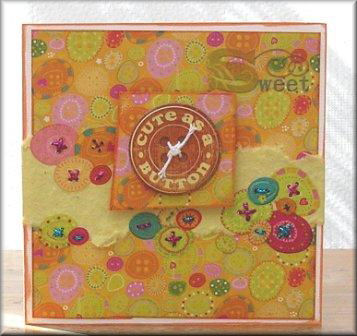
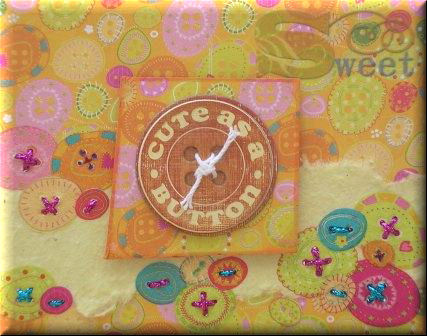
"Cute as a Button" Card
Designed by Karen
Mortensen
|
|
Click on pictures to enlarge
|
 |
|
Products used:
Tools:
Instructions
-
Cut and fold the
Bazzill into a card size 5.75" x 5.75". Ink the edges
-
Cut a sheet of the
Berry Sweet Button paper from the 8.5x8.5 paper pad slightly smaller
than the card so that an edge will show all around it. Ink the
edges. Do not glue onto card yet.
-
Tear a piece of
mulberry paper, I used paper from the Eco Africa Scrap Pack
(currently in our sale). Glue across the middle of the card. Leave
it a little longer either side so that you can wrap it around the
edges of the card later.
-
Fold a piece of the
Berry Sweet paper and glue it together so that it obtains double
thickness. Cut it to approx 2.25" square but make the shape a
little "funky" (see picture for guidance). Ink edges. Using foam
squares mount onto card as pictured. Top with a K&Co Chipboard
button.
-
Rub-on some Berry Sweet
glittery buttons from the Words and Icon Rub-on sheet on the edges
joining the Mulberry paper and the Berry Sweet paper (see picture
for guidance)
-
Pierce through the
button holes on the rub-ons and sew them with pink and blue
sparkling thread.
-
Glue onto the card
wrapping the edges of the mulberry paper around the edges.
|
|
|
|
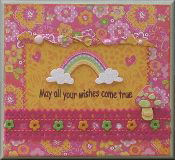
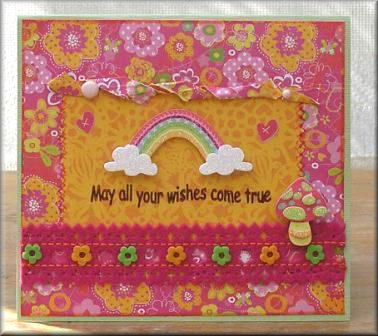
"Wishes come true" Card
Designed by Karen
Mortensen
|
|
Click on picture to enlarge
|
|
Products used:
Tools:
Instructions
-
Cut and fold the
Bazzill horizontally into a card size 6.3" (width) x 5.6"(height).
-
Cut a piece of Berry
Sweet paper slightly smaller than the front of the card so that an
edge will show all around. Ink edges. Do not glue onto the card yet.
-
Print a suitable
sentiment on a piece of coordinating Berry Sweet paper (I used the
Berry Sweet Mat pad for this paper). Cut into size 3" x 4.25". Glue
onto centre of the first Berry Sweet paper and draw cross stitches
on the side edges with a Sakura Gelly Roll Glaze pen (see picture.
Go over the sentiment with a Sakura Gelly Roll Glaze Pen.
-
Take a piece of the
first Berry Sweet paper and roll and twist it. Attach to the top of
the second Berry Sweet panel with two brads, one small and one large
(see picture).
-
Attach the Pink Ribbon
from the Berry Sweet Felt Floral Trim pack as shown in picture.
-
Glue onto the Bazzill
card.
-
Finish with the Berry
Sweet Adhesive Chipboard (rainbow) and one glittery Mushroom Grand
Adhesion.
|
|
|
| |
|
|
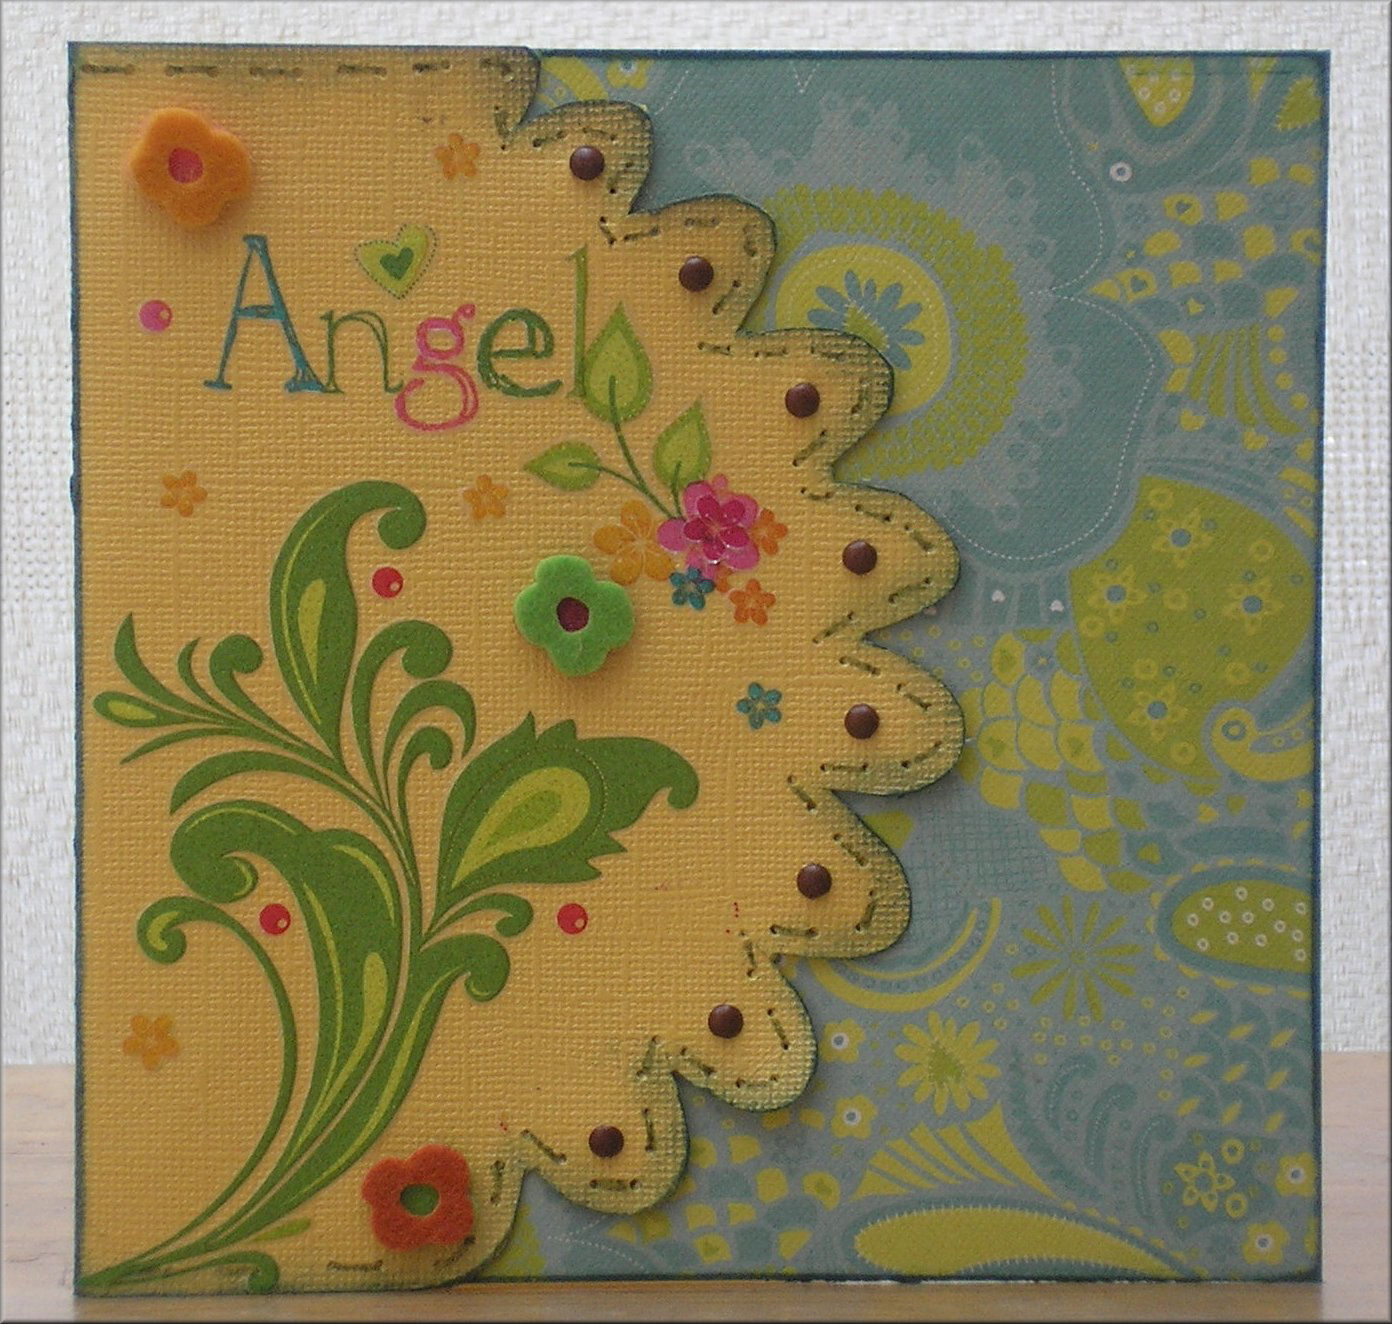
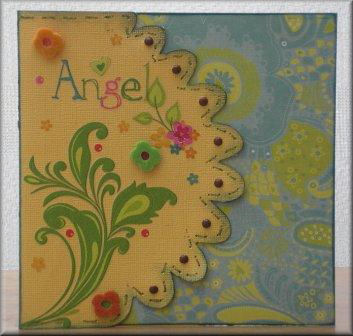
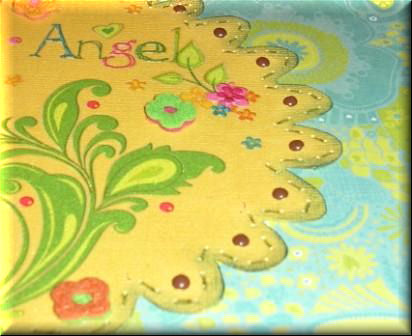
"Angel" Card
Designed by Karen
Mortensen
|
|
Click on pictures to enlarge
|
 |
|
Products used:
Tools:
-
Paper trimmer
-
Bone folder
-
Paper piercer
Instructions
-
Cut and fold the
Bazzill into a card 6" x 6"
-
Draw a scalloped
pattern on the front of the card and cut it out (see picture for
guidance)
-
Ink all edges on the
front with green ink
-
Prick a stitch pattern
along the top and bottom edges and around the inside of each
scallop. Draw stitches between the holes with a green Sakura
Glaze pen.
-
Cut a piece of the
Bazzill into size 6"x6". Cover the piece with Berry Sweet paper (I
used one from the 8.5x8.5 pad). Ink the edges with green ink. Glue
onto the underside of the scalloped front leaving the very edges of
the scallops unstuck.
-
Add Berry Sweet
Rub-ons: "Angel" sentiment, Large swirl, berries, leaves, hearts and
flowers. Layer some of the rub-on flowers for depth
-
Finish with three small
Berry Sweet Felt Flowers.
|
|
|