|
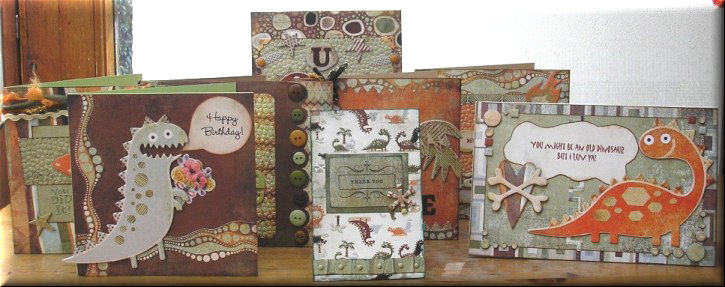
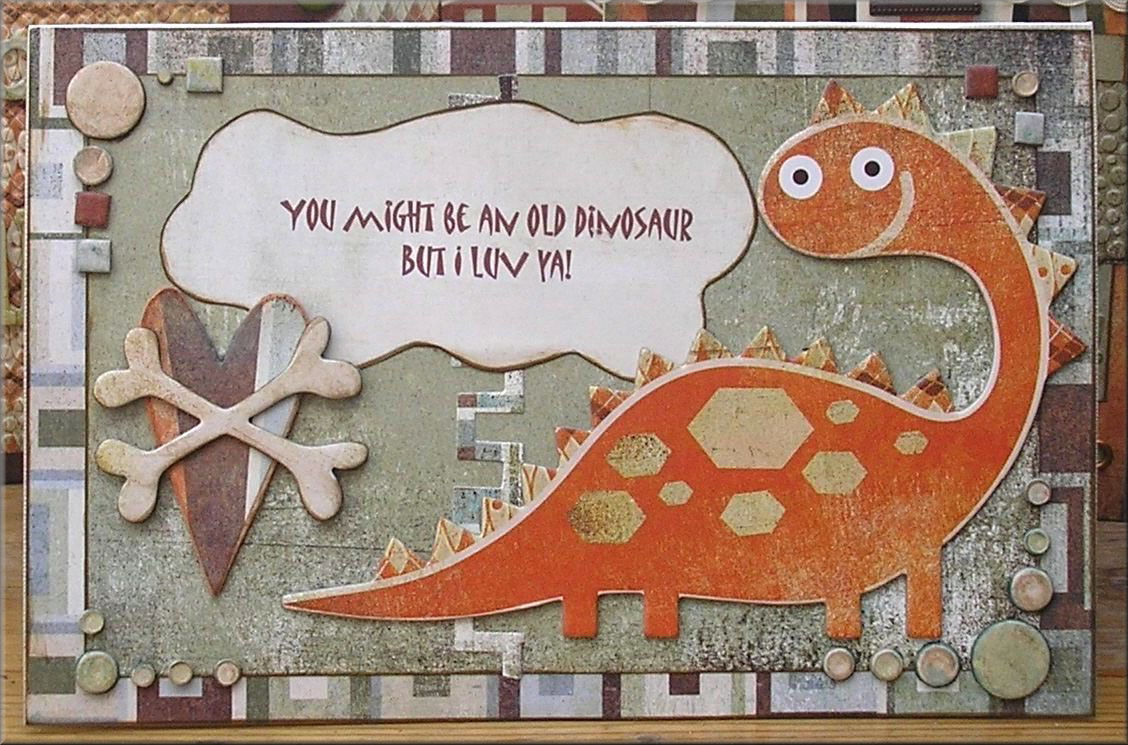
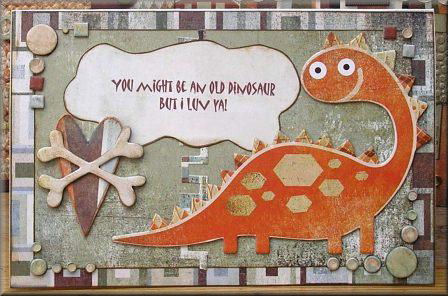
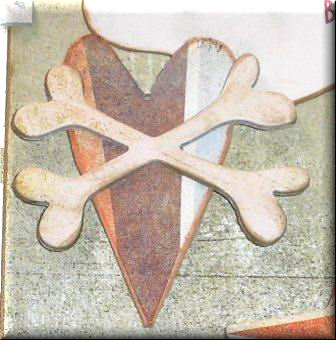
Old Dinosaur -
Designed by Karen Mortensen
|
|
Click on picture to enlarge
|
|
 |
 |
| Card size: 21cm
x 14cm
Instructions:
- Cut a piece of patterned "Relic"
Archaic cardstock into size 21cm x 14cm. Ink edges with brown ink.
- Cut a piece of plain "Earth Worm"
Archaic cardstock into size 19cm x 12cm. Ink the edges with brown
ink.
- Add a border from the Archaic
Die-Cut Shapes sheet to the plain piece of cardstock then mount onto
the patterned piece with the patterned paper showing as a border all
around.
- Print a sentiment on a piece of
"Prime" Archaic cardstock. Cut it out in an undulating shape and ink
the edges with brown ink. Stick onto card.
- Take the heart from the Archaic
Die-Cut Shapes sheet and mount on chipboard. Ink the edges with
brown ink. Stick onto card.
- Add the Dinosaur from the Archaic
Chip Sticker Shapes pack.
- Distress the crossed bones (from
Archaic Chip Sticker pack) with brown ink and mount on top of the
heart.
- Distress various round and squares
chipboard rocks from the Archaic Chip Sticker Pack with brown edge
and stick onto corners as shown.
- Mount the finished card onto
Bazzill cardstock to fold horizontally.
Products used:
|
|
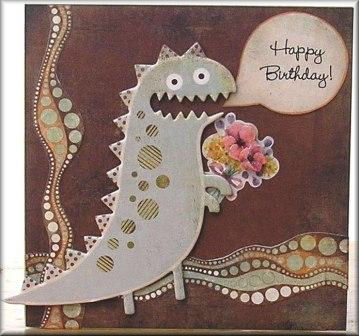
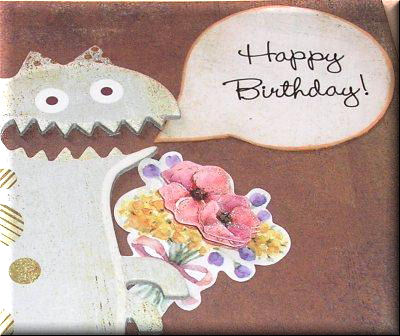
Happy Birthday -
Designed by Karen Mortensen
|
|
Click on picture to enlarge
 |
 |
| Card size: 6" x
6"
Instructions:
-
Take a dark sheet of
Archaic "Dirty" paper from the 6x6 pad or cut a sheet into size 6" x
6".
-
Cut two strips from a
sheet of the Archaic "Pods" paper and glue them on to the base paper
as shown above.
-
Draw a speech bubble on
a plain piece of Archaic paper (I used "Prime"). and cut it out. Ink
the edges with brown ink then add a Happy Birthday sentiment inside
(I used a rub-on but you could print it out. You could also create
the speech bubble in MS Word).
-
Add the Dinosaur and
the bouquet. Dinosaur is from the Chip Sticker Pack, the flowers are
from a 3D stickers pack.
-
Mount the finished card
onto Bazzill Cardstock folded into a card.
Products used:
|
|
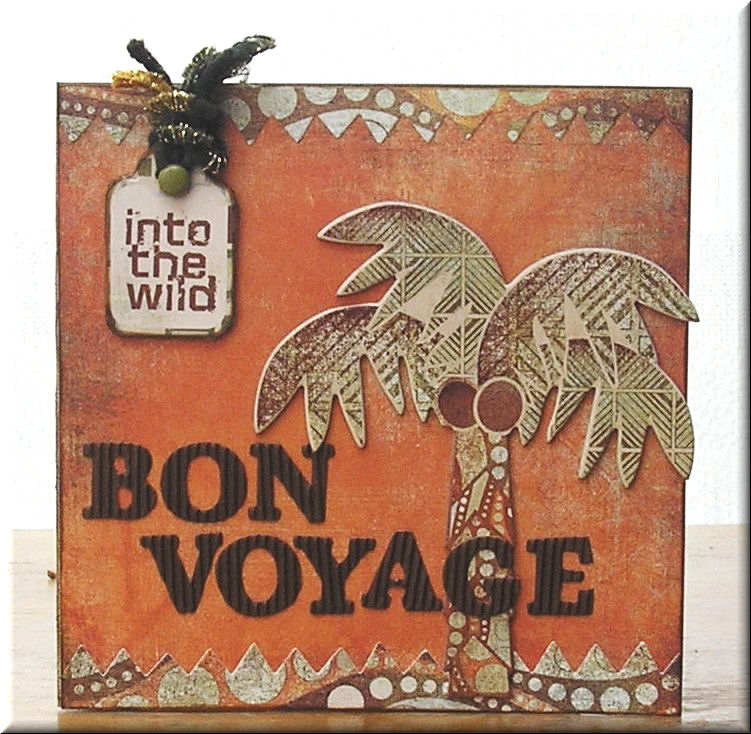
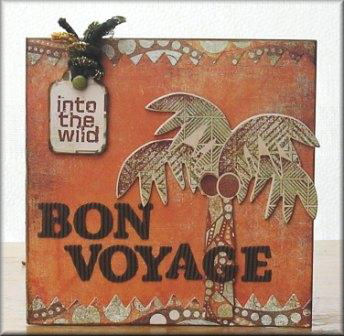
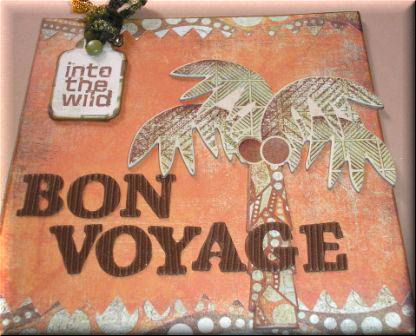
Bon Voyage -
Designed by Karen Mortensen
|
|
Click on picture to enlarge
|
|
 |
 |
| Card size: 6" x
6"
Instructions:
- Take a piece of "Rusty" Archaic
cardstock from the 6x6 pad, or cut a sheet into 6" x 6". Add a
border at the top and bottom from the Archaic Die-Cut Shapes sheet.
Ink the edges with brown ink.
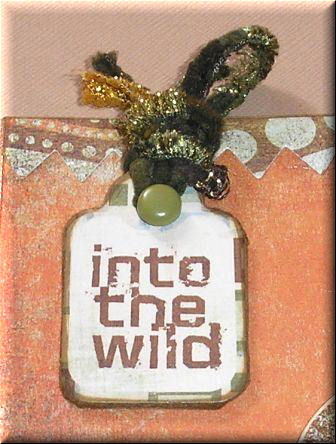
- Mount a tag from the Die-Cut Shapes
sheet onto chipboard and ink edges with brown ink. Tie a few Archaic
fibres to the top. Glue onto card then insert a green Archaic Brad
to the top.
- Add the palm tree from the Archaic
Chip Sticker pack.
- Add lettering. I used K&Company
corrugated alphabet letters.
- Mount finished card onto Bazzill
Cardstock folded into a 6x6 card.
Products used:
|
|
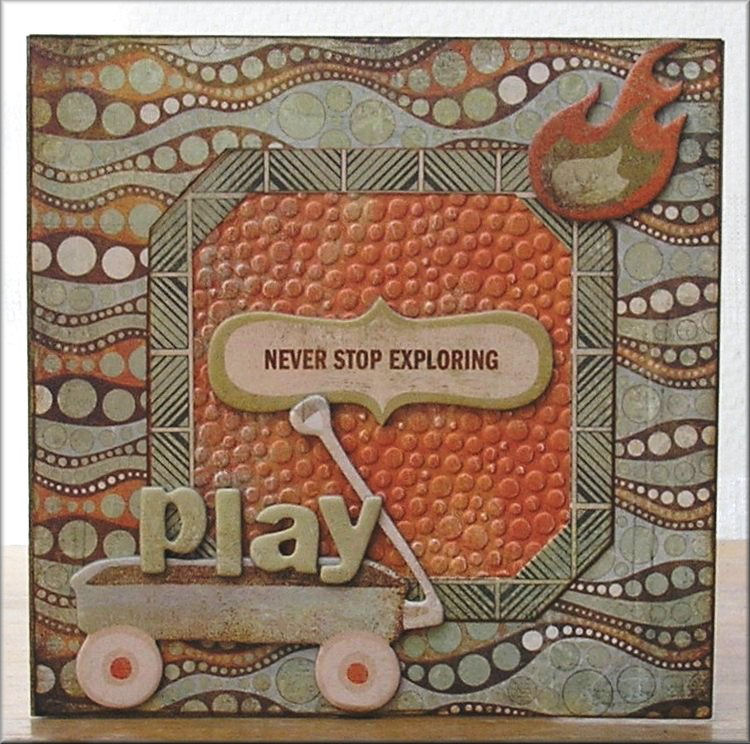
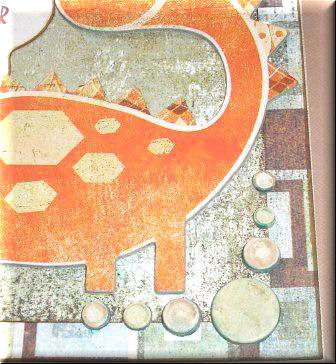
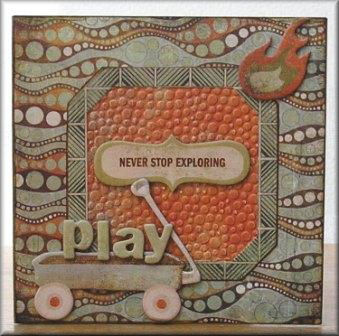
Play - Designed by
Karen Mortensen
|
|
Click on picture to enlarge
 |
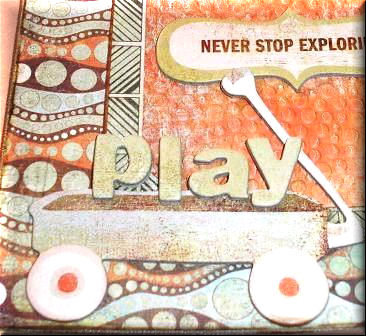 |
| Card size: 6" x
6"
Instructions:
-
Take a sheet of the
"Pods" paper from the 6x6 pad, or cut a 12x12 sheet into size 6" x
6". Ink the edges with brown ink.
-
Emboss a piece of
"Rusty" Archaic cardstock to make small circles. I used my Cuttlebug
and the "Small Bubbles" embossing folder. Mount behind a frame from
the Archaic Die-Cut Shapes pad (Ink edges of the frames first).
-
Add all other elements
from the Archaic Chip Shapes pack.
-
Mount on Bazzill cut
into a 6x6 card.
Products used:
|
|
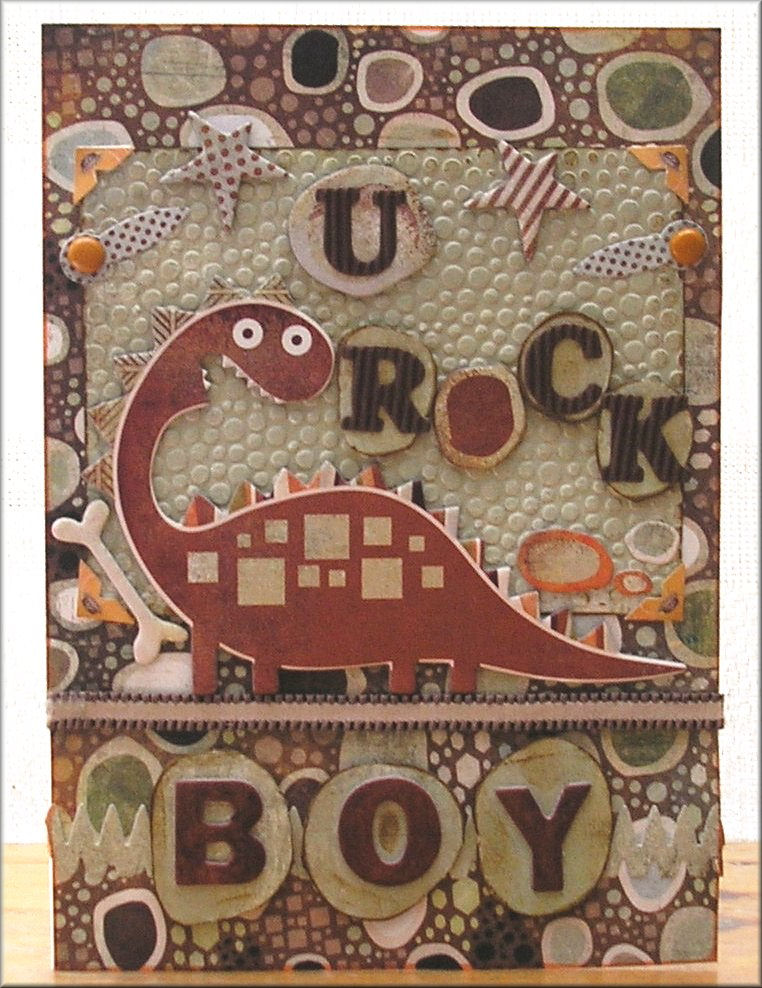
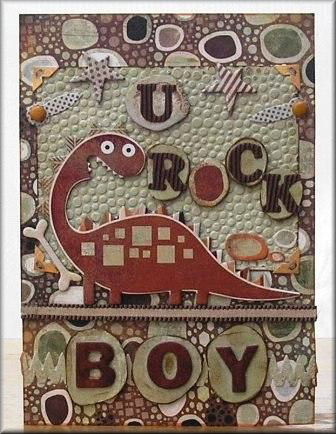
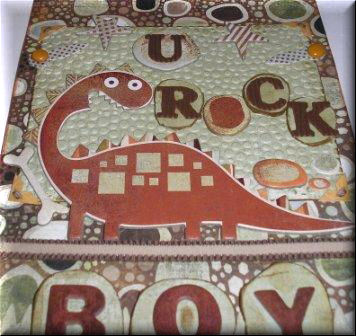
U Rock Boy -
Designed by Karen Mortensen
|
|
Click on picture to enlarge
 |
 |
|
Card size: A5
Instructions:
-
Cut a piece of Archaic
"Rock" cardstock into size 21cm x 15cm. Ink edges with a rusty
orange ink.
-
Emboss a piece of
10.5cm x 13.2cm Archaic "Earth Worm" with tiny rock like bubbles, I
used my Cuttlebug and the "Small Bubbles" embossing folder.
Ink the edges with brown ink and very lightly brush the ink onto the
bubbles here and there.
-
Attach four photo
corners to the embossed piece (I used K&Co photo corners).
-
Add a piece of ribbon
tot he card (see picture). I used Basic Grey Urban Couture ribbon.
-
Glue the embossed piece
onto card above the ribbon.
-
Add a zig zag border
from the Die-Cut Shapes sheet below the ribbon.
-
Prepare the alphabet
pebbles: There were only two suitable rocks from the Chip Sticker
Pack so I made the other by mounting "Earth Worm" cardstock onto
chipboard, cutting them out, sanding down the edges then distressing
with brown Tim Holtz Distress ink. Add the letters from K&Co's
corrugated alphabet to spell " U Rock Boy", as a variation you could
write "U R Dinomite". Attach to card ensuring correct placement for
when you attach the dinosaur (see pictures).
-
Distress a bone from
the Archaic Chip Sticker Pack with brown ink. Add some Archaic Chip
Sticker stars and smaller rocks as shown.
-
Attach two photo turns
from the Archaic Die-Cut sticker sheet with two Archaic brads.
-
Mount the finished card
onto an Ivory A5 King-sized card.
Products used:
|
|
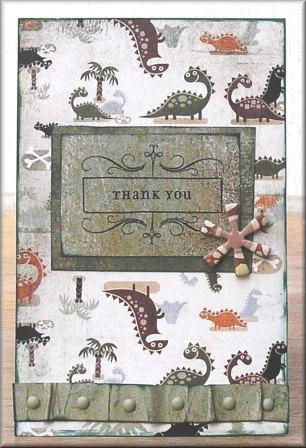
Thank You -
Designed by Karen Mortensen
|
|
Click on picture to enlarge
 |
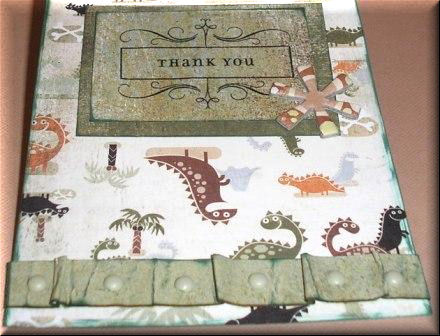 |
| Card size: 14cm
x 9cm
Instructions:
- Cut a piece of Archaic
"Prehistoric" cardstock into size 14cm x 9cm. Ink edges with dark
green Distress ink.
- Cut a piece of 6cm x 4cm "Earth
Worm" cardstock (ink edges with green distress ink) onto a slightly
large piece of Archaic "Timeworn" cardstock. Add a rub-on to the
middle (I used Basic Grey's "Thank you" rub-on). Attach to card.
- Take a piece of the "Earth Worm"
cardstock and scrunch it up then distress it with green Distress
ink. Glue to the bottom half of the card then attach six small
Archaic brads.
- Add a shape from the Archaic Chip
Sticker pack to the centrepiece.
- Mount onto Bazzill so that the card
folds horizontally. Make the back of the card longer then fold the
extra length so that the card sits on the edge.
Products used:
|
|
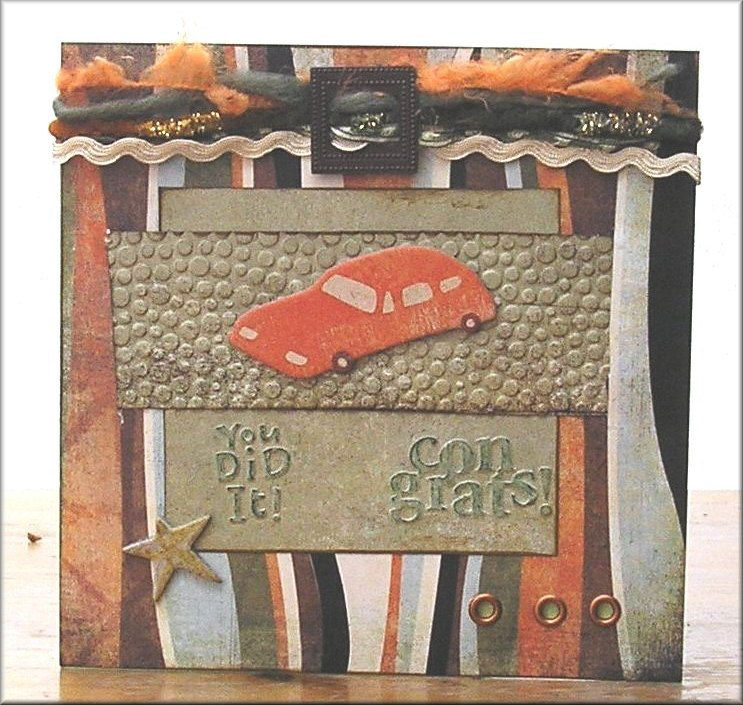
You Did It! -
Designed by Karen Mortensen
|
|

Click on picture to enlarge
|
|
 |
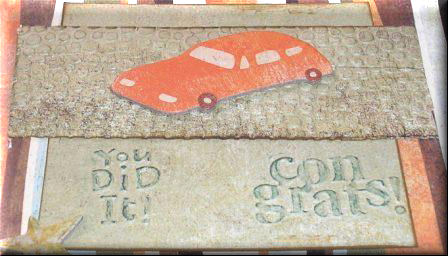 |
| Card size: 6" x
6"
Instructions:
-
Take a sheet of Archaic
"Primal" cardstock from the 6x6 pad, or cut a 12x12 sheet into size
6" x 6". and ink the edges with brown Distress ink.
-
Cut two pieces of
Archaic ""Earth Worm" cardstock, one into size 13cm x 4.3cm, the
other into size 8.6cm x 9.5cm. Emboss the long piece with small
bubbles (resembling cobbles here), and the larger piece with
suitable sentiments. I used Cuttlebug embossing folders for both.
Ink all edges with brown Distress ink.
-
Glue the sentiment
piece onto the card as shown.
-
Cut two of the
undulating lines in the main paper so that each side of the cobbled
embossed cardstock can slide below it. Glue onto card.
-
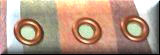
Add three large eyelets
to the bottom half of the card (see picture. I have mounted my card
onto green Bazzill Bling and this shows through the eyelets. I used
copper eyelets from the Crop-a-dile pack.
-
Attach a car and star
from the Archaic Chip Sticker Pack (see picture)
-
Thread some Archaic
fibres through a ribbon slide. I used a 7Gypsies buckle. I
also added some cream rick rack to the fibres.
-
Mount onto Bazzill
folded into a card.
Products used:
|
|
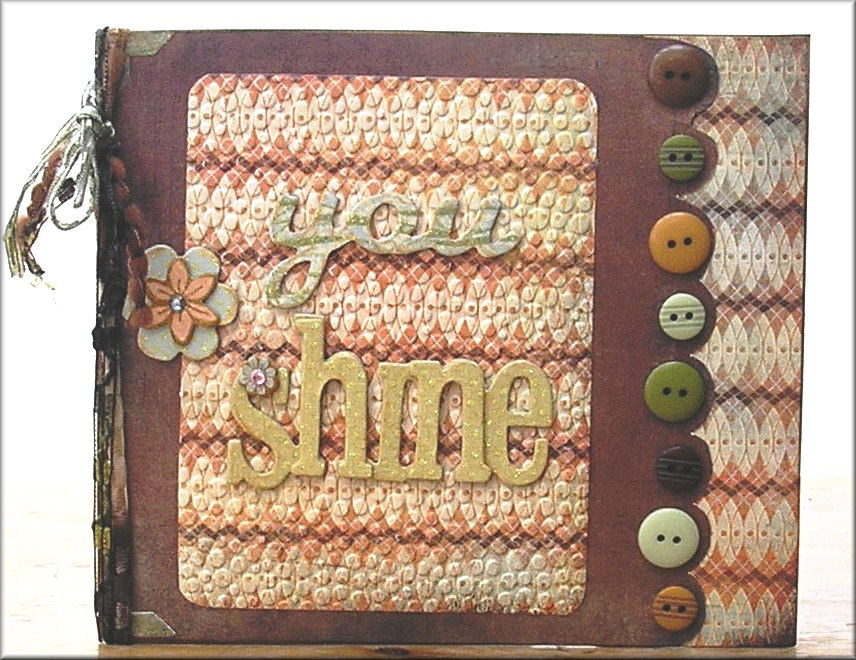
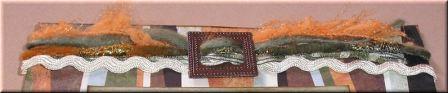
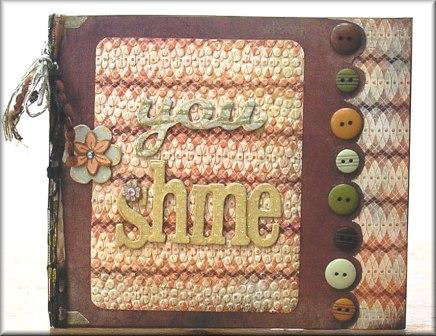
You Shine -
Designed by Karen Mortensen
|
|
Click on picture to enlarge
 |
 |
| Card size:
17.5cm x 15.3cm
Instructions:
- Take a sheet of Archaic "Dirty"
cardstock form the 6x6 pad, or cut a piece of 12x12 paper into size
15.3cm x 15.3cm (6" x 6"). Cut one edge into a scallops (you could
use a 1p coin for the job). Attach onto a piece of Archaic "Fossil"
paper so approx 2.2cm is visible (see picture).
- Emboss another piece of "Fossil"
paper, size 13cm x 10cm (I used my Cuttlebug). Round the corners
with a corner punch. Ink edges with brown distress ink. Attach to
card.
- Add two green photo corners as
pictured, from the Archaic Die-Cut sticker sheet.
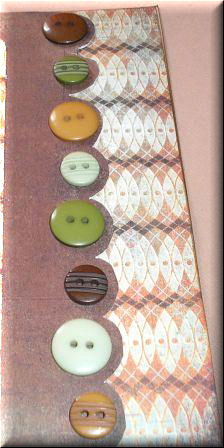
- Add Archaic Buttons on each of the
scallops.
- Wrap Archaic fibres around the
spine of the card.
- Add K&Co's chipboard words "you
shine" and one chipboard flower from the same pack.
- Mount on Bazzill folded to a card.
Products used:
|