|


|
|
|
|
|

Design Team Projects
February 2008
|
Click on the pictures to go to the projects.
|
|
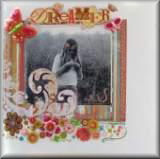
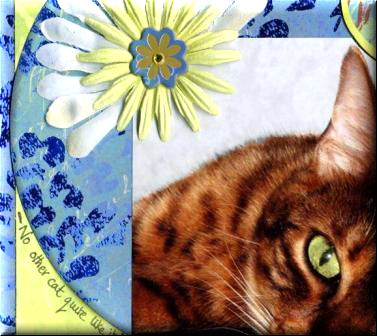
by Louise Brigden |
|
|
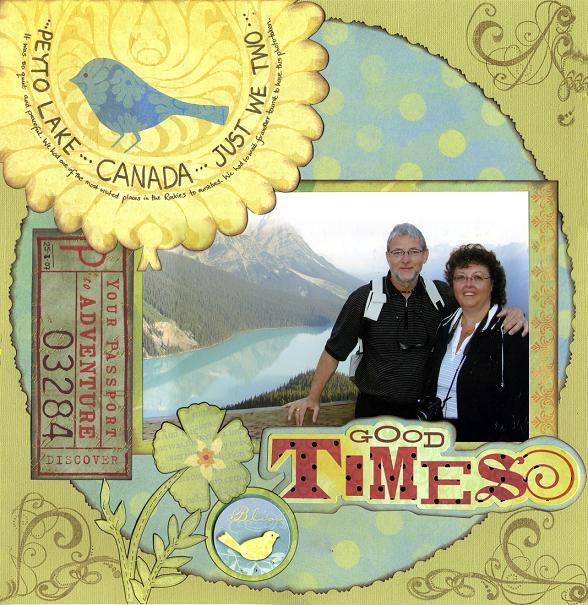
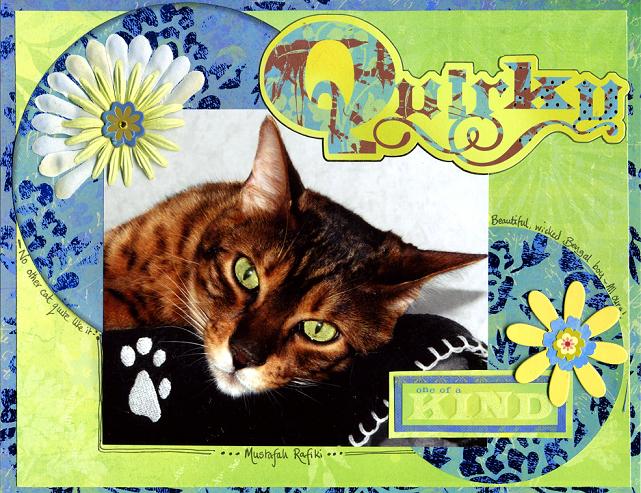
Click on pictures to enlarge
|
|
|
Products used: |
|
||||
|
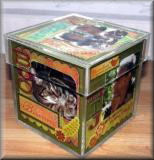
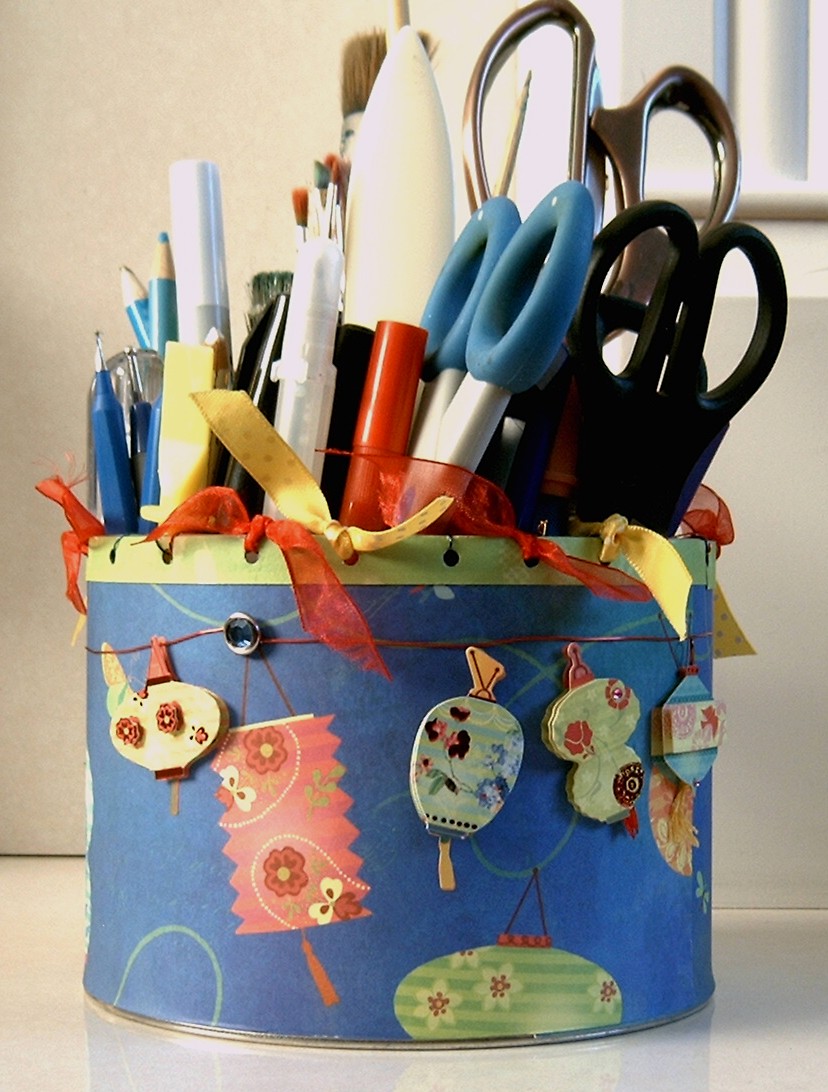
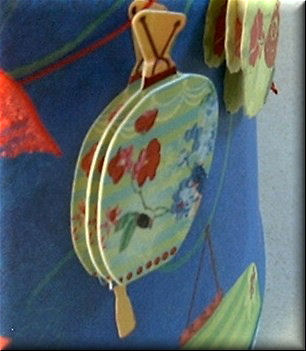
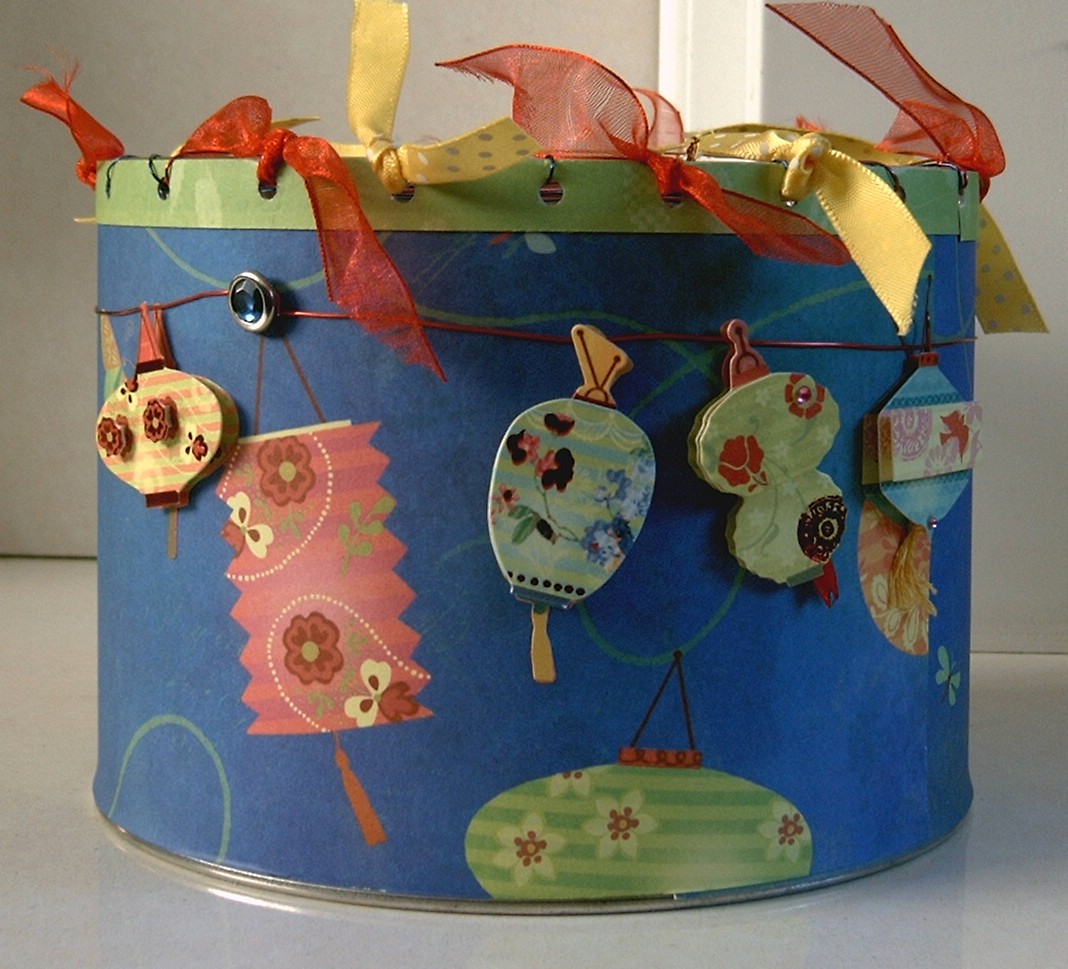
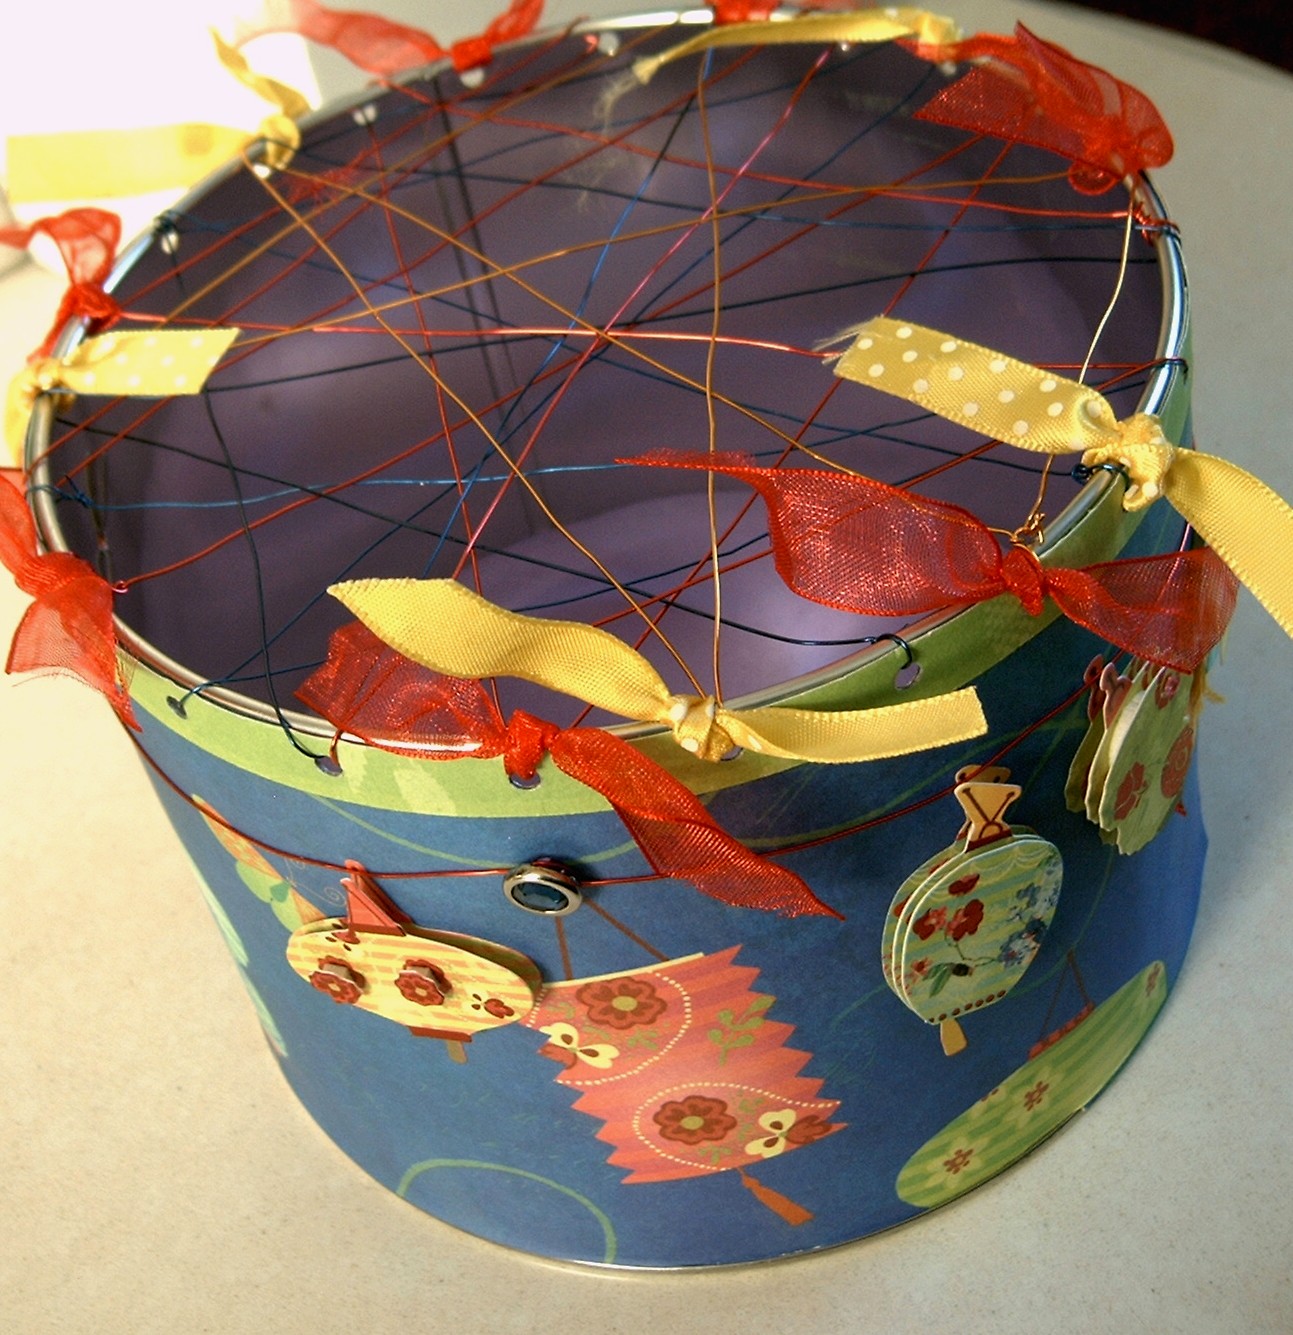
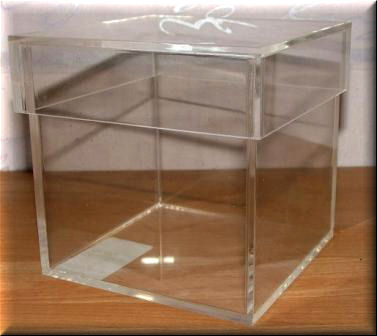
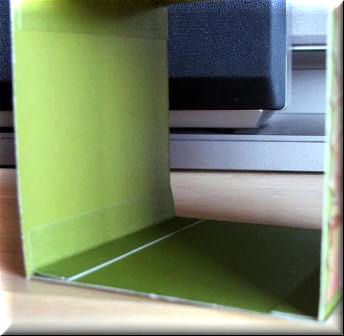
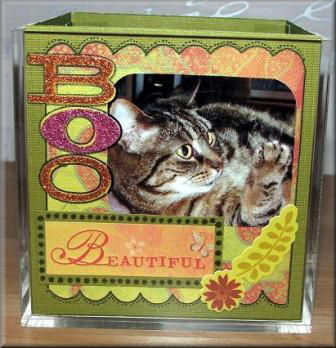
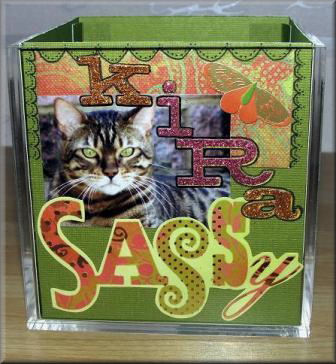
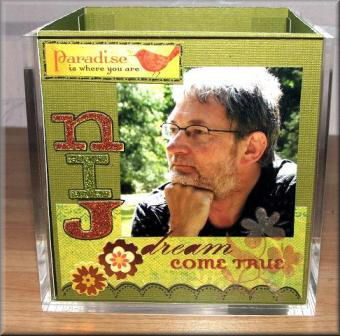
Desk Tidy Instructions:
|
||||||
|
|
|
Click on picture to enlarge
|
|
|
|
||||
|
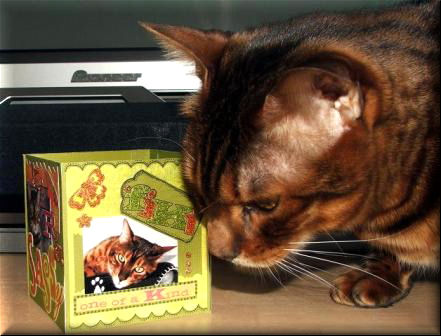
Project 2 Instructions:
How easy was that!
|
|
|
|
Click on pictures to enlarge
Front of card |
Reverse of card |
|
|
||||
|
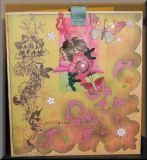
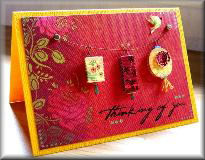
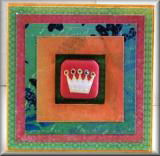
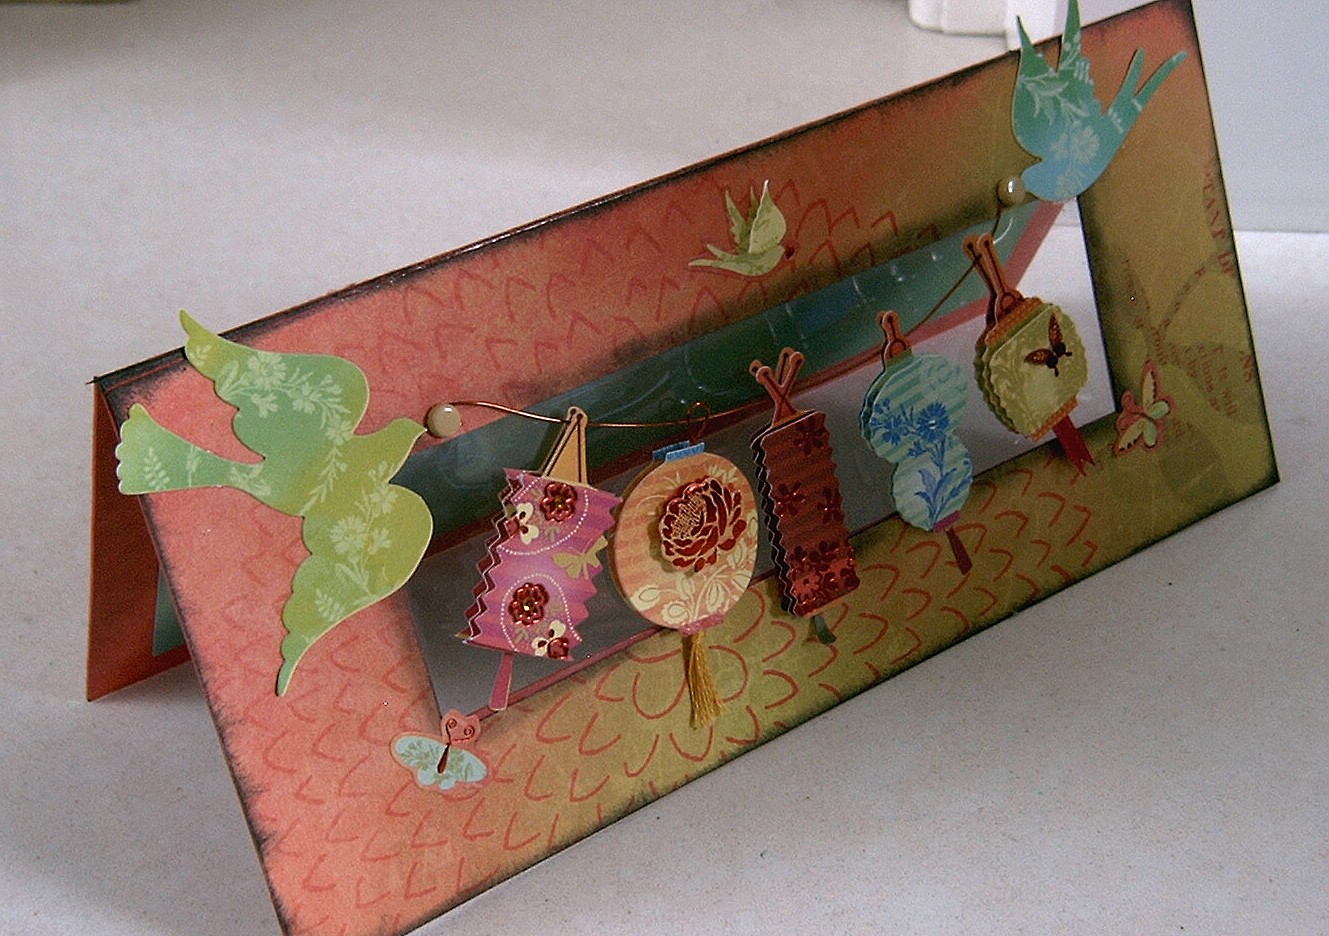
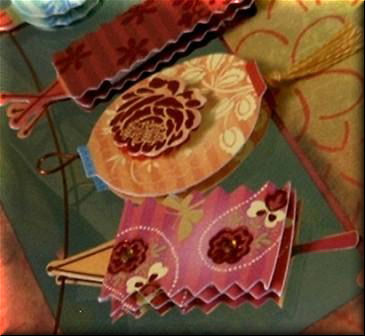
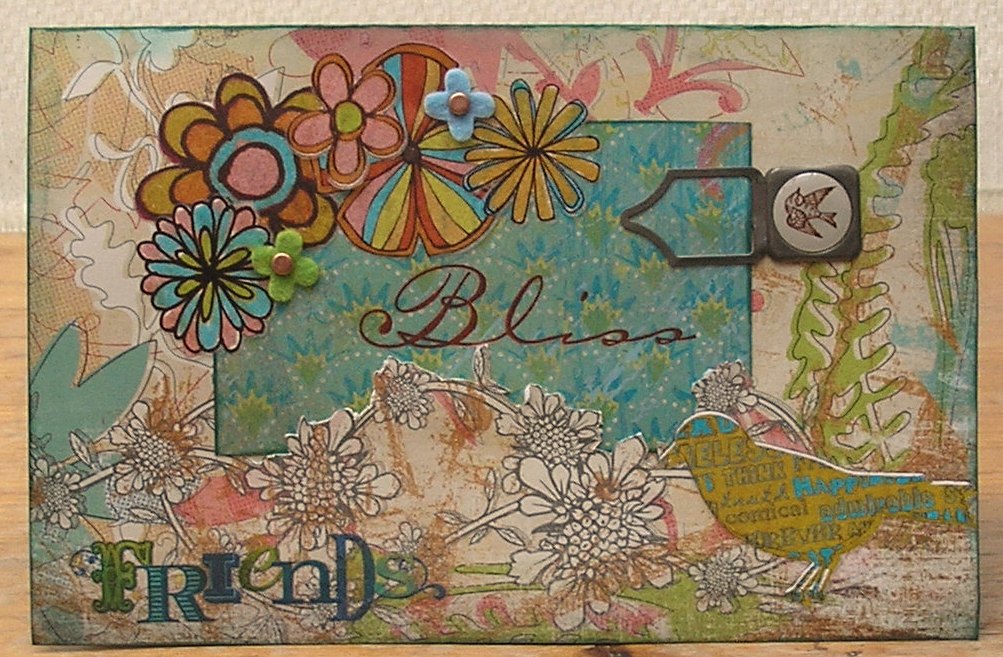
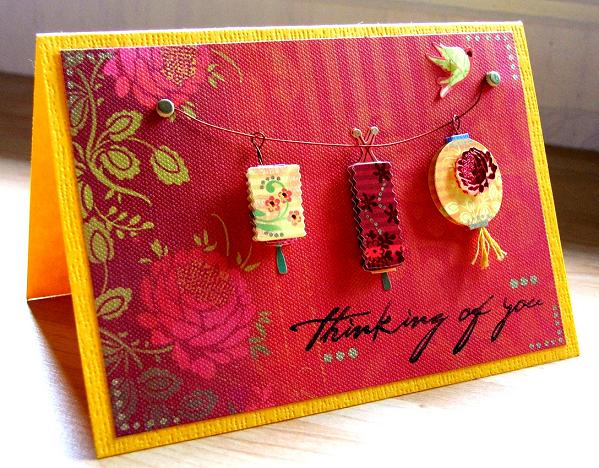
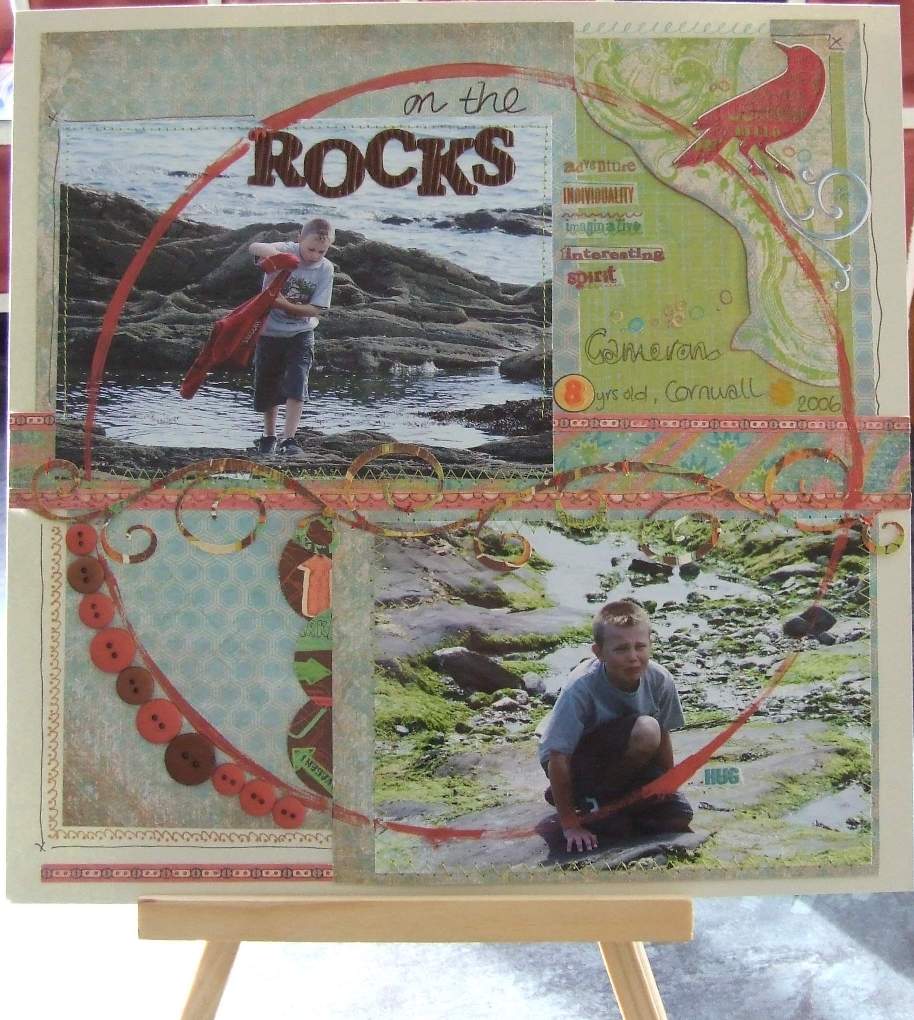
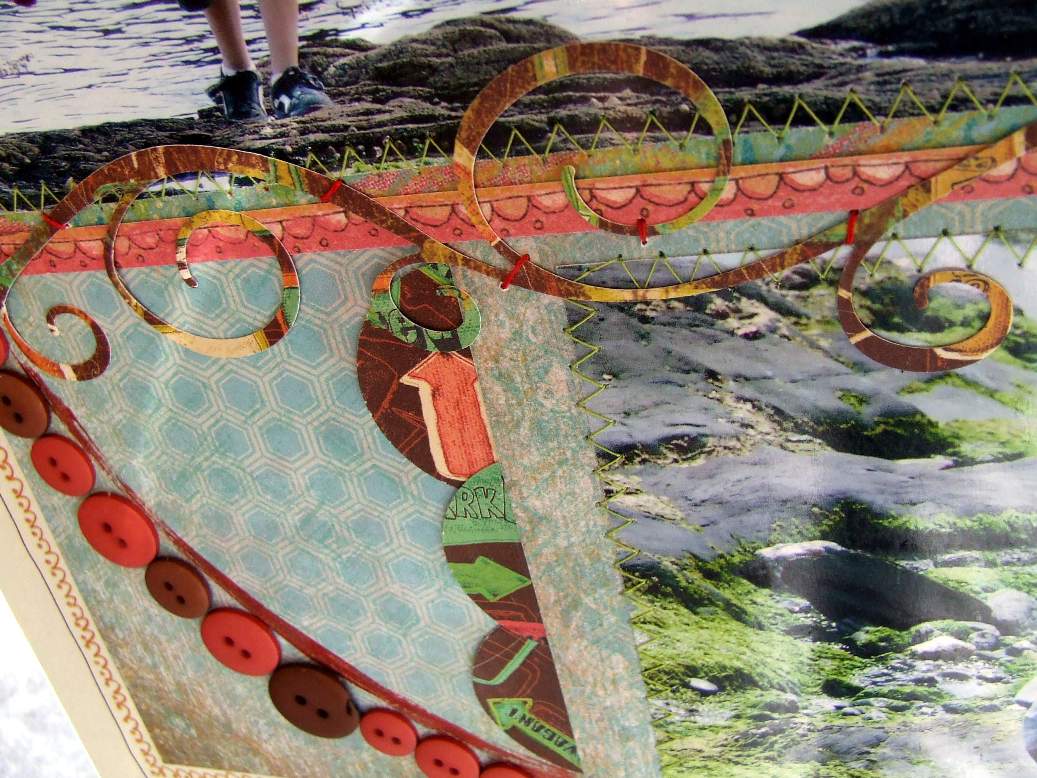
Project 3 Instructions: Products used: K&Co Mira Collection This is a great way to use those papers that need to be seen in their whole, un-cut state to fully appreciate.
I left my card without a greeting on the front because I thought it was so pretty the recipient might like to keep it out on their mantlepiece almost like an ornament. Of course there is plenty of space for a greeting should you wish to add one.
|
|
|
|
Click on picture to enlarge
|
|
|
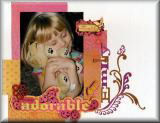
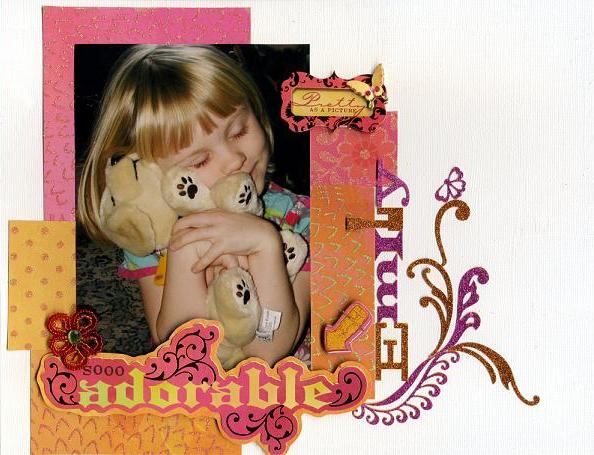
Project 4 Instructions:
|
|
by Louise Brigden
|
|
Click on pictures to enlarge
|
|
|
|
||||
|
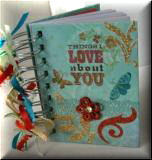
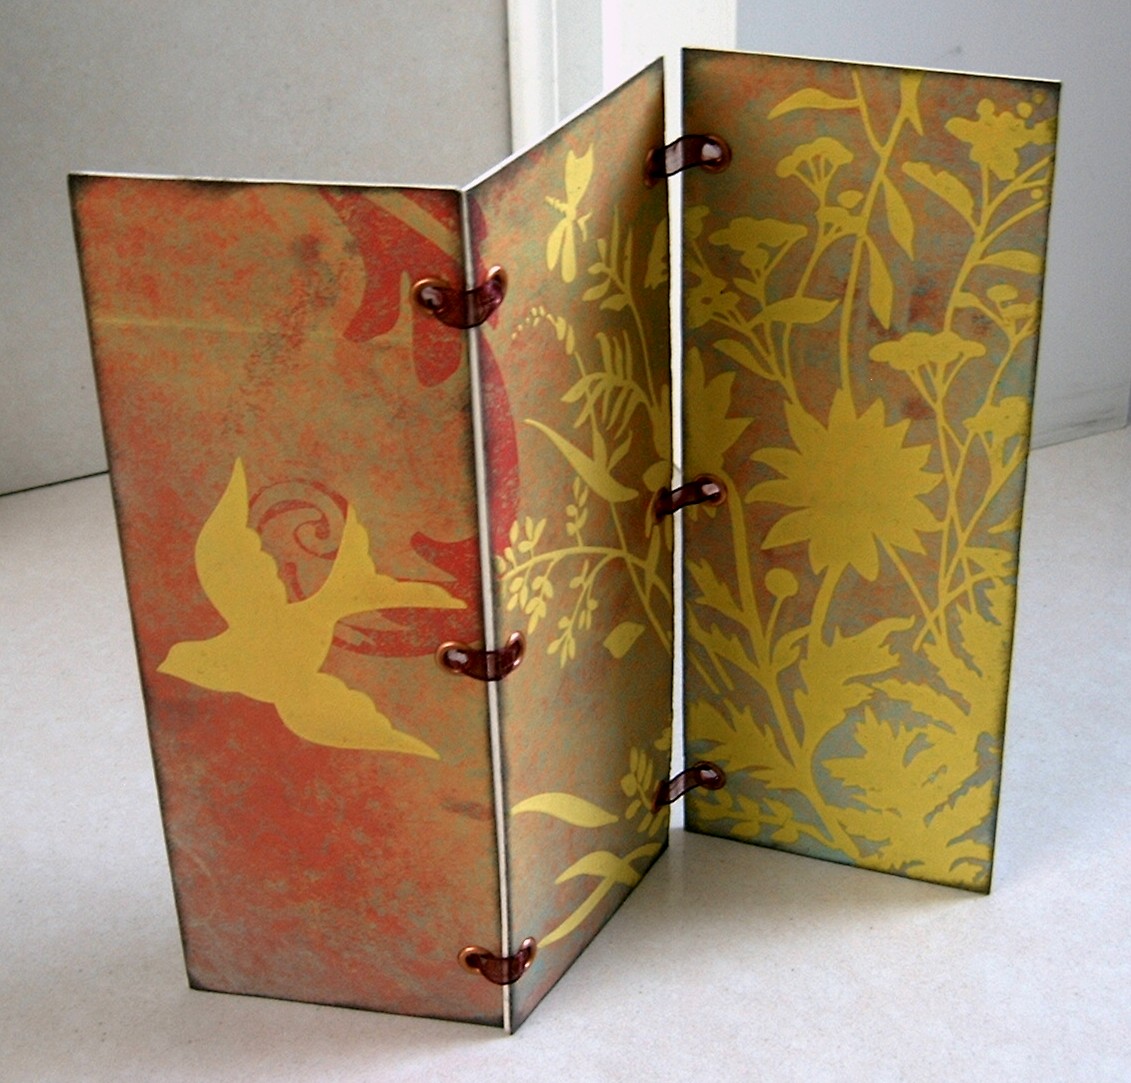
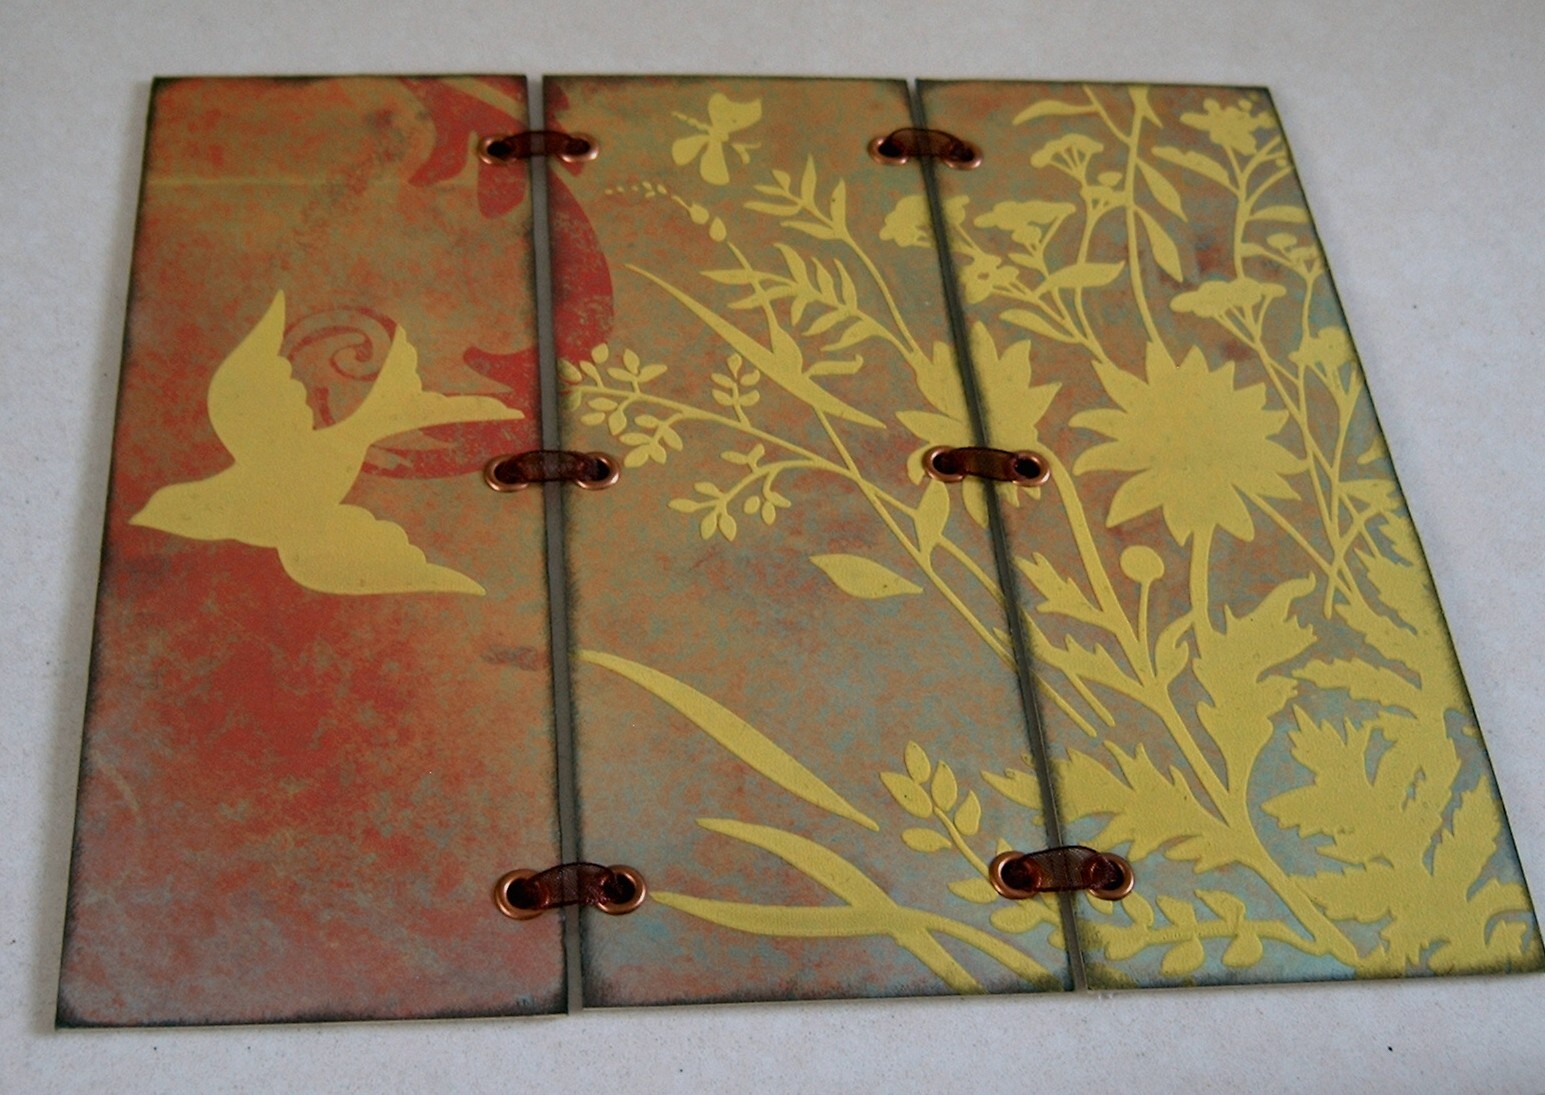
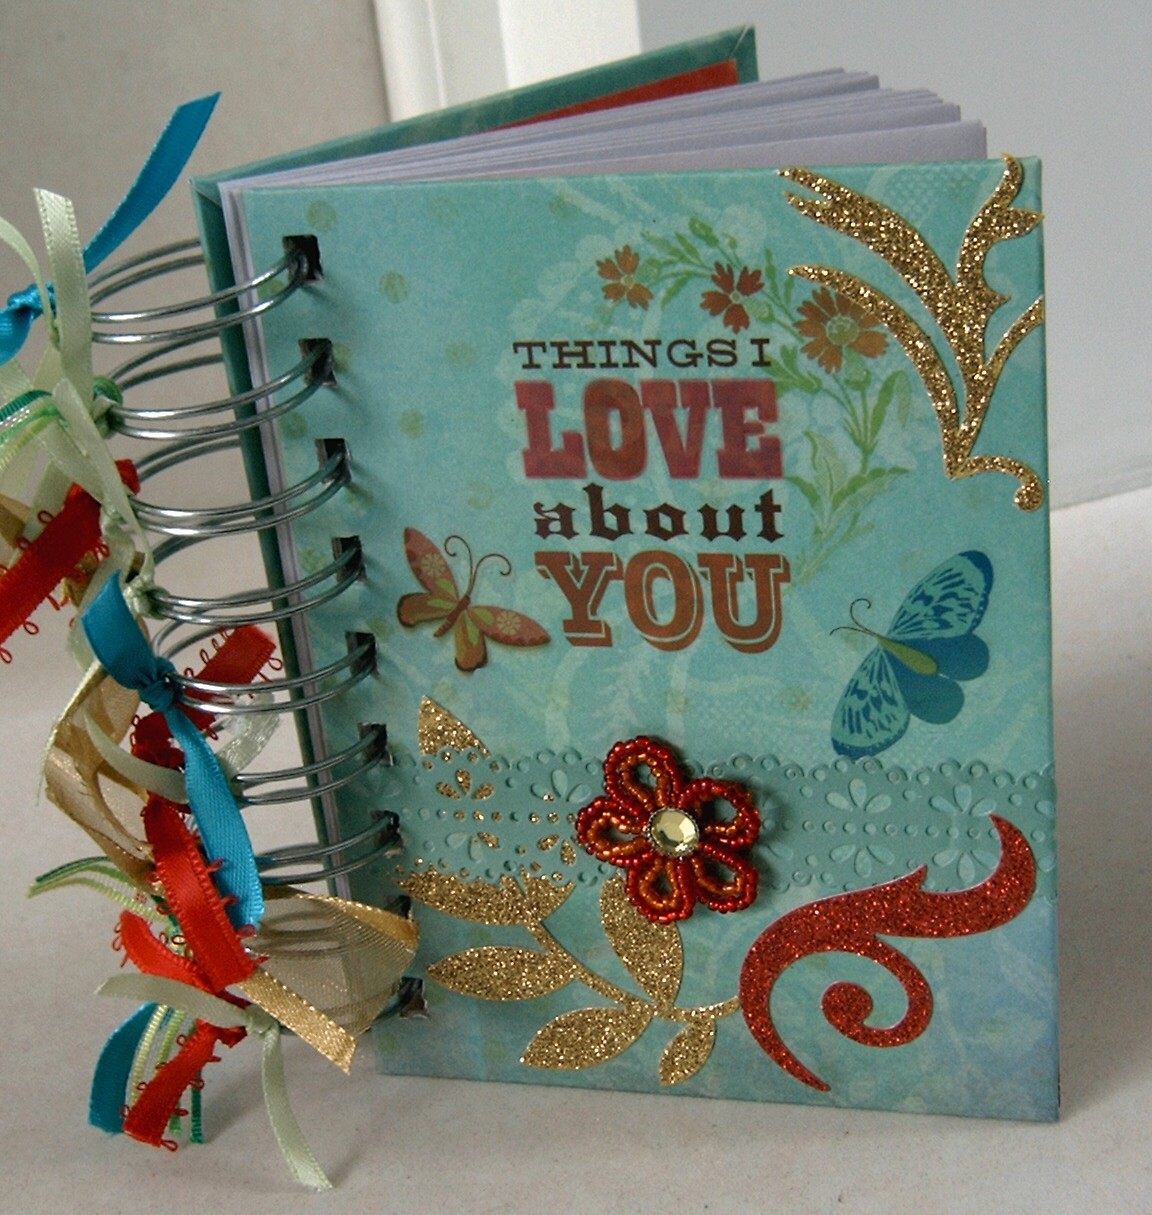
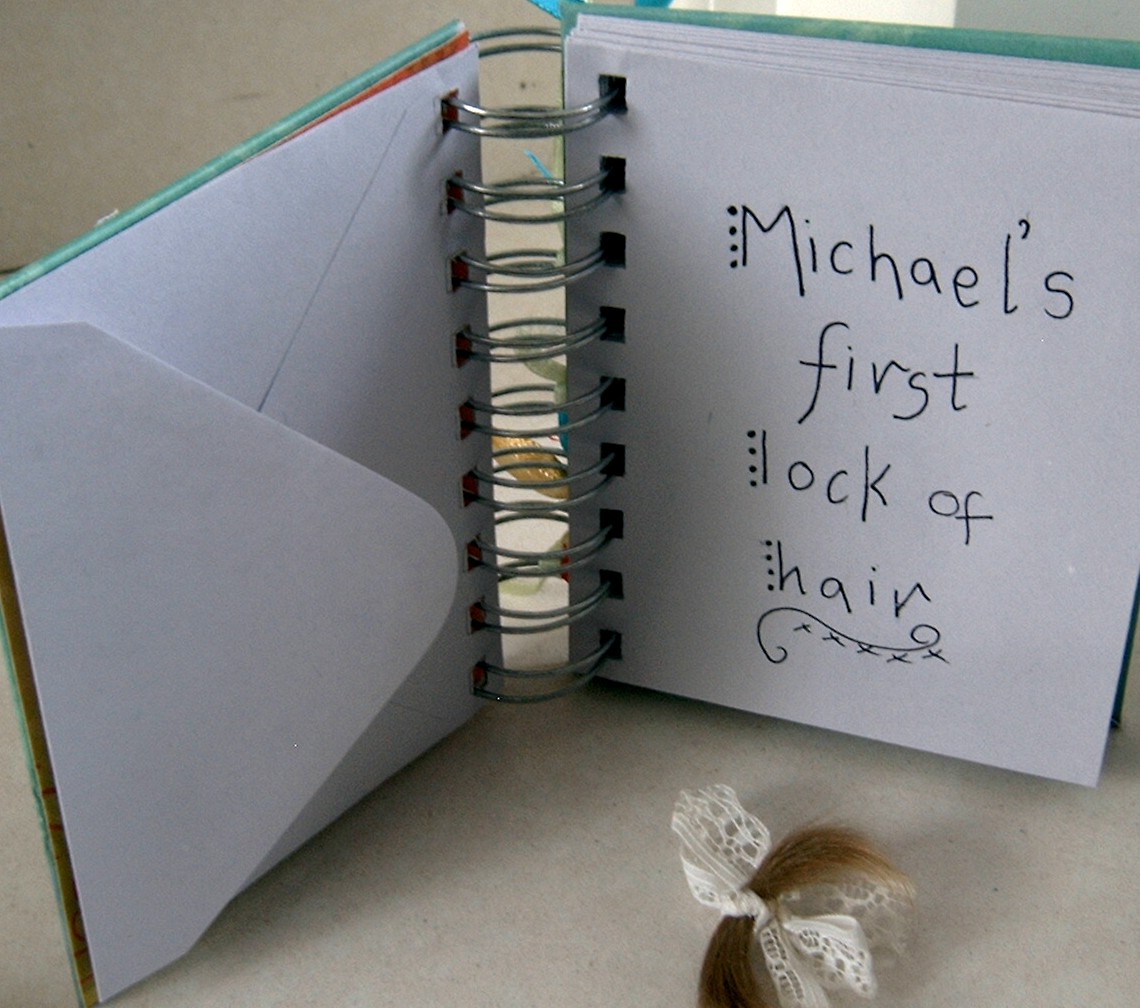
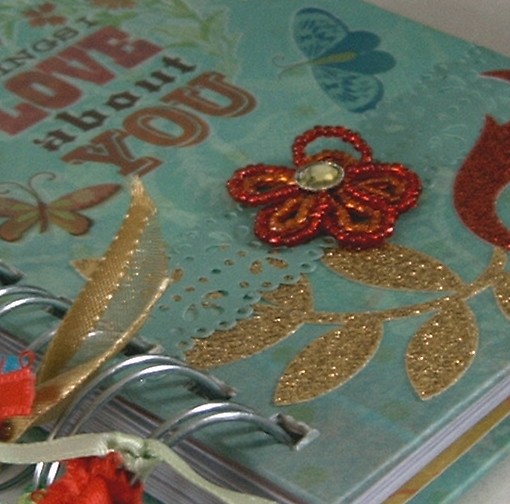
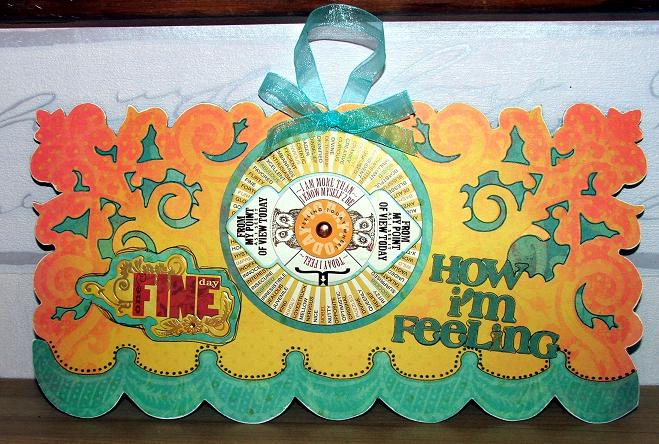
Project 5 Instructions: Keep all those treasured keepsakes safe in this beautiful little envelope book.
|
|
|
|
Click on picture to enlarge
|
|
|
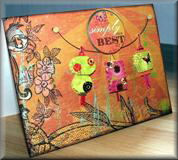
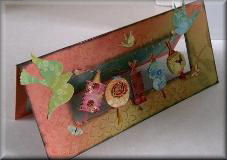
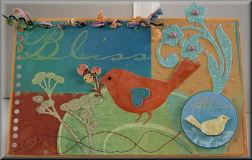
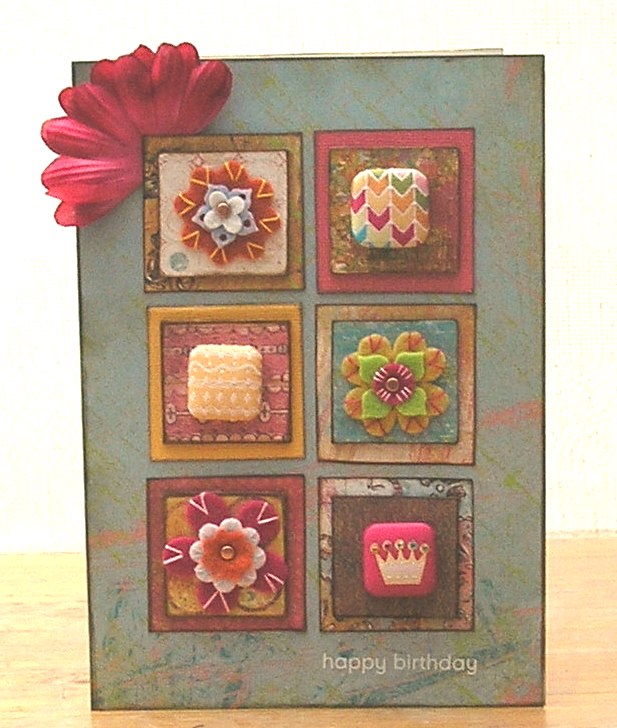
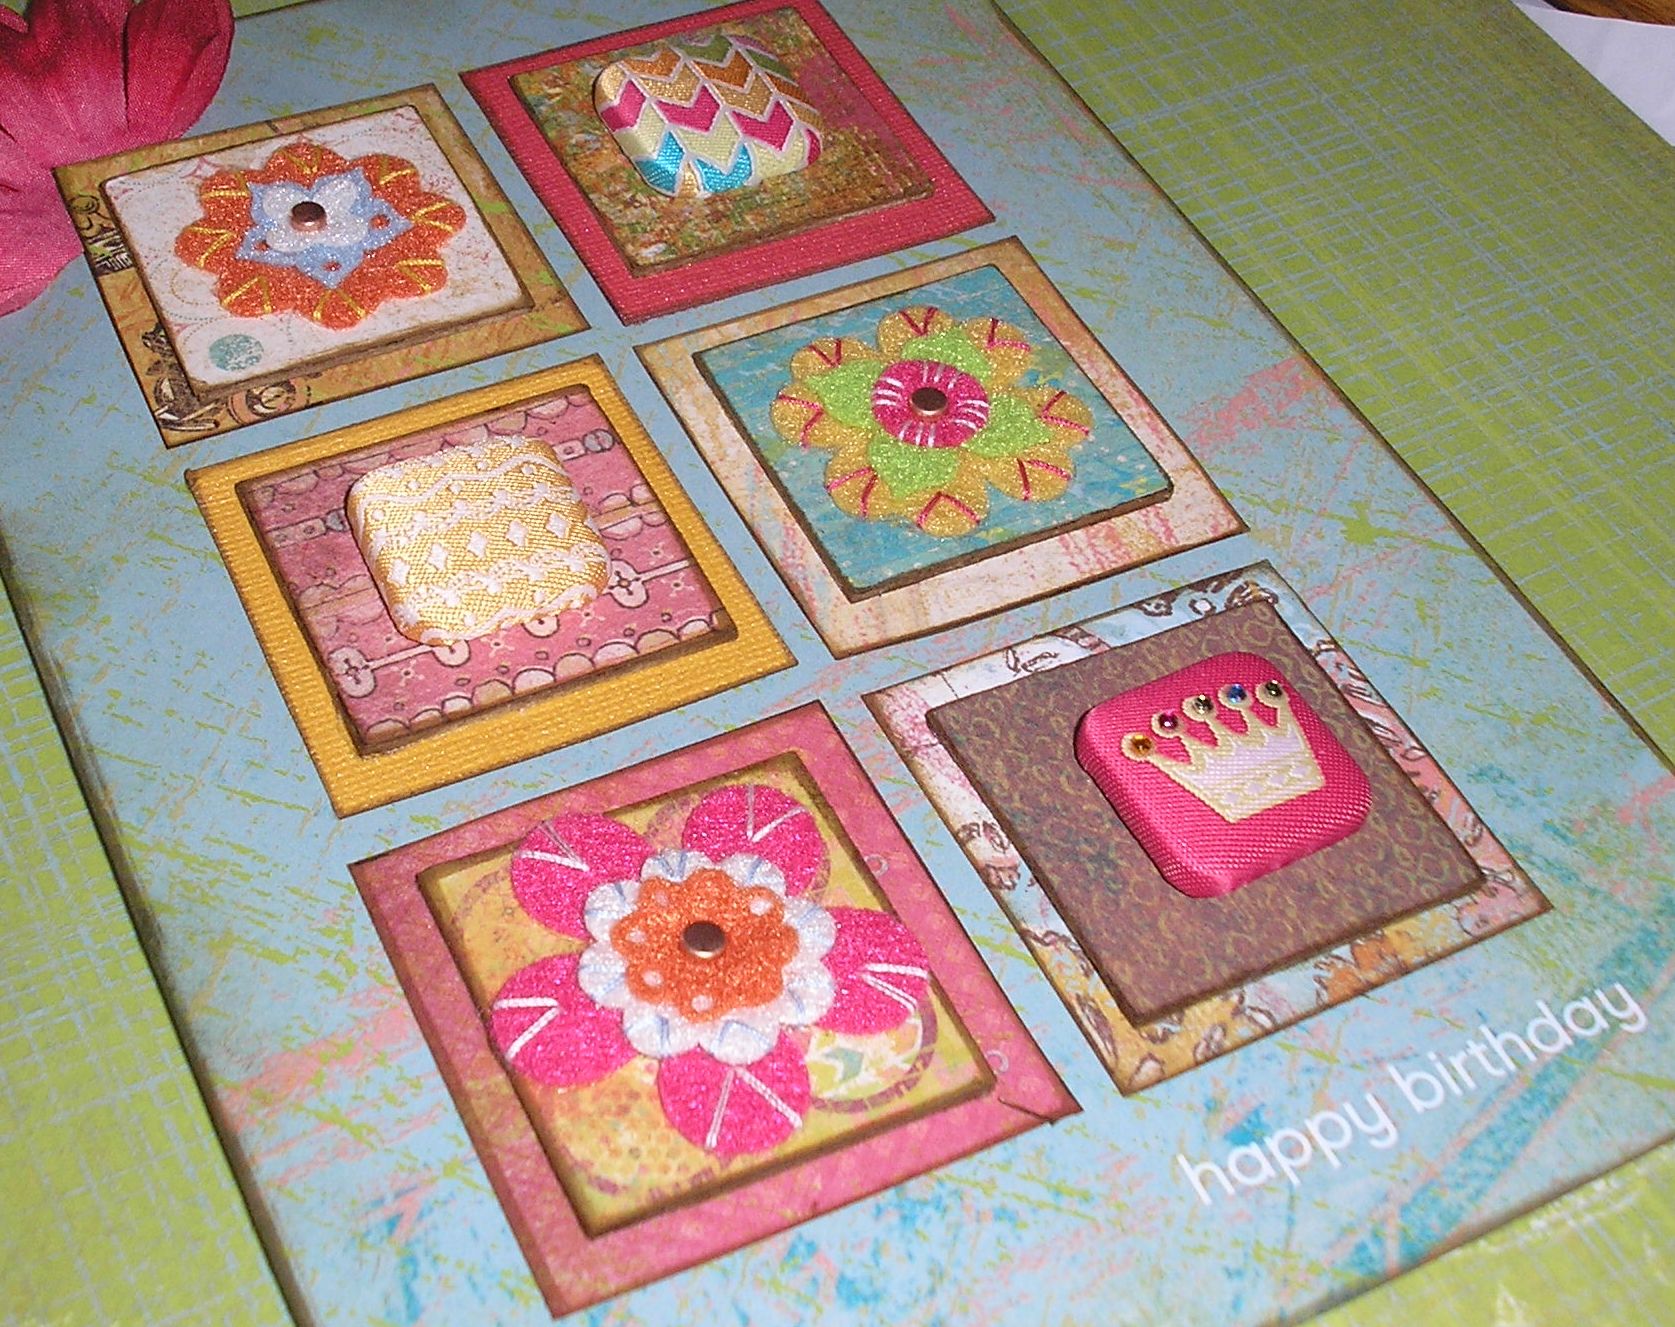
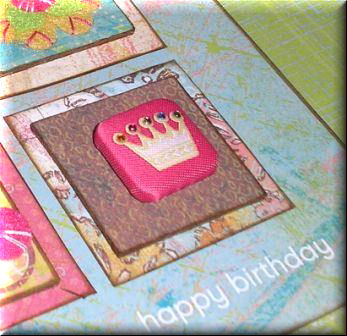
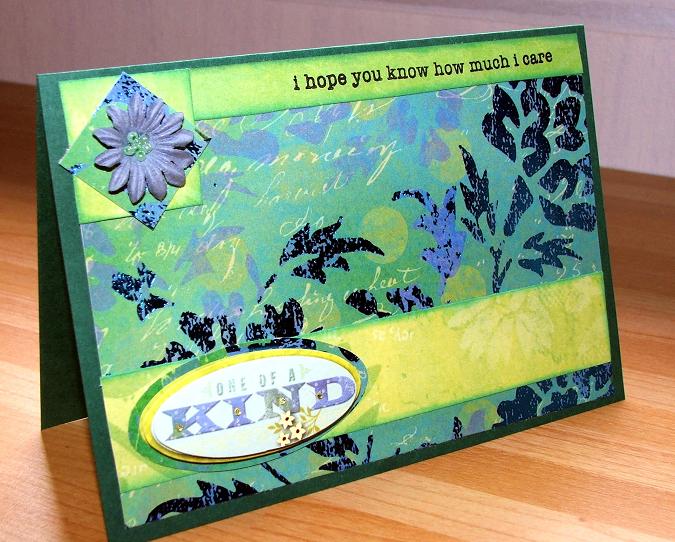
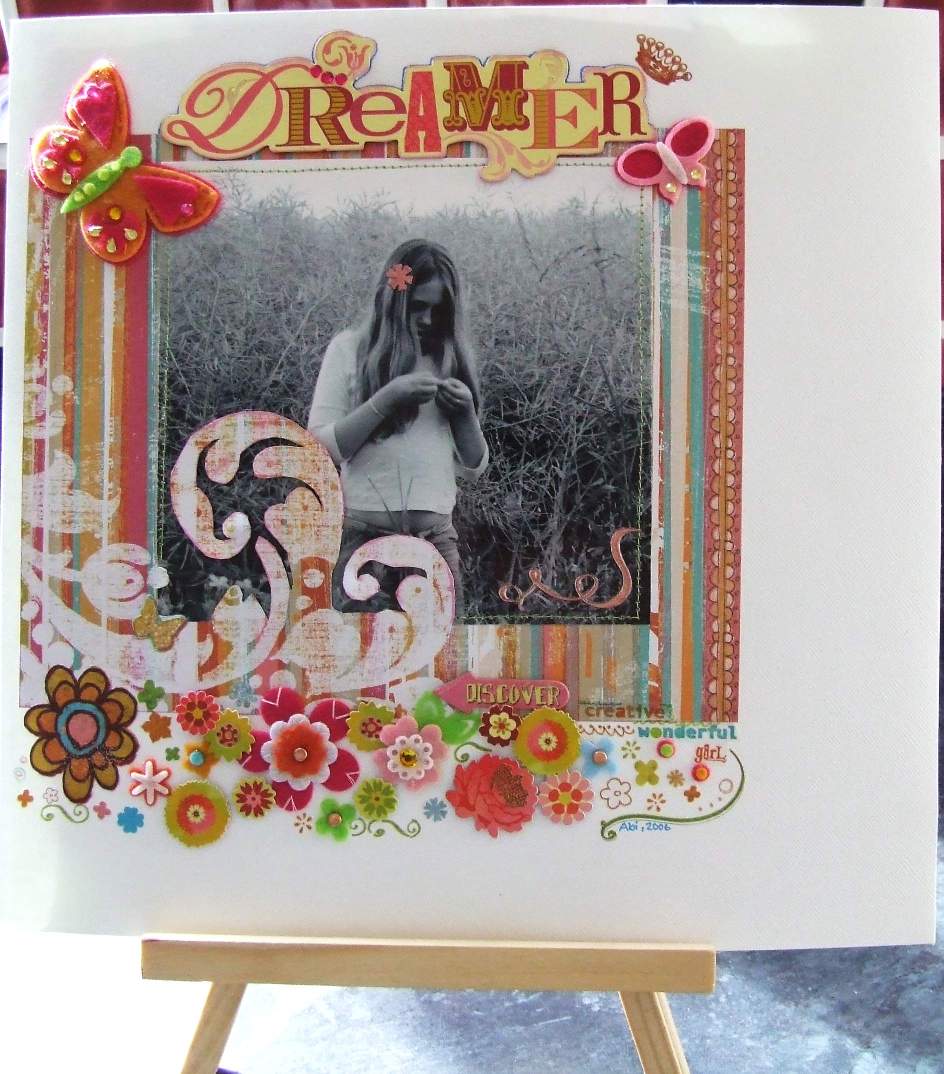
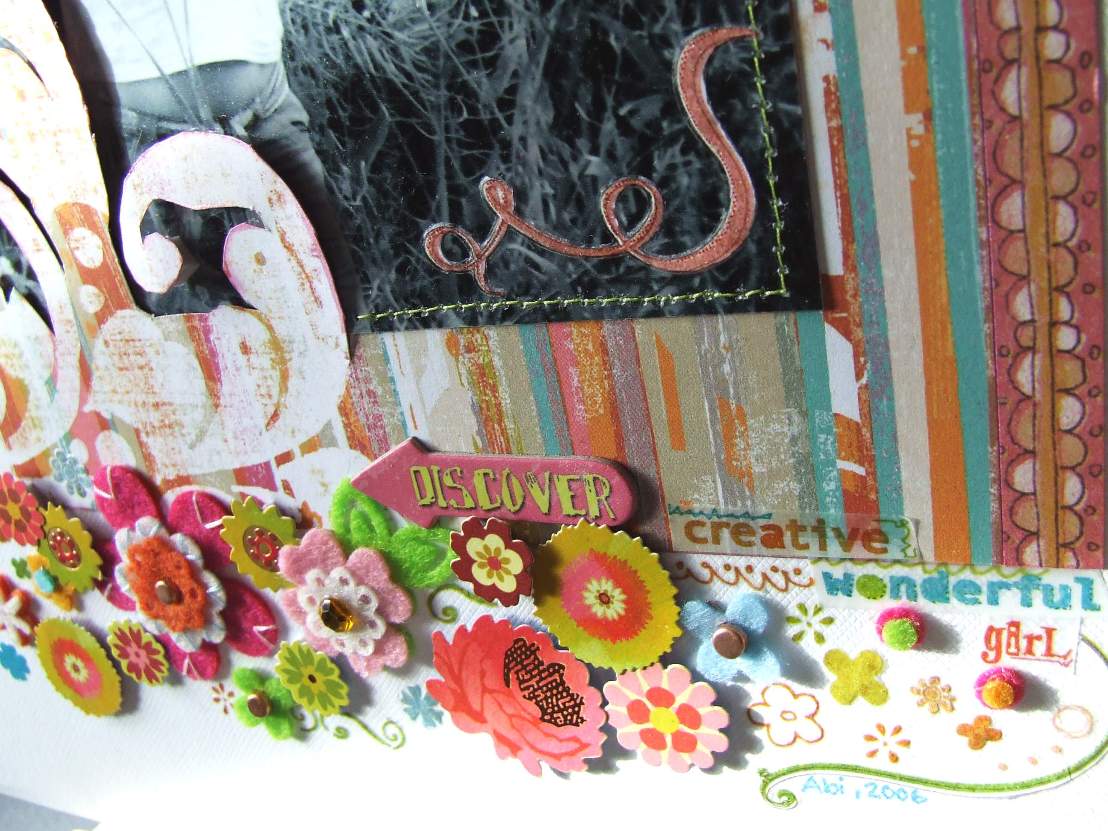
Project 6 Instructions: Products used: K&Co Mira Collection There are no rules for this card, the idea is that you choose your favourite papers and layer them, collage style, letting your creativity flow! Here’s what I did.......
|
|
|
|
Click on pictures to enlarge
|
|
|
Project 7 Instructions: Products used: K&Co Urban Rhapsody and Mira Collections
|
|
Click on picture to enlarge
|
|
Project 8 Instructions: Products used: K&Co Urban Rhapsody and Mira Collections
|
|
|
|
Click on pictures to enlarge
|
|
|
|
||||
|
Project 9 Instructions: Products used: K&Co Urban Rhapsody Collection This is a really good way to use your paper scraps.
|
|
|
|
Click on picture to enlarge
|
|
|
|
 |
||||
|
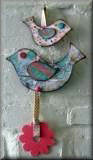
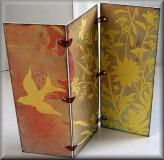
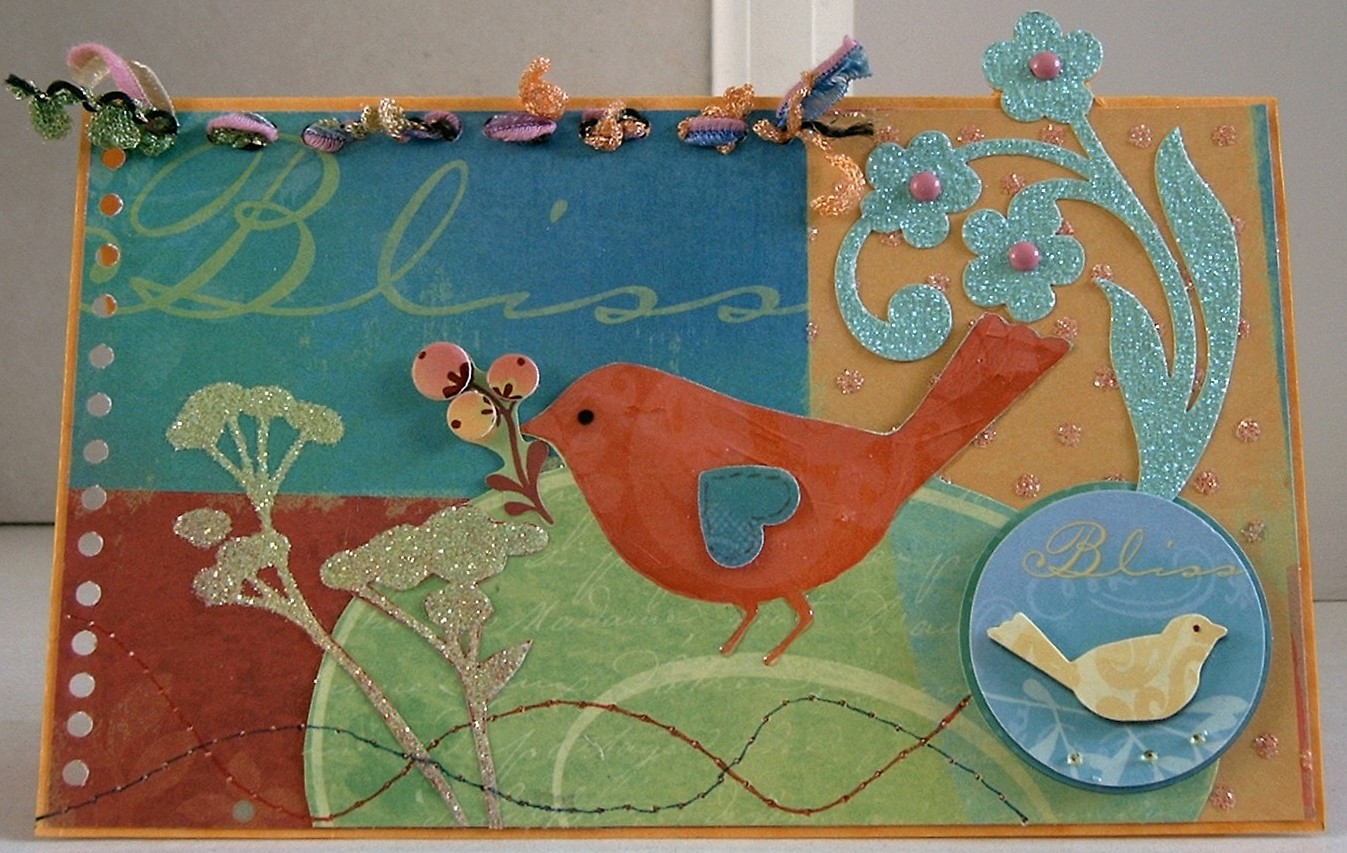
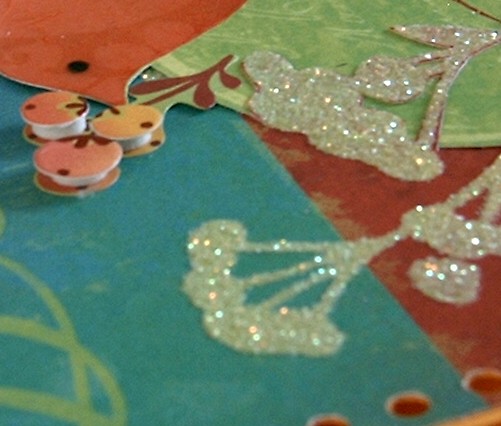
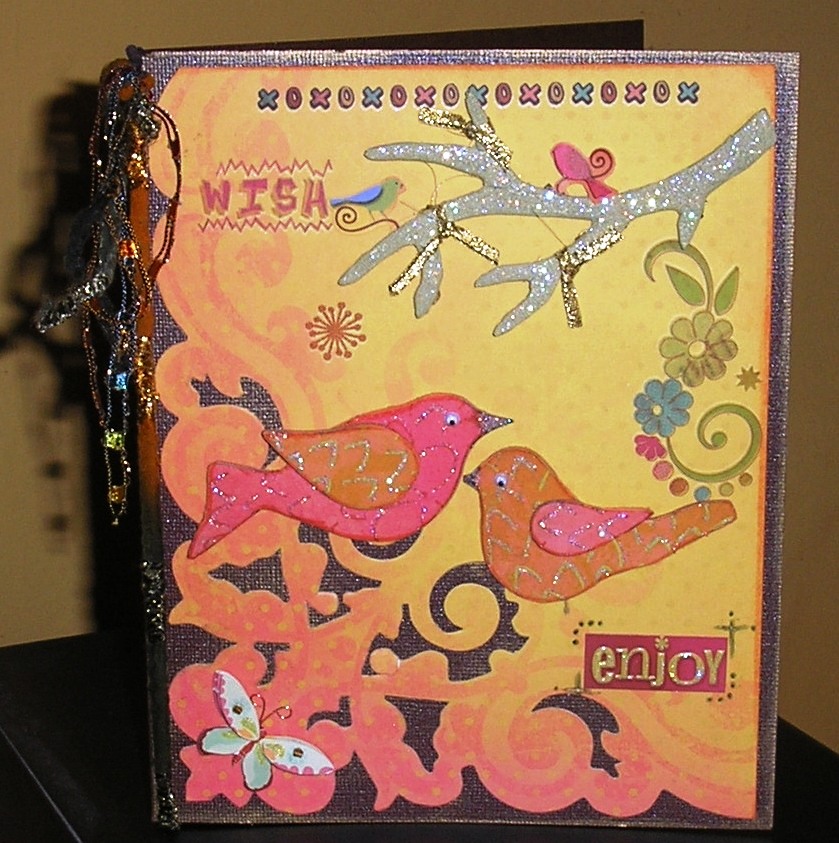
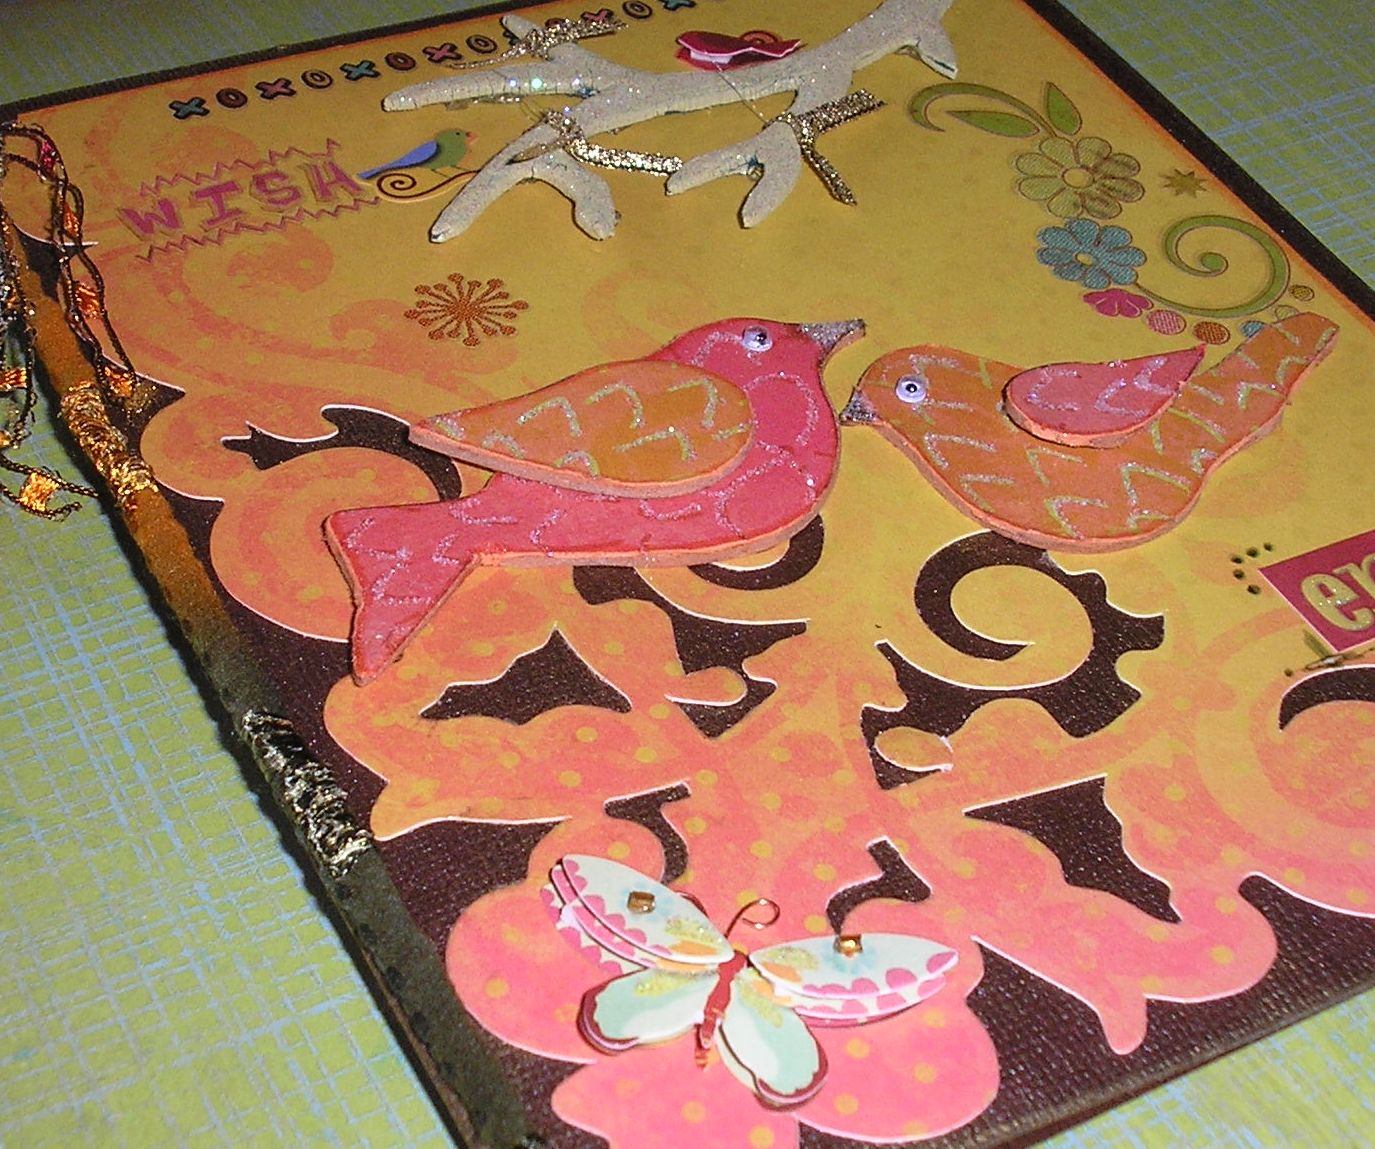
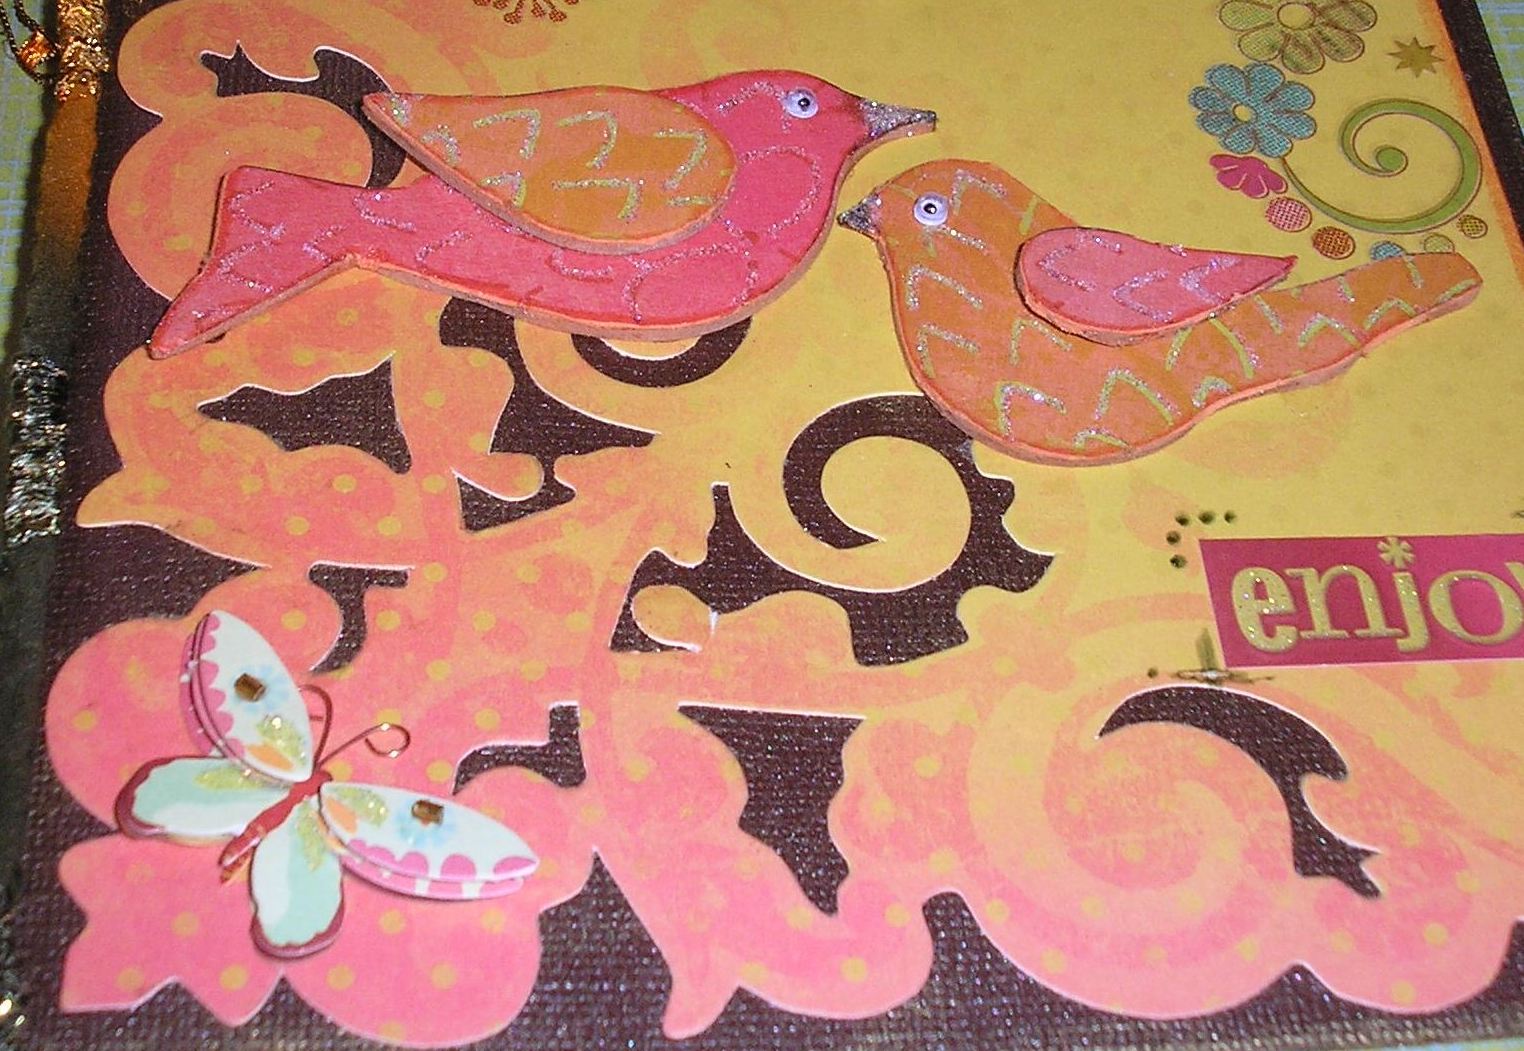
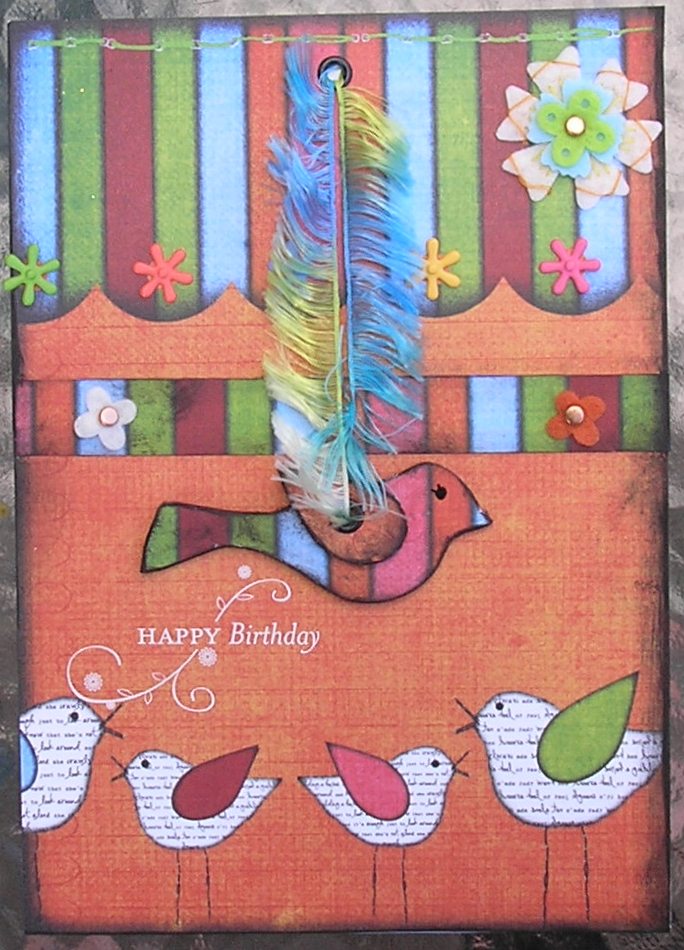
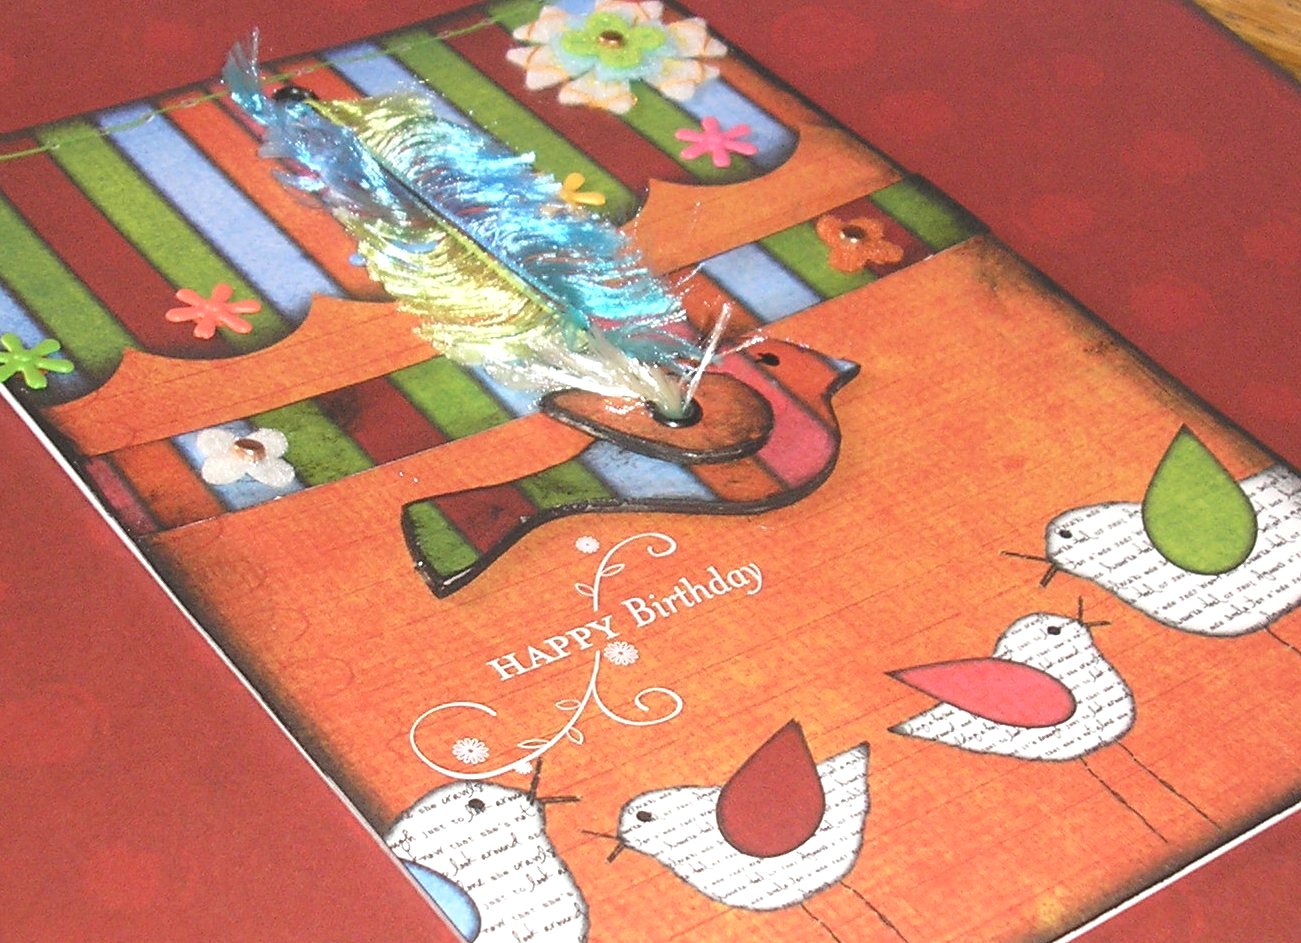
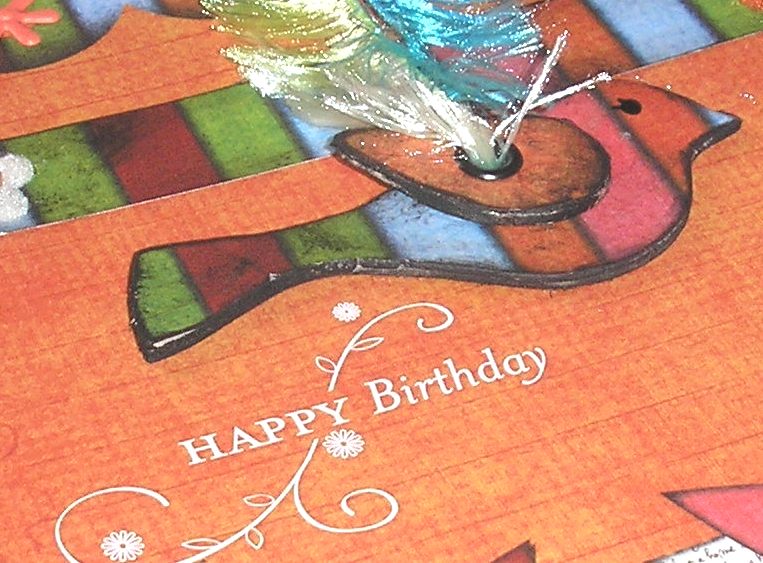
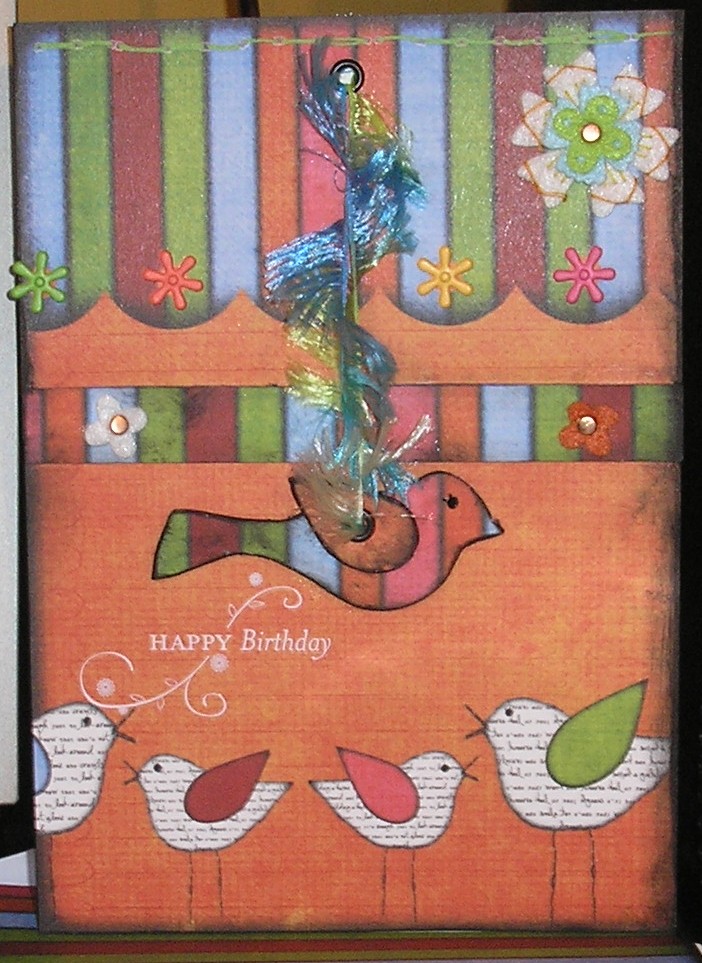
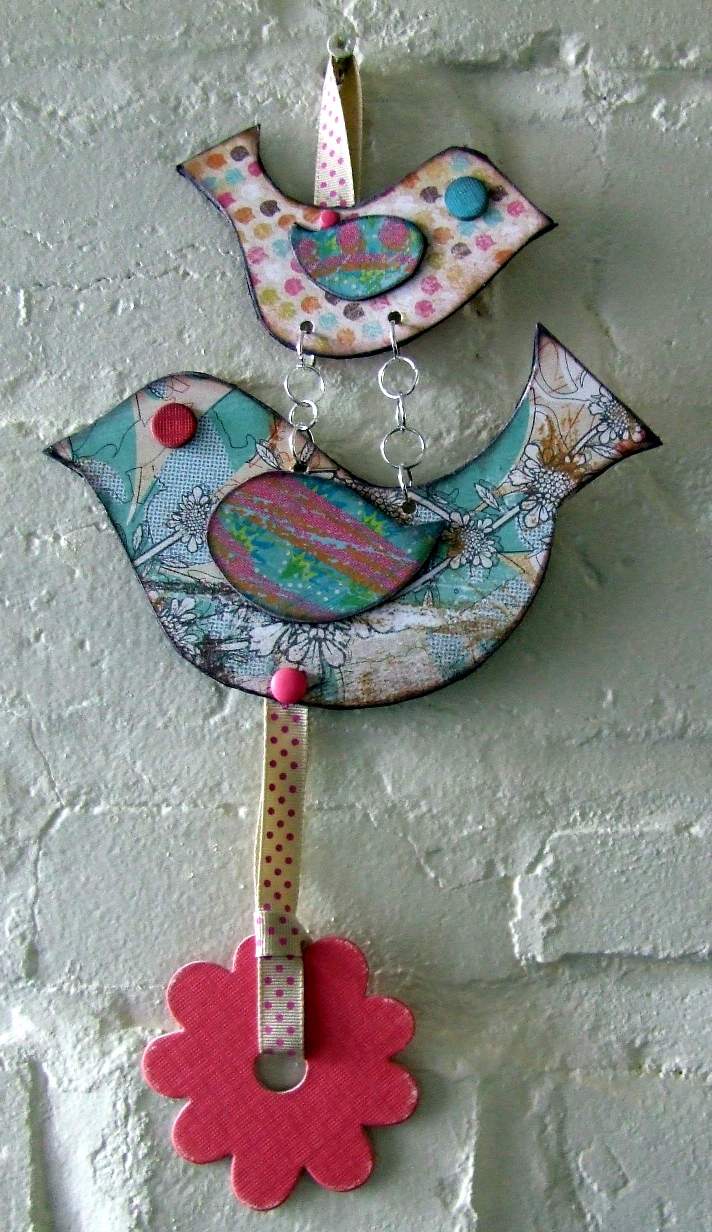
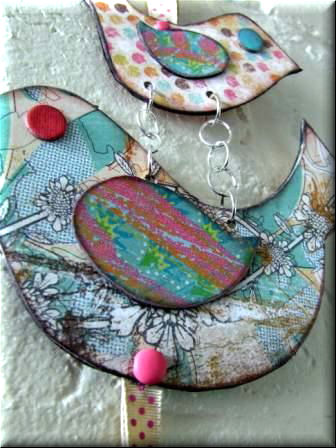
Project 10 Instructions: Products used: K&Co Urban Rhapsody and Mira Collections, Maya Road "Birds of a Feather" Chipboard Take two birds, two wings and one branch from the Maya Road "Birds of a Feather" chipboard set. The Birds:
The Branch:
The Card:
|
|||||
|
|
|
Click on picture to enlarge
|
|
|
|
||||
|
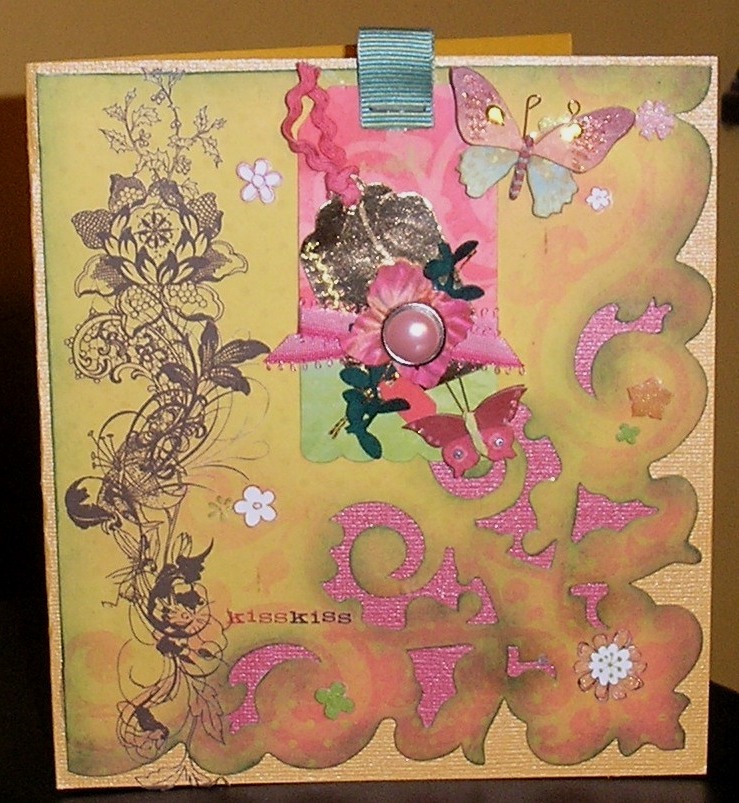
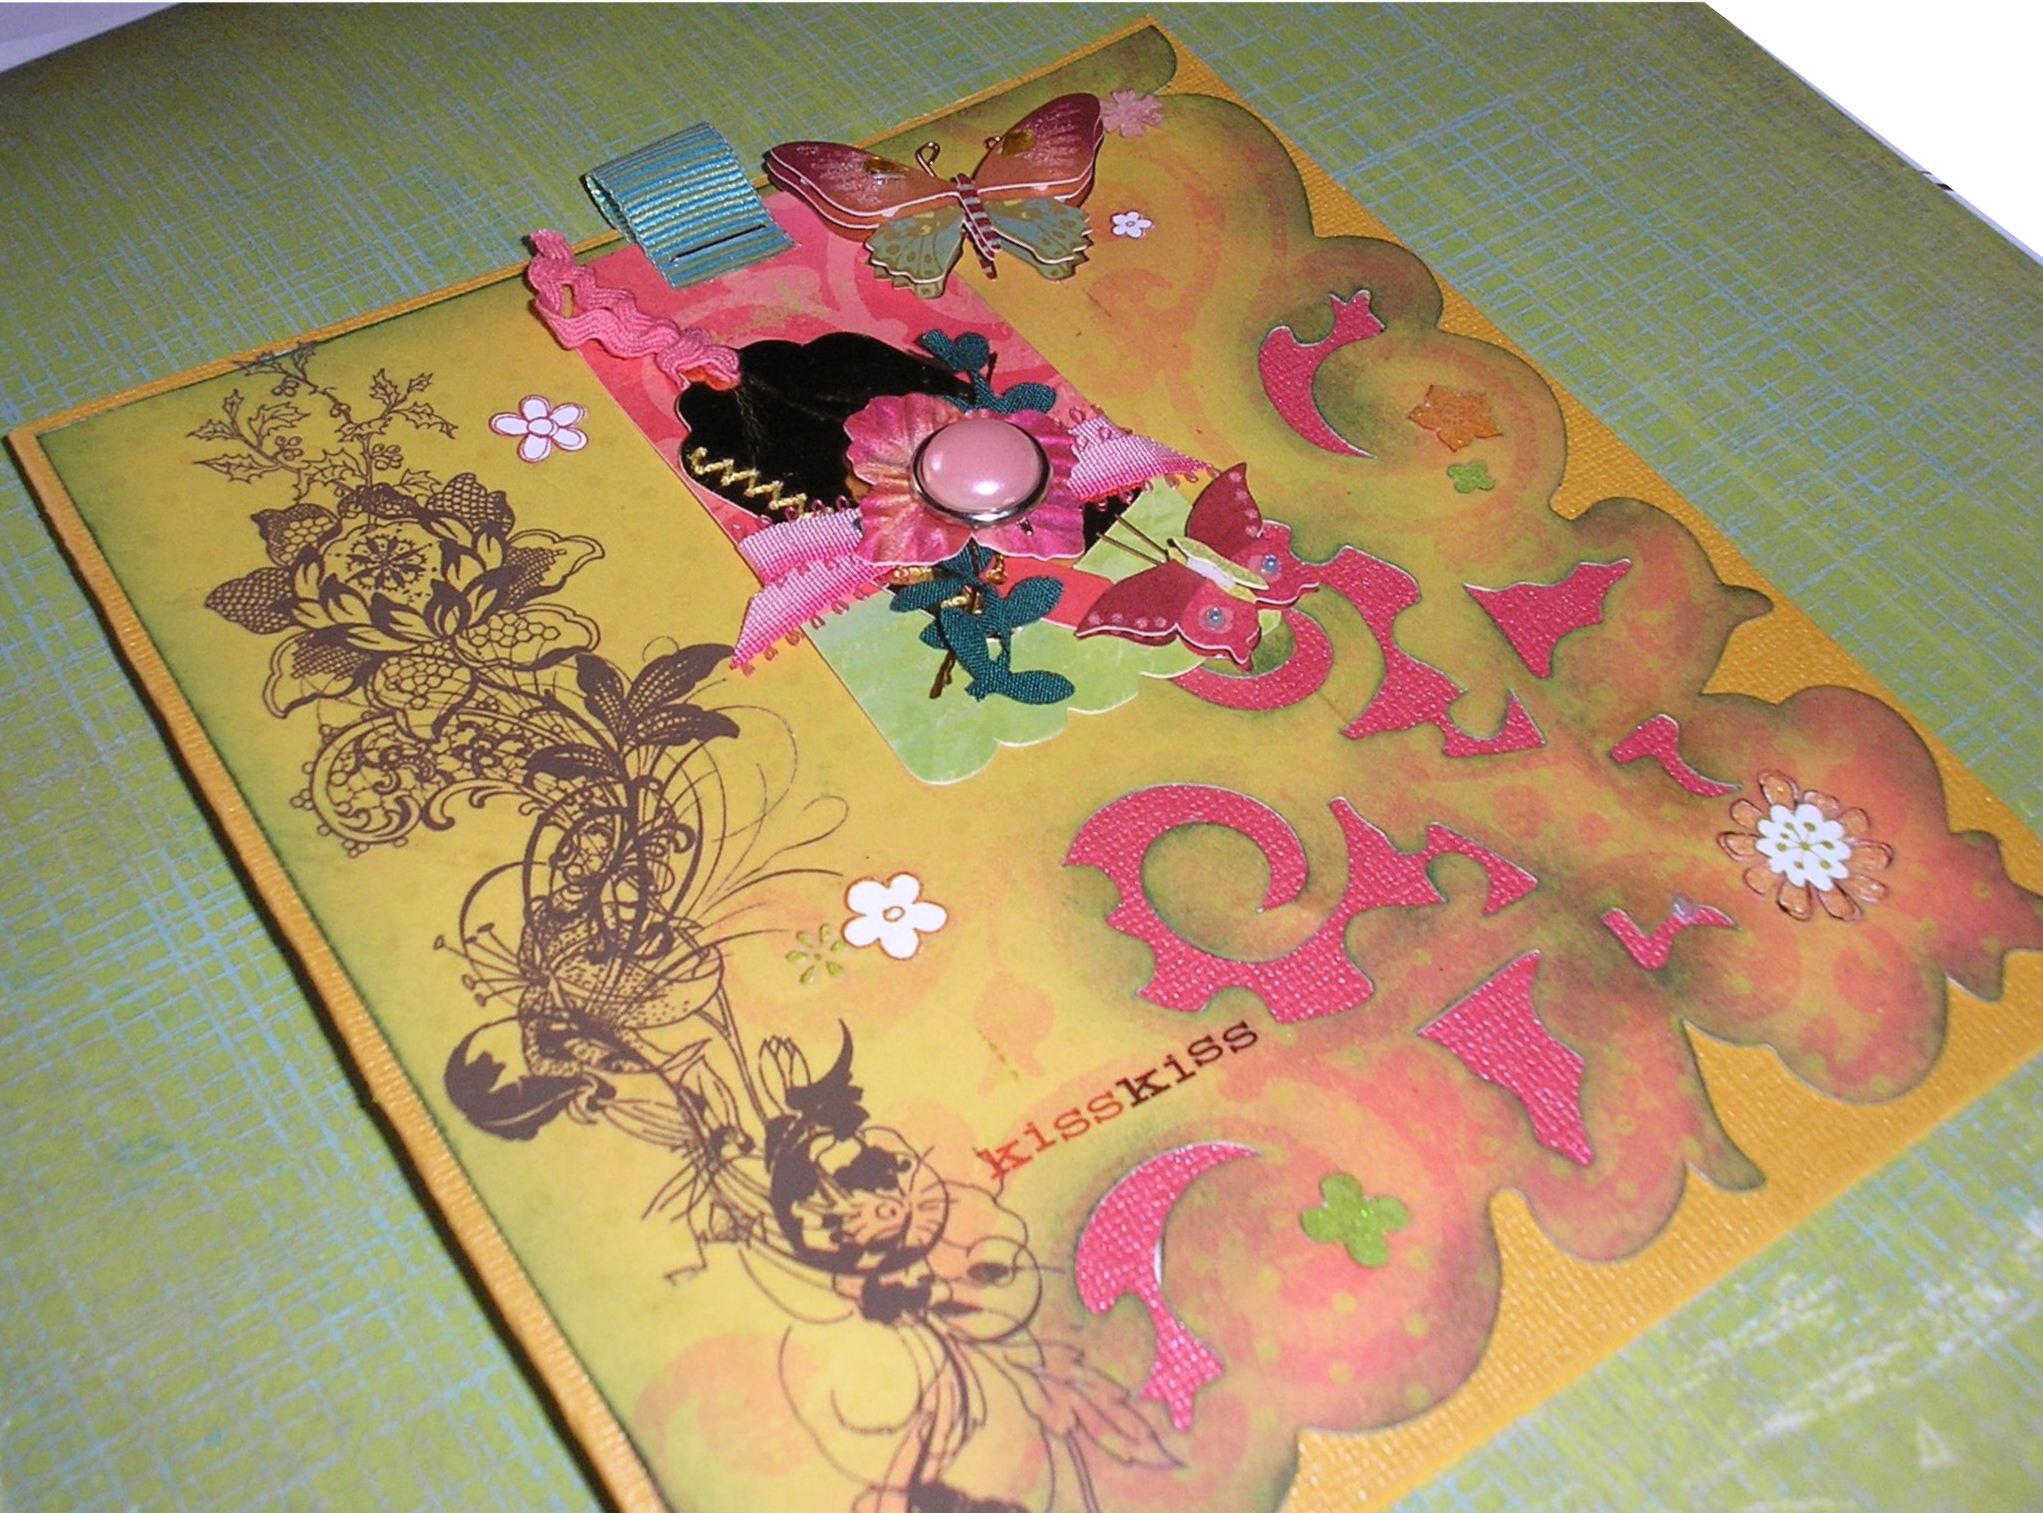
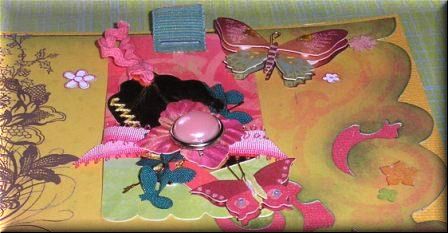
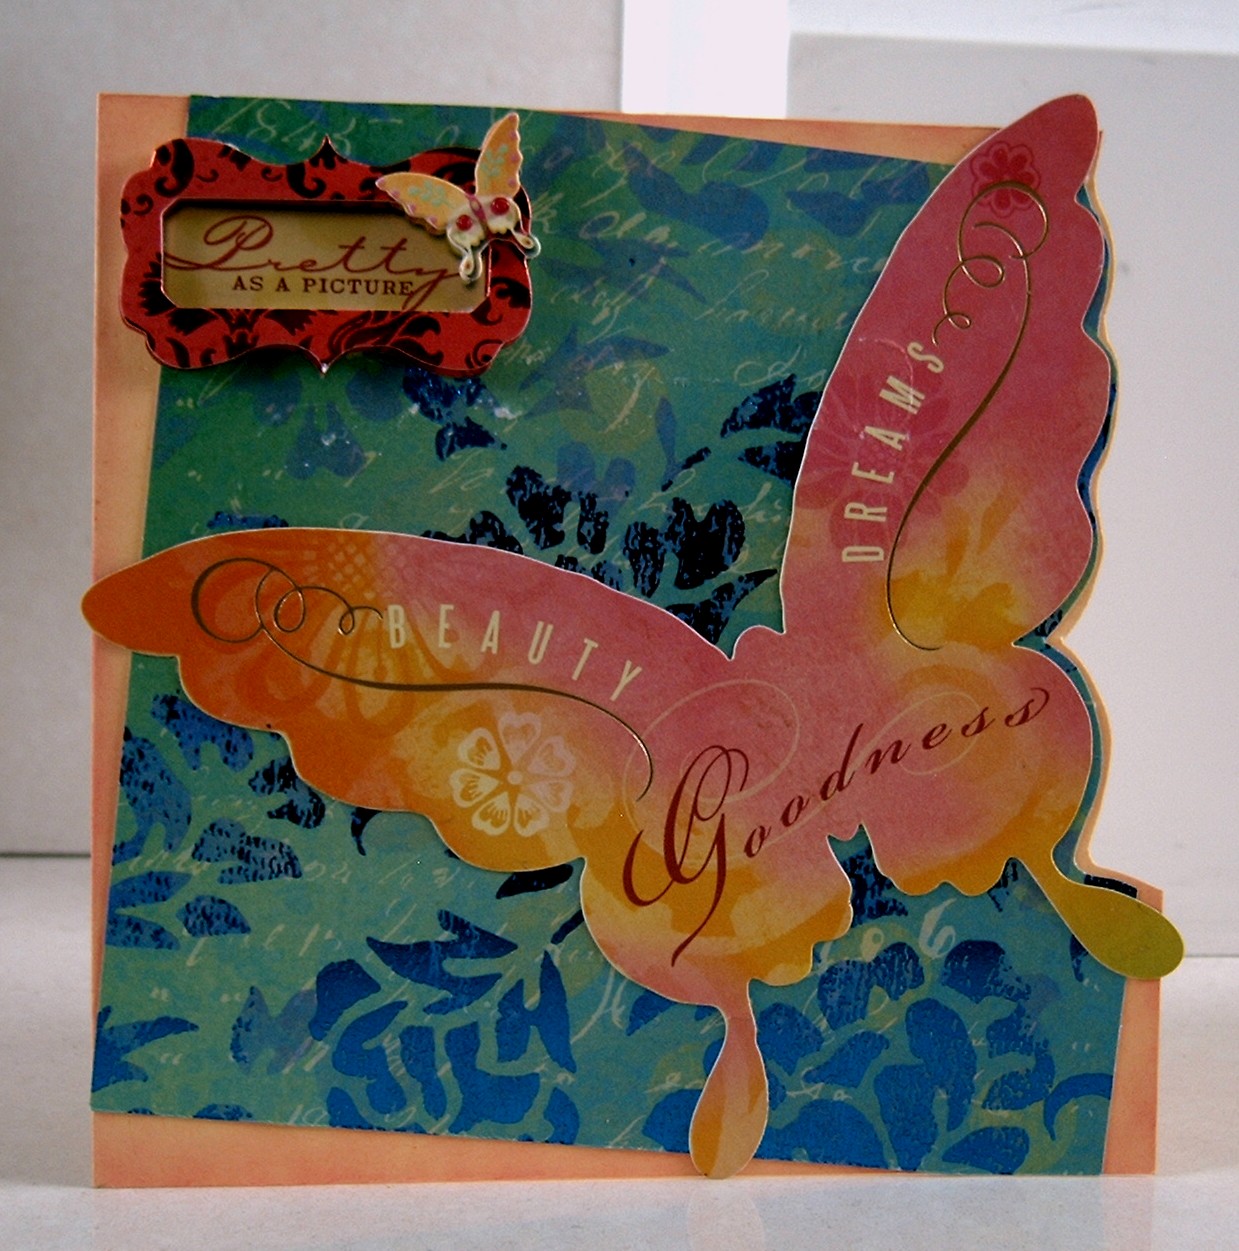
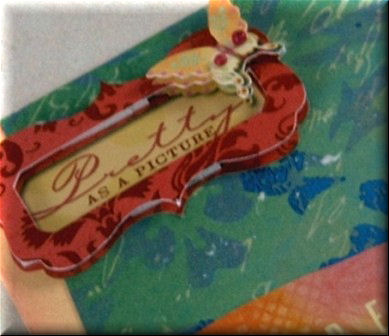
Project 11 Instructions: Products used: K&Co Mira Collection
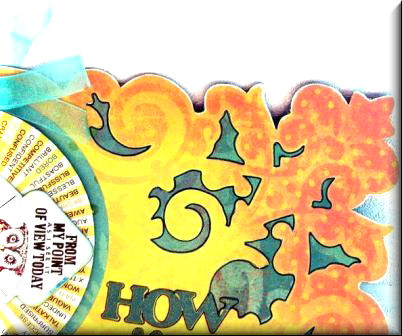
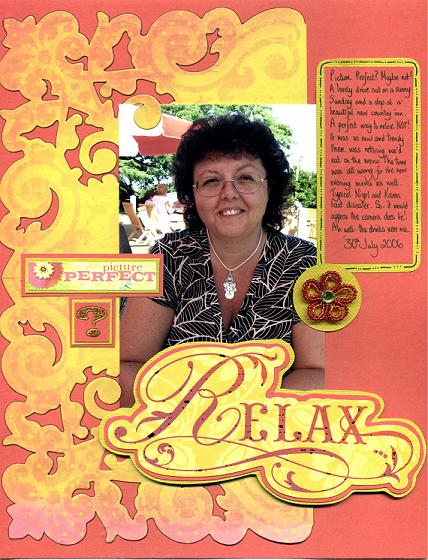
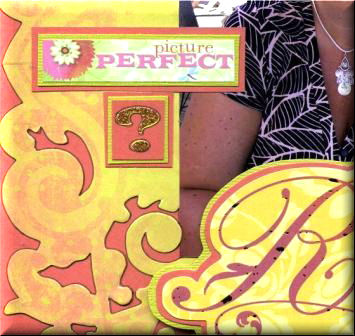
Another corner of the gorgeous Mira Die-Cut paper. You can certainly get value for money from these sheets.
|
|
Click on picture to enlarge
|
Products used: K&Co Mira Collection
|
|
|
|
|
|
Click on picture to enlarge
|
Products used: K&Co Mira Collection
|
|
|
|
Click on picture to enlarge |
|
|
|
|
|
|
|
|
|
|
|
|
|
|
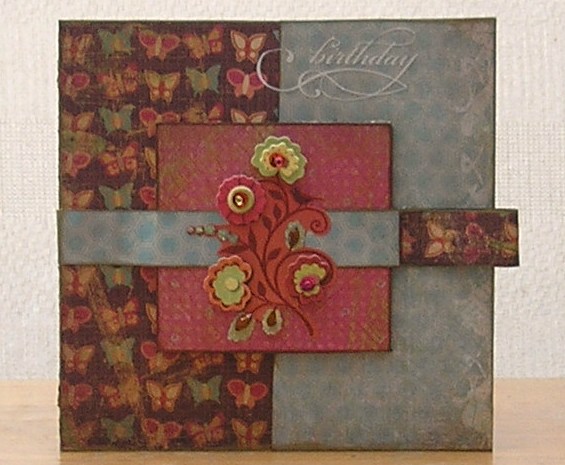
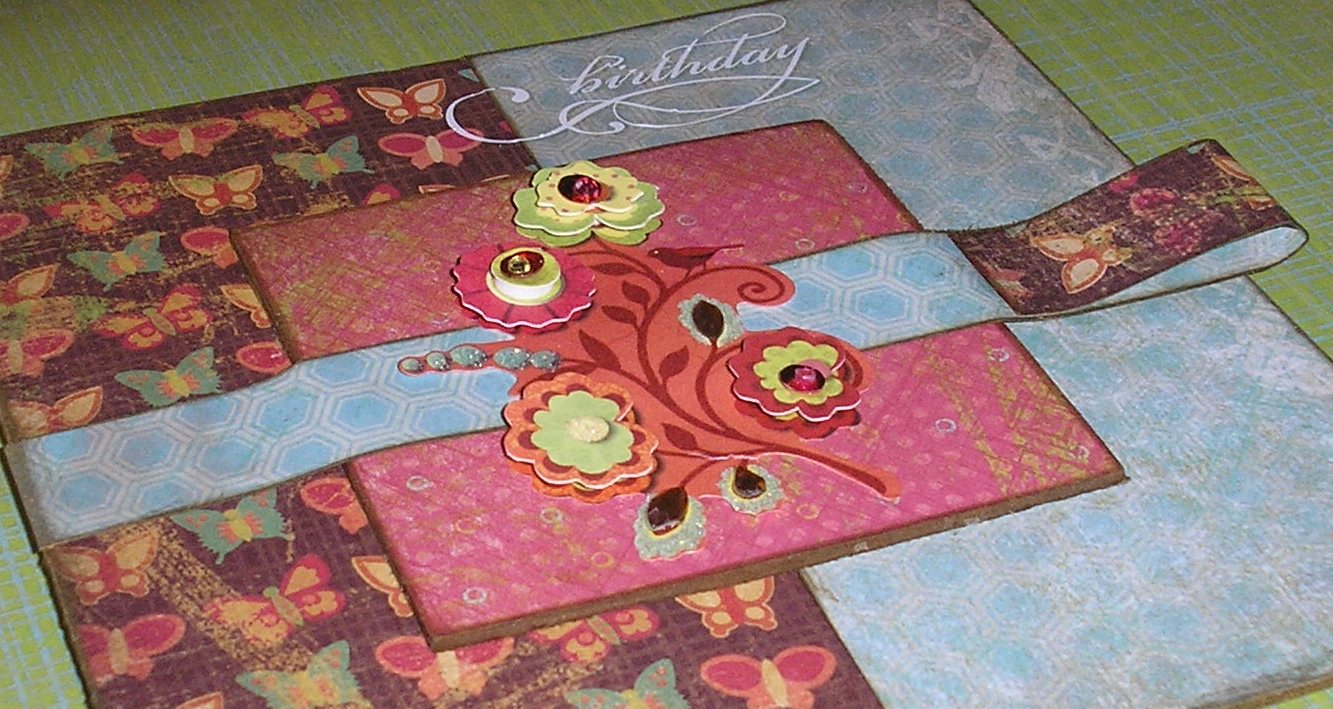
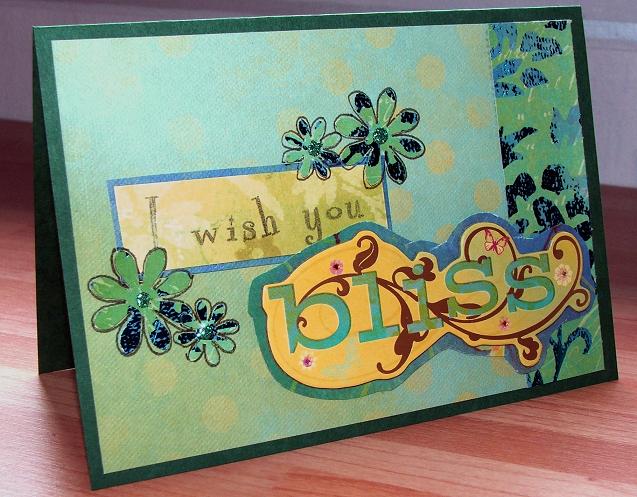
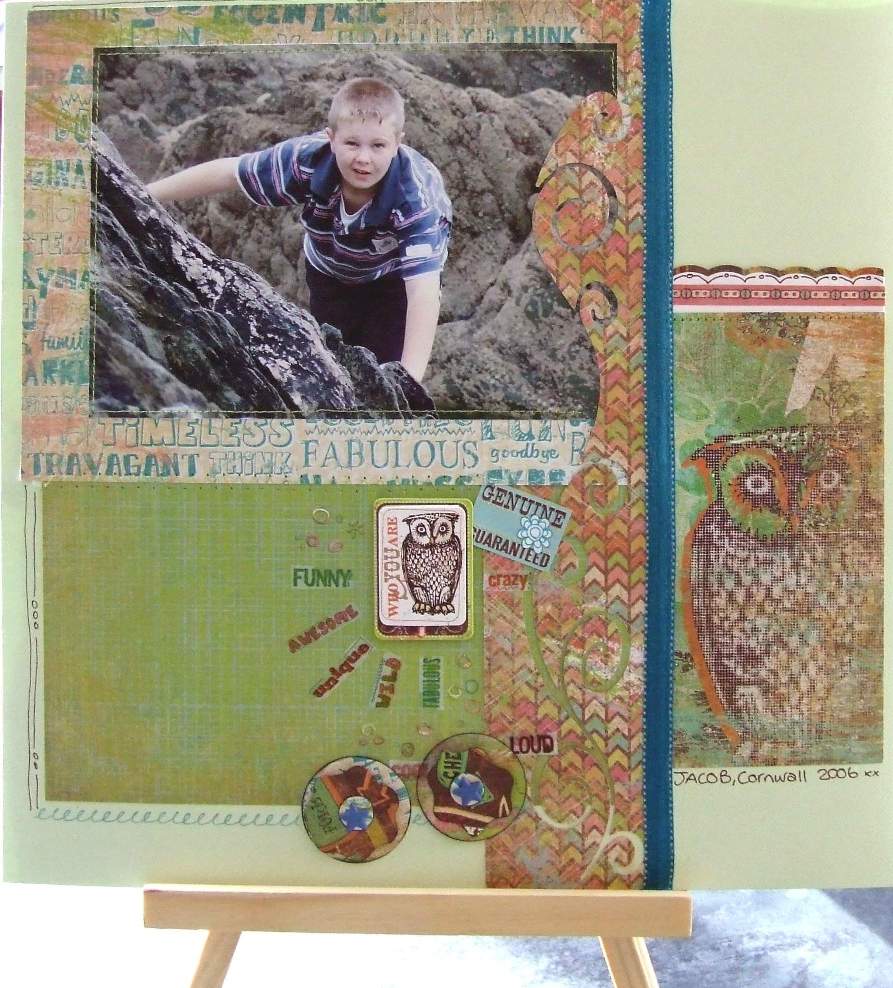
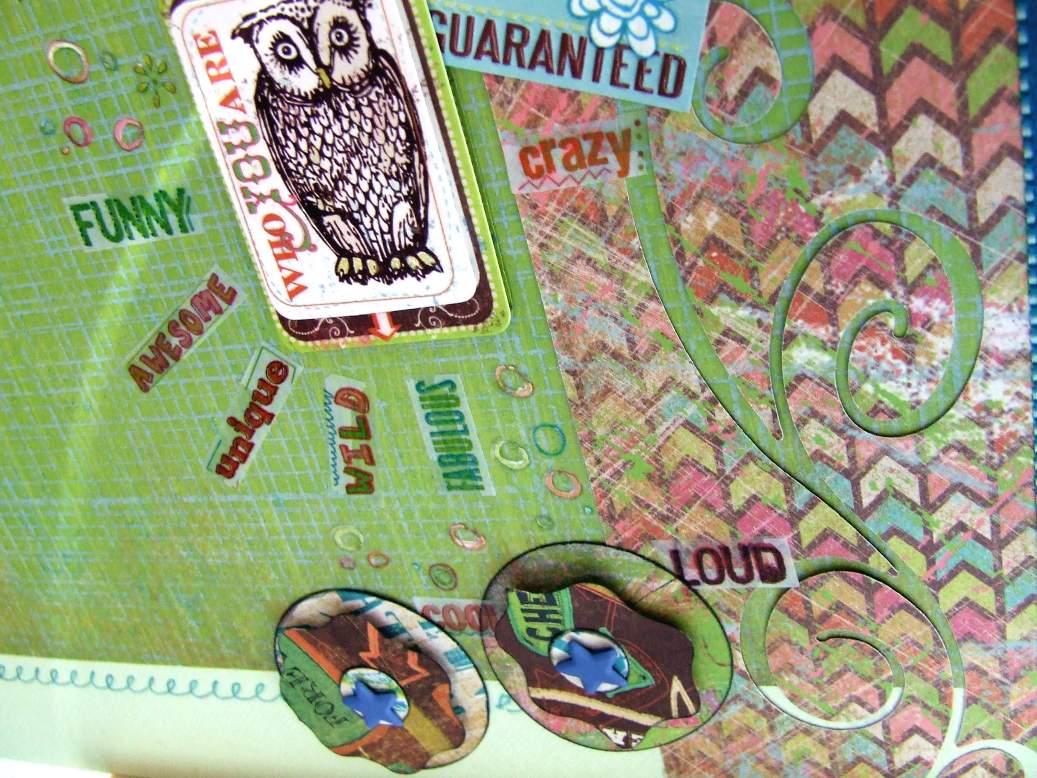
Project 14 Instructions: Products used: K&Co Mira Collection
|
|
|
|
Click on picture to enlarge
|
|
|
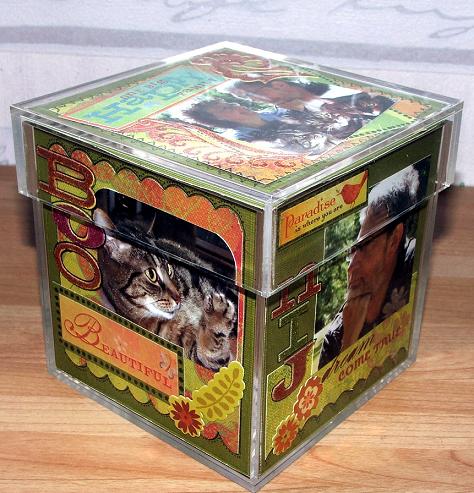
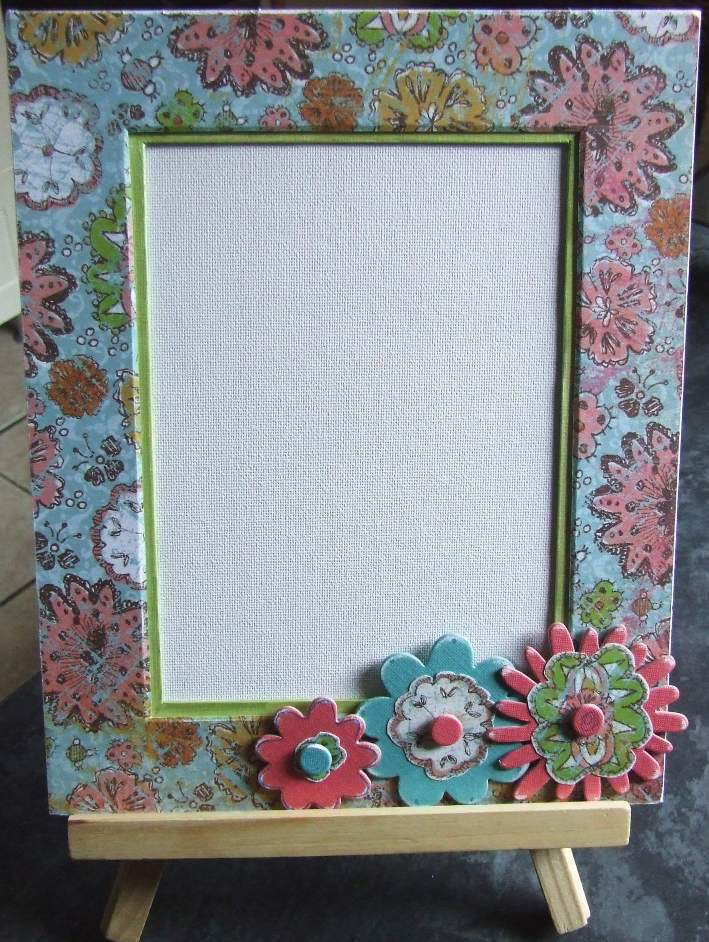
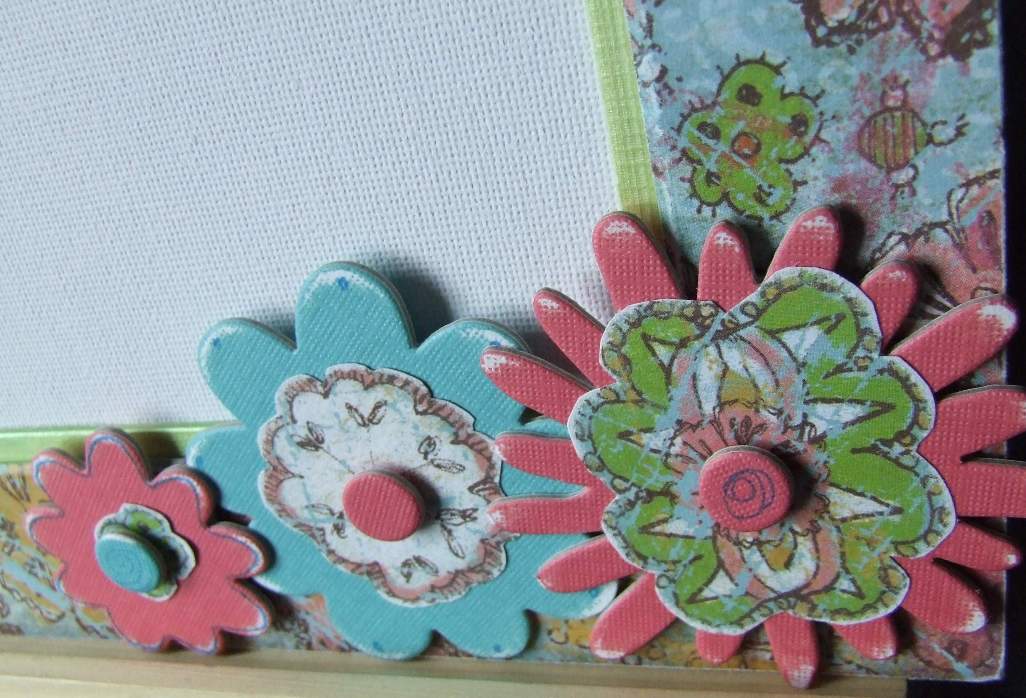
Project 15 Instructions: Products used: K&Co Mira Collection
|
|
|
|
Click on picture to enlarge
|
|
|
Project 16 Instructions: Products used: K&Co Mira Collection
|
|
|
|
Click on picture to enlarge
|
|
|
Project 17 Instructions: Products used: K&Co Mira Collection
|
|
|
|
Click on picture to enlarge
|
Products used: K&Co Mira Collection
|
|
|
|
|
|
Click on picture to enlarge
|
|
|
|
|||||
|
Project 19 Instructions: Products used: K&Co Mira Collection
|
|
|
|
Click on picture to enlarge
|
|
|
Project 20 Instructions: Products used: K&Co Mira Collection
|
|
|
|
Click on picture to enlarge
|
Products used: K&Co Mira Collection
|
|
|
|
|
|
|
|
|
Project 24 by Caroline Scattergood
|
|
Project 25 by Caroline Scattergood
|
|
Project 26 by Caroline Scattergood
|
|
Project 27 by Caroline Scattergood
|
|
Project 28 by Caroline Scattergood
|
All projects copyright ®Charmed Cards & Crafts. All rights reserved.