|
|
|
|
|

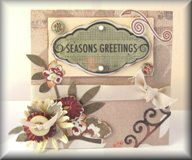
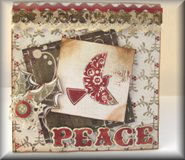
These projects showcase the Basic Grey Wassail Christmas Collection
|
Projects on this page have been designed and created by design team member Maddy Hill |
 |
 |
 |
 |
 |
 |
 |
|
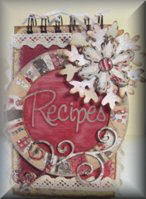
Designed by Maddy Hill
|
|
Click on picture to enlarge
|
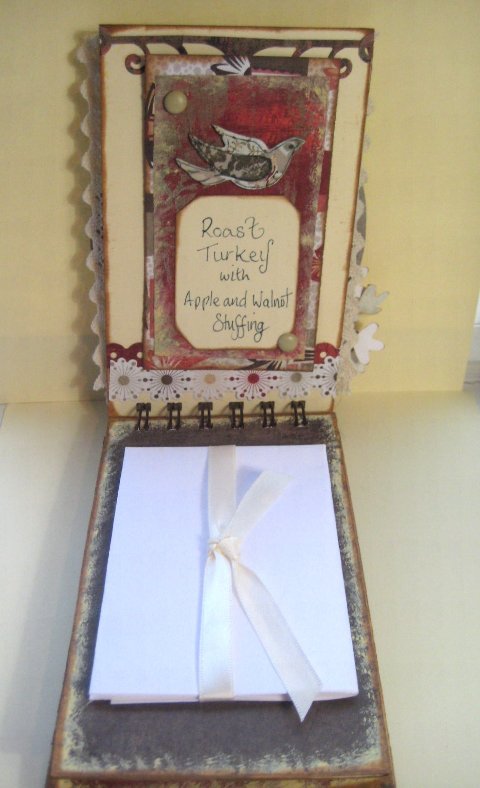
| Products used: Basic Grey Wassail Collection Instructions This little project is a great way to use up any scraps of your Wassail! Materials
Tools
Cut 6 pieces of mount board /chipboard 6 cm by 16 cm height. 1.Cover one side of these pieces in the wassail range paper , use the distressed plain side .Then the reverse side in cream cardstock . 2.Using a paint dauber in cream dab around all the sides of each piece. Then ink in brown ink. 3. Using wires that are at least 1 ½ “ bind the top.
Front cover ,
Using the paint dauber , dab around the
chipboard circle. Lightly brush over with your dauber a piece of
distressed red paper. Cut this into a circle just a bit bigger than your
chipboard circle middle. Attach circle to the red distressed side of the wassail paper. Attach your letter stickers to say Recipes in the middle of the circle. Attach your lace to the top and bottom of the front cover. Attach the chipboard flourish . Using a jumbo snowflake ,, ink the edges in brown. (can be one punched out snowflake) attach a chipboard snowflake to the middle and use a brad in the centre.
Pages
1st page of each recipe is the name of the recipe . ONLY on the first page I edged with lace. Then I used a wassail patterned side and a slightly smaller distressed side . I used a paint dauber on all the edges then inked them. I used stickers to decorate the bottom of the page. I attached the distressed side to the patterned side – mounting it . I used a brad in two corners . I cut out a cream square , and snipped off the corners . I wrote the name of my recipe and attached it to the mounted background.
Each Recipe page. Fold your A4 printed recipe in half – then half again – to fit smaller than the page. I ran some glue ( prick stick or similar ) down the middle of the recipe page – I only glued the length size of my recipe paper. I then attached some ribbon to the glue – waited for it dry and then placed my folded recipe paper in the middle . I folded the ribbon over and tied in a lose knot . I continued in this way on the other five pages.
|
|
|
|
|
Designed by Maddy Hill
|
|
Click on picture to enlarge
|
 Products used: Basic Grey Wassail Collection Quick Guide
|
|
|
|
|
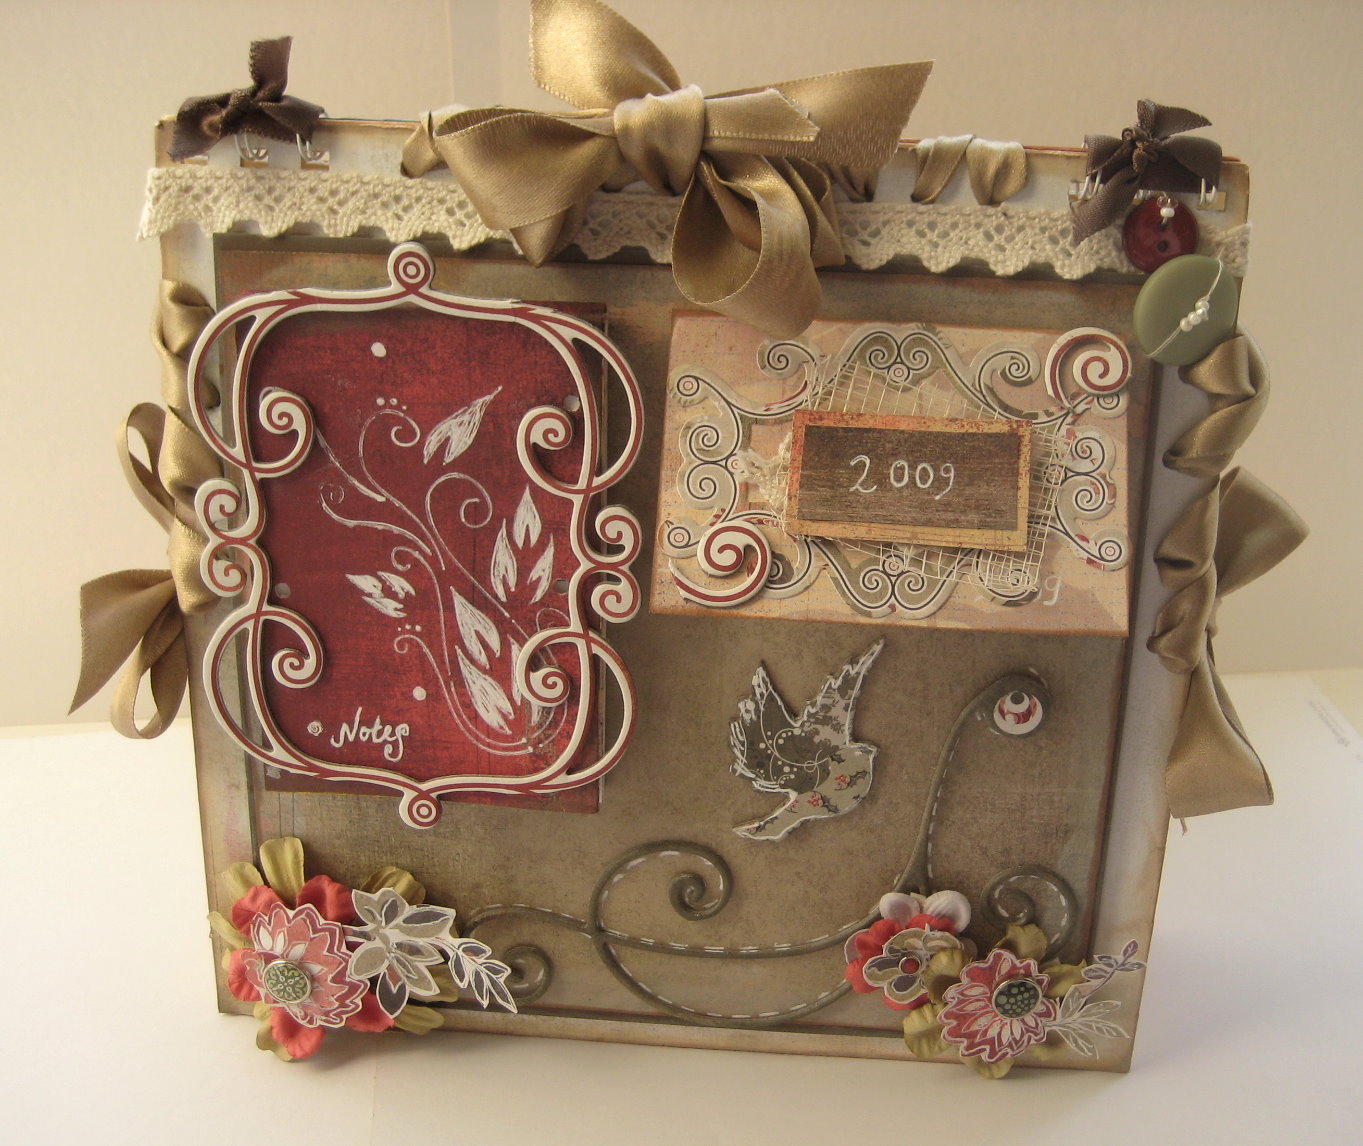
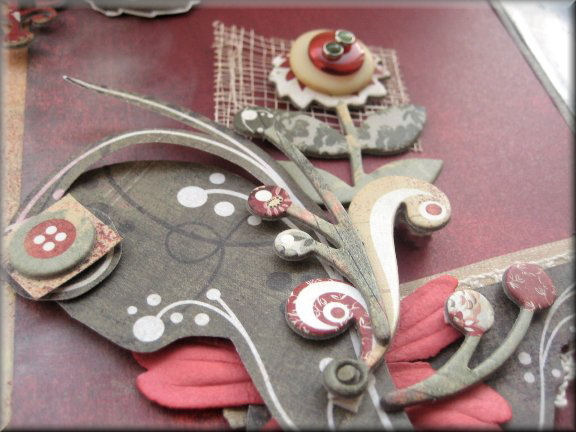
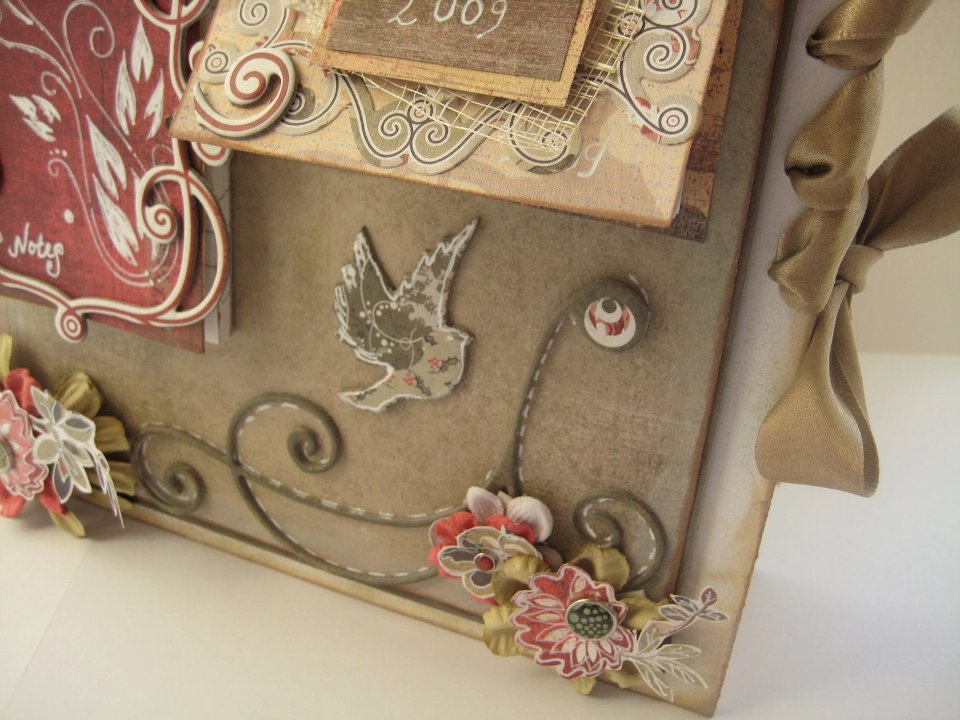
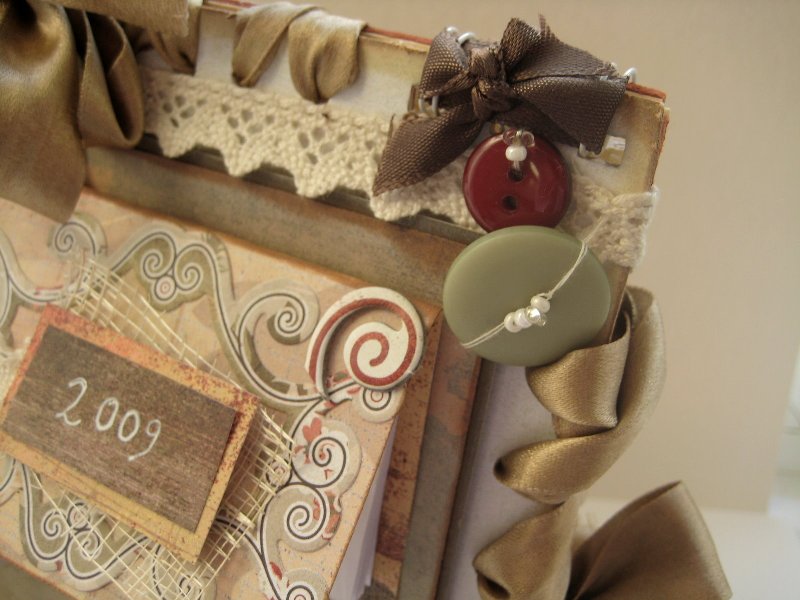
Calendar and Notebook Desk Stand Designed by Maddy Hill
|
|
Click on pictures to enlarge
|
|
|
| Products used: Basic Grey Wassail Collection Instructions Although I have used the Basic Grey Wassail Papers and chipboard you can create the look of this desk stand with any similar papers and chipboard. You will need:
Extras – mesh – beads. Tools
Step-by-Step
Front cover.
Side holes for ribbon
from the top measure 4 cm down and 1cm in for the first hole (the mark will be the middle of the hole ) Then mark a further 3 holes 2cm apart. Sow the side of the mount board. Do this to each side and both pieces of mount board. Top holes
Front cover part 2.
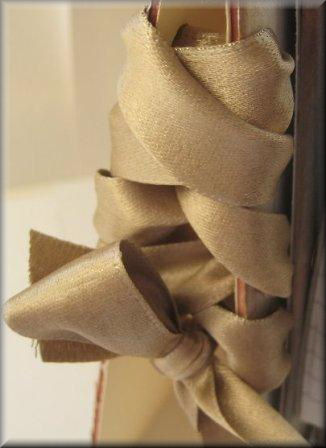
Side and front Ribbons. Side ribbon
Buttons - Sew some seed beads to the middle of some buttons and sew onto the bind it all wire.
Tie and bow brown ribbon to the wires at each end of the cover .
|
|
|
|
|
|
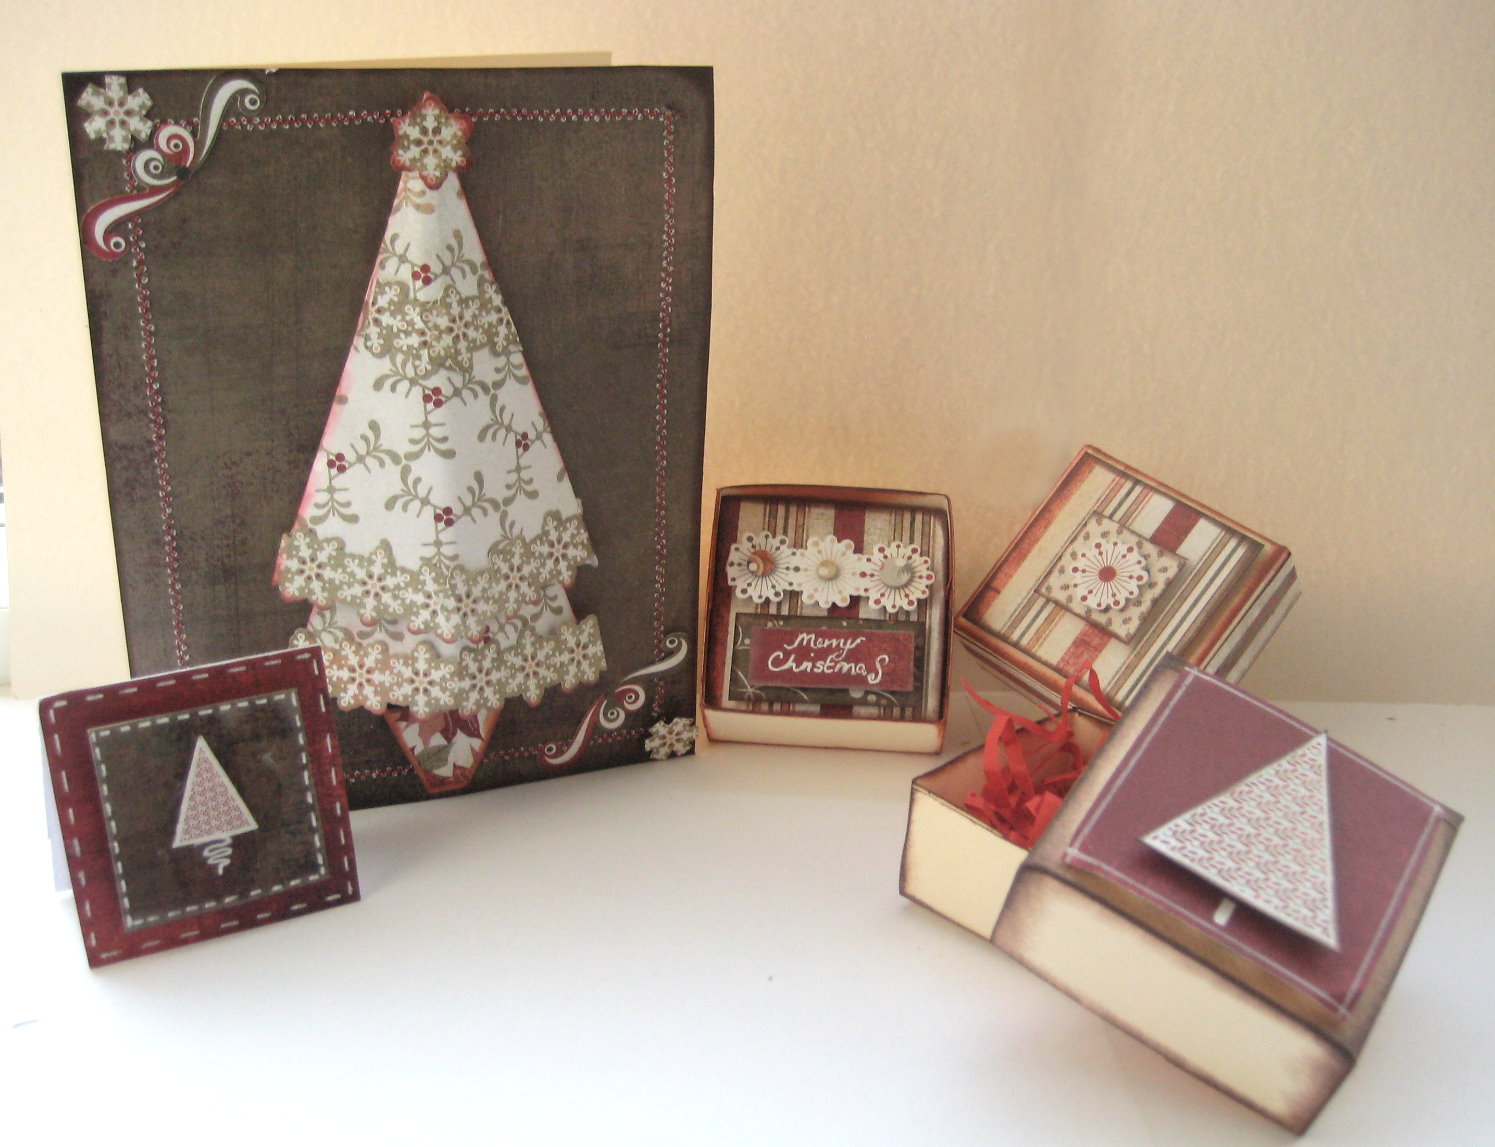
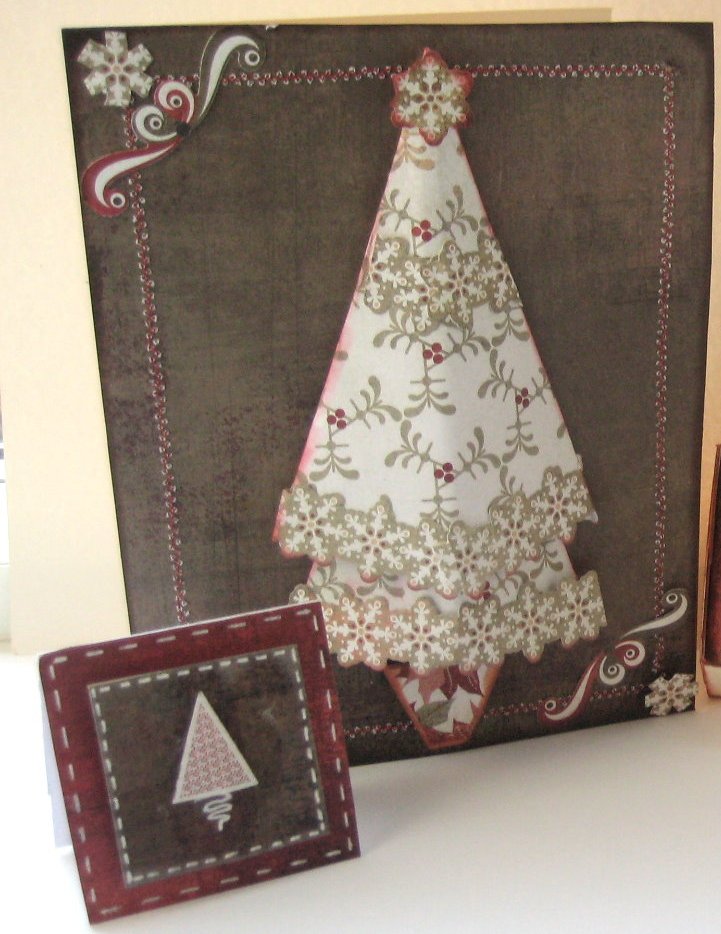
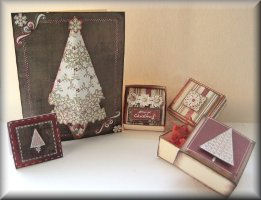
Wassail Mini Cards and Boxes and Tree Card Designed by Maddy Hill
|
|
Click on picture to enlarge
|
| Products used: Basic Grey Wassail Collection Instructions Here is an ensemble of Wassail cards and mini boxes.
Big Tree Card
Small Tree Card
These little boxes and cards are made from scraps of Wassail paper and element border stickers. They have been inked with brown chalk or distress ink and I used a white pen to write the greeting and draw a border.
|
|
|
Designed by Maddy Hill
|
|
Click on pictures to enlarge
|
| Products used: Basic Grey Wassail Collection
|
|
|
Designed by Maddy Hill
|
|
Click on pictures to enlarge
|
| Products used: Basic Grey Wassail Collection
|
|
All projects copyright ® Charmed Cards & Crafts. All rights reserved.