|
Designer:
Karen - All Rights Reserved. |
Designer:
Karen - All Rights Reserved. |
|
Designer:
Karen - All Rights Reserved. |
Designer:
Karen - All Rights Reserved. |
|
Designer:
Karen - All Rights Reserved. |
Designer:
Karen - All Rights Reserved. |
|
Designed by
Rebecca, created by Karen |
Designer:
Karen - All Rights Reserved. |
|
Designer:
Karen - All Rights Reserved. |
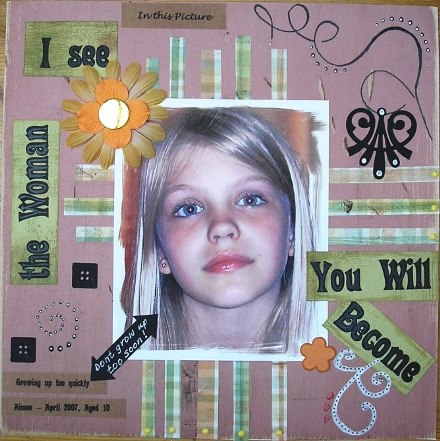
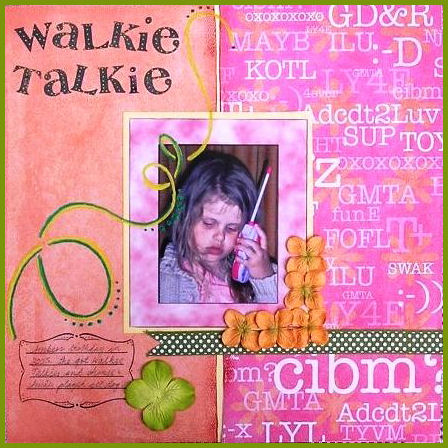
Journalling
Sometimes a pictures says a thousand
words, at other times you may want to describe what the picture is all
about for later recollection and future generations. Here are some of
the options:
- Add hidden jounalling behind
another element on the page, the most used is probably a little
pocket behind the picture or a little flap that lifts up o the page.
- There are several jounalling stamps
on the market. In the layout to the left for example I have used a
LIl' Davis Clear Journaling stamp.
- Draw lines and add your journalling
for all to see. In the layout above I have used a doodling template
to draw the lines then added the journalling.
- Write around elements on the page.
This is used in several of the layouts above.
|
|
Designer:
Karen - All Rights Reserved. |
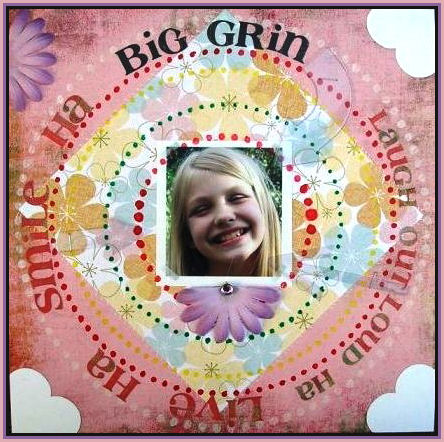
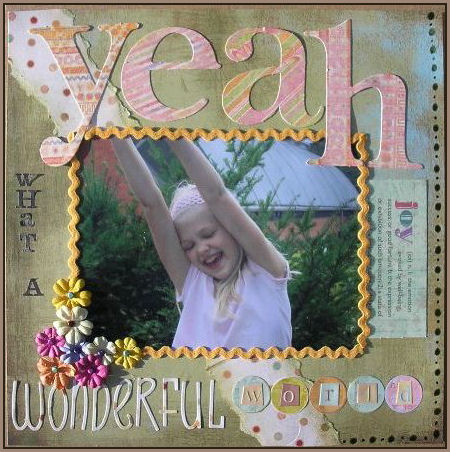
What a Wonderful World
Size: 12" x 12"
- Draw small and larger circles down
the edge of a sheet of Basic Grey Blitzen "Pear" as shown,
using a green Sakura Gelly Roll Glaze pen.
- Tear a strip of Basic Grey Blush
"Be Mine" and ink the edges with Tim Holtz "Shabby Shutters", I used
a brush. Glue the strip to the paper as shown. You can cut out
the middle of the strip to avoid a bumpy look under the picture.
- Position the picture where you want
it and edge with Doodlebug Rick Rack ribbon. Leave one side unglued
so that you can include hidden journaling if you wish. Slip a K&Co
Words & Saying die-cut under the edge - this one shows the
definition of joy.
- Add the title as shown using
various alphabets (Basic Grey Monograms, K&Co alphabets, plus
"Wonderful" cut out using QuicKutz "Vixen" letters)
- Attach a metallic brad in the
centre of eight Prima Got Flowers. Glue on as shown.
|
|
Designer:
Karen - All Rights Reserved. |
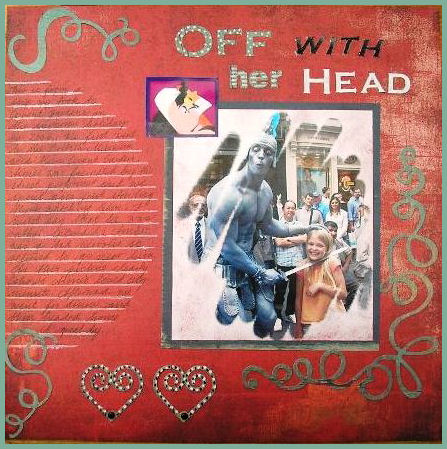
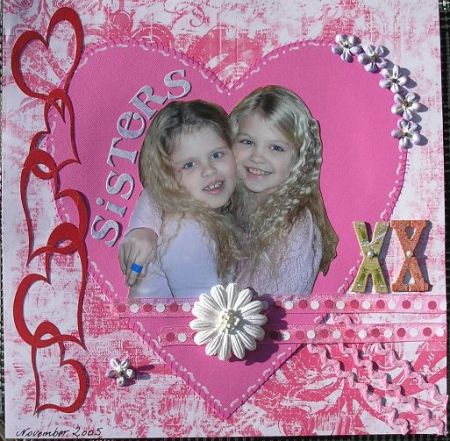
Sisters
Size: 12" x 12"
The girls heads formed a perfect heart
in this picture. I therefore used this as the basic design for the
layout.
- Cut out the people in the picture.
- Cut out a large heart using
Doodlebug Bazzil cardstock. Glue the heart to a sheet of Creative
Imagination paper. Draw stitching all around the edge using a
red Sakura Gelly Roll Glaze pen.
- Glue on the picture.
- Glue three strips of Rick Rack from
the heart to one corner of the paper as shown Glue two strips of
Doodlebug Organdie Polka Dot ribbon just below the picture.
- Doodle a white border just inside
the heart.
- Hand cut a border of red hearts, or
use a pre-cut border.
- Attach the rest of the
embellishments and titles as shown. Title is Basic Grey letters,
"XX" is K&Co Hannah Chipboard Alphabets. Flowers are Prima.
|
|
Designer:
Karen - All Rights Reserved. |
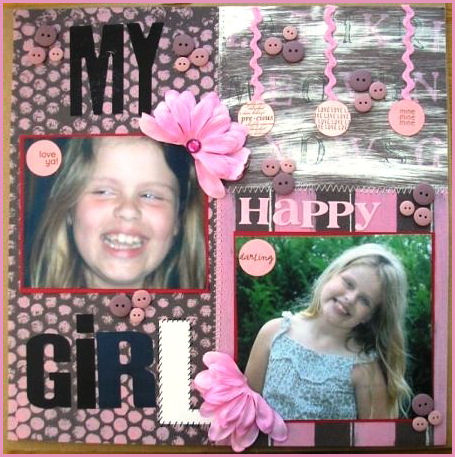
My Happy Girl
Size: 12" x 12"
- This paper already has the
stitching in place but you can easily machine stitch three different
papers together as shown.
- Place each picture on a piece of
red Bazzil cardstock to form a frame. Glue into position.
- Add title, ribbon and
embellishments as shown. The stitching on the letter "L" is hand
drawn with a black Sakura pen.
|
|
Designer:
Karen - All Rights Reserved. |
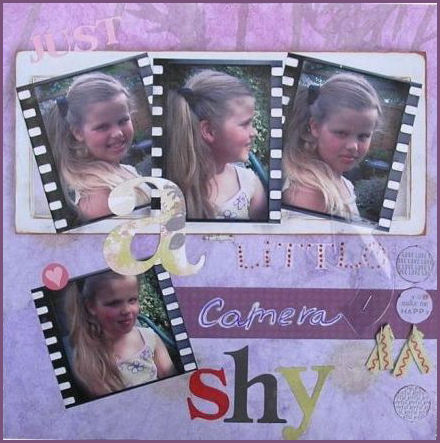
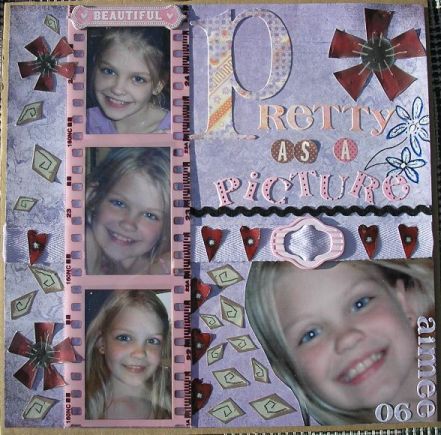
Pretty as a Picture.
Size: 12" x 12"
- Cut your pictures to fit inside the
film strip as shown. This is from a Creative Imagination kit
currently in our sale. Cut out the larger picture eliminating any
background. Position with lilac twill and a pink buckle as shown.
This twill and buckle are in another kit in our sale.
- Glaze flowers and hearts and stick
on when dry. The flowers and green leaf doodles are from AMM
Herbanella Grandparents paper.
- Add the title using various
alphabets (Basic Grey Monogram and letters, plus K&Co alphabets).
- Doodle a little - here I have
doodled two flowers using various Sakura pens, plus inside some of
the letters.
|
|
Designer:
Karen - All Rights Reserved. |
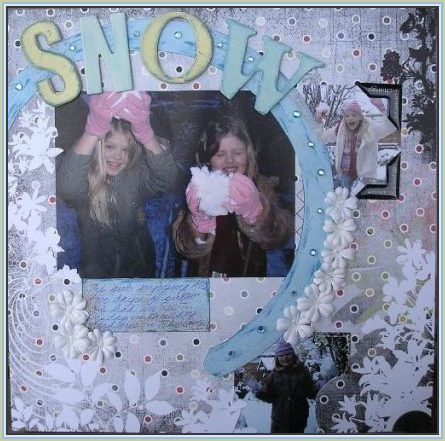
Snow
Size: 12" x 12"
- Draw and cut out a circle on Basic
Grey Ice Blue Blitzen paper. Ink the circle as shown.
- Position the circle and pictures
where you want them and cut through the Basic Grey Scarlet's Letter
paper (Among The Ruins) so that elements overlap the pictures and
the circle.
- Glue the pictures in place ensuring
any element designed to overlap the circle is left free.
- Glue the circle into place trimming
part of it as shown.
- Distress chipboard letters "SNOW".
Attach to layout.
- Add photo corners, journaling,
gemstones and Prima flowers. Dot each flower centre with Stickles
Crystal or Icicle Glitter glue.
|
|
Designer:
Karen - All Rights Reserved. |
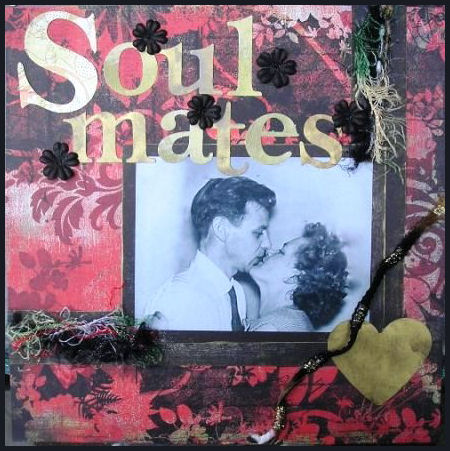
Soul Mates
Size 12" x 12"
- Mat the picture on a piece of
Scarlet's Letter Night cardstock. Ink the edges with gold. Cut a
triangular shape of the same cardstock to fit the page as shown
below. Ink the edges with gold then glue into place
-
Distress some Basic
Grey Mini Monograms and a hand drawn cut out heart with gold ink.
When dry add to layout with one single large Basic Grey Monogram
("S").
-
Embellish with BG
Scarlet's Letter fibres as shown.
|
|
Designer:
Karen - All Rights Reserved. |
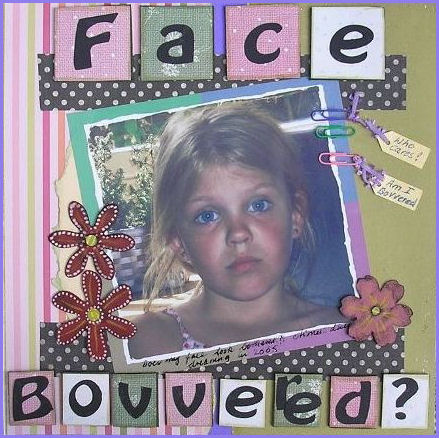
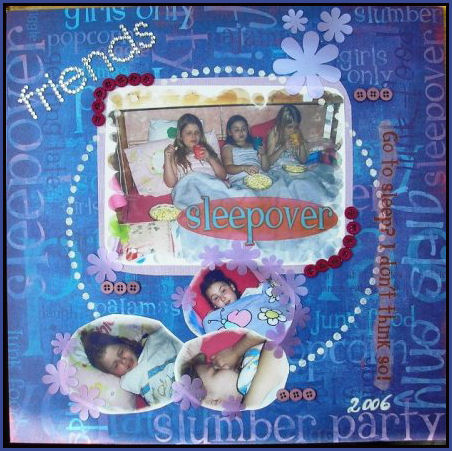
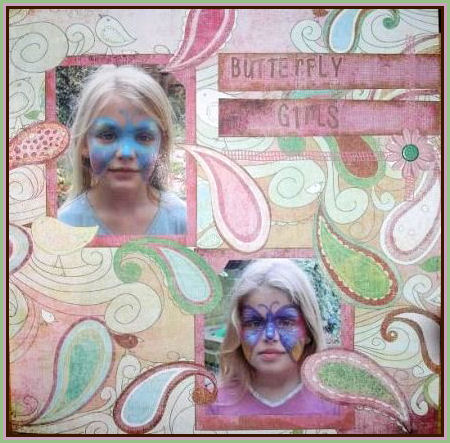
Butterfly
Girls Size 12" x 12"
Paper: Basic Grey Pheobe Pacific Heights
and Sausalito
- Mat the pictures on Sausalito
cardstock. Cut through one of the corners for each and poke the
corner of the picture through.
- Decide where you want the pictures
to go then cut out the pattern on the base paper (Pacific Heights)
to suit, leaving part of the pattern intact. Cut out using a
precision knife, such as our Dovecraft precision knife.
- Cut out the title using Quickutz
alphabet dies and glue onto strips of Sausalito cardstock. Glue onto
paper.
- Attach ribbon as shown. Attach a
Prima Daisy with a Dovecraft Designer Brad where the ribbons meet.
|
|
Designer:
Karen - All Rights Reserved. |
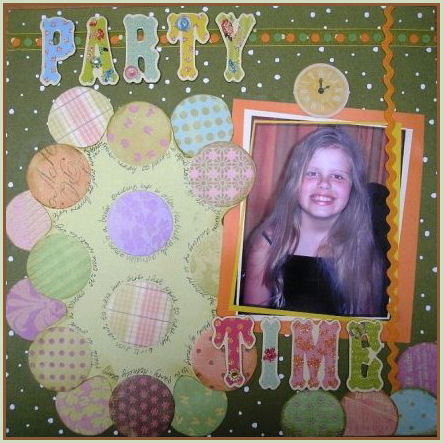
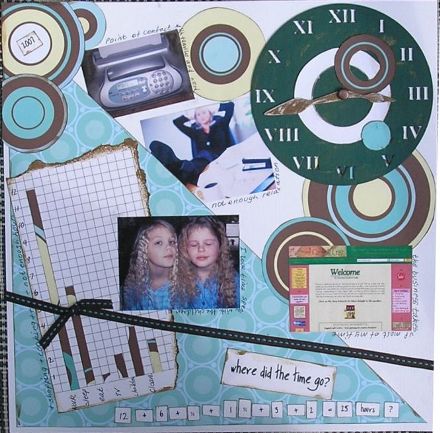
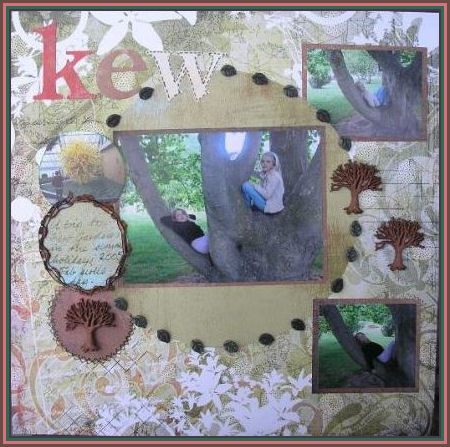
Kew
Size: 12" x 12"
- Cut various circles as shown using
Basic Grey papers.
- Mat pictures on brown Basic Grey
cardstock
- Position as shown, stitching one of
the smaller circle onto the base paper in a criss cross pattern.
- Add title, ribbon/fibre and
Dress-It-Up buttons to finish.
|

