|
|
|
|
|

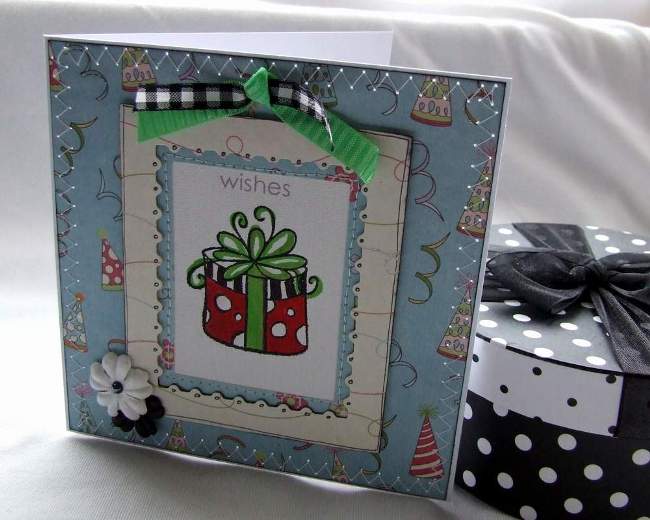
These projects showcase the Imaginisce All Kinds of Happy Collection
Click here for more project ideas using this collection
|
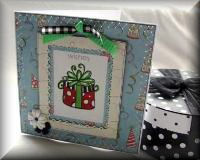
Projects on this page have been designed and created by Design Team member Caroline Scattergood for Charmed Cards & Crafts. |
 |
| Products used: Imaginisce All Kinds of Happy Collection Instructions
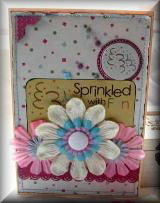
Once everything is in place go around the edges of the paper and lift and tear in places to give an aged look.
|
|
|
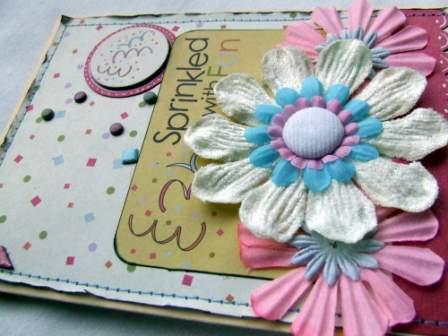
Designed by Caroline Scattergood
|
|
|
Click on picture to enlarge
|
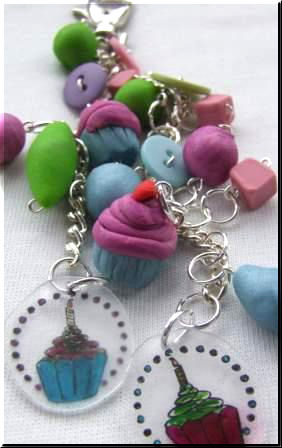
Close-Up
|
| Products used: Instructions
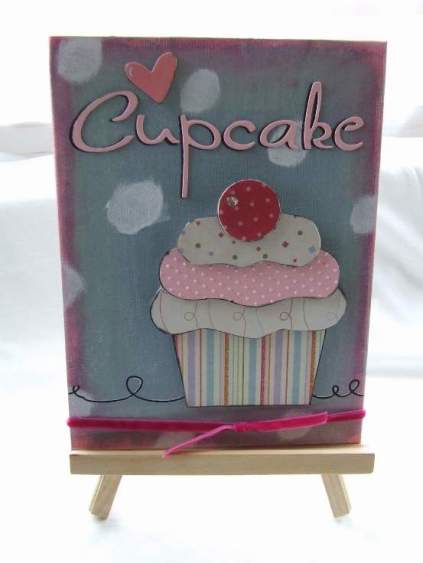
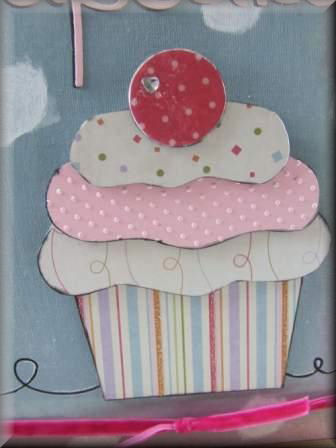
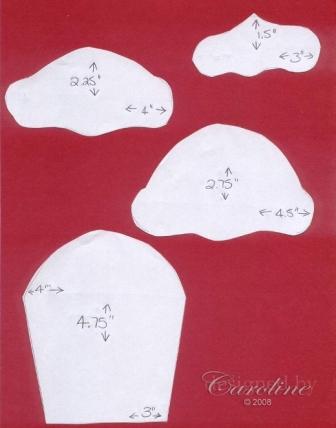
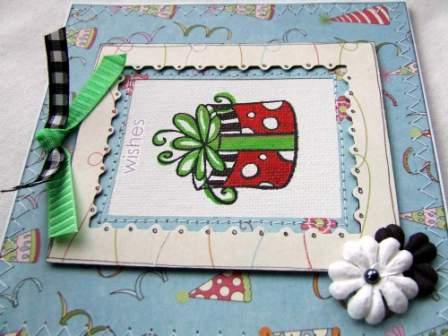
Whilst that was drying I made up the Cupcake. This is based on this template:
You can make any size cupcake you want – the sizes shown are that for the cupcake used on this canvas.
I used an Imaginisce rub-on for the wavy line at the base of the cupcake and then highlighted certain parts with a white pen just to make it lift from the board a little. The ‘cupcake’ word is die-cut in black and pink and then the pink is layered on top of black but slightly off-centre to create a shadow effect. The heart is inked and stuck to the board with a sticky pad to lift it off the board slightly. The ribbon is a gorgeous velvet from Dovecraft and tied all the way about the board and stuck down using double-sided tape.
|
|
|
Designed by Caroline Scattergood
|
|
|
Click on picture to enlarge
|
 |
| Products used: Imaginisce All Kinds of Happy Collection Instructions
|
|
|
Designed by Caroline Scattergood
|
|
|
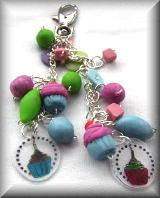
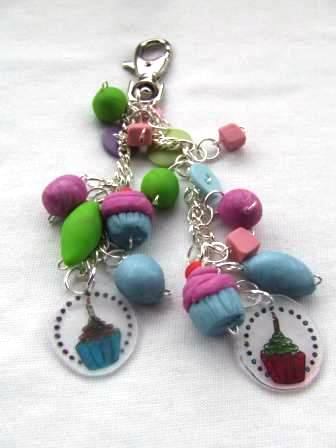
| Products used: Imaginisce All Kinds of Happy Collection and Fimo Polymer Clay Instructions
|
|
|
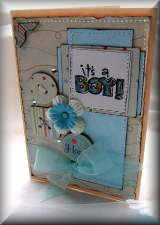
It's a Boy Card Designed by Caroline Scattergood
|
|
|
Click on pictures to enlarge
|
 |
| Products used: Imaginisce All Kinds of Happy Collection Instructions
Once everything is in place go around the edges of the paper and lift and tear in places to give an aged look.
|
|
|
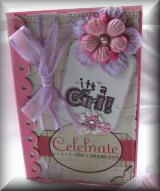
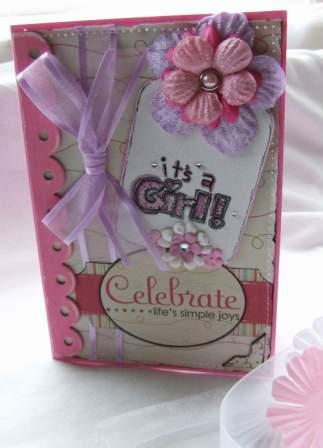
It's a Girl Card Designed by Caroline Scattergood
|
|
Click on pictures to enlarge
|
| Products used: Imaginisce All Kinds of Happy Collection Instructions
Once everything is in place go around the edges of the paper and lift and tear in places to give an aged look.
|
|
All projects copyright ® Charmed Cards & Crafts. All rights reserved.