|
|
|
 |
Click here for instructions and more images.... |
|
|
 |
Click here for instructions and more pictures... |
|
|
|
 |
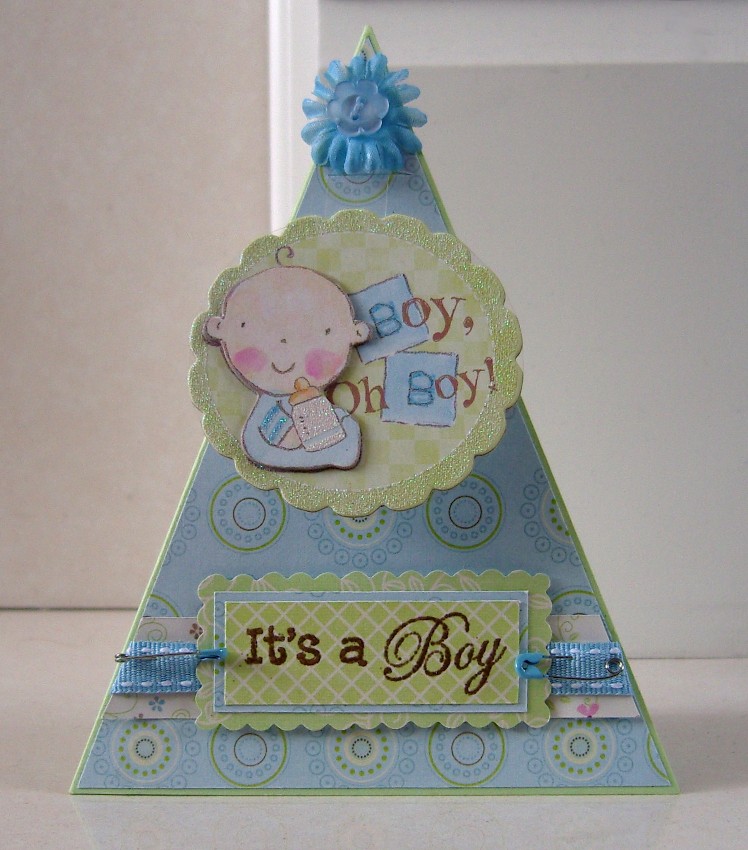
Click here for instructions and more pictures...
 |
|
|
|
 |
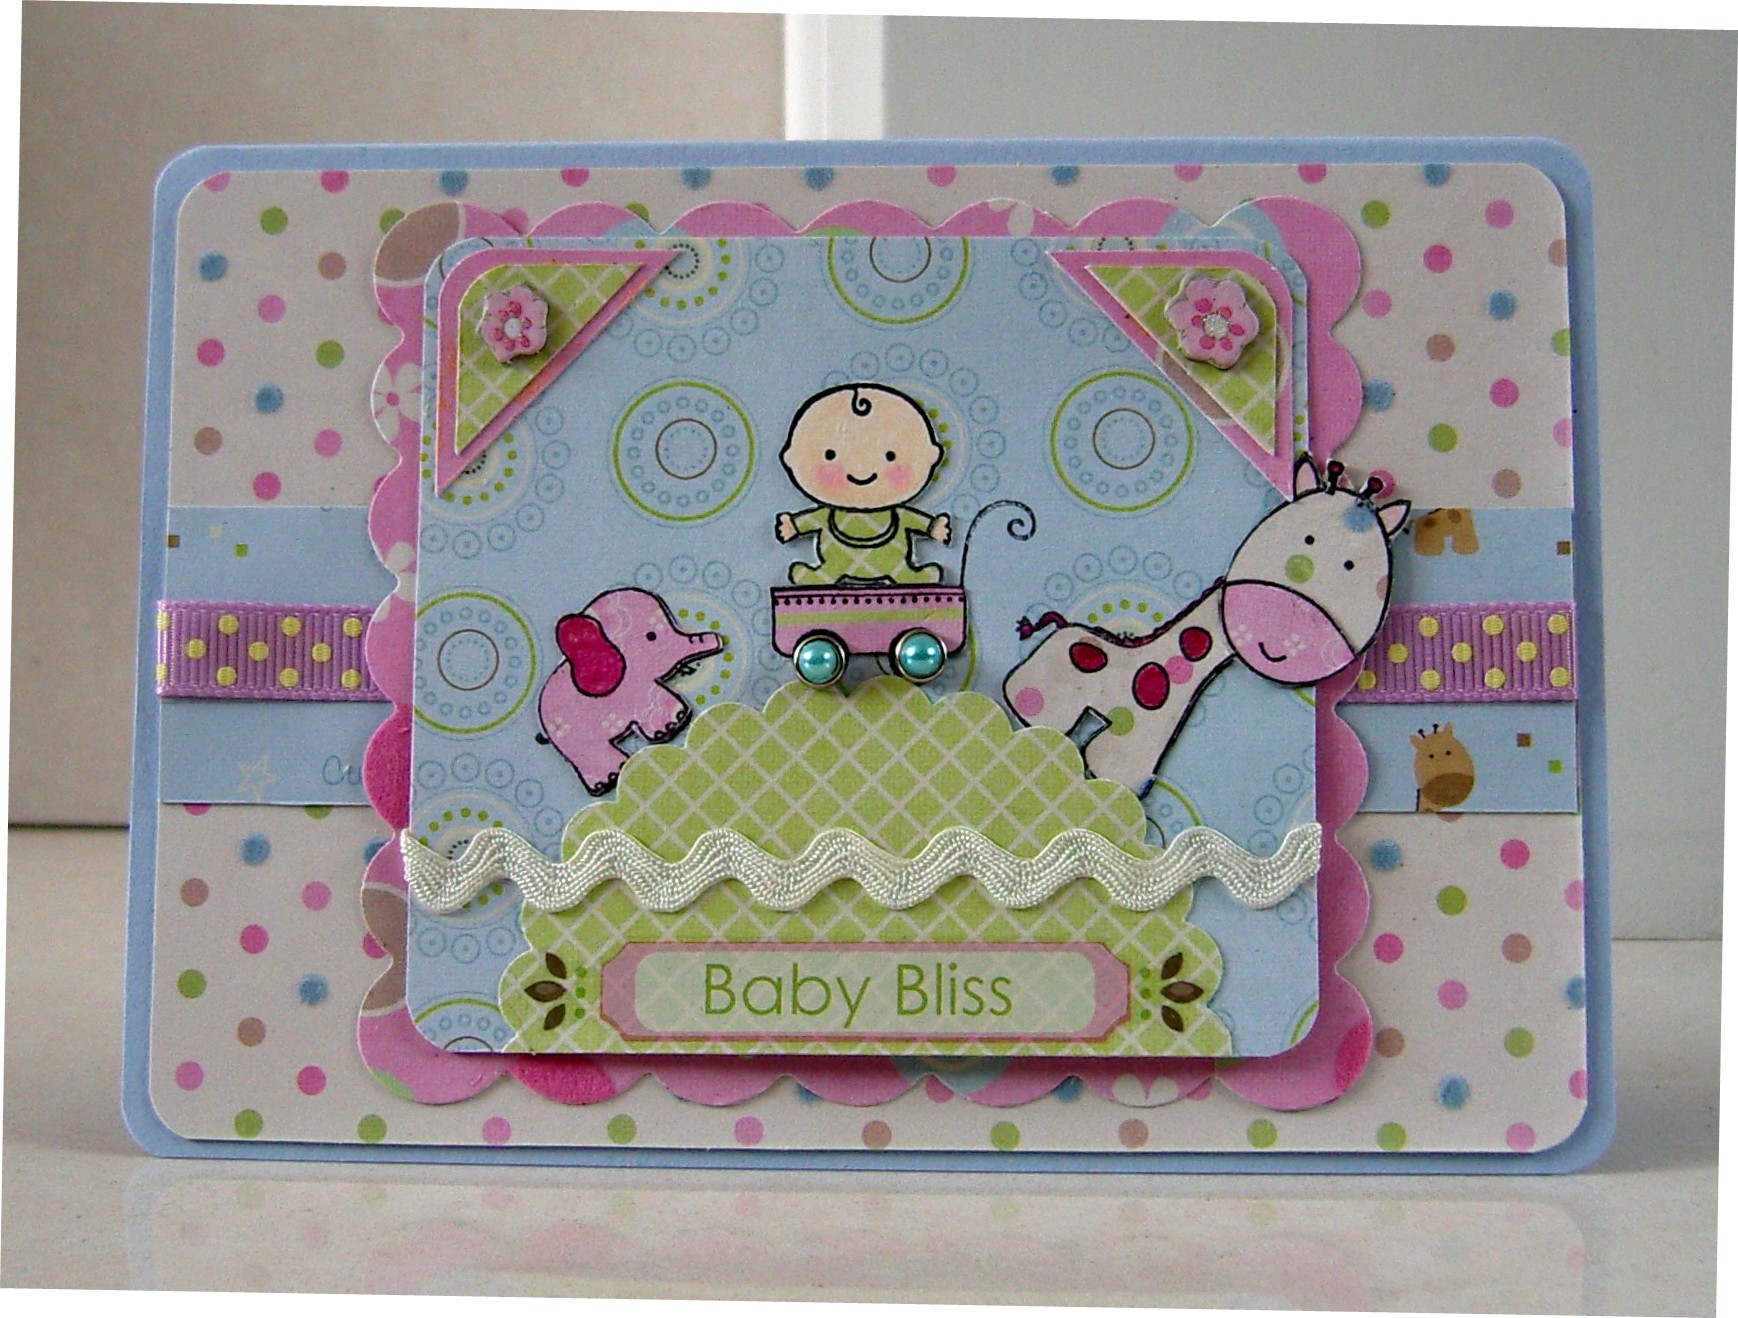
Click here for instructions and more pictures |
|
|
 |
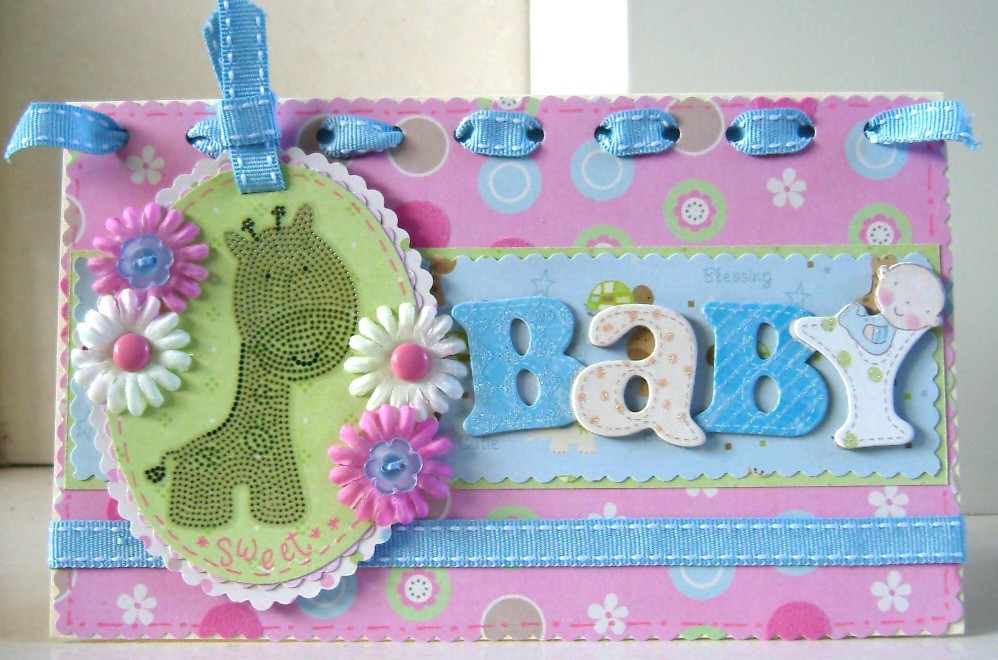
Click here for instructions and more pictures |
|
|
|
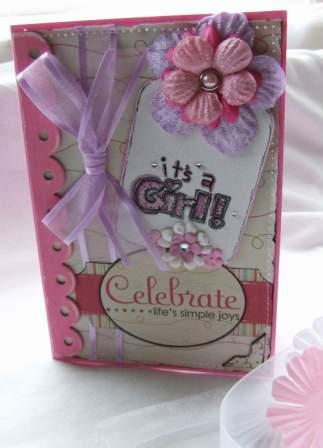 |
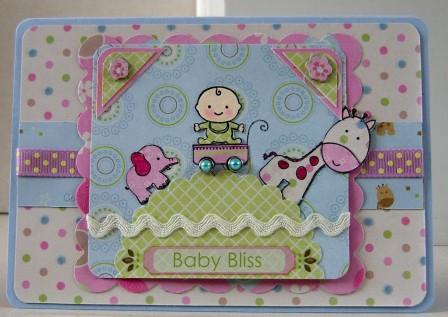
Products used:
Imaginisce
All Kinds of Happy Collection
Instructions
-
Cut a
piece of paper the size of a folded card.
-
- Ink around
the edges in black.
-
- Cut a
piece of ribbon long enough to go around the card and tie in a bow.
-
- Attach to
the back of the paper using DST.
-
- Sew paper
directly onto the card, sewing through the ribbon too.
-
- For the
card sentiments I used a
Whipper Snapper Design stamp. Colour in using markers and
highlight in places with a white pen.
-
- Attach all
embellishments to the top of the cards: the pink scallop is a
painted chipboard (Chippies) which is then lightly sanded and
stuck using double-sided tape.
Once everything
is in place go around the edges of the paper and lift and tear in places
to give an aged look.
Created and Designed by DT member
Carline Scattergood |
|
|
|
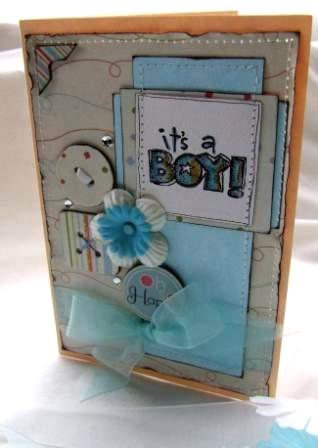 |
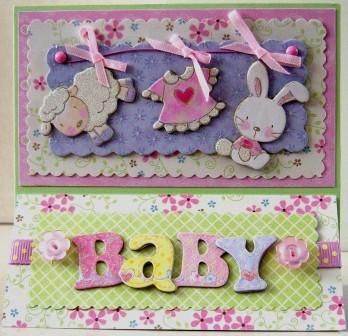
Products used:
Imaginisce
All Kinds of Happy Collection
Quick Guide
-
- Cut
a piece of paper the size of a folded card.
-
- Ink around
the edges in black.
-
- Cut a
piece of ribbon long enough to go around the card and tie in a bow.
-
- Attach to
the back of the paper using double-sided tape.
-
- Sew paper
directly onto the card, sewing through the ribbon too.
-
- For the
card sentiments I used a
Whipper Snapper Design stamp Colour in using markers and
highlight in places with a white pen.
-
- Attach all
embellishments to the top of the cards: I decorated some chipboard
buttons using scraps of the Imaginisce paper. Sanded the edges and
then inked. I threaded cotton through one and ribbon through
another and attached to the card.
Once everything
is in place go around the edges of the paper and lift and tear in places
to give an aged look.
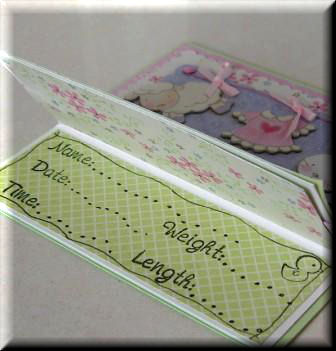
|
|
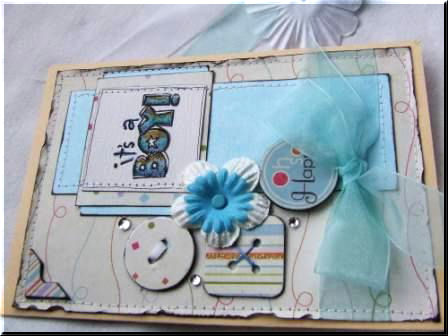
Created and
Designed by DT member Carline Scattergood |
|
|
|
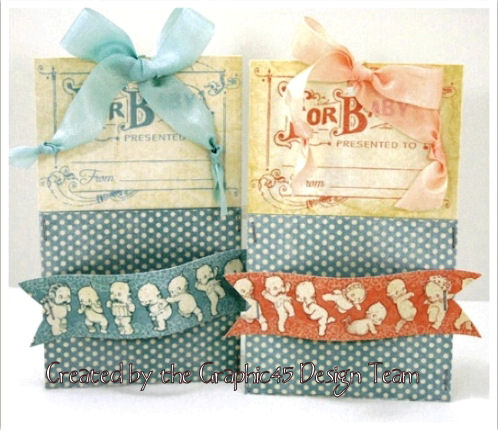
The following selection of projects, have all been created by the
amazing Graphic 45 design team. You can visit Graphic 45
HERE.
Click here to purchase the Little Darlings range of products.
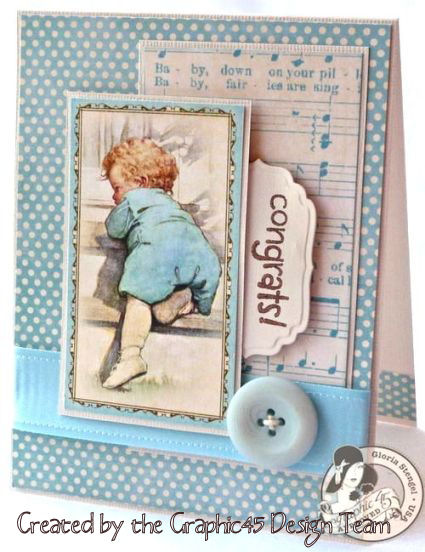
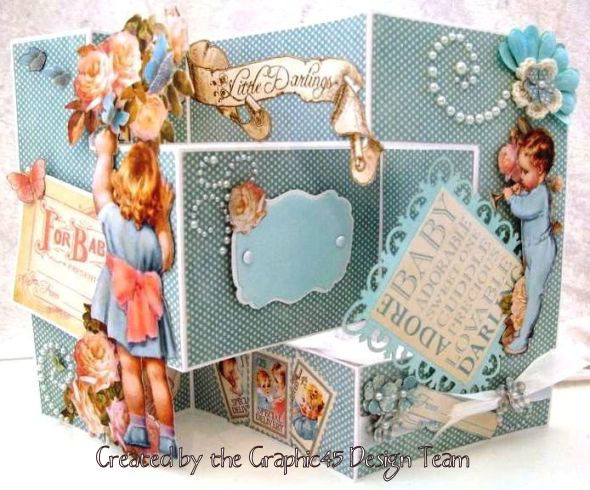
See how to
create this type of card in our class
HERE.
|
|
|
|
|
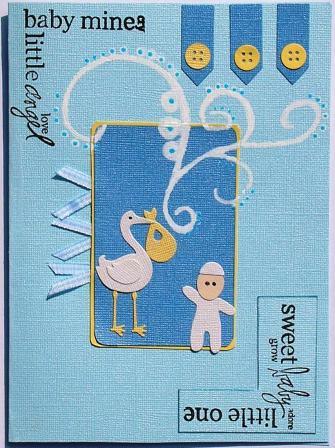
Large card using QuicKutz dies,
Bazzill Bling cardstock, Heidi Swapp Clear Stamps and doodling.
Card size: A5
Note* The Bazzill Bling
cardstock is thick enough to use as a card.
- Score and fold the Bazzill
cardstock into the required size.
- Stamp one corner from the Heidi
Swapp Baby Corner set.
- Stamp the other corner on a
separate piece of the same card. Cut around the stamped image
and ink the edges with blue ink. TIP*
To ink the edges simply run the paper along the pad.
- Glue the corner onto the card.
- Mat a piece of darker blue
Bazzill Bling onto a piece a yellow Bazzill Bling cardstock.
Stick onto card adding blue gingham ribbon along on edge .
- Doodle as shown with a white
pen or paint dabber. You can either do this freehand with a pen
or using one of our doodling templates (which I did here).
Dot each of the circles with a blue Sakura Gel Pen giving a
glossy raised appearance
- Cut QuicKutz Stork shape. Using
light brown chalk , chalk the beak, the edges of the wing and
the belly and tail of the bird. Cut the Baby shapes and stick
both onto card.
- Cut three QuicKutz Button tabs
contrasting the buttons and the tabs; glue onto card.
|
|
|
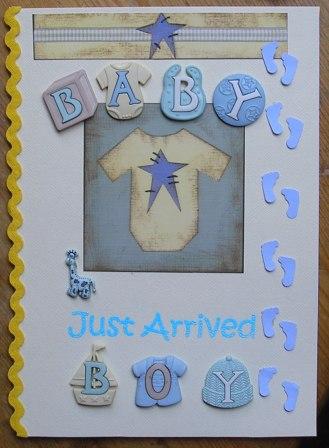
Lovely card to celebrate the birth
of a new baby boy.
Card size: A5
- Wrap a card in Buttercream
Bazzill paper (got lost somehow in the picture!)
- Stamp a suitable sentiment to
the card and emboss using Hampton Art Sky Blue Embossing powder.
- Stick a length of Doodlebug
Bumblebee Rick Rack on the spine of the card, ensuring that the
edge is hidden behind the ribbon.
- Stick on two All My Memories
Herbanella "Baby Boy" Page Accents to the front of the card.
- Punch out footprints in blue
cardstock and stick on as though the baby is walking up the
card.
- Stick on Dress It Up buttons
using large Glue Dots for extra strength.
|
|
|
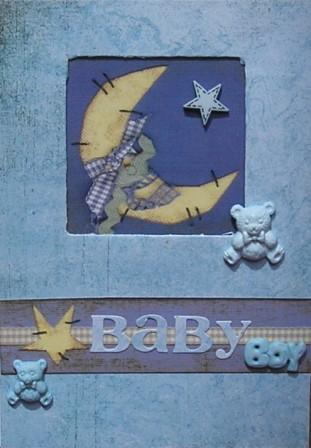 |
Another easy card with a "Lullaby"
feel.
Card size: A6
- Wrap the front of a square
aperture card in Basic Grey "Oh Baby Boy - Larkspur". Cut
through the middle from the back and wrap it neatly around the
edges of the aperture.
- Stick a Herbanella "Baby Boy"
Page Accent behind the aperture and stick down the fold.
- Stick a border from the
Herbanella Baby Boy Page Accents onto the bottom half of
the card and decorate with Basic Grey Oh Baby Boy Letters and
Dress It Up buttons.
- Glue a Dress It Up star and
blue teddy button on the card to finish.
|
|
|
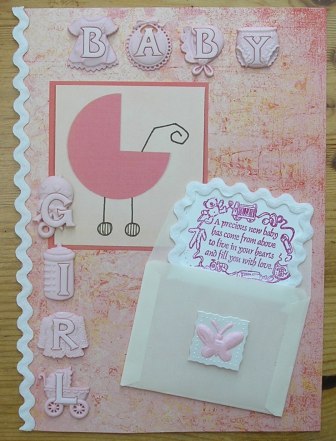
Baby Girl card showing that
Page Title Buttons are not just suitable for scrapbook layouts.
Card size: A5
- Wrap a card in Basic Grey Oh
Baby Girl Rosebud Paper.
- Stick a length of Doodlebug
White Rick Rack on the spine of the card, ensuring that the
edge is hidden behind the ribbon.
- Stamp a suitable sentiment onto
a piece of white cardstock. Frame the stamped image in White
Doodlebug Rick Rack ribbon. Make up a cream vellum envelope and
tuck the message inside as shown.
- Stick a All My Memories Herbanella "Precious
Baby Girl" Page Accents to the card. Attach the envelope as
shown, so that it overlaps the page accent.
- Stick on Dress It Up "Baby
Girl" Page Title buttons
using large Glue Dots for extra strength.
|
|