|
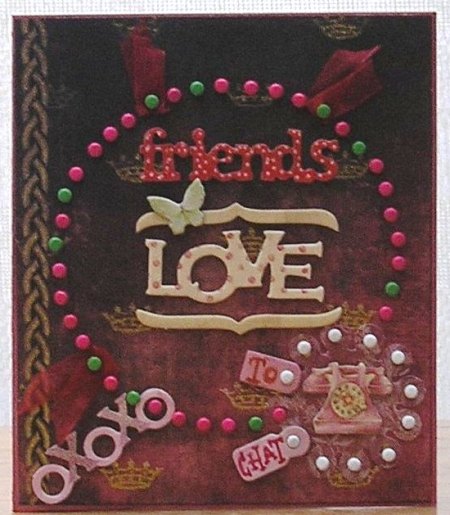 |
Friends Circle Card

Created and designed by Karen |
|
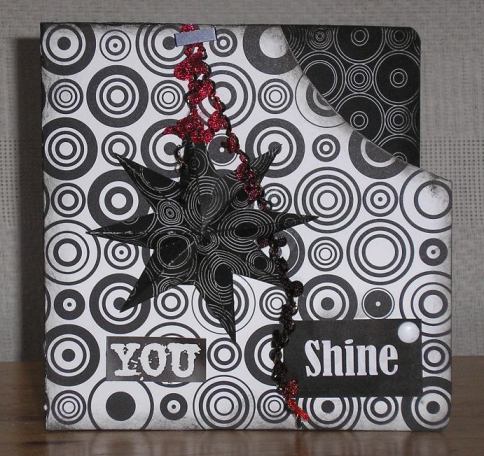
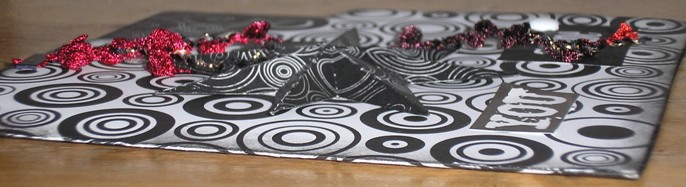
You Shine
Card
This card is also great for masculine
recipients.
|
QUICK
GUIDE
-
Cut
a sheet of Imaginisce Black Tie
RAINDROP REFLECTIONS into the desired card
shape. My card here measures 6" x 6" when folded.
-
On
the front of the card cut a semi circle from the
top-right corner as shown. Trim the back top
right-hand corner with a corner rounder for a
rounded edge.
-
Ink
all edges with
black ink.
-
Cut
a 3-Dimensional star on
QuicKutz Silhouette from the reverse side of the
leftover Imaginisce paper and assemble. Add an
eyelet to the top and attach red/Gold/Black fibre
from the
Basic Grey Mellow Fibre pack. Stick on the star
and attach the fibre with a decorative staple.
-
Add
the title. I used the "You" sticker from
Daisy D's Attic
Heirlooms Sentiments
and printed
"Shine" from Microsoft Word.
Add a white Dovecraft Medium Brad to the "Shine"
title.
Designed and
created by Karen, Charmed Cards & Crafts. All rights
reserved. |
|
|
|
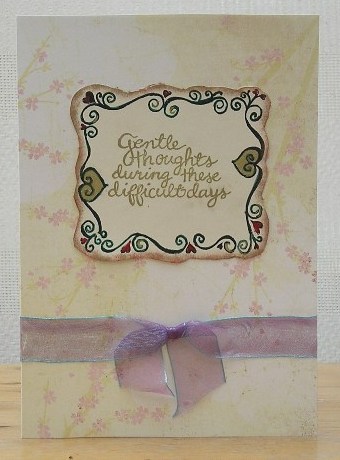 |
Sympathy Card
Card size: A5
Basic Grey Lilykate paper, stamped
sentiment and frame.
|
|
|
|
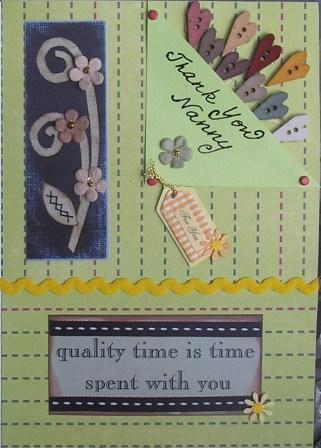
Thank You Nanny
The picture does not do
this card justice!
Card Size: A5
- Cover the front of the card in
Gin-X "Dotted Dip-Sticks" paper with the lines running
vertically. Cut a piece of the paper out and glue it to the
bottom half with the lines running horizontally.
- Glue a length of Bumblebee Rick
Rack along the join.
- Cut a triangle of Honeydew
Bazzill and attach a brad in each corner. Stamp or write
freehand a message on the fold - I wrote freehand using a Sakura
Black Gelly Roll pen. Glue to the card so that it looks like a
fold in the card but leave the top open.
- Stick suitable embellishments
to the card, including heart buttons that cascade from the fold
at the top of the card. I used AMM stickers, 3D Decorative
stickers, Dress-It-Up Heart buttons, plus Prima Got Flowers with
a dot of Gold Stickles Glitter glue in the centre.
|
|
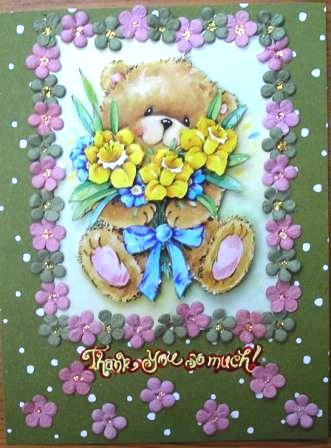 |
Beary Thank You
This gorgeous bear brings lots of
flowers to the recipient. The card is suitable for lots of different
occasions and the sentiment can be changed to suit.
- Cover the front of the card in
green dots cardstock.
- Stamp a sentiment on the card
bearing in mind that you need to place the centrepiece above it.
Sprinkle with embossing powder and emboss. When dry outline the
words with a Sakura Gelly Roll pen.
- Cut out a decoupage design and
layer it as you wish using silicon glue or foam pads. Place the
finished design on one square of the decoupage sheet and glue it
to the card.
- Alternate green and pink
Vintage Prima flowers all around the edge of the decoupage
square to form a flower frame. Glue a few flowers below the
stamped sentiment then dot Stickles Icicle Glitter glue in the
centre of each Prima Flower.
|
|
|
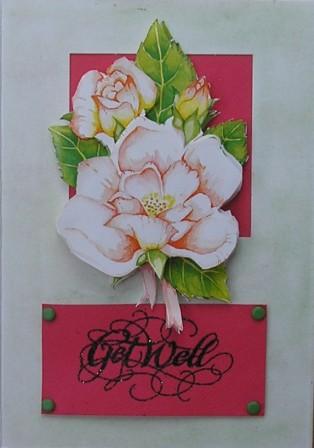 |
Get Well Card
Decoupage Design. The backgrounds
emulates the colours from the decoupage design.
|
|
|
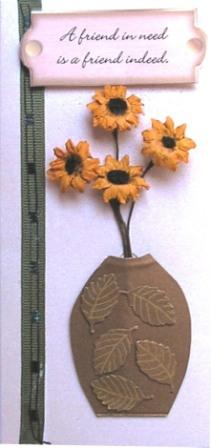 |
A very economical card to make
for a friend.
- On a plain white tall thin card
a length of HOTP ribbon was attached from top to bottom - I used
disappearing glue so as not to have any visible traces through
the ribbon.
- Next I drew a vase on a piece
of gold scrap card and after cutting it out indented a rim on
the top. Four large sunflowers were positioned onto the card and
the vase stuck on top. Next I used a leaf punch and punched out
the shapes using the same scrap card as I used for the vase. I
drew the veins on the leaves with a gold metallic pen and stuck
them onto the vase.
- Finally a chalked tag was
embellished with a suitable sentiment and stuck onto the top of
the card.
TIP: When you attach a border ensure that any
embellishment is positioned centrally in the remaining body, and not
centrally on the card.
|
|

