|


|
|
|
|
|

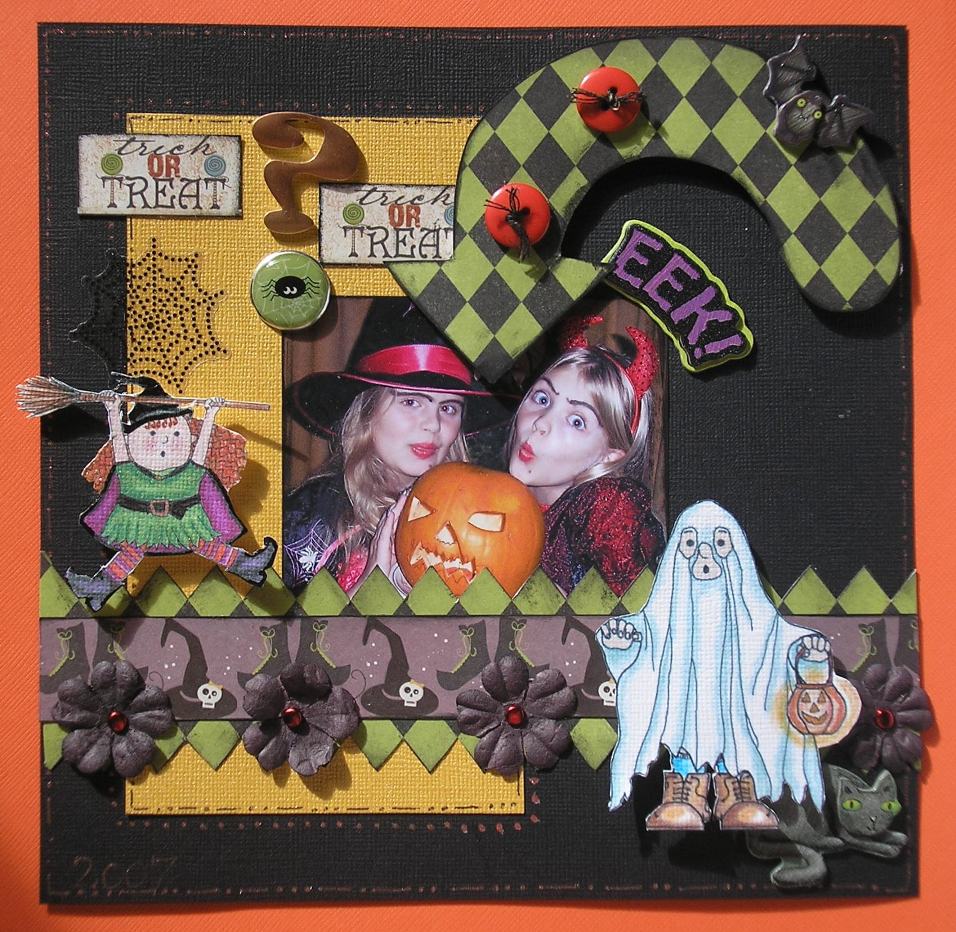
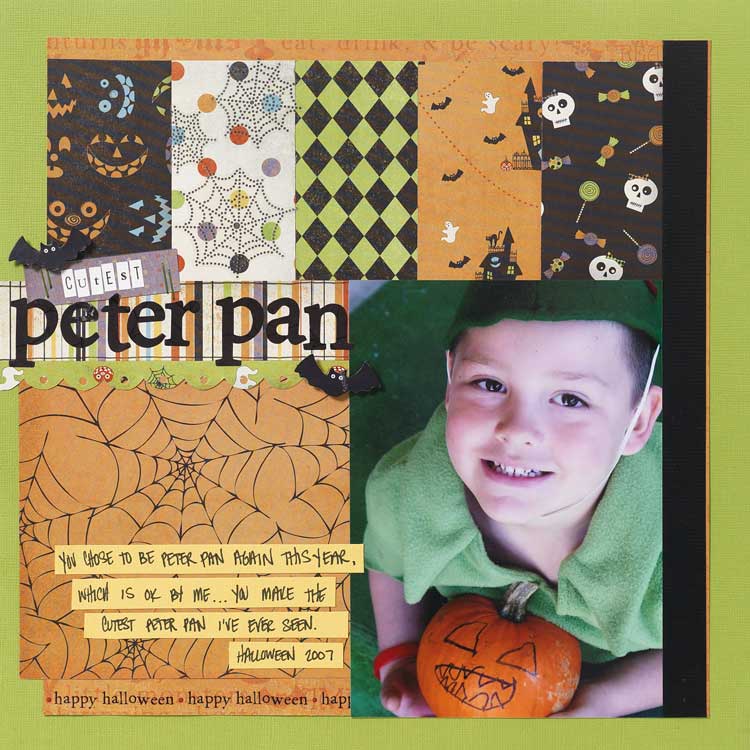
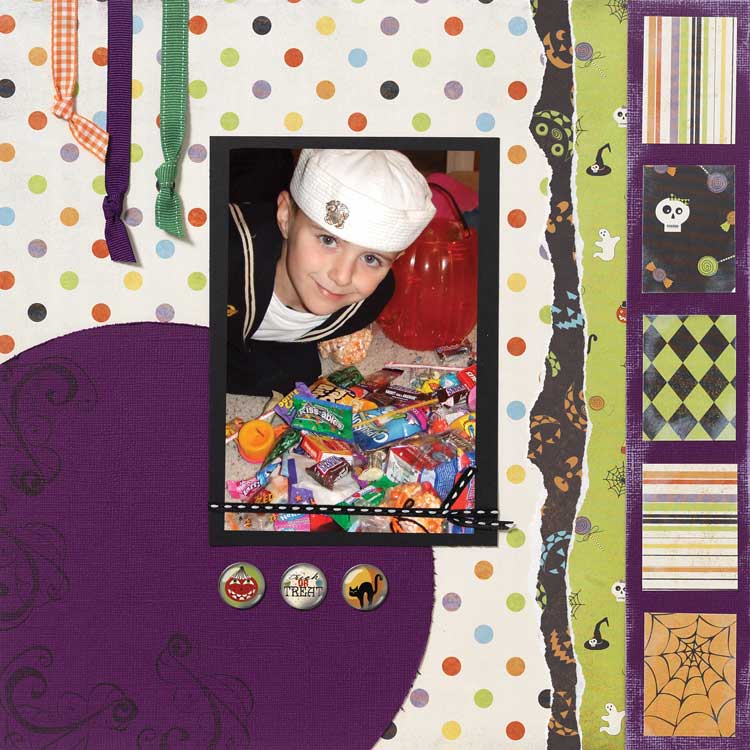
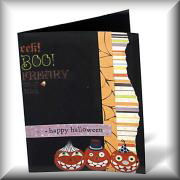
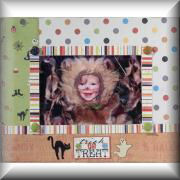
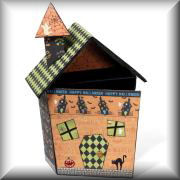
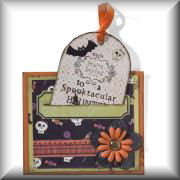
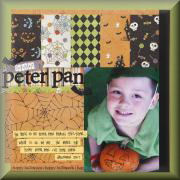
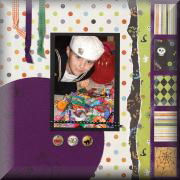
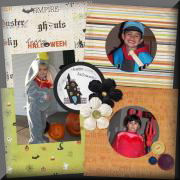
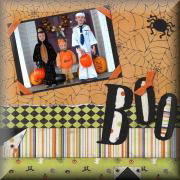
Imaginisce Projects using the Hallowhimsy range of products.
Click on images to see details.
 |
 |
 |
 |
 |
 |
 |
 |
 |
 |
 |
|
By Karen Mortensen
|
||||||||||||||||
|
Click to enlarge image
|
|
|||||||||||||||
|
|
||||||||||||||||
|
|
||||||||||||||||
|
Products used:
Instructions
|
||||||||||||||||
|
Click to enlarge image
|
Products Used from the
|
|||||||||||||||
|
|
||||||||||||||||
|
Click to enlarge image
|
Products Used from the
|
||||||||||||||
|
|
|||||||||||||||
|
Click to enlarge image
|
Products Used from the
|
|||||||||||||||
|
|
||||||||||||||||
|
Click to enlarge image
|
Products
Used from the
|
||||||||||||||||
|
|
|||||||||||||||||
|
Click to enlarge image
|
Products Used from the
|
|||||||||||||||||
|
|
||||||||||||||||||
|
Click to enlarge image
|
|
|
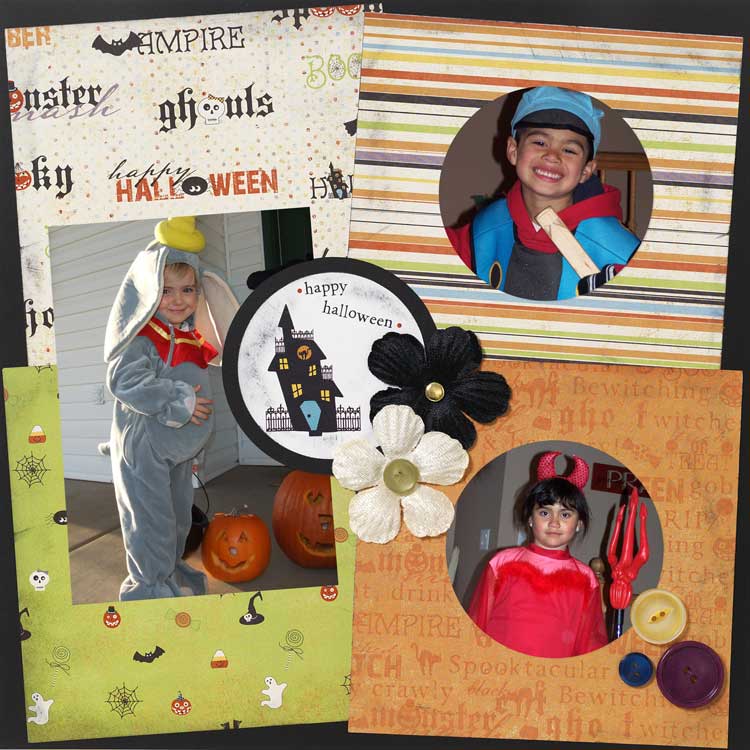
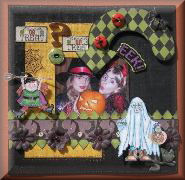
Instructions 1. Take a 7” x 7” black square chipboard box and cut slits in two corners of the box. From the cut slits, cut across the bottom of each side of the box to the opposite uncut corner. On the back of the box make a mark one inch from the first slit corner. Draw a slanted line up to the uncut corner. Repeat on opposite side. Cut the back of the box on the slanted lines to make a house shape. After cutting away the back re-attach the side pieces so that you have a house that is wider at the top of the box than at the bottom of the box. Cut a piece of black chipboard from the box lid to create the front of the slanted box. Measure your front and make it fit. Attach with tape to allow the front to open. 2. Cut a triangle from a piece of black foam core and attach it to the top of the larger end of the box. Overlap the triangle in back and adhere to the box. To create a roof for the haunted house take a 4 ½” x 12” piece of foam core and score and fold in half horizontally. Adhere the roof piece to the top of the triangle to form the roof of the house. Use a hot glue gun or other strong adhesive to attach the roof piece. 3. Measure the sides of the house and attach rectangle pieces of Velcome Inn paper (Black side) to each side of the slanted box. Attach a piece of Eeks and Shrieks paper to the front of the house. Add a triangle of Eat, Drink and Be Scary paper (orange spider web side) to the inside of the roof triangle. Put a piece of green check Lollipop Lizzy paper on the top side of the roof. 4. To create the chimney, cut a piece of chipboard 2 ½” x 6 inches. Cover the chipboard with the black Velcome Inn paper. Score this piece of chipboard at every 1 ½” vertically. Fold at the score lines. Overlap and glue the first and last side together. You should have a three-sided chimney. To create the triangle on top of the chimney, cut four triangles that have 2 ½” sides from chipboard. Cover the chipboard triangles with orange spider web paper. Adhere the triangles together with a glue gun. Place one triangle for the bottom. Adhere to the top of the chimney. Cut the chimney bottom slanted to fit the slant of the roof. Adhere to the roof with a hot glue gun. 5. Cut out a lopsided door and windows from paper scraps. Add black criss-cross strips on the windows to create the window panes. Add a fence strip, a Haunted house strip and the words Happy Halloween cut from the Eat, Drink and Be Scary Striped paper to the front of the house. 6. Decorate the house with rub-ons of bats, ghosts, pumpkins etc. from the Bat Scratch Rub-ons. Add an orange Eye of Newt Brad to make a door knob. 7. You can add a 6” x 6” mini-album to put inside the house. The whole front opens to see the album.
|
|
|
Click to enlarge image
|
Products used, largely from the
|
|
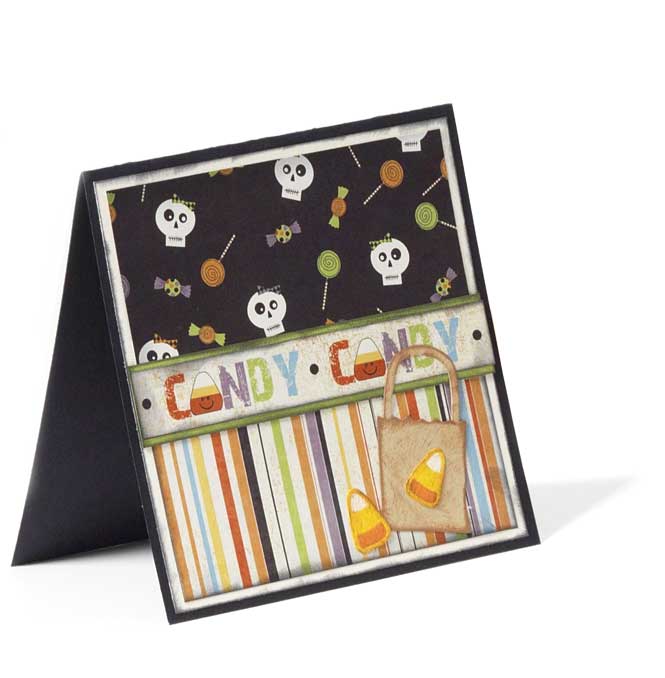
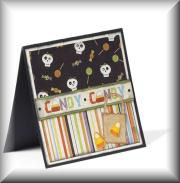
Instructions 1. Cut a 4 ½” x 4 ½” piece of Lollipop Lizzy paper (black side). Adhere to a 5” x 5” piece of Wicked Whimsy paper (green side). Take a 1” x 4” green sticker from the Toe Tags sticker sheet and attach it to the layered squares near the top. Cut a slit in the centre lengthwise of the green sticker and cut through all layers. Attach the layered squares of paper to a 5 ½” x 5 ½” piece of orange Bazzill cardstock. 2. To make tag, adhere a 4” x 5” piece of Wicked Whimsy paper to a 4” x 5” piece of chipboard. Put the white dot side up. Cut out a rounded end tag from a die cut machine. Add a three inch piece of orange ribbon in the hole of the tag 3. Stamp “You’re Invited” to the top of the die cut tag. Add rub-on words for the invitation date and time. Add Bat Scratch rub-ons to decorate the tag 4. On front of square, add an orange fence strip cut from the Eat, drink and be Scary paper. Layer the blossoms and attach to the front of the card with a large brass brad.
|
|
|
Click to enlarge image
|
Products used, largely from the |
|
|
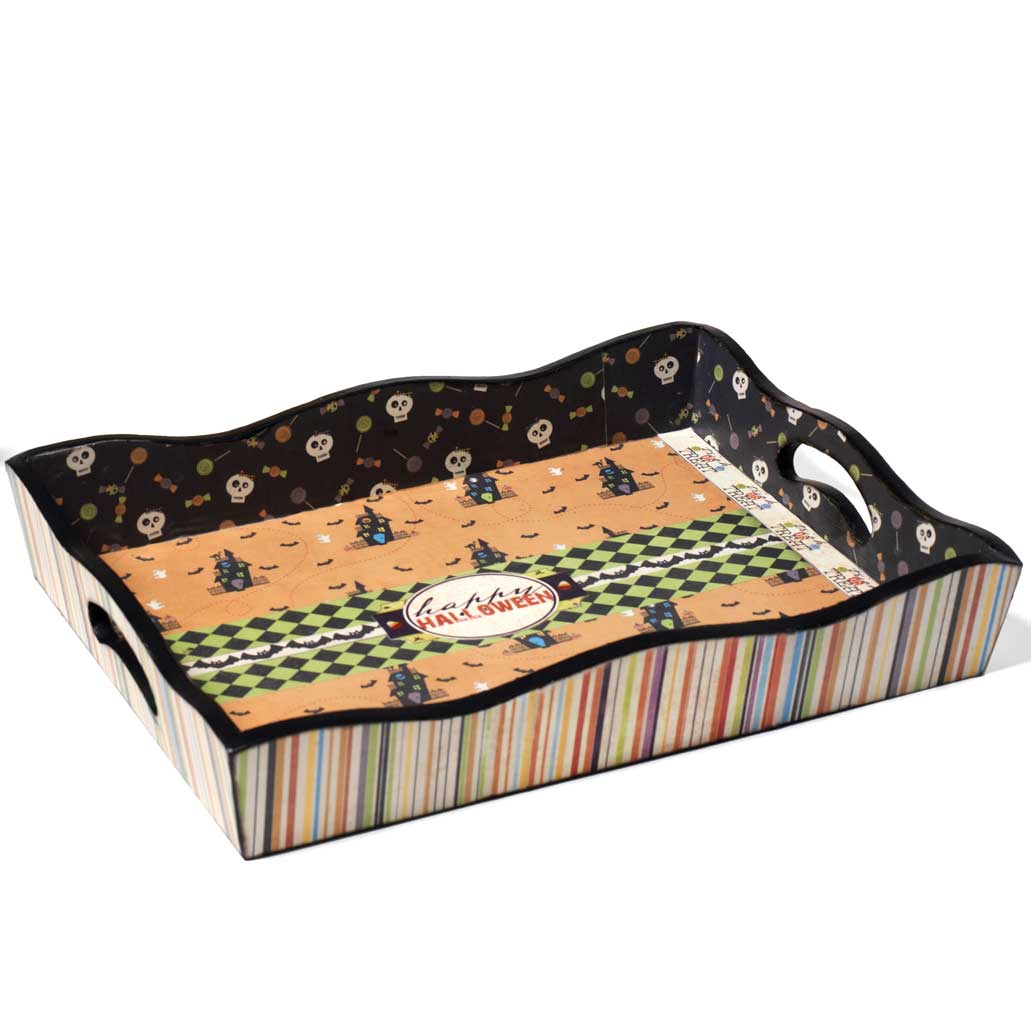
Instructions 1. Glue Pixie Sticks striped paper to the outside of the wooden tray. Cut to fit and sand off excess paper. Glue Lollipop Lizzy paper to inside edges of the wooden tray and cut to fit. Sand off excess paper 2. Measure inside of wooden tray and cut Velcome Inn paper to fit. If tray is longer than 12 inches, place strips at each end. Cut the word strip “Trick or Treat” from the Eat, Drink, and Be Scary paper 3. Cut a 3” x 12” strip of Lollipop Lizzy paper (green side) Place down the centre of the tray. Place the “Happy Halloween” sticker tag over the centre 4. Cover inside and outside of tray with two light coats of Mod Podge or other sealant.
|
||
|
Click to enlarge image
|
Products Used from the
|
||||||||||||
|
|
|||||||||||||
|
Click to enlarge image
|
Products Used from the
|
|
|
|