|
|
|
|
|

Christmas Card Ideas
Acetate Window Gift Card Class
By Karen Mortensen
A beautiful card, perfect to hold a voucher or monetary gift.
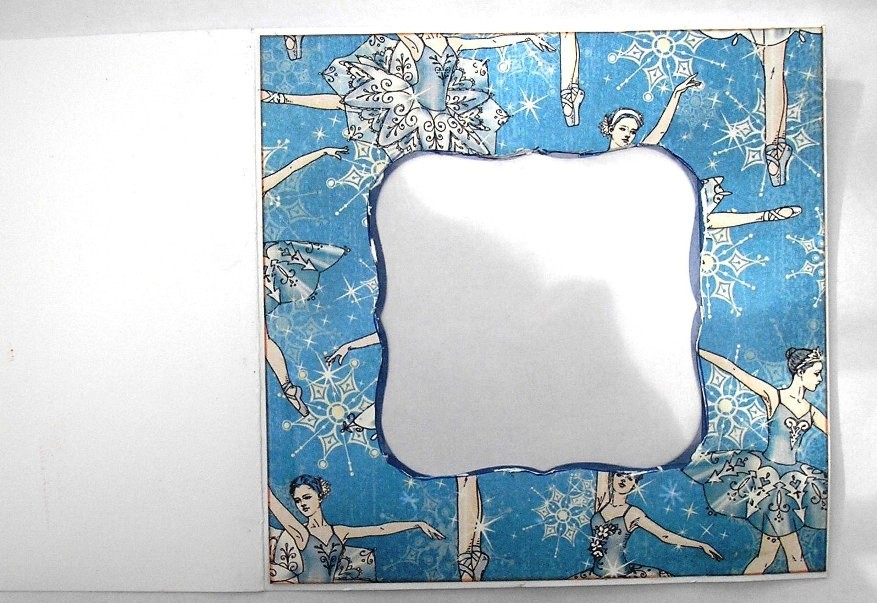
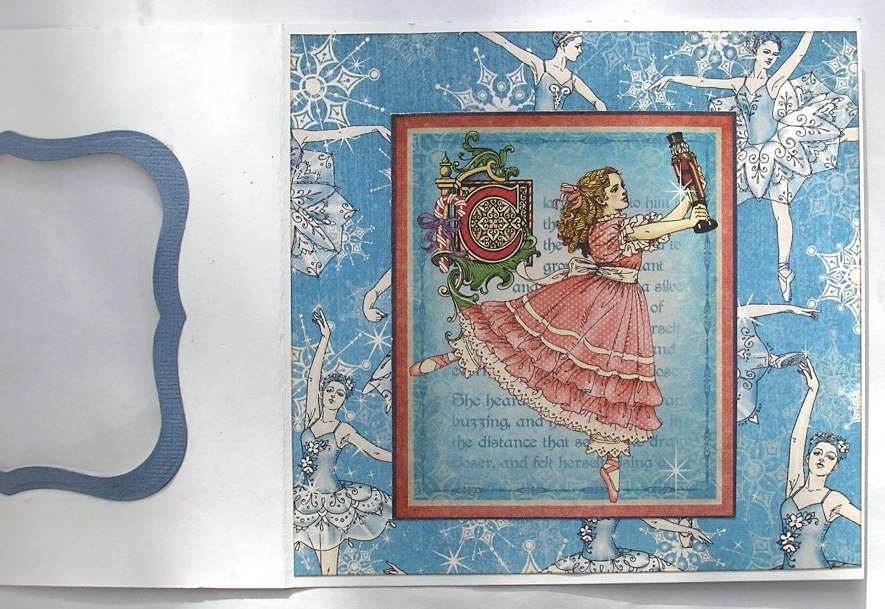
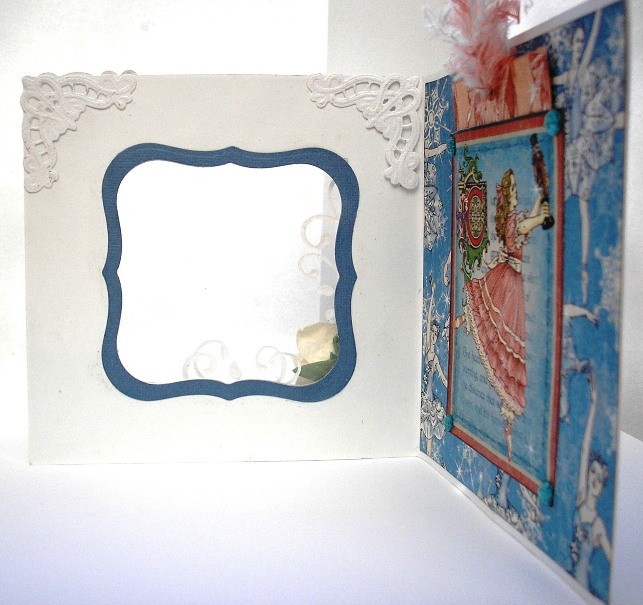
| Start by making a plain white card. I folded a piece of cardstock into size 6" x 6". Cover the front of the card with a piece of Graphic 45 Nutcracker Sweet paper "Snowflake Waltz", leaving a white margin all the way around, so make the piece slightly smaller than 6x6. I inked the edges off the paper slightly with distress ink before sticking it on. Make two frames, one white and one blue. An easy way of doing is to secure two Spellbinder dies in two different sizes to a piece of cardstock and run it through your machine. Make a window in the front of your card. To do this use the smaller of the two dies you used to create the frame, and draw around it going slightly outside the edge. Cut it out using a craft knife. Cut out a piece of acetate to fit the window. I just cut a square piece using the frame as a guide, ensuring it would be able to sit inside. Attach the acetate to the window on the inside of the card. Attach the blue frame to sit on the acetate inside the card:
This is now the outside of the card, with the raw edge showing. You can see the blue frame through the window, which we shall cover with our white frame on the outside:
Attach your white frame to the front of the card:
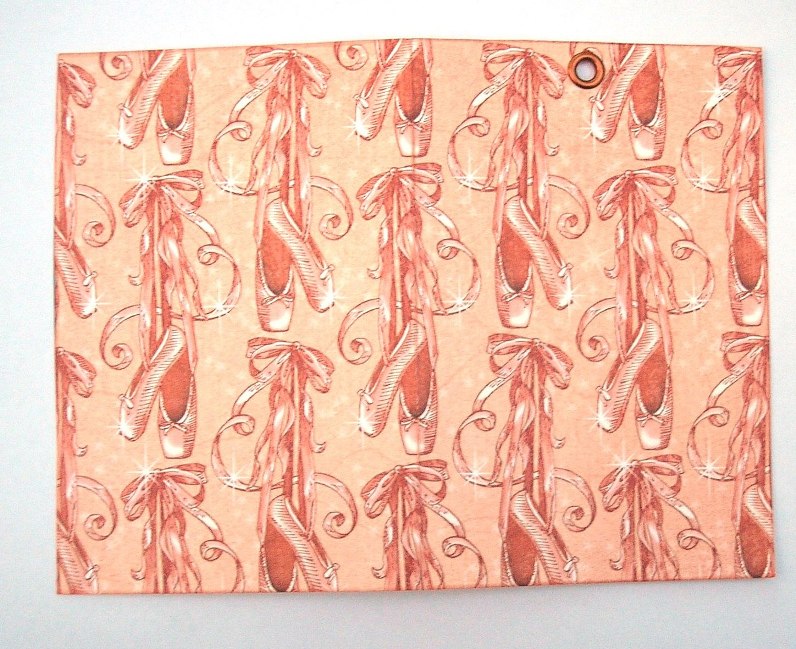
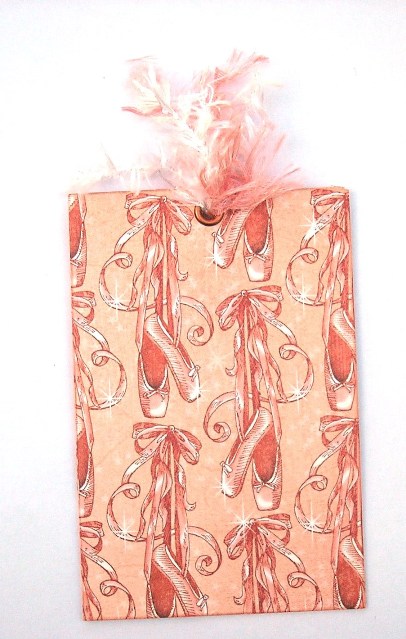
Put the card aside and make an pocket to hold your gift. Again I used paper from Graphic 45 Nutcracker Sweet collection, this time the "Beautiful Ballet" paper. Cut a piece of the paper in size 6" x 4.5". Ink the edges, again I used distress ink. Score and fold on the longest side (making it 3" x 4.5"). You can vary the size to suit your need, I am going by the larger pocket I am making that will house this gift pocket as you will see later. If you want a larger size just adjust it all accordingly. You have six inches to play with here so can make it as big as you like. In the middle of one half of the folded sides, insert an eyelet. I used a crop-a-dile:
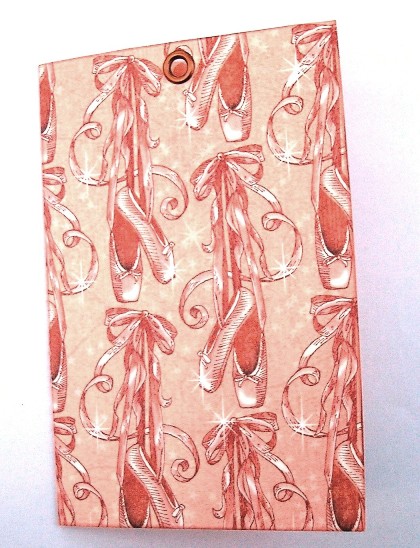
Put double-sided tape on the inside of this pocket as shown below. I have used a thin strip on the side and a broader strip at the bottom:
Fold it to stick down:
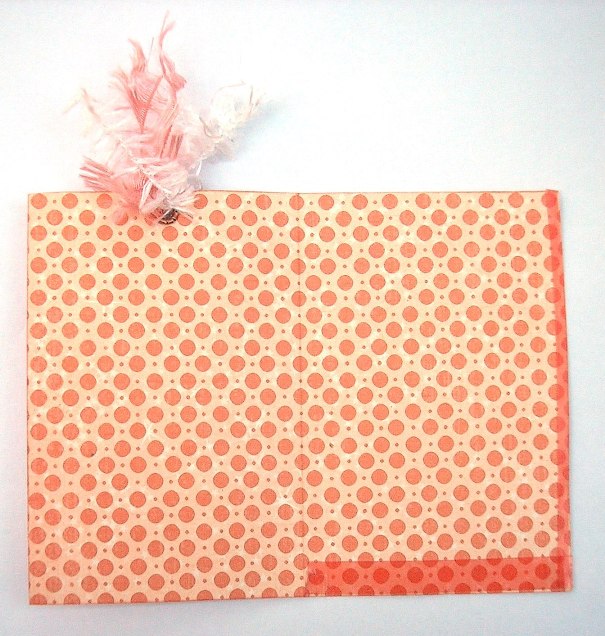
Attach fibres to the top through the eyelet:
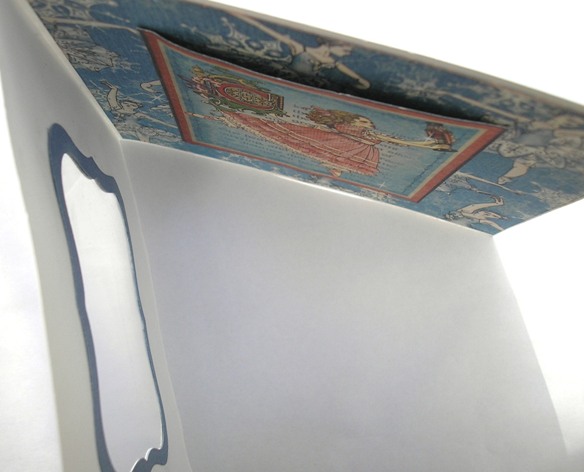
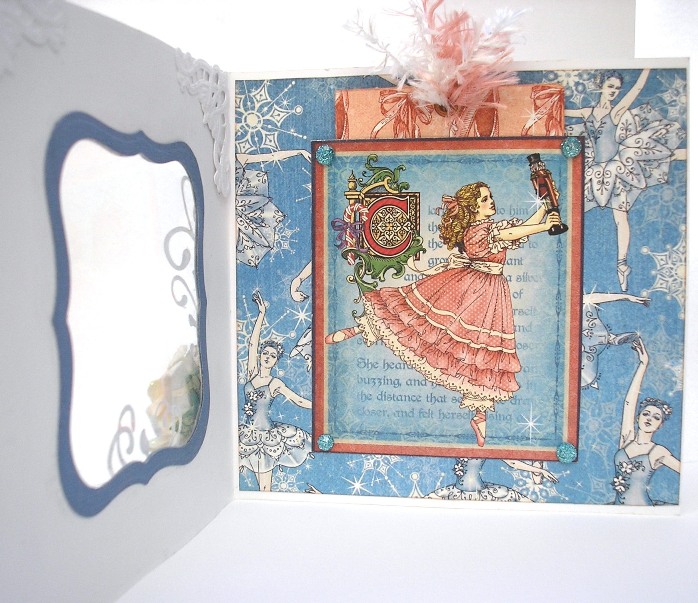
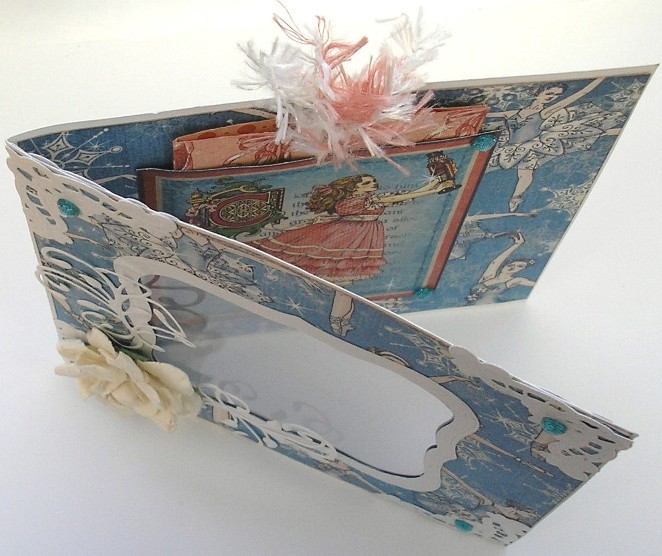
Back to the card. Cover the inside of the card in the same paper as the front. To make the larger pocket to hold the gift pocket you just made, cut out the appropriate segment on the Graphic 45 Nutcracker Sweet Holiday Magic Paper. Ink the edges, I used distress inks. NOTE: I chose this segment before making my gift pocket and did the sizes according to that, so if you choose to make yours bigger or smaller then create this larger pocket first then the gift pocket to sit inside. Check where you want the image to sit by looking at it from the outside through your acetate window. Attach it to the inside of the card, making sure only the very edges are stuck down. If you stick it down too far in your gift pocket wont fit in. Make sure it is not stuck too flat onto the card but can form a pocket:
You can see the pocket here:
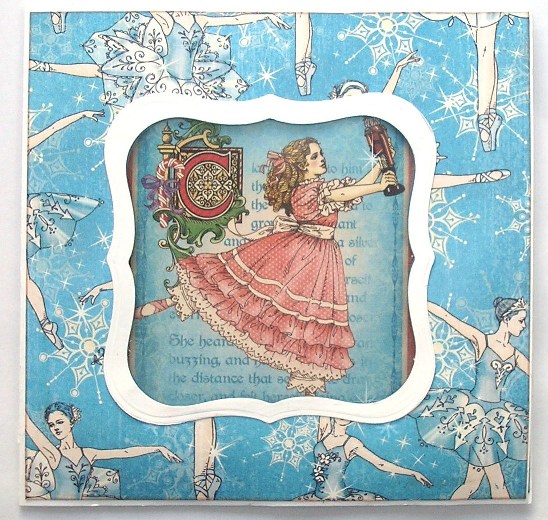
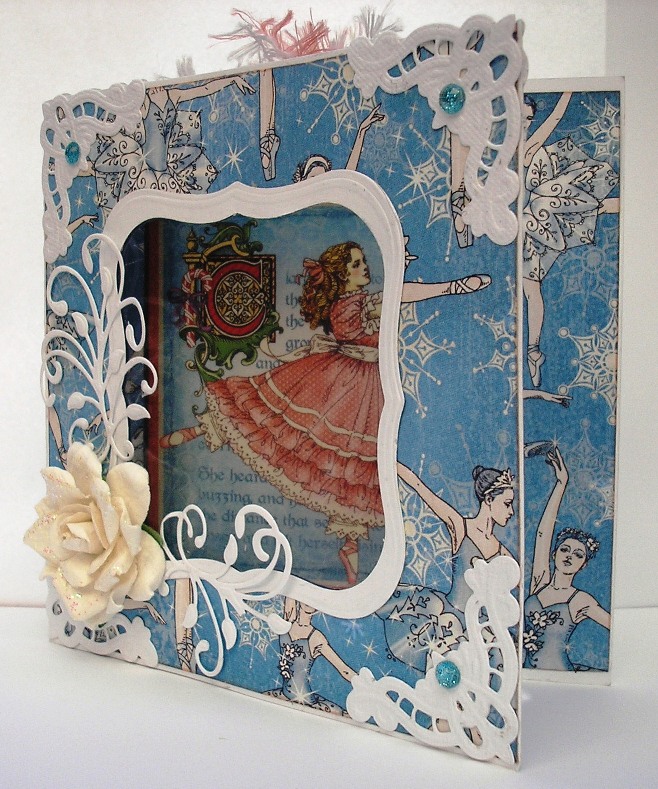
This is now your card looking at it from the outside:
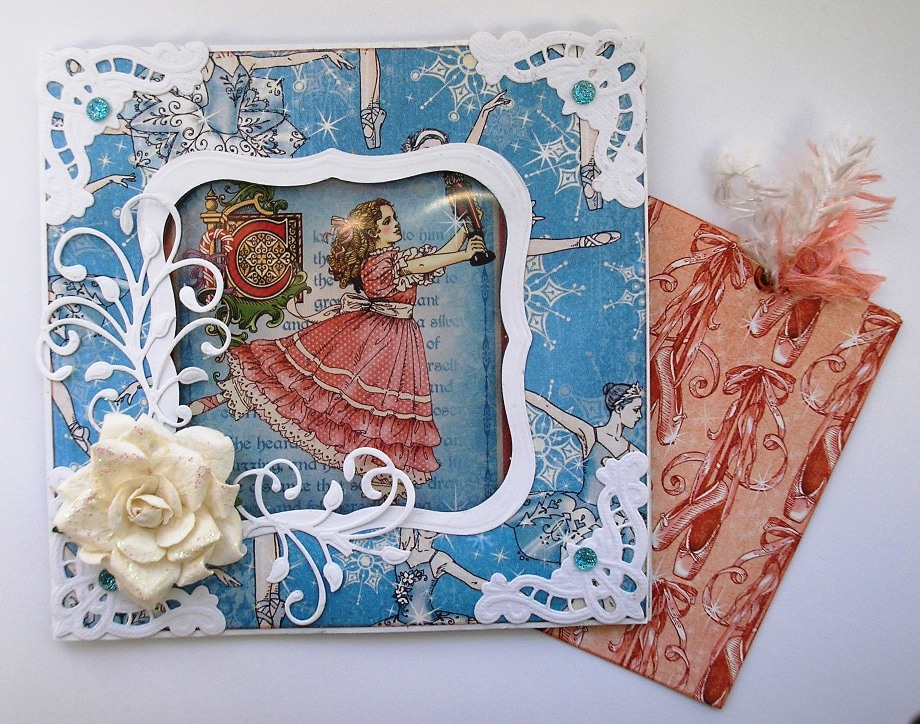
Decorate your card: On the front I used Marianne Design Vintage Corner Die Spellbinders D-Lites Sprigs Die
On the inside I just added two corners and a few gems. You can see the beautiful swirls and flower on the front through the window:
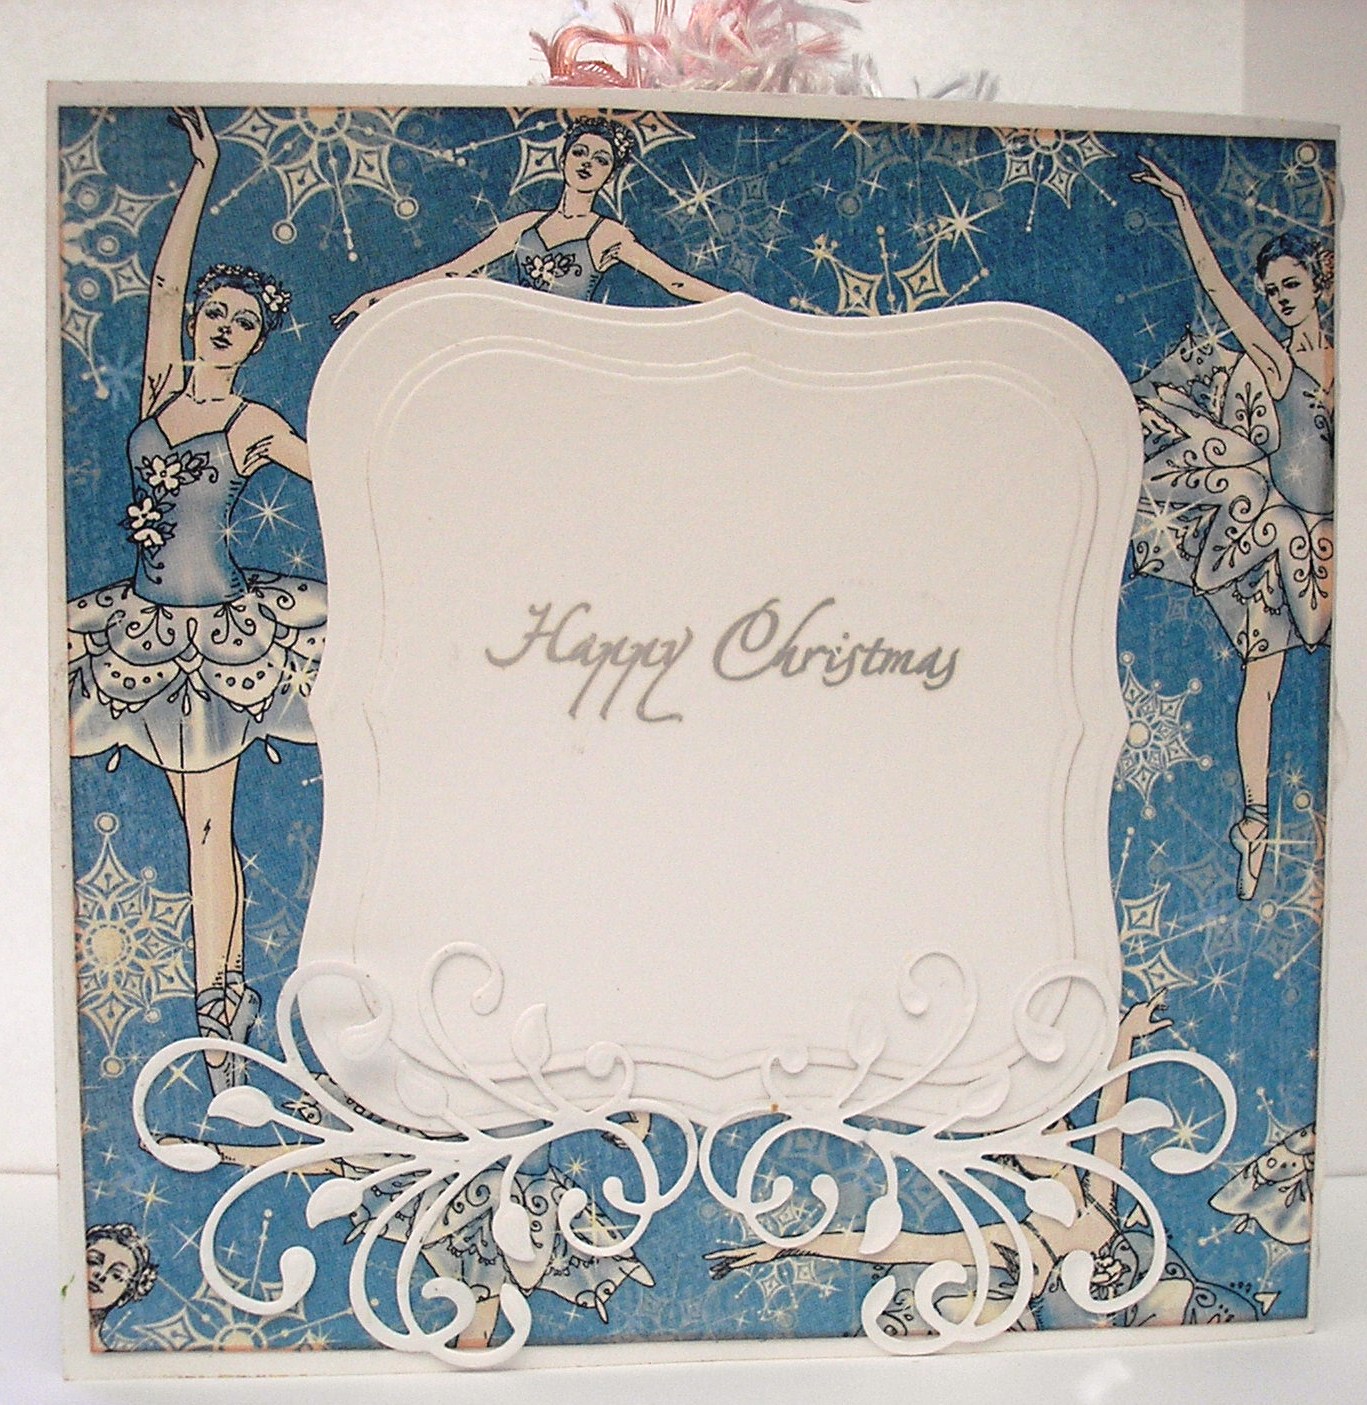
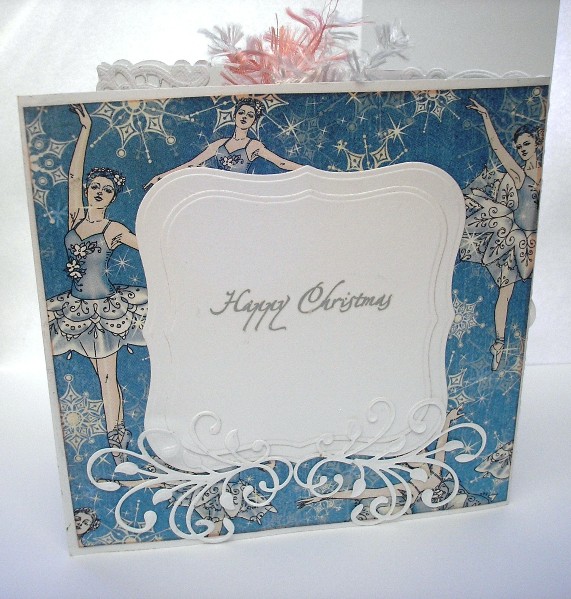
Decorate the back of your card. This is where I am putting my greeting. I used the two Spellbinder dies I used to make the frames, and layered one on top of the other. The leafy swirl below is the same as on the front:
Your card is finished.
We hope you enjoyed the class. Click here for more ideas and classes
|
All projects copyright ® Charmed Cards & Crafts. All rights reserved.