|
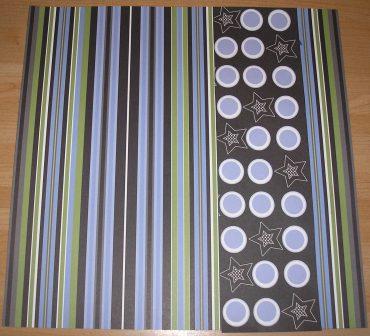
Step 1
We are using the
""Star Stripes" cardstock as our base paper.
Cut a 3.5" wide strip
of the Seeing Star "Super Star" paper and stick vertically onto
the base paper.
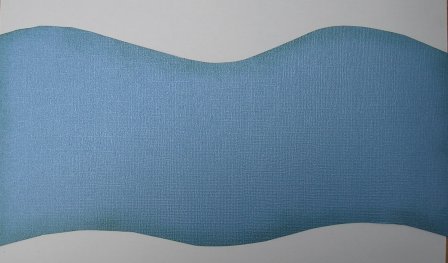
Step 2
Draw an undulating
shape across a sheet of Bazzill Bling "Prince
Charming" cardstock
approx 5" at it's tallest peak. Ink the edges with a
green ink - I used Tim Holtz Distress Ink "Shabby
Shutters" but you can use any green ink.
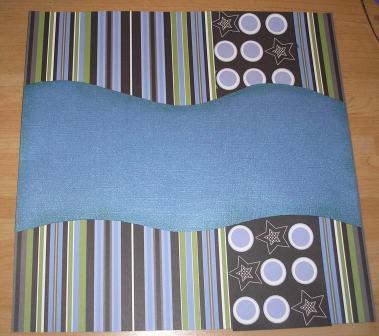
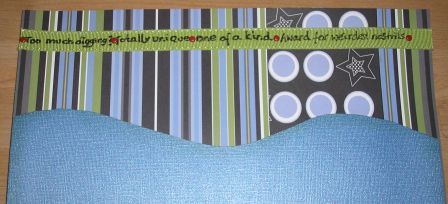
Step 3
Stick the wavy strip onto the layout.
Step 3
Add a strip of
green ribbon across the top of the page (I used
self-adhesive ribbon from DCWV "Missy"). Write
words across it with a black Sakura Glaze pen. Don't
worry about making it neat, this is meant to be a fun
layout. Add red brads between the words. The easiest way
to do this through the ribbon is to lay it on a piercing
mat and push a large pin through first.
Step 3
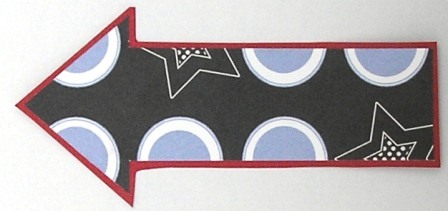
Cut the following on
the Silhouette from the "Super Star" cardstock: The title,
a star tag, an arrow, two photo fasteners. Mirror the title
as we want them to be on the reverse of the double-sided
cardstock. If you haven't got a Silhouette then
improvise. The arrow measures 4.5cmx11cm, the photo
fasteners are 3.2cm in length and the title is 3cm in
height.
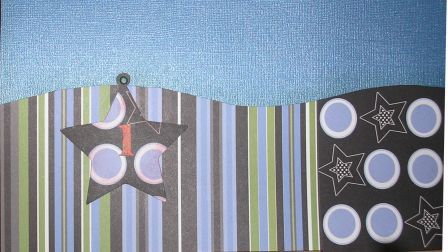
Step 4
Ink the star and the title
with red ink. I used Tim Holtz "red lipstick".
Stick the star onto
the layout in the left-hand corner and insert a green
brad through the loop. Pop a number "1" onto it.
Step 5
Mount the arrow on the
reverse side of the Red Bazzill.
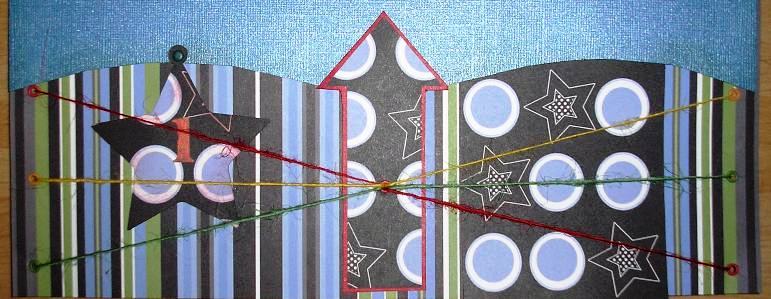
Stick the arrow on at
the bottom in the centre leaving the top unstuck
(see picture in next step).
Step 6
Colours used here are
red, green and yellow. Insert three eyelets
1cm in from each side at the bottom. One just below the wavy
belt, one in the middle of the space between the belt
and the bottom and one 1cm up from the bottom.
Insert an eyelet in the arrow, aligning it with the centre
eyelets either side. Thread twine, jute or fibre through each
side eyelet and run them to the eyelet in the arrow. Use
co-ordinating eyelet/fibre so that each strand goes to
the matching colour. Tape the strands onto the back as
you go.
Step 7
Glue on the title,
following the undulating line, and
"stitch" on the letters with a black Sakura Glaze pen.
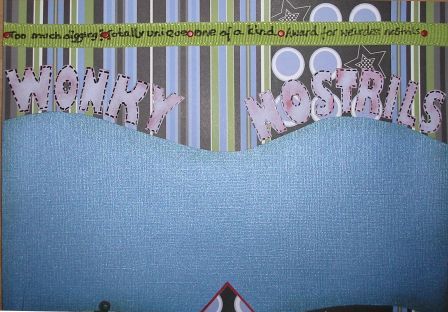
Dot alternative letters
with red and green then dot all with yellow.
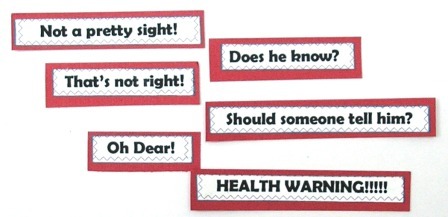
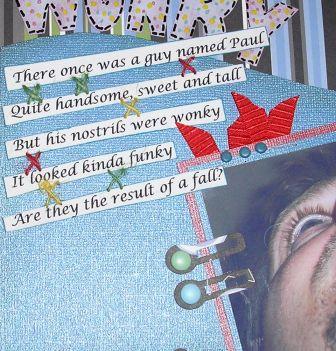
Step 8
Print and cut out a
little rhyme and sentences relevant to the picture on
heavyweight printing paper. Run the edges along a blue
ink pad. Mat the phrases on the reverse side of the red
Bazzill Bling. I placed each of the phrases below in a
table with a blue zig zag border before printing.
Glue them onto the
layout (see picture in next step).
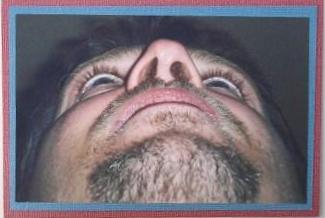
Step 9
Mat the main photograph
on blue and red Bazzill Bling cardstock. First mat on blue, then layer
on red.
Staple some red ribbon
to the back of the picture (just use a normal stapler)
then add three small blue brads. Glue onto project at an
angle with the picture under the tip of the arrow.
Attach the two photo fasteners with larger brads.
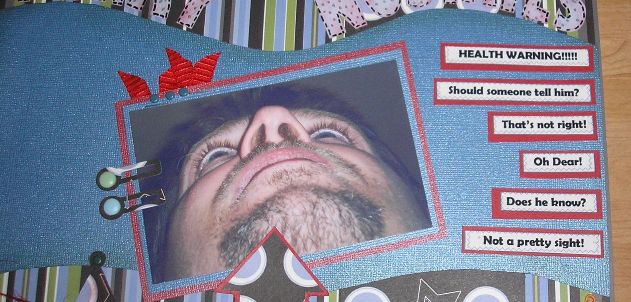
Step 10
Glue on the rhyme you wrote in strips.
Sew a few cross stitches between the lines (See our
"Attitude" class for instructions on how to sew on
paper). Use the same colour threads as you previously
used.
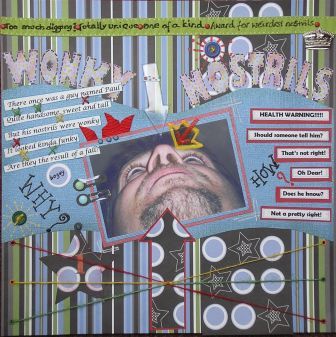
Step 11
Now add the finishing touches:
-
a couple of
handwritten words
-
some white lines
around the picture
-
a few buttons sewn on
here and there and drawn around
-
a Heidi Swap clear
arrow stapled on (use either normal or decorative
staples)
-
an arrow within an
arrow on the photograph (drawn)
-
an elements or two
cut out from the leftover paper
-
I have also included
a crown from Dovecraft Charm Brads Pack D (as I am
crowning him the King of Wonky Nostrils).
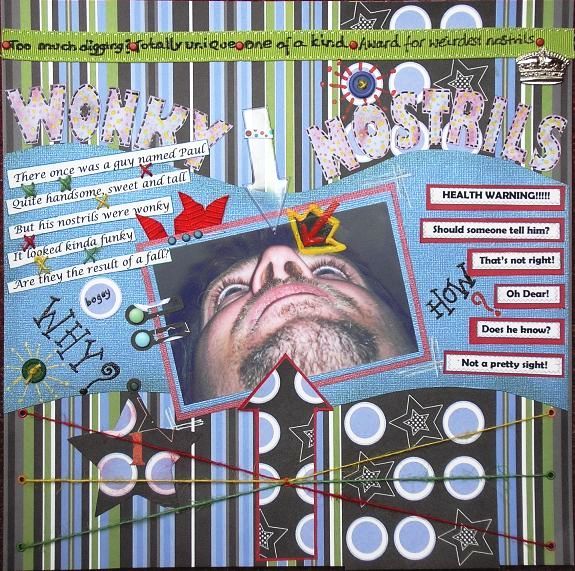
Make it fun, make it
wonky - sorry, funky.
The story behind the
picture: the poor man didn't even know his nostrils were
"not of the norm" until I politely pointed it out. His
mother knew but he had no idea!!
|