|
|
|

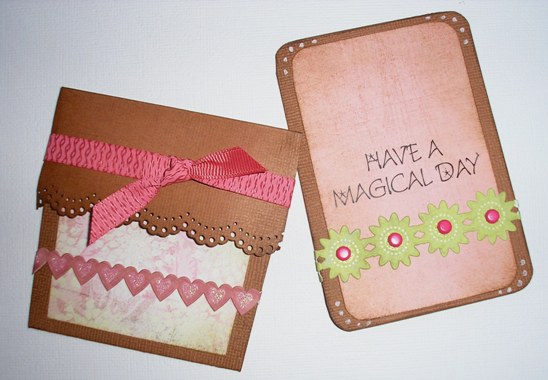
Flower Pot Card Class
Class created and designed by Karen Mortensen for Charmed Cards & Crafts
|
A very easy but effective card for many occasions. You can adapt the size to suit your needs, the one created in this class will fit an A6 envelope.
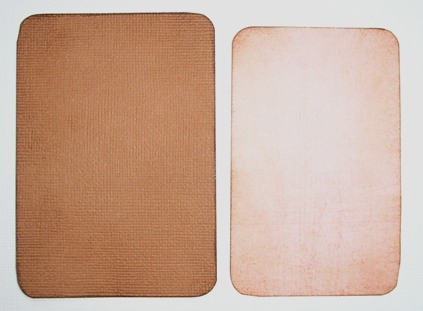
Class supply List: One 12" x 12" sheet of plain cardstock Two small pieces of patterned/contrasting paper. One length of ribbon measuring approx 11" K & Company Wild Raspberry Self-adhesive borders ((optional) K & Company 3-D flowers, or paper and embellishments to punch and created your own. Green paper for leaves. Any other embellishments of your choice.
Tools: Punches: Martha Stewart Edge punch, Leaf punch, Corner Rounder Ruler Scissors or paper cutter
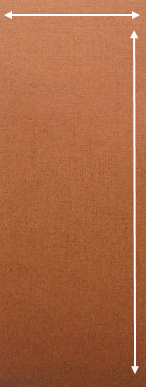
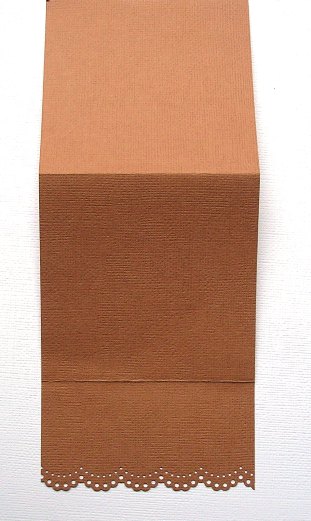
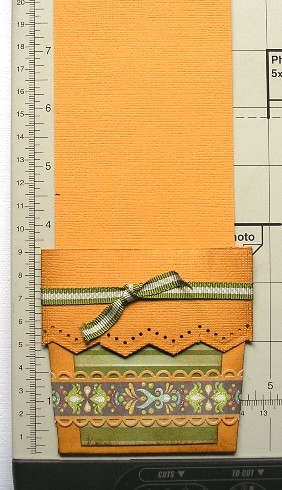
Step 1 Main flower pot: Cut a piece of the plain cardstock measuring 3.5" x 9" .
3.5"
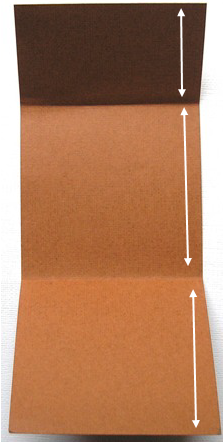
Step 2 Fold and score 2" in from one end. Fold the other end up to the score line. You now have three parts measuring 2", 3.5" and 3.5"
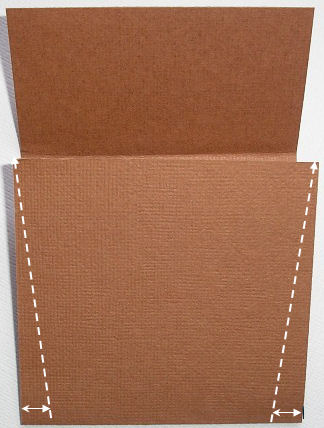
Step 3 You are now going to make the "pot shape". How far in you go is up to you.
Turn fold 3 up and ensure that fold 1 is up above and out of the way. Mark 1/4" in from either side at the bottom and draw a line up to the top as shown below
Step 4
Punch a fancy edge on top of Fold 1
Ink all edges with brown ink.
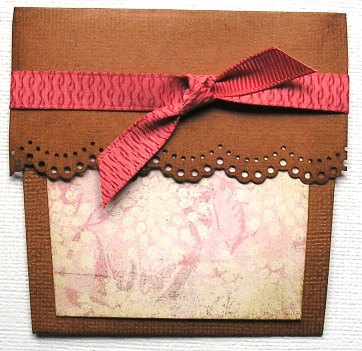
Step 5
Step 6
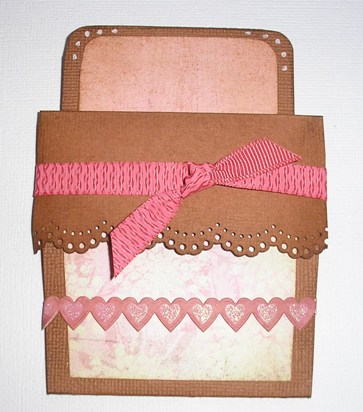
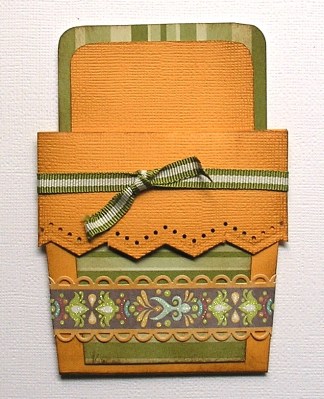
Turn fold 1 over fold 2 and tie a ribbon around the top, this is what essentially holds the card together.
Step 7
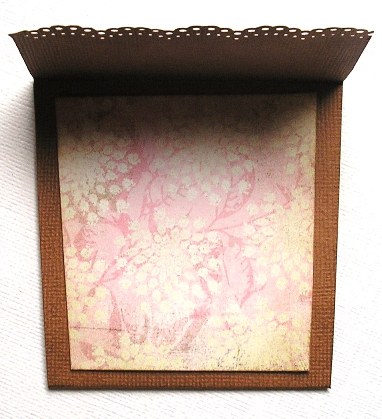
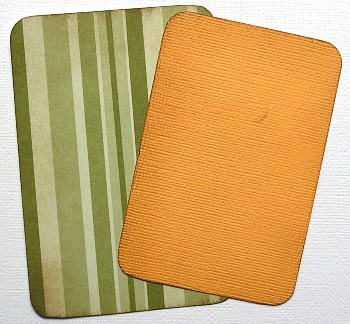
Creating the insert.
Step 8
Step 9
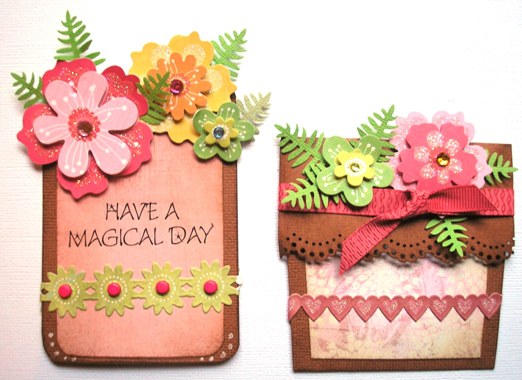
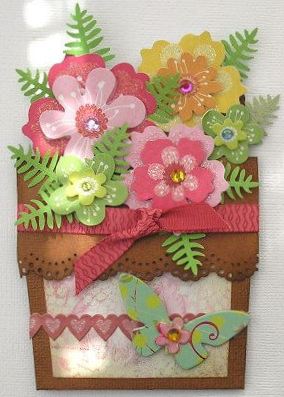
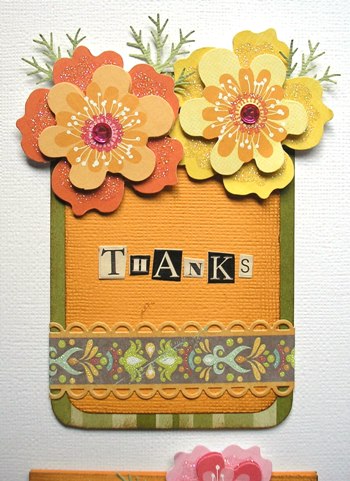
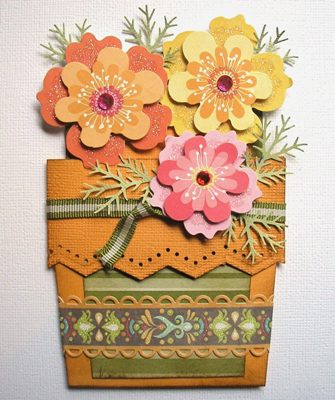
Now add your flowers. Put your insert inside the pot to determine where the flowers will sit.
Divide them up between the insert and the pot. You can make your own flowers but I used the beautiful 3-dimensional flowers from K & Company Citronella collection here. Punch out some leaves and put them behind the flowers.
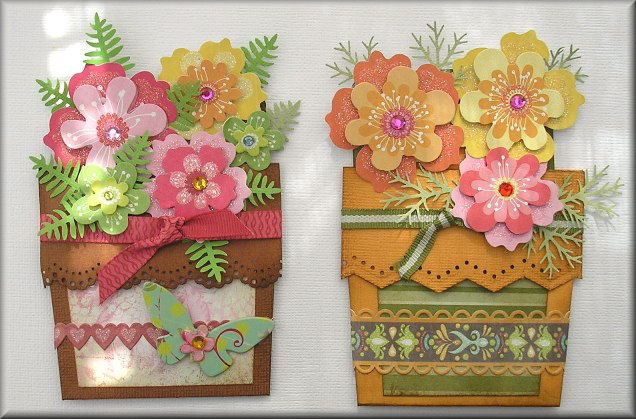
Put them together. You can add any other embellishment or sentiment you want to, I added a little K&Co Madeline Butterfly Chipboard shape here but a sentiment would have been nice too.
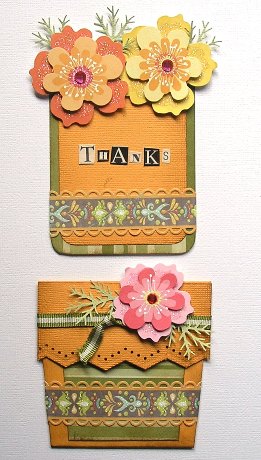
Here is another pot card I made, showing the process again:
We hope you enjoyed the class |
||||||||||||||||||
All projects copyright ® Charmed Cards & Crafts.