|
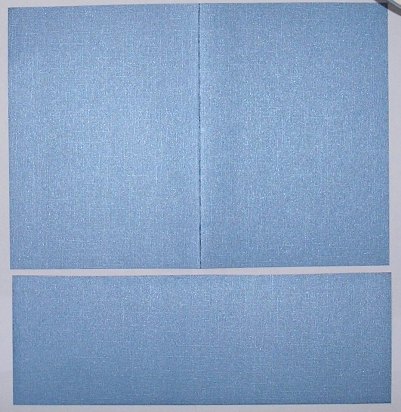
Step 1
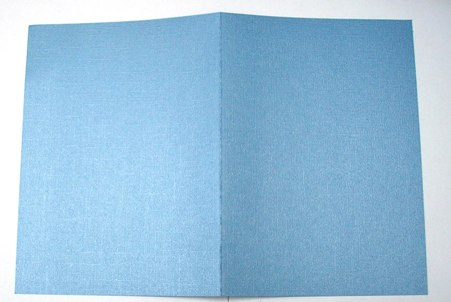
Cut a piece of heavyweight
Bazzill Bling cardstock into a rectangle measuring
29.5cm x 20cm. Score and fold into a
card (this card is an A5 size).
Save the leftover Bazzill,
we will need that later.
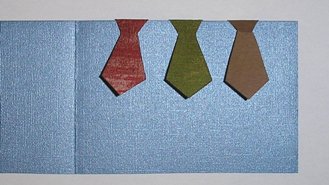
Step 2
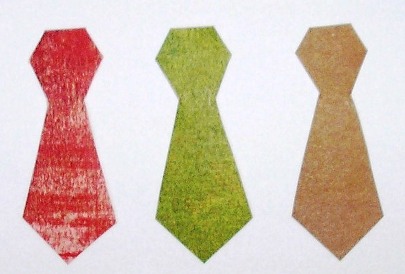
Draw the tie below as a
template and trace onto three different coloured paper.
The template used here measures 7cm in height.
Cut out the ties. I used
scraps of Basic Grey paper. Run a gold pen along the
edges of the ties to eliminate white edges and provide a
very subtle shimmer.
Fold over the top flap of
each tie. Using a bone folder will ensure a nice clean
fold.
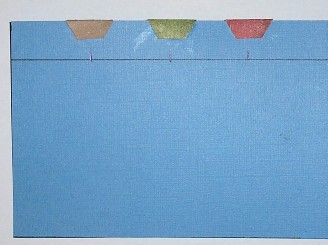
Step 3
Take the Bazzill left over from when
you cut the card and trim the width to fit the opened
card.
Ink the edges with dark red ink. Use
a dry paintbrush, lay the strip down onto some paper and
brush the ink onto the edges.
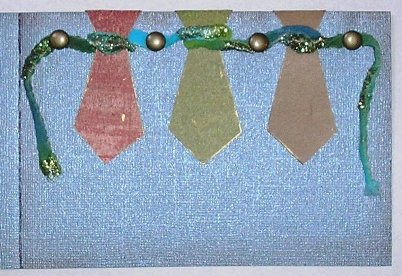
Step 4
Fold and score the strip.
Fold the strip so that you have the
front facing up. Hook the ties over the edge of
the strip, turn the card over and stick the back fold down onto the
back of the strip (do not stick down the front of the
tie yet) - one in the centre, one in each middle of the
other two halves.
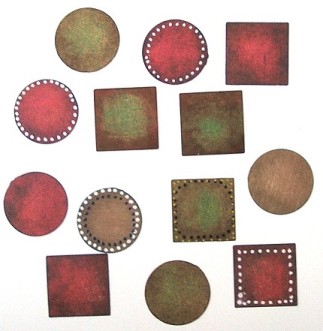
Step 5
Punch or cut out
13 1.25" wide shapes - Cut seven circles and 6
squares

Ink and decorate
the shapes as you wish. Leave the centres plain as we
will be adding letters on each one. I used Sakura Gelly
Roll Glaze pens and Tim Holtz Distress Inks.
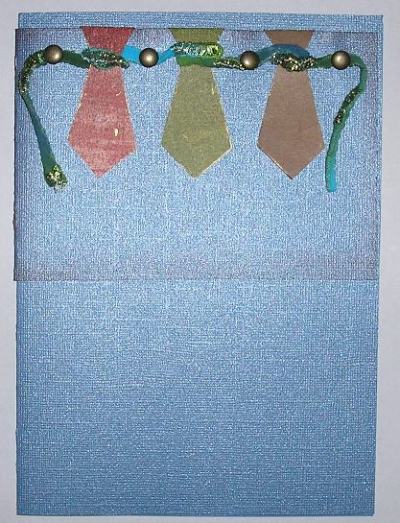
Step 6

Push brads through
the fibre and card.
Step 7
Glue the strip onto the card, positioning 5mm down from
the top.
Glue the fibre to the ends of the card and trim with
sharp scissor. Test on another piece of fibre first, if
the scissors are blunt the fibre will fray.
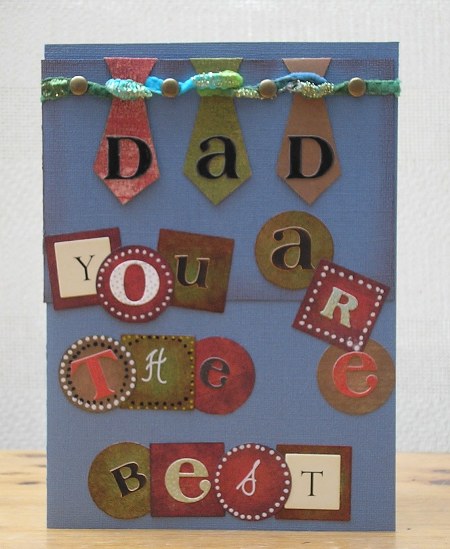
Step 8
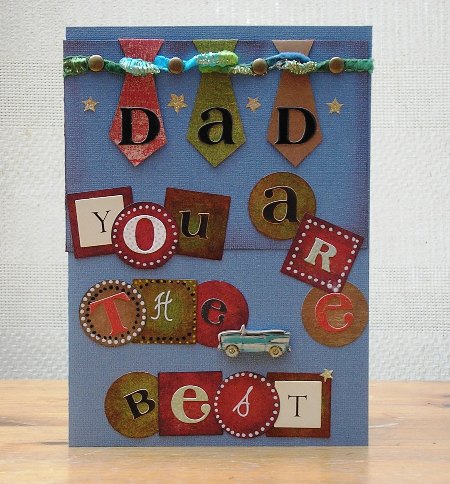
Add the letters "DAD" to the ties.
I used Basic Grey letters here and went over them with a
black Sakura Gelly Roll Glaze Pen.
Add letters to the 13 shapes you prepared earlier to
spell out "YOU ARE THE BEST". You can cut the
letters using different sizes and font, bold and italic,
or you can use different types of alphabet stickers or
rub-ons.
Arrange the letter shapes on the card. Do not stick down
until you are completely happy with how they look. You
can elevate some of the shapes on foam pads to raise
them off the card (not done here).
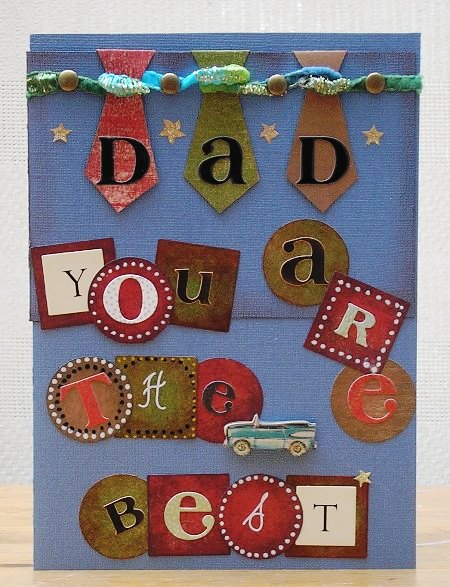
You can leave it like that, or you can add a
few extra embellishments as I have below. I use a Boy Image Grand
Adhesion from the K & Company Hopscotch collection
and sparkly stars stickers from the same sheet..
|