|
|
Exploding Box
Class By Anso

This class is copyrighted and not to be reproduced on any other website.
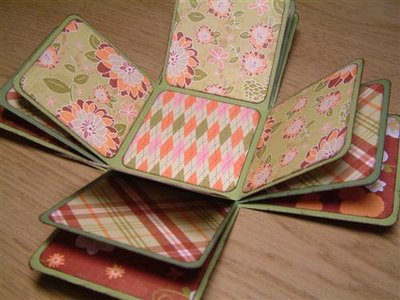
| This cute box album is a fab little surprise for the
receiver. The little box opens, or "explodes", into a cool little
album when you take off the lid.
Class
Supply list:
* Three 12x12
sheets of cardstock
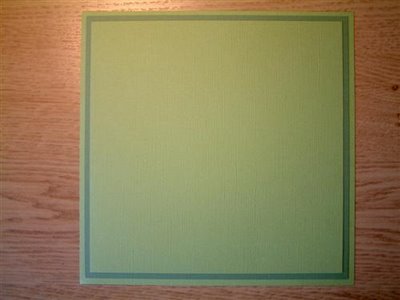
First we’ll do the box itself. Take your three sheets of
cardstock and cut them as follows:
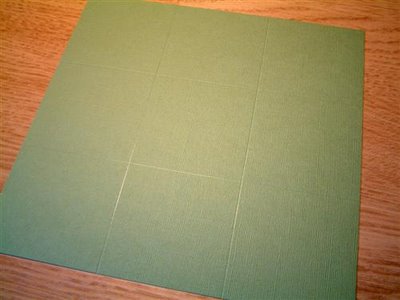
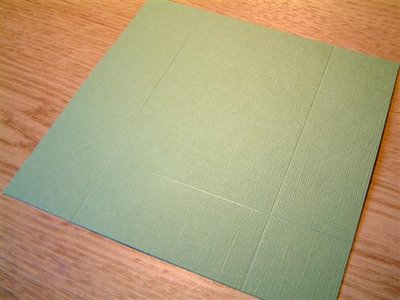
Step 2 Now
score each sheet according to the measurements below. You score on
all four sides (see photo below).
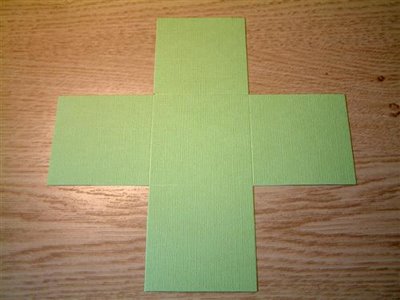
Step 3 Following your scored lines, cut off all four corners on all three
pieces.
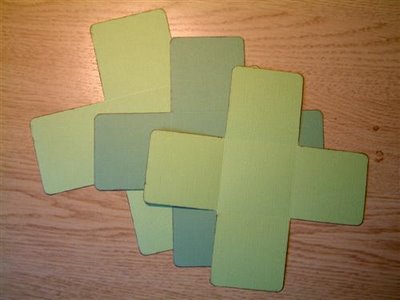
Step 4 At this point (and this is optional) you might want to ink the edges (don’t forget to do both sides!) and/or round the corners.
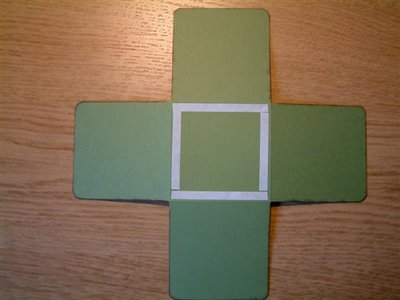
Step 5 Now you need to glue together your pieces. It’s easiest if you start by putting the smallest piece on to the middle piece and then the medium (+smallest) piece onto the largest one. I would suggest you use double-sided tape for this. You ONLY put your tape/glue on the MIDDLE square. Like this:
…and
don’t forget you do NOT need glue on the back of your largest piece.
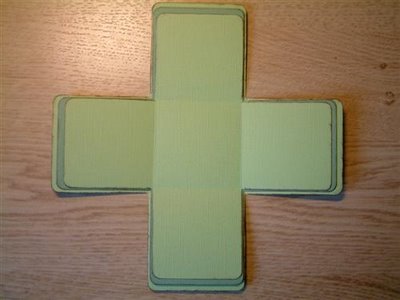
Once you have put them together, you should end up with something
looking like this:
Step 6 Fold
up the edges of your scored lines.
Now you can put the box to one side. It’s finished for you to continue decorating now or later.
Step 7
Onto the box lid:
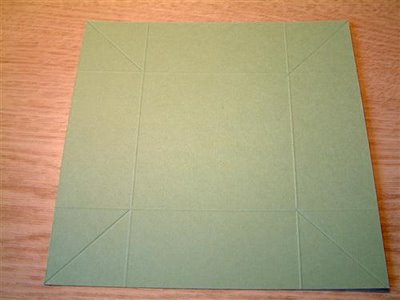
Step 8 Right, this might be a bit tricky to explain in words, but the photo below should help you. TURN YOUR CARD OVER and you need to score from the tip of each corner, diagonally, until you meet your scored “corner” lines. See photos:
Step 9 Fold all your
score lines and pinch the corners and fold them
inwards. See photo:
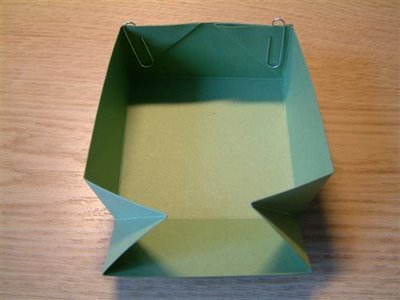
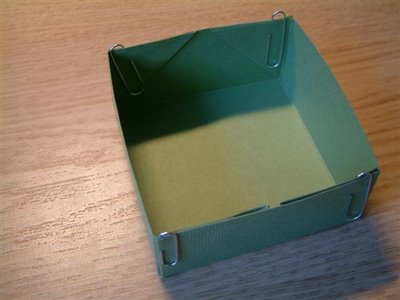
Step 10 Glue the corners in place. I found that double-sided tape was NOT strong enough for this (it holds for a little while and then lets go) so I would recommend a wet glue, something like Glossy Accents or Diamond Glaze for this. You can either hold the corners for a little minute until the glue is dry enough to hold the corners in place, or you can use some paperclips to hold the corners in place while drying.
...your
lid should now be finished and look like this:
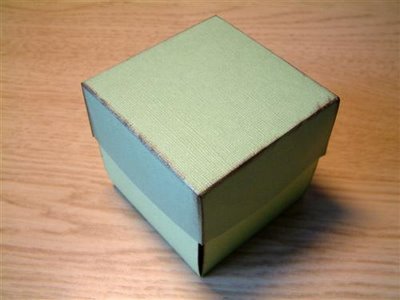
And
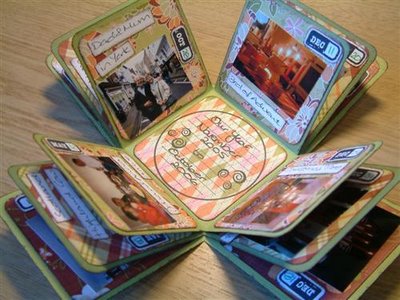
your finished complete box should look something like this:
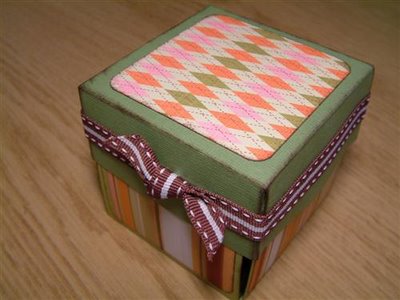
If you want to continue decorating your box, I would recommend the following measures for your paper (I’m swapping to metric now since it’s easier to be more exact):
I have used small photos in mine. I used 20 photos in my box. One on each page (not on the lid, centre square, or the four sides that makes up the outside of the box) and I printed my photos: 8 photos to a 15x10cm photo (6x4 inches). Very easy if you have an Epson PictureMate. Each little photo measures: 5x4 cm.
Class created by Anso - Blog: glitteradventure.blogspot.com
|