|
|
|
|
|

Simple Christmas Wreath Class
Class created and designed by Karen Mortensen for Charmed Cards & Crafts
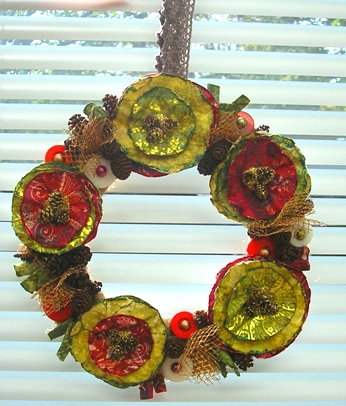
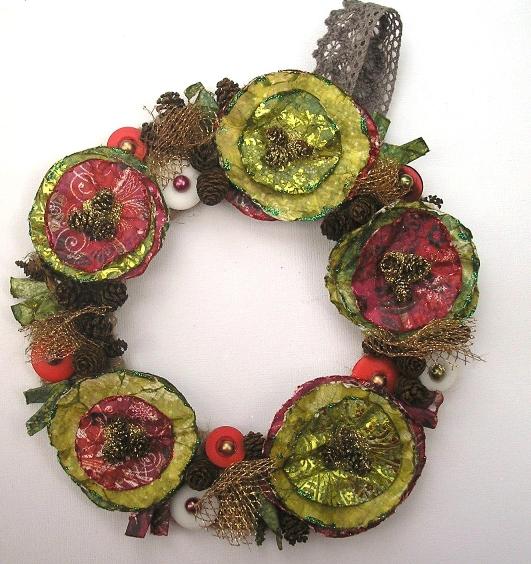
| A very economical Christmas Wreath. You can make it whatever size you want to suit wherever you want to hang it. Most of the items are simply picked up from Mother Nature, or recycled from boxes and scraps of paper.
Class supply List: Sheet of cardboard. Scraps of patterned paper Small Pine Cones Stickles in Red, Gold and Green Tools: Ruler Scissors Glue Gun (Optional)
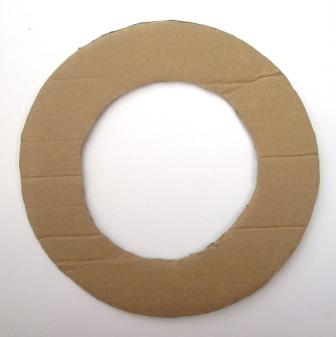
Step 1 Cut a ring from a sheet of cardboard. Mine measures approx 8" in diameter, with the ring approx 1.6" wide.
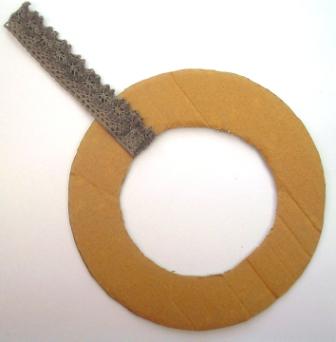
Step 2 Attach a piece of lace or ribbon to the ring using a stapler. I used Prima Lace as it's a heavier lace and can handle a little more use.
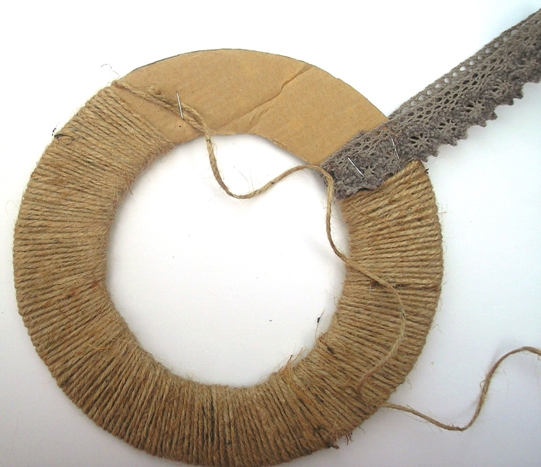
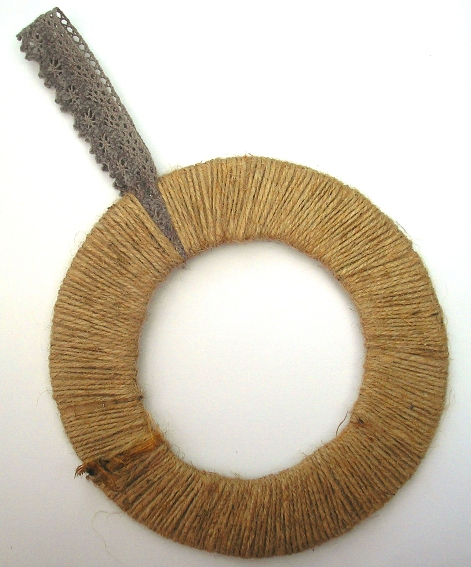
Step 3 Start wrapping jute or ribbon around the ring. The easiest way is to staple to start, or use a glue gun as the glue will set almost instantly. I used smaller lengths to wrap and just stapled as I went along.
Step 4
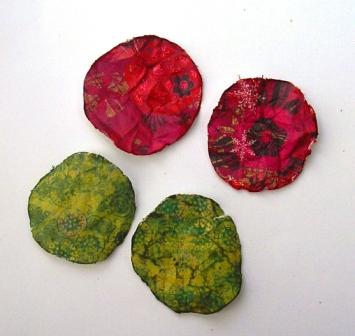
Cut a variety of circles out of scrap Christmas paper. Do three sizes, mine were approx: Large: 2.5", Medium: 2" and Small: 1.5". I made 5 of each size plus a few extra for later (see Step 6). Ink the edges, then scrunch them up to distress. Rub a little ink on the creased edges on the surface.
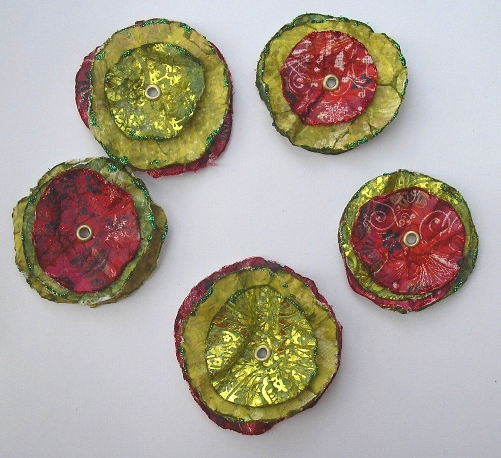
Step 5 Layer the circles large-medium-small and secure with an eyelet in the middle. You can just glue them together but an eyelet will ensure it's a sturdy construction. Add red and green Stickles here and there to the edges and leave to dry.
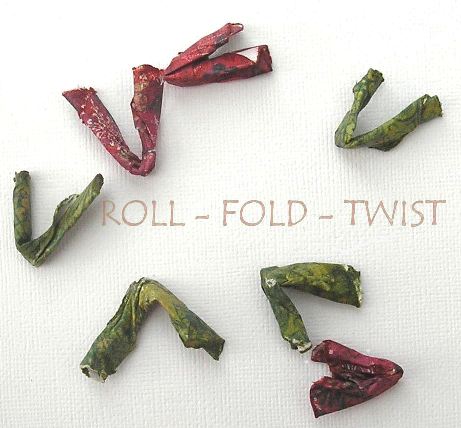
Step 6 Roll, fold and twist the remaining circles and put aside until later.
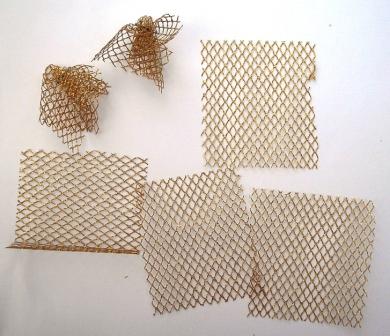
Step 7
Cut five squares out of glitter mesh. Grab the centre and gather them into little bunches. Secure with a staple and put aside until later.
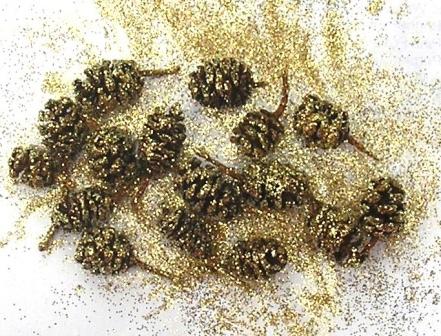
Step 8 I am using tiny pine cones for the wreath, some of which I am covering in Gold Glamour Dust. The easiest way I know of doing this is to squirt Gold Stickles all over them, turn them over in it (get stuck in there, make sure everything is covered), then sprinkling Glamour dust all over them. This will ensure every part is covered and the result is tip top. Wash your hands (!) then put the cones to one side until dry.
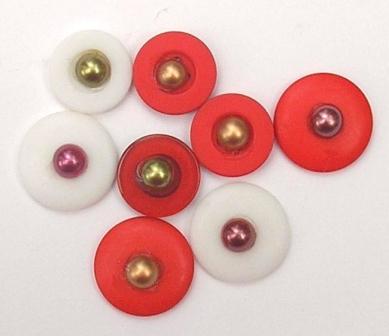
Step 9 The final embellishment is a button topped with a pearl. I used a hot glue gun for a sturdy fix.
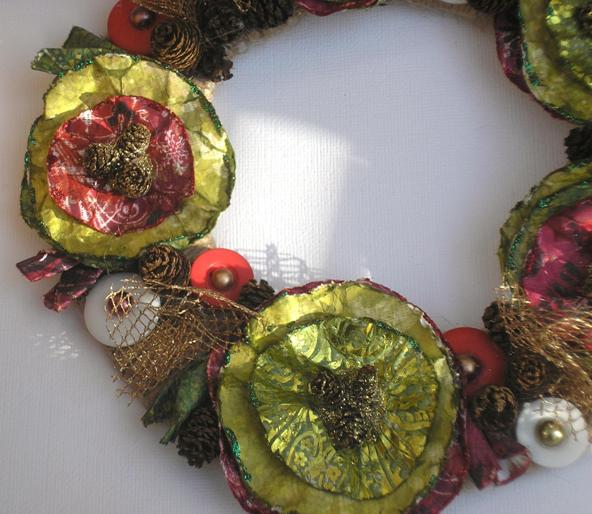
Step 10
Assemble your wreath starting with the flowers. Top each flower with the golden cones. Again I glued everything on using a hot glue gun. It means your wreath will withstand being put away year after year and not fall apart. I added extra glamour dust when I glued the cones on the flowers for a golden base. Add all the other embellishments, including some plain brown cones.
We hope you enjoyed the class
|
All projects copyright ® Charmed Cards & Crafts.