|
|
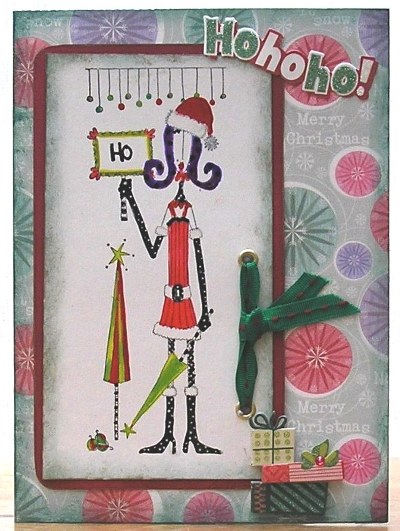
Dolly Mama
Christmas Card
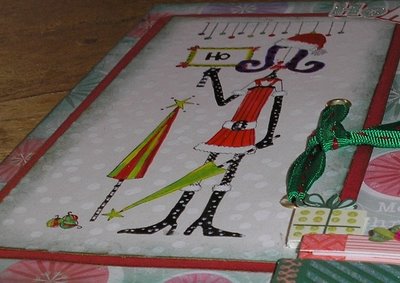
Created and designed by Karen |
|
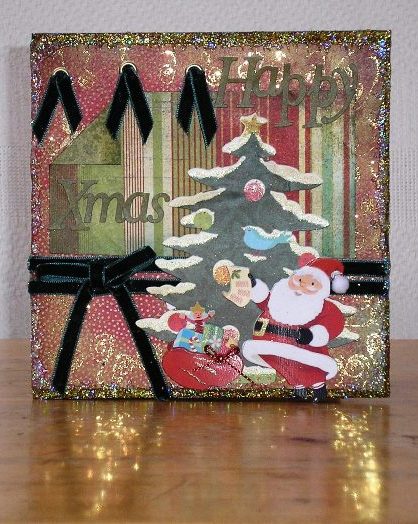 |
Happy Santa
Card Products needed to make
this card:
Created and designed by Karen |
|
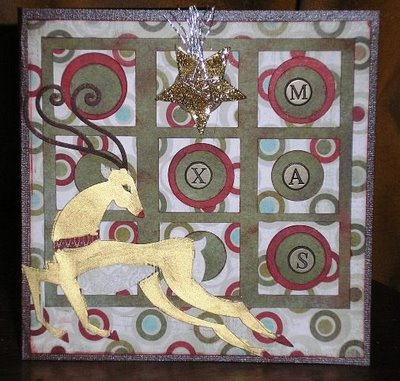 |
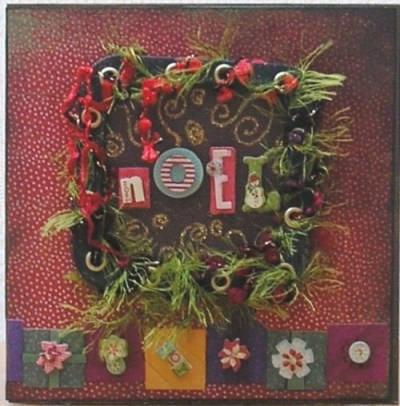
Reindeer Frame
Card Products needed to make
this card:
Created and designed by Karen |
|
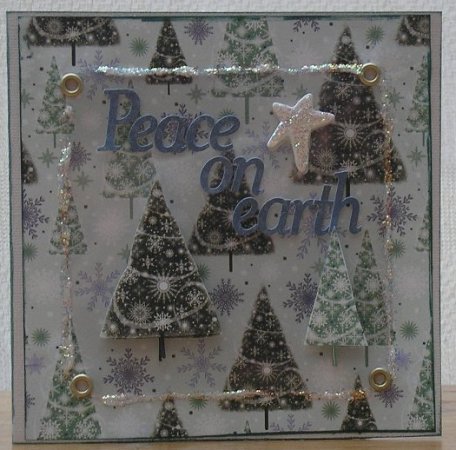 |
Peace on Earth
Products needed to make this card:
Created and designed by Karen
|
|
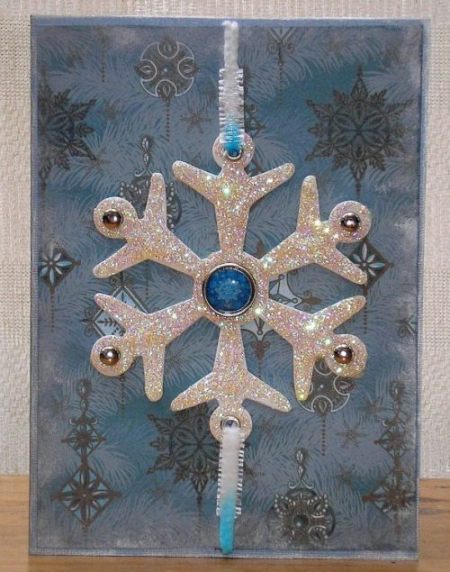 |
Snowflake Card
Products needed to make this card:
Created and designed by Karen |
|
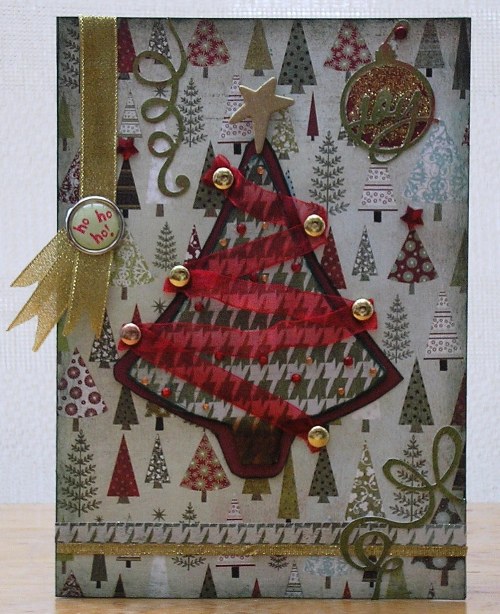 |
Ribbon Wrapped
Christmas Products needed to
make this card:
The bottom border is a strip of the
Figgy Pudding Forest paper on the reverse side.
Created and designed by Karen |
|
 |
Cosy Christmas
Card Products needed to make
this card:
|
|
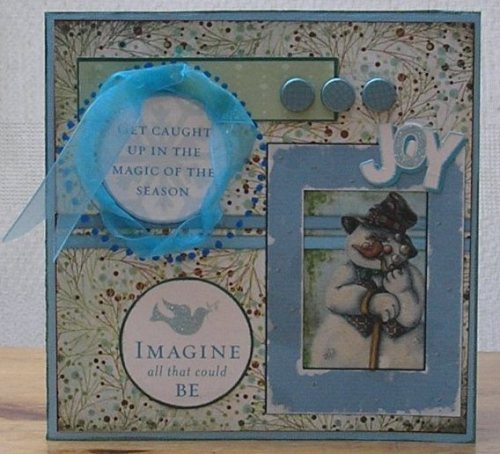 |
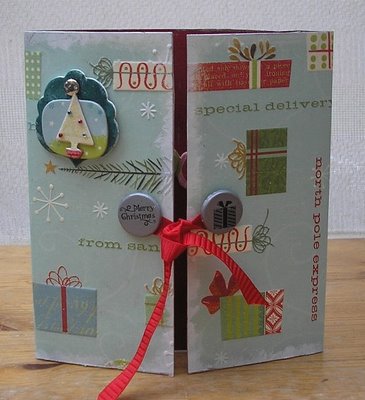
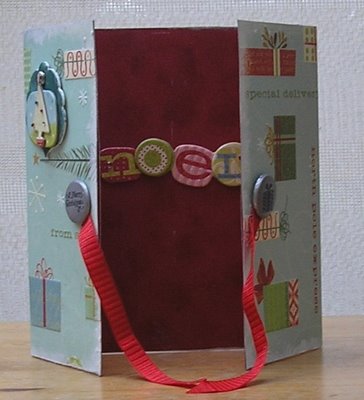
Blue Joy Card
Card Size: 6x6
Products needed for this card:
Created and designed by Karen |
|
Created and designed by Karen |
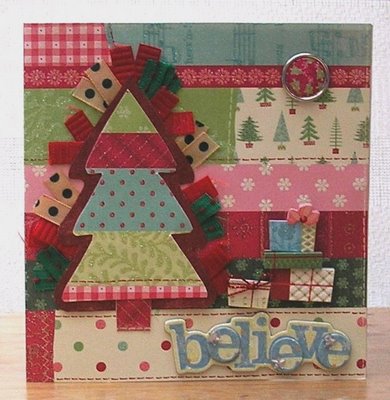
Quick Guide:
-
Cut a piece of K&Co
Peppermint
Twist
Holiday Quilt
glitter paper into the desired card size,
score and fold. Mine is 12"x 6.25" when flat. Cut it
so that the pattern runs as on the picture.
-
From the
leftover paper cut a Christmas tree shape. Mat the tree onto
a piece of coordinating scrap cardstock - I used the reverse
side of Basic Grey Fruitcake Plaid - then cut around the
tree leaving a margin all around it. Cut a piece of the
Holiday Quilt paper as the tree trunk and stick into
position.
- Cut small lengths of
Dovecraft Christmas ribbon and stick onto the back of
the tree. Glue tree onto card.
- Add a Dovecraft
Funky Christmas brad on the top border as shown.
- Cut a piece of
Bazzill Bling String of Pearls
the same size as your card. Stick the card onto the
Bazzill so that the "bling" side is visible inside.
- Add presents Grand
Adhesions and "Believe" chipboard word from the
K&Co
Peppermint Twist collection.
|
|
|
|
|
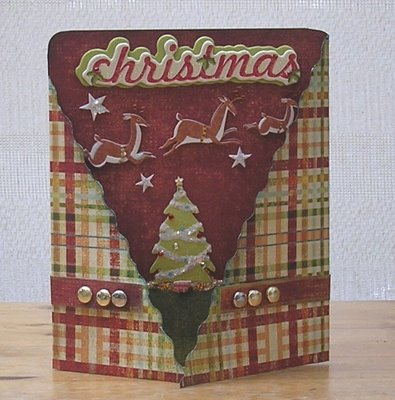
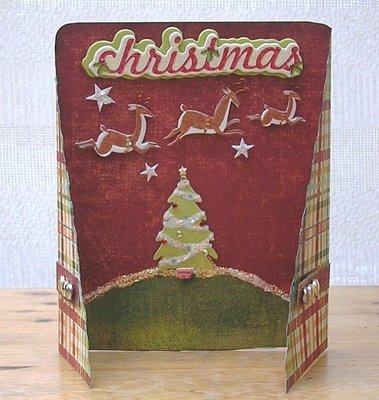
Quick Guide:
-
Cut a
sheet of
Basic Grey Fruitcake Plaid into size 30cm (12" so
the whole length of the sheet) by 17cm. Fold the sheet
into three parts so that one side slightly overlaps the
other. (main back of card 13.5cm, right side 9cm, left
side 7.5cm).
-
Draw the
lines from either side then cut down the two sides with
decorative scissors to create a fancy edge (using
pictures as guides). Round of the two top corners with a
corner rounder punch.
-
Ink all
edges of the card with
green ink. First run the edges over the pad then
lightly brush with the ink to bring it slightly onto the
card.
-
Cut a
piece of green cardstock in a hill shape and stick it
onto the inside of the card (I used Basic GRey Paper).
Add K&Co
Peppermint Twist Grand Adhesions and Chipboard word
"Christmas".
-
Decorate
with
Stickles Icicle Glitter glue (on the hill, the tree
and the stars) and leave to dry.
-
Cut a
strip of the Basic Grey Plaid paper the width of the
card and run a gold pen (or ink) along the edges. Add
three
Dovecraft Gold Medium brads to each end - we want
the reverse side of the paper to show. Glue strip onto
card.
Created and
designed by Karen |
|
|
|
|
Quick Guide:
Created and
designed by Karen |
|
|
|
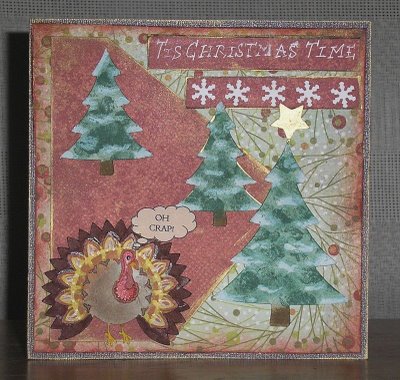
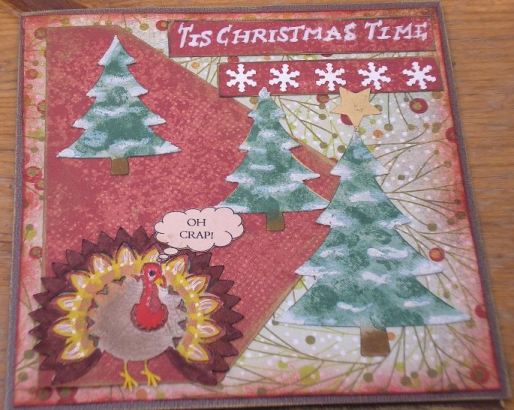
Quick Guide:
-
Cut a
base card from brown
Bazzill Bling Sugar Daddy cardstock (30cm x 14cm).
Run the edges against a
metallic gold ink pad.
-
Cut a
square of
Basic Grey Fruitcake paper slightly smaller than the
front and brush edges with
red ink. Stick onto card.
-
Cut a
shape from the Fruitcake paper and use the reverse side
on the card. Before sticking onto card brush the
edges with gold metallic ink.
-
Cut two
strips of the same paper and ink edges with gold
metallic ink. Stick onto card as shown.
-
Write
the words "Tis Christmas Time" on the top strip with a
white pen (I used a Sakura Gelly Roll Glaze pen) and add
punched out snowflakes to the smaller strip.
-
Cut
three Christmas trees, a star and one turkey on a
QuicKutz Silhouette. Paint and decorate as you wish.
I added white
DecoArt Snow Writer to the branches on the trees
after painting them.
-
Print
out a thought bubble with a suitable caption from
Microsoft Word onto beige Bazzill .
-
Stick
everything onto the card as shown.
|
Created and designed by
Karen |

