|
|
|
|
|

Christmas Project Ideas - Christmas Cards 13
More seasonal ideas by Karen Mortensen
Here we are showcasing die-cut toppers with various paper collections.
 |
 |
 |
 |
 |
 |
 |
|
|
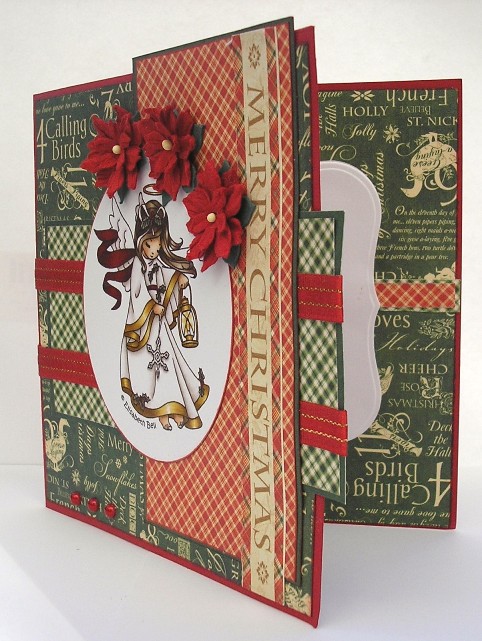
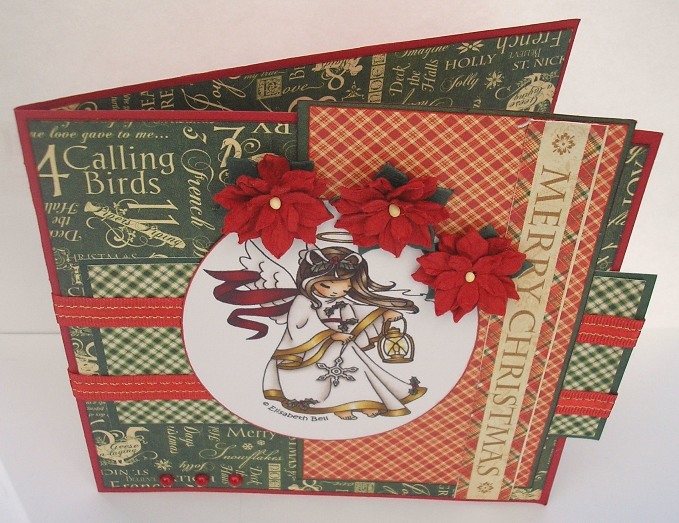
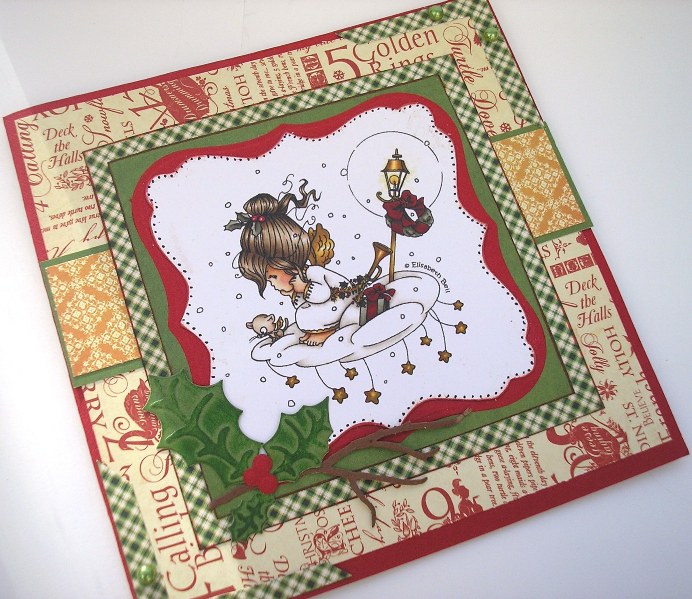
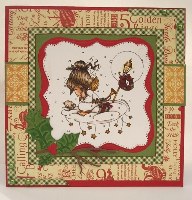
Twelve Days of Christmas Card # 1
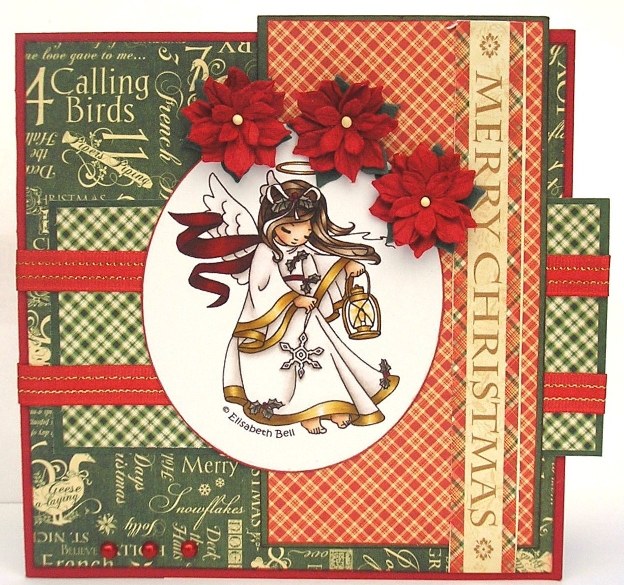
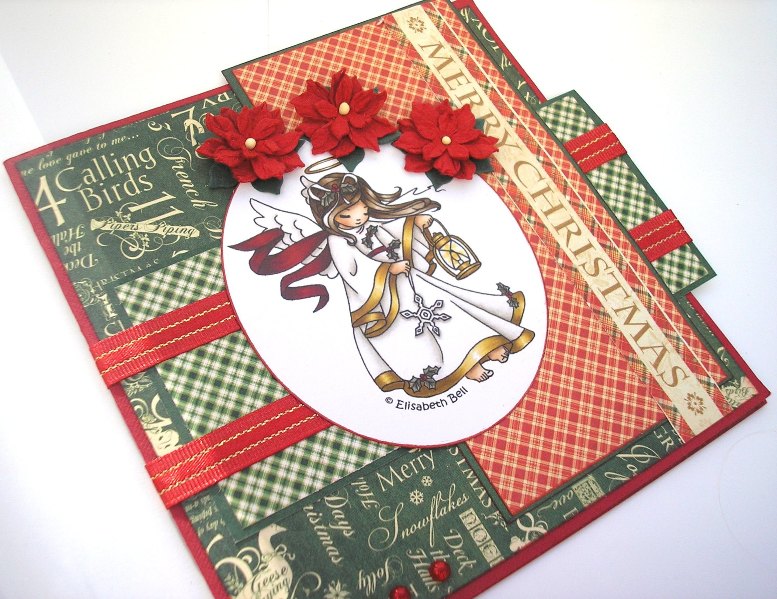
A beautiful serene Christmas card using a die-cut toppers from Elisabeth Bell, and the beautiful Twelve Days of Christmas papers from Graphic 45. I covered the card in the paper, then created two panels using the paper layered on plain cardstock. I then adhered both panels onto the front, putting one horizontally first, then added two strips of ribbon before adding the second panel vertically The topper was lightly inked on the edges then stuck on the front, and I finished with a few pearls and flowers. Merry Christmas is from one of the 12x12 papers.
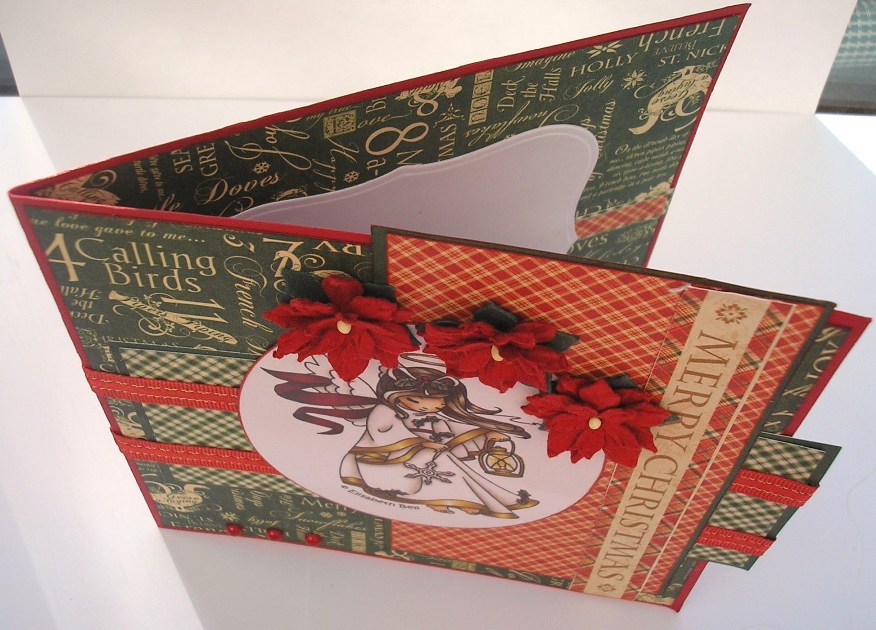
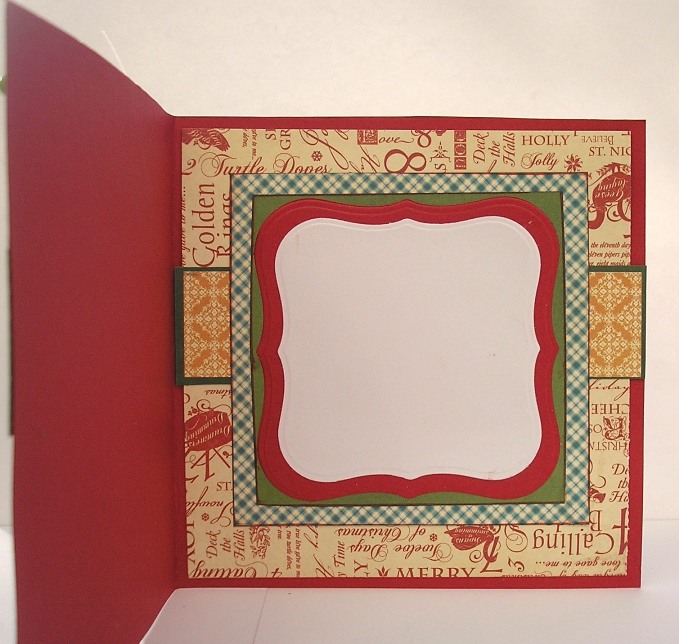
The inside was decorated to compliment the front. I cut my centrepiece there with a Spellbinders die.
I created a border inside by layering two strips of the papers.
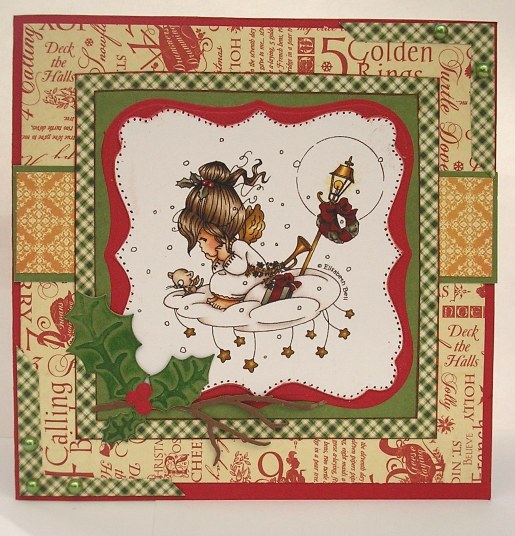
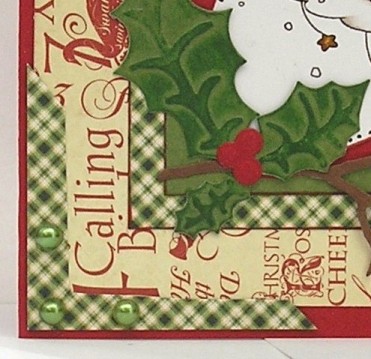
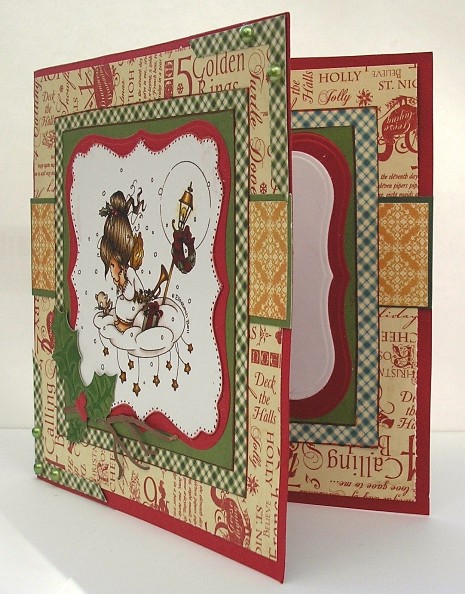
Twelve Days of Christmas Card # 2
Here again I used the gorgeous Twelve Days of Christmas paper with another Elisabeth Bell topper from the same sheet. Cover the card with paper. Created a centre strip by layering a strip of the patterned paper onto plain cardstock. Stick to the middle. Layer the topped onto various cardstock and patterned paper. Ink edges as you go along. I cut one of the mats with a Spellbinders die (the red one). I finished the centrepiece by adding little dots around the edges of the topper. The holly and branch is a Spellbinders D-Lites die, which I cut then inked to make the embossing stand out. I used some leftover bit of paper to create some corners for my card.
I decorated the inside to compliment the front.
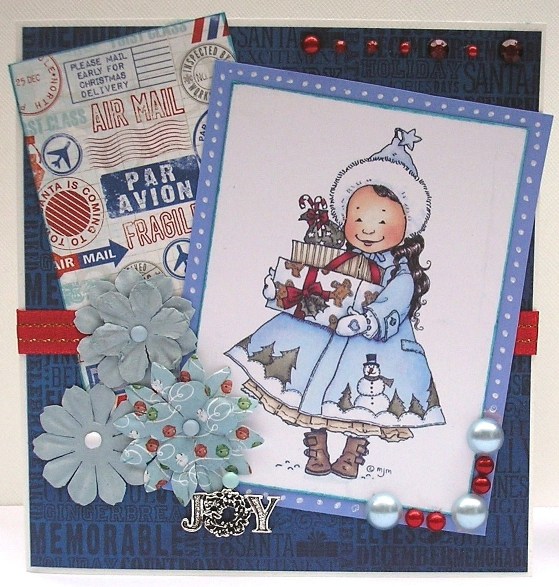
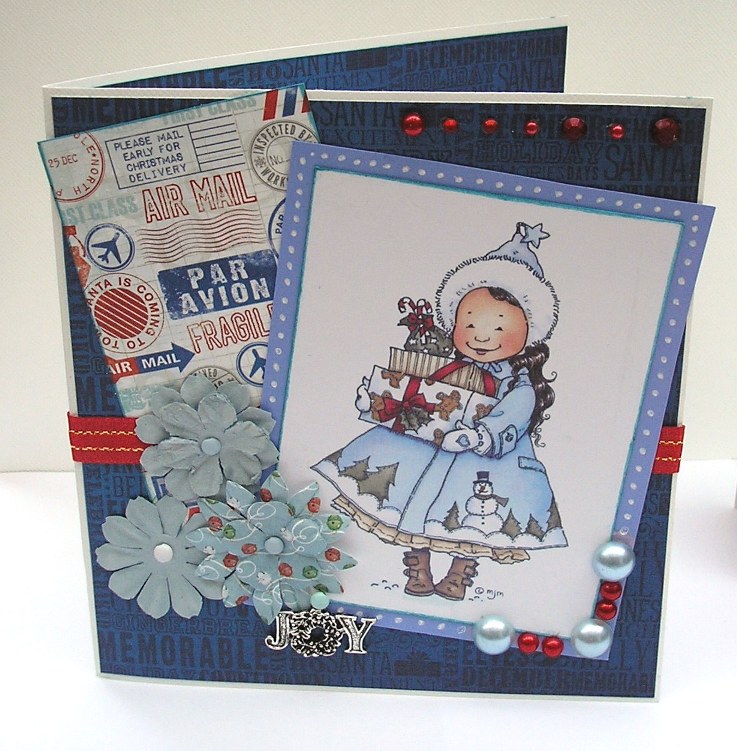
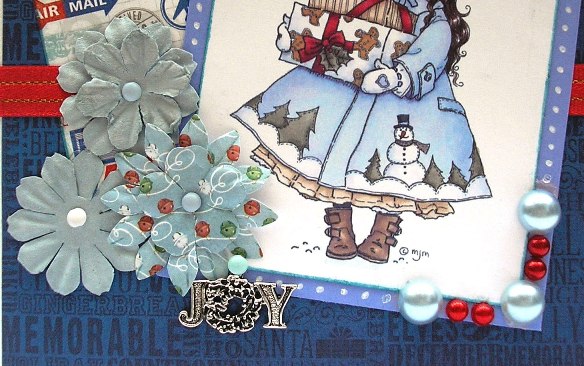
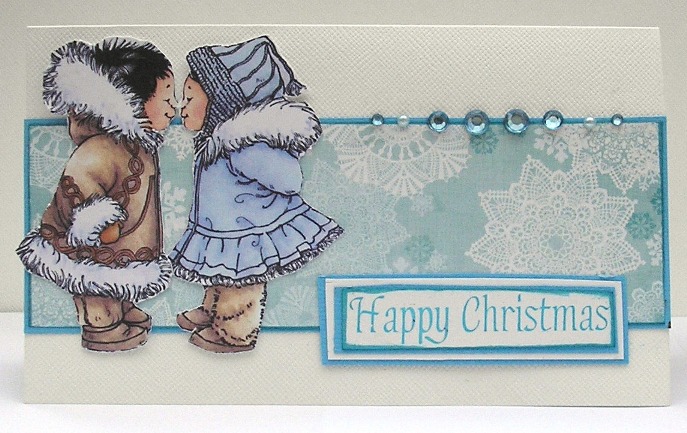
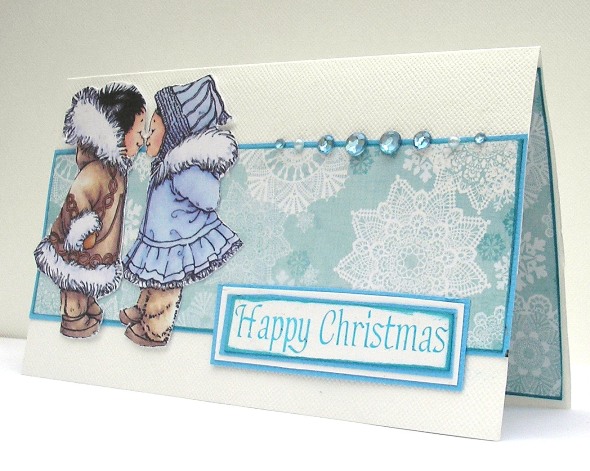
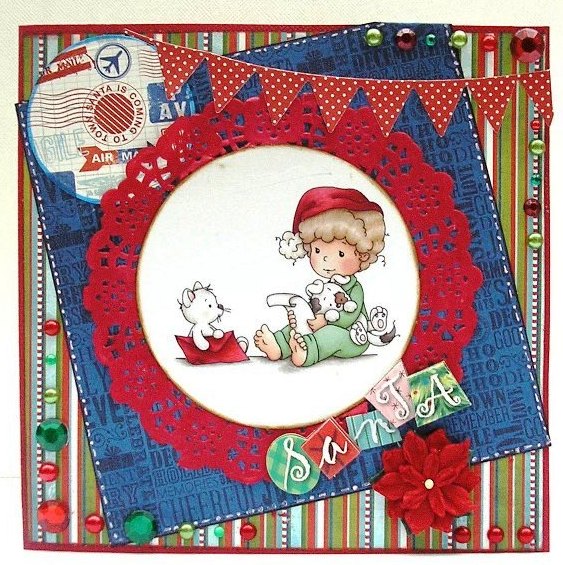
This topper is by Mo Manning. The great thing about these toppers is that they are ready coloured and so quick to use. Cover your card in Bo Bunny Elf Magic paper (I used the 6x6 pad). Cut out a piece of the paper with the post stamps on it, ink edges with blue ink. Then stick it on the front at an angle. Add some red ribbon to the middle. Ink edges of the topper with blue ink, then mount on plain blue cardstock. Dot around the edges, I used a white Inksessential pen. Add a few pearls in one corner, then stick to the card at an angle (see picture). Add some flowers with brads in the center (my flowers are Tis The Season flowers, and the brads are Basic Grey). Finish with a charm under the flowers, and a line of pearls and gems in the top corner.
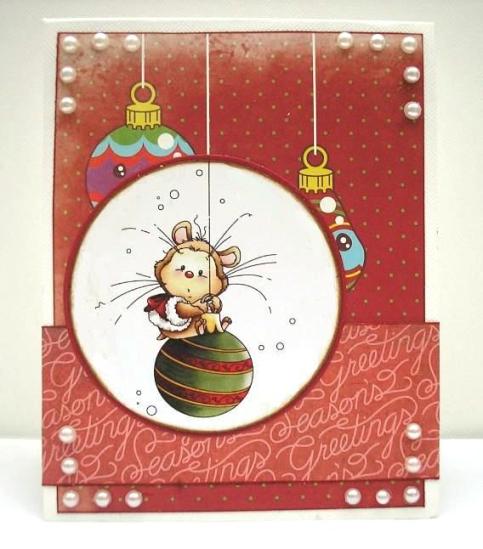
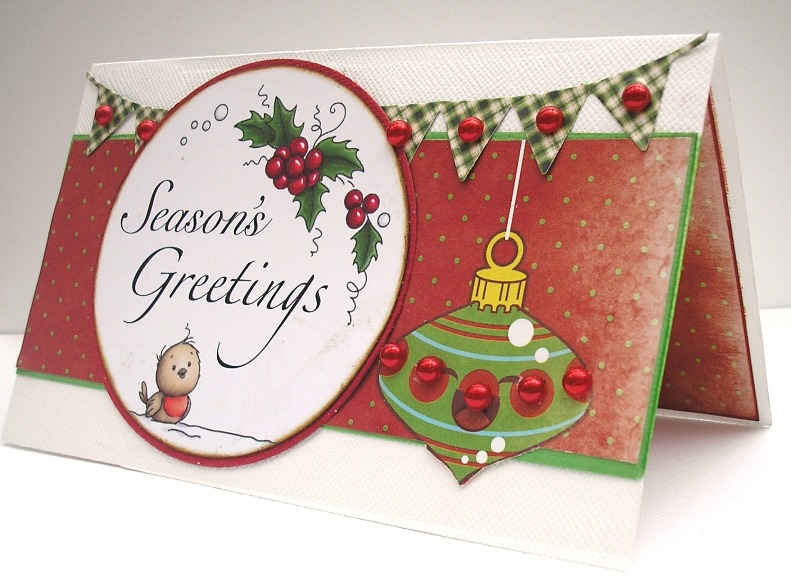
Super cute little mousey Wee Stamps Card topper. I used a paper by Moxxie from the Party at the Pole collection. It was just perfect for my little topper here. I inked it with red ink before sticking it on both the front and the inside of the card. The Seasons Greeting paper is called Mistletoe Junction and is from the Basic Grey 25th & Pine Collection. Pearly corners completed the card.
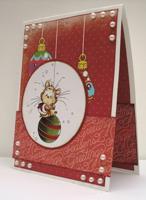
Here I used some of the same sheet of Moxxie from the Party at the Pole that I used above. This time I decorated only the middle centre of my card, leaving a lot of white space. I cut out part of the bauble design on the paper, to make it extend down to the white space. I cut a banner with a Joy Craft die, and put it on top with red pearls. The Wee Stamps Card topper was inked with brown ink then mounted on red cardstock. The toppers coordinate perfectly with Spellbinders dies, so I used a round die to make a perfectly sized mat for the topper.
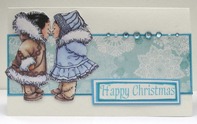
Another card where I added a panel in the middle with lots of white space. Here I cut out the Mo Manning topper (Eskimo Kisses). If you refer to stamp and colour yourself we have this image in a stamp. Paper is Bo Bunny Elf Magic
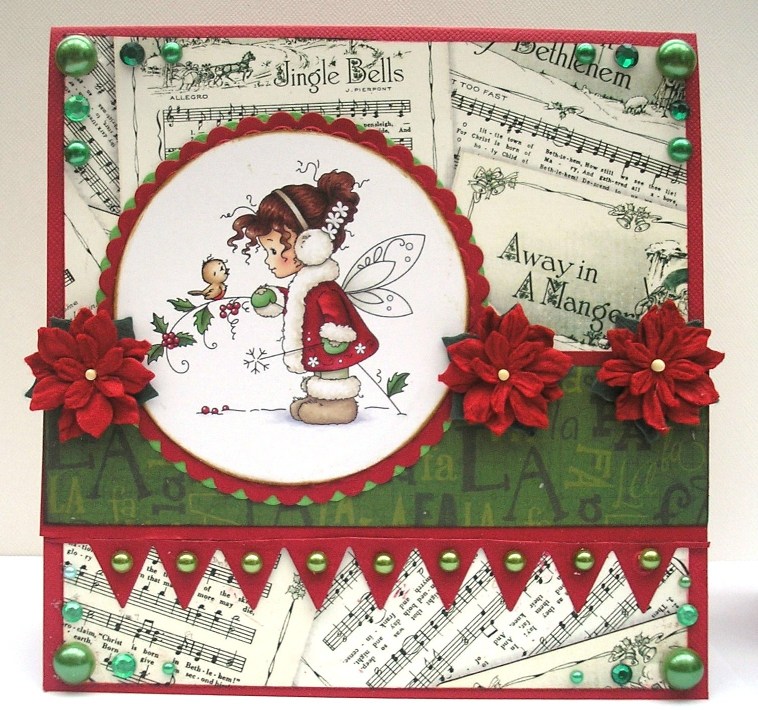
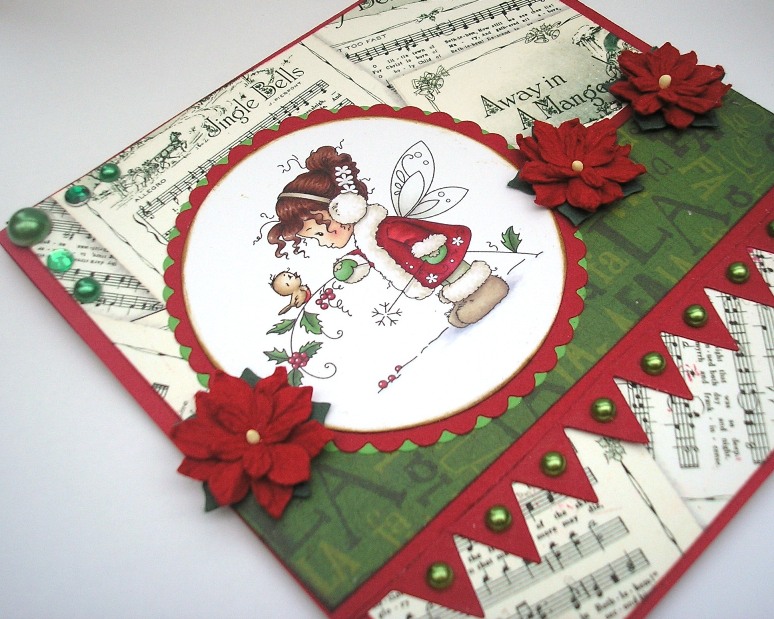
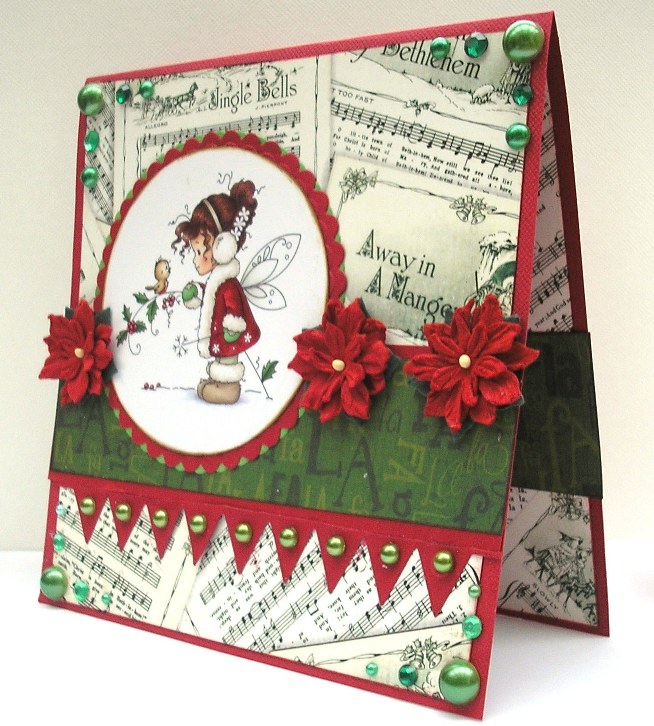
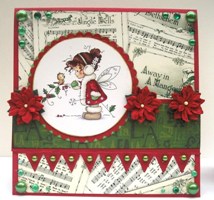
This is a very beautiful card in traditional colours. I used a Wee Stamps Card topper here and layered it twice. I cut two mats with a Spellbinders die, one red and one green, then matted them so a little of the green showed through the red:
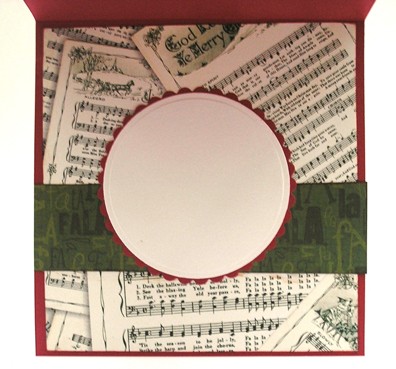
All the paper is from the Bo Bunny Elf Magic collection. The red banner is cut with a Joy Craft Banner die. I matted the Fa la la paper onto red cardstock, then cut the banner in the same red cardstock. Each flag on the banner was topped with a green pearl and I put pearls and gems in the corners. Finally a few flowers were adhered to the middle. The inside was decorated to compliment the front.
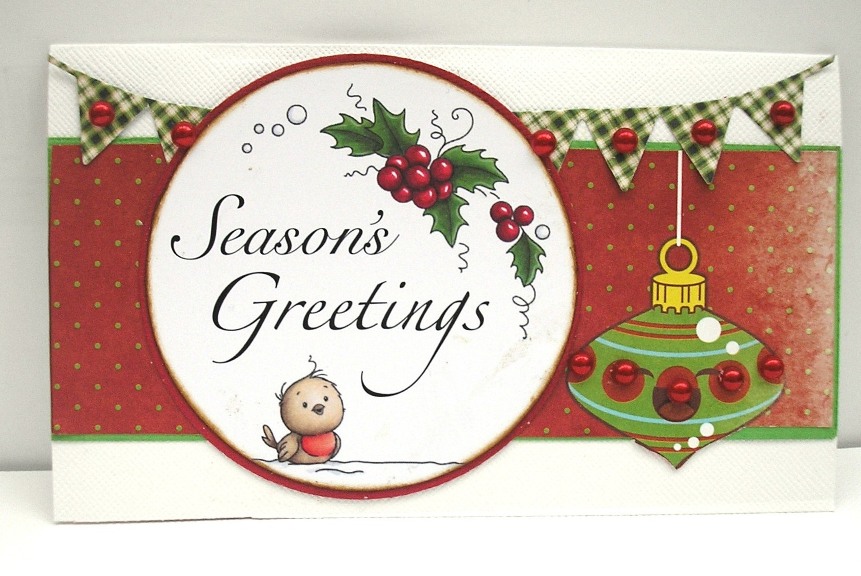
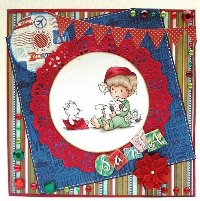
The card was covered in a sheet of Bo Bunny Elf Magic paper, I then stuck a large square from another Bo Bunny Elf Magic paper The cutest image from Wee Stamps. Again this topper is simply pressed out and stuck on. Couldn't be easier. I inked the edges of the topper with brown distress ink, then mounted it on a red doily. I cut a round circle from another sheet from the Bo Bunny Elf Magic pad, then inked the edges with red ink. This then was mounted onto a sheet of Bo Bunny Elf Magic blue paper, and the whole lot positioned at an angel on the card. The banner is cut from a Joy Craft Banner die. A variation of gems and pearls were added to the corners and sides. Finally a sentiment and flower completed the card.
The inside was as always completed to compliment the front.
|
We hope you enjoyed the projects.
Click here for more ideas and classes
All projects copyright ® Charmed Cards & Crafts. All rights reserved.