|
|
|

Using Paper Elements Class
By Louise Brigden
|
Products used for this project:
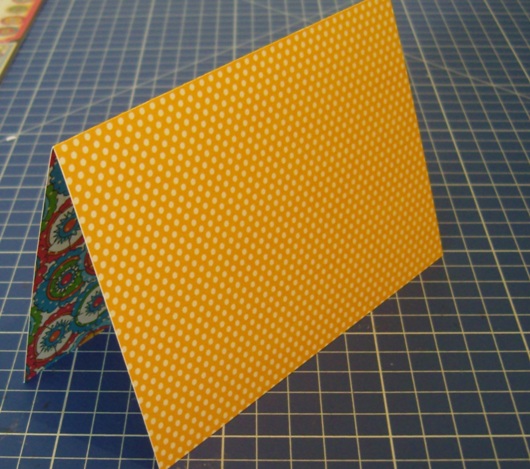
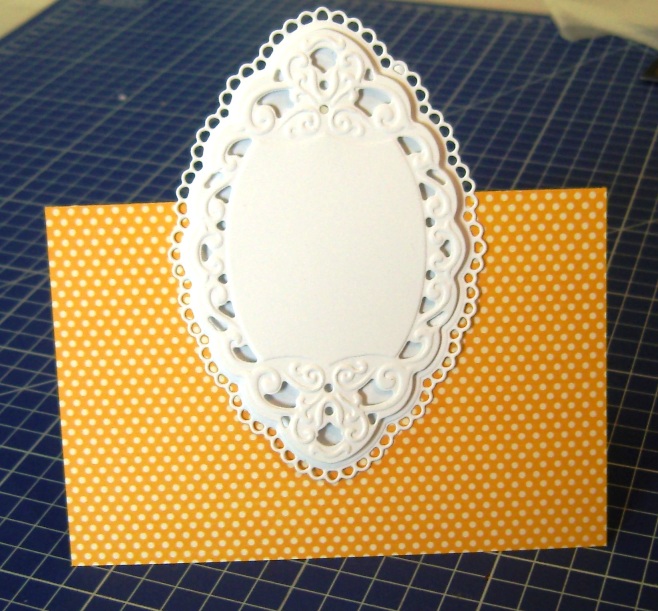
Have a good look through your papers, find a paper you have never used because you found the images just too big for card making and get snipping. Here is a quick class to demonstrate just how easy it is to make your beautiful patterned papers into beautiful centre pieces for your card making projects. Cut, score and fold a simple tent fold card to fit your planned centre piece. I like to have half of the centre piece to be free at the top to add interest. My card base measures 15x10cm folded.
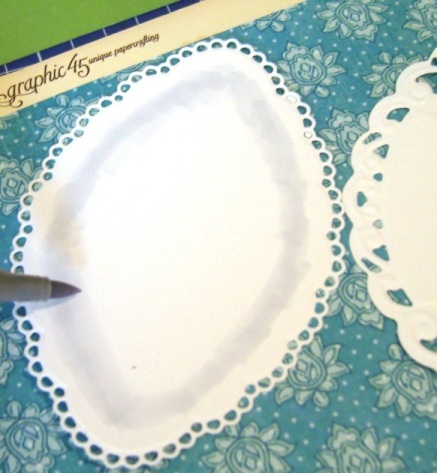
Die cut your ovals. I have used Marianne Creatables-Small ovals on white cardstock. Take a very light grey pen and draw a ring of shading to show through the holes of your upper circle as shown in the photograph.
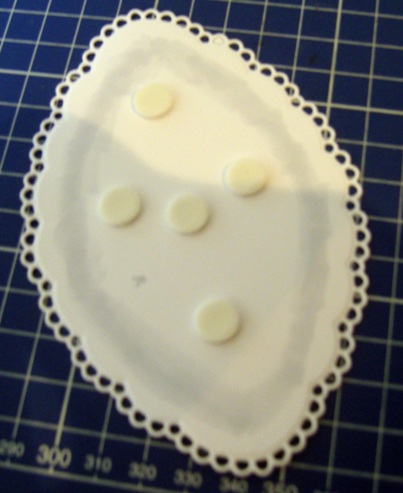
Stick some sticky foam pads to the base oval.
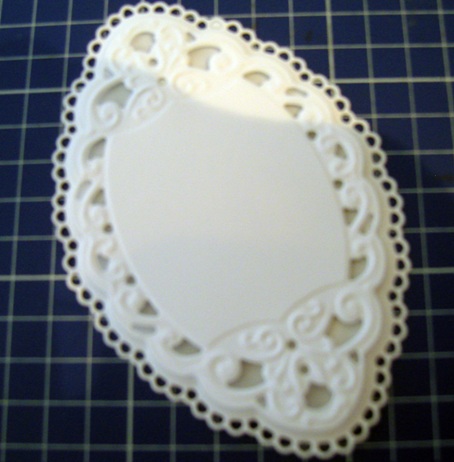
Adhere your top oval into position. See how the grey underneath makes it stand out.
Fix securely to your card
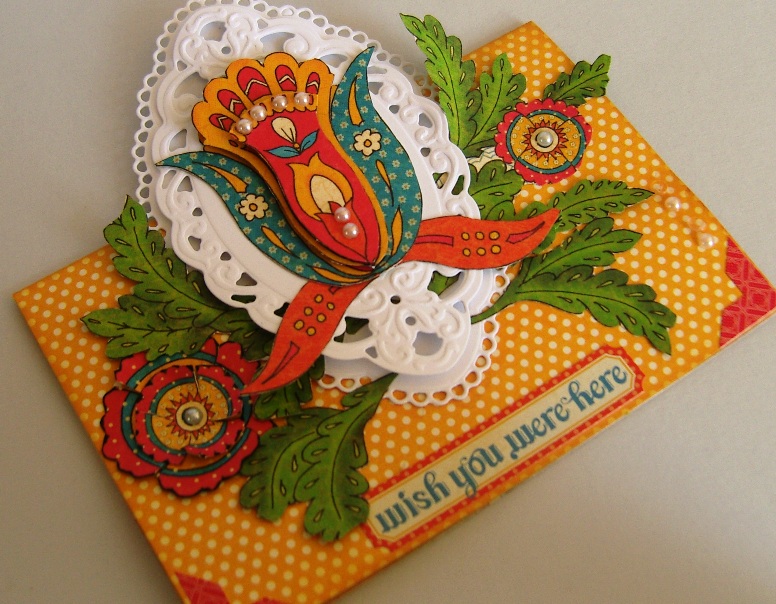
Now it’s time to have fun with some patterned paper. I have used a 12x12 sheet of Graphic 45 Bohemian Bazaar Vivid Splendor paper, the patterns are crying out to be snipped. Here I have cut three sections from the same flower pattern.
Layer up with foam pads and attach to your card base.
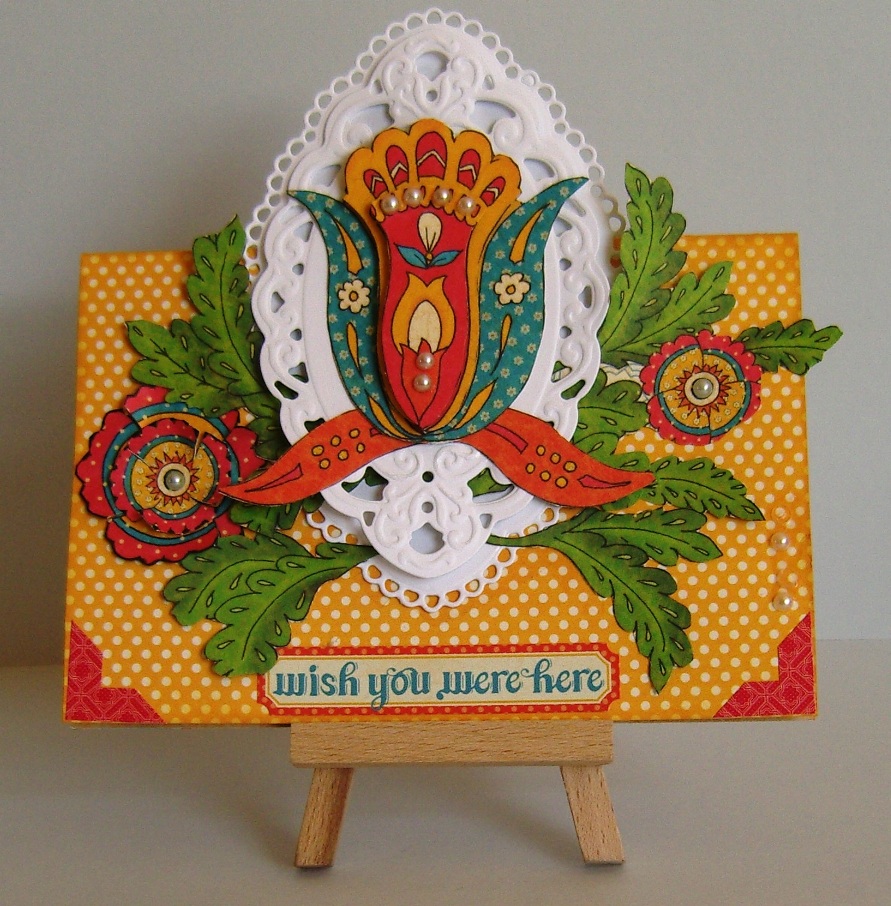
Now sit in front of the TV, or in the garden if the weather permits, and cut out a heap of leaves and two smaller flowers from the same paper. Arrange and adhere to your card. Decorate with flat backed pearls and add a sentiment. The sentiment here is from the Bohemian range too, as are the corners.
|
We hope you enjoyed the class.
Copyright Notice: No part of this tutorial may be reproduced or used for commercial use in any way, shape or form, nor feature on any other website.