|


Die-Cutting Paper Piecing Class
by Louise Brigden
In this tutorial our lovely Louise Brigden shows you how to create beautiful cards using dies you may only have used for apertures and layering.

Products used for this project:
Today I will show you how to get extra use out of those cutting dies that you thought could only be used for apertures and labels!
All the paper and embellishments used in this class are from the Graphic 45 Bohemian Bazaar range.
For this first example I am using a 10cm circular die to cut my paper but you can really be quite flexible with what you use, my idea is intended to inspire.
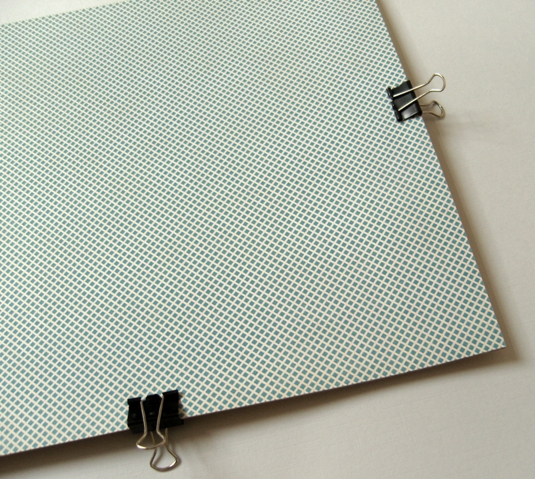
1. Take four complementary, double sided papers – ideally with contrast in colour and pattern. Clip them together and cut out the size you need to fit your die - I clip the papers together so I can cut them all in one go with my craft knife without the papers slipping, and it also leaves the remaining paper with a neat, uniform cut for the next time you need it. My square of paper is 5 x 5cm (half the size of my circle).
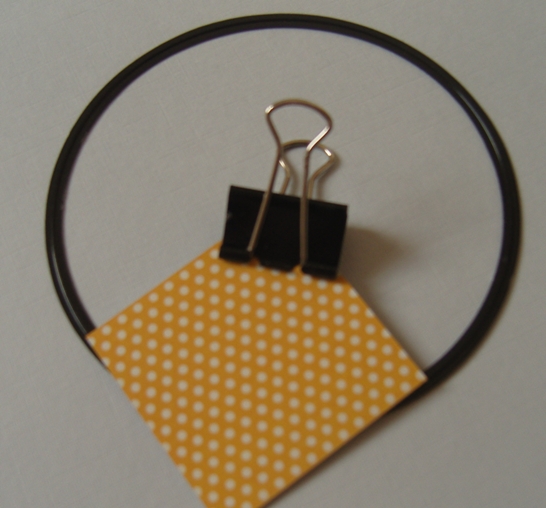
2. Keep your four squares of paper together and place them in order on your die cutting platform, laying your die on the top in position as shown below. Secure with some low tack tape or a piece of ‘post-it’ note.
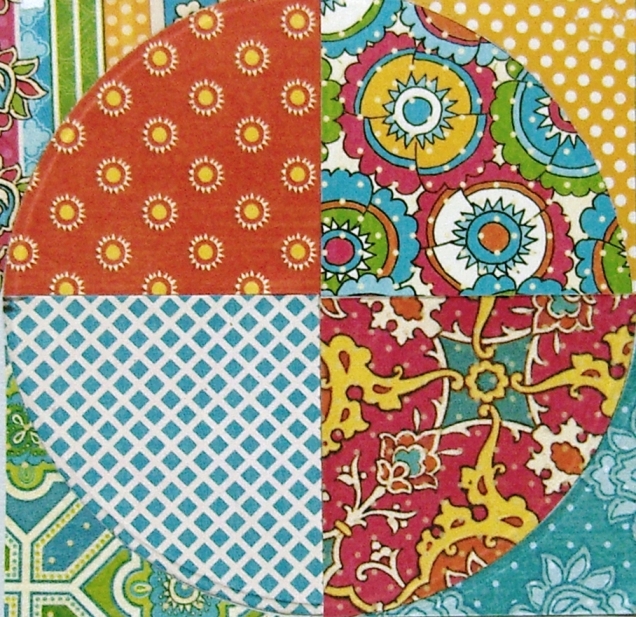
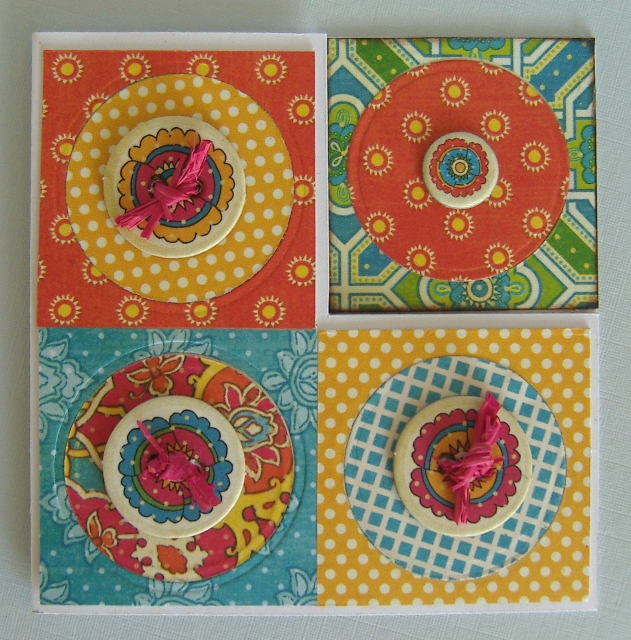
3. Run your ‘sandwich’ of paper and die through your die cutting machine several times to ensure you cut through all layers. Remove your paper and have a play at making a pattern – you can either use the quarter circle in the middle (as shown in my first example) or use them in the corners and form a kind of star in the middle (as shown in my second card further down). IMPORTANT you will have most success with this if you keep each piece of paper with ‘it’s partner’ – turning one to show the pattern on the back. This way they will fit together perfectly every time. When you are happy with your pattern adhere it securely onto a piece of paper or cardstock and trim.
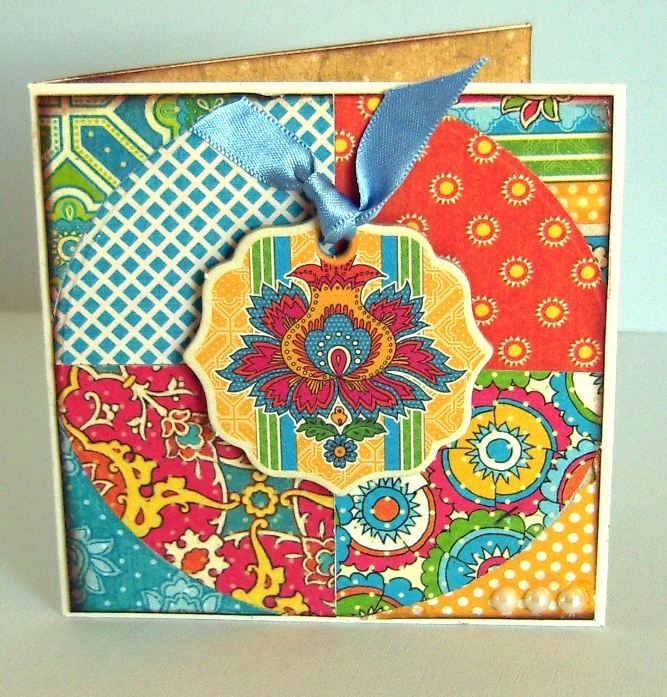
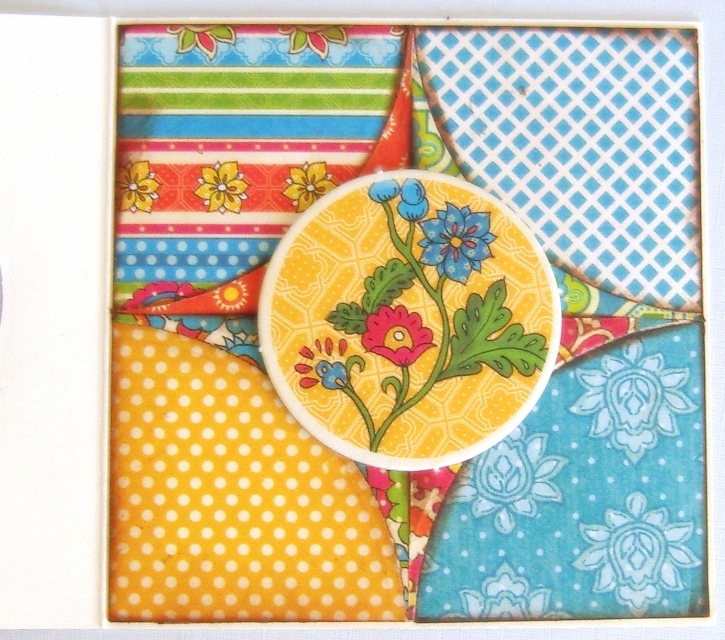
Now you have a brilliant background for your crafty project. Below is the card I made, I simply stuck my background to a side fold card of the same size and added an embellishment from the same Graphic 45 Bohemian Bazaar collection.
In this card I did the same as before but arranged the pieces the other way around. I also inked the edges of each piece. This helps to form a better contrast between pieces.
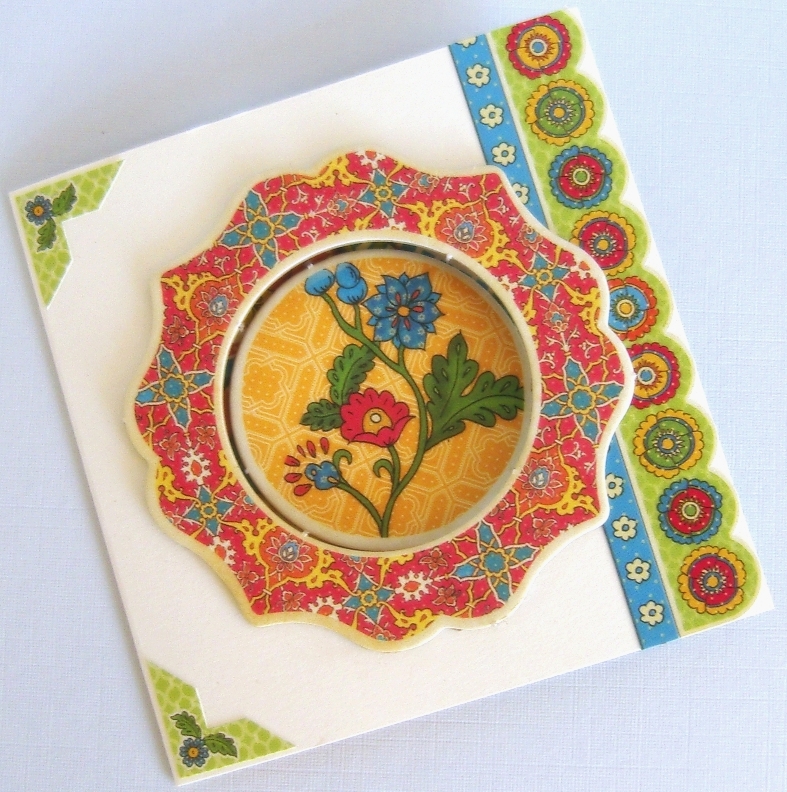
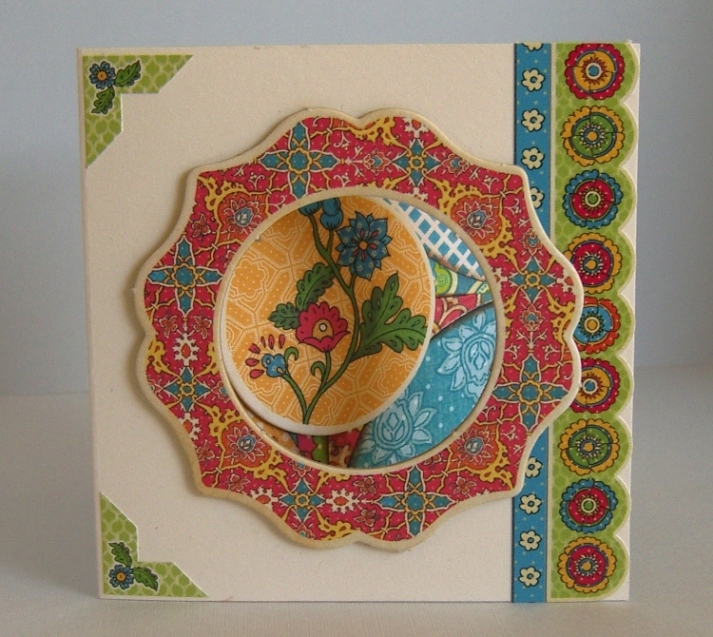
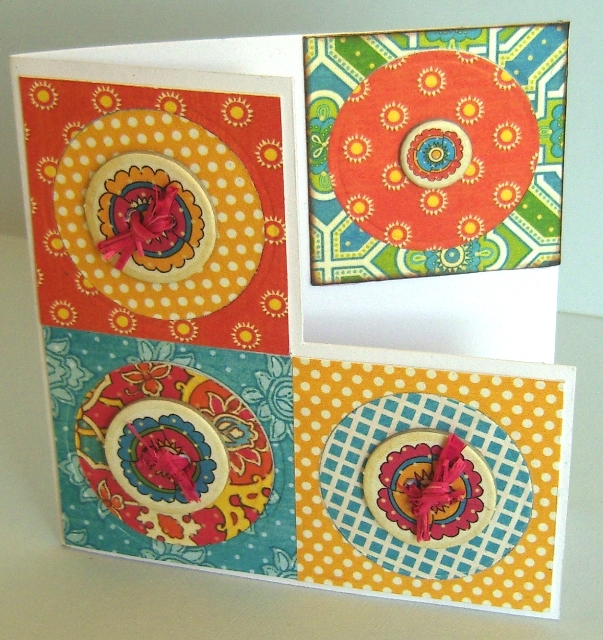
The next card shows how you can use the same technique again but this time cut a circle from the centre of each piece.
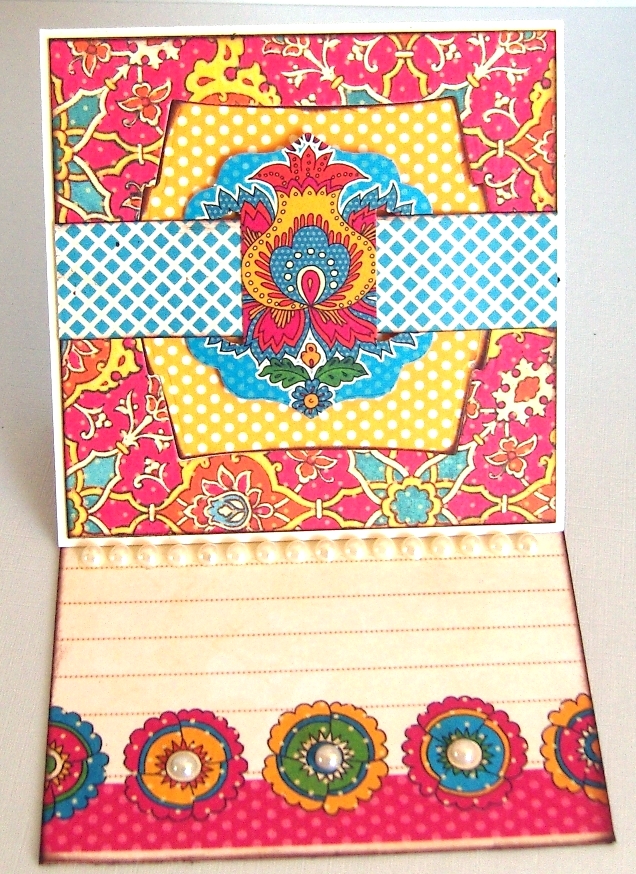
Here I made an easel card. This way you really utilise the gorgeous double sided paper. By cutting out the middle of your background paper, flipping it over and sticking it down you are saving on the paper you would waste if you used the usual layering technique!
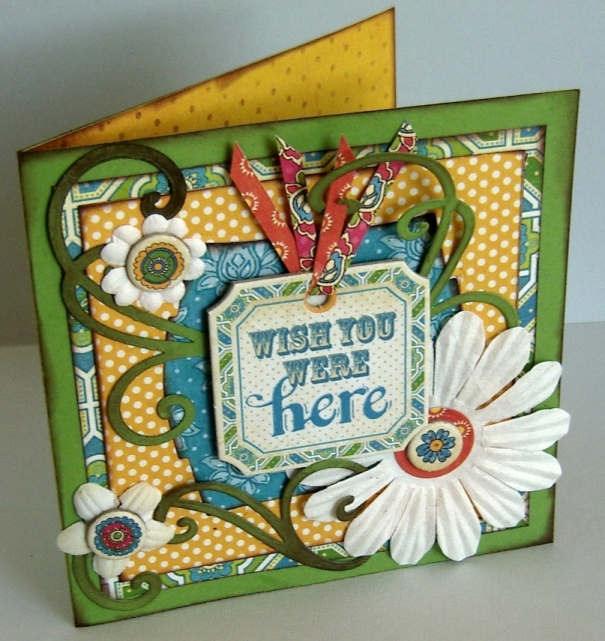
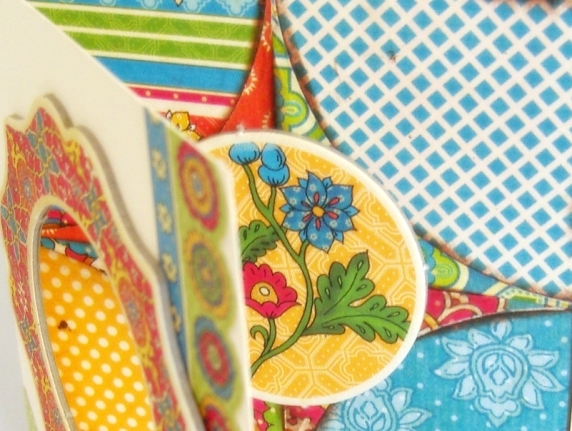
Last but not least and just for a little extra inspiration, here is a card made using the same technique as the one above.
I hope you enjoyed this class, off you go to have a play :)
Copyright Notice: No part of this tutorial may be reproduced or used for commercial use in any way, shape or form, nor feature on any other website.