|
|
|
|
Card Making Ideas
Birthday Cards - Children
|
Children are not fussy when it comes to birthday cards. Anything bright and cheerful will delight along with any 3D and glittery elements. TIP: One of the best way to ensure a card is met with shrieks of delight is to include the child's name on the card. Children love to see their name and your card will be treasured for a long time. TIP: Don't throw out old birthday cards, instead cut out and save anything that can be used for making personal cards in future. This is not viable for commercial card making, but for personal use it's an economical way to create cards. TIP: If you add a border of any kind you must position a focal point centrally on the remaining body of the card, and not centrally on the card itself. TIP: Add odd numbers of obvious identical embellishments to a card - i.e. 1,3,5,7 - and not even numbers. This gives a much softer and consistent look. TIP: In most cases it is best to use the "opposite rule" when adding two identical obvious embellishments. For example, if you add two corners to a frame then add them in opposite corners. |
|
Don't forget to check out our Online Classes and General Birthday Cards for more ideas....
|
 Click here to see the above projects...
|
|||
 |
Click here for instructions | ||
|
|
Click here for instructions and more pictures... | ||
|
Click here for instructions and more pictures...
|
|||
|
|
Click here for instructions and more images... | ||
|
|
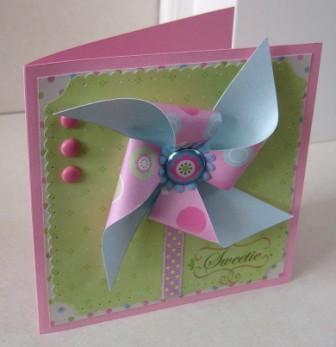
Products used:
Basic Grey Cupcake Collection
Quick Guide
Designed by DT Member Karen Leahy |
||
|
Quick Guide
Designed by DT Member Karen Leahy
|
|||
|
|
Click here for instructions and more images... | ||
|
|
|||
|
|
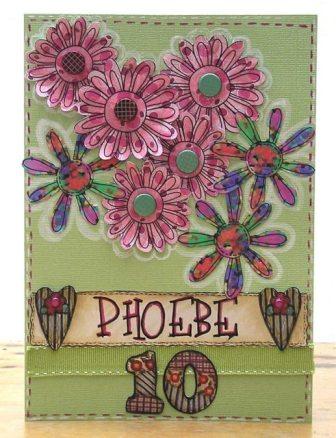
Card Size: A5 This card uses flowers printed from the Wings & Flowers software. The flowers have been glazed and doodled around with a white pen. A large brad has been inserted through the middle of the pink flowers. The card is made from green Bazzill Bling, and has a strip of ribbon attached.
|
||
|
|
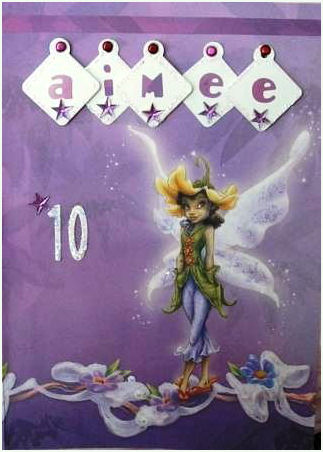
Wrap a King-Size card in Fairy Paper.
Cut a strip from the remaining paper and stick onto the top to add a
contrasting border. Cut out tags, age and title using QuicKutz alphabet and shapes. Pipe a glittering edge on each tags using Stickles Glitter Glue. When dry add letters then attach to card with a brad through each hole at the top. Add glitter glue to the stuck on number. Embellish with crystal stars. Finally dot Crystal or Icicle glitter glue onto the fairy's wings. |
||
|
|
|||
|
|
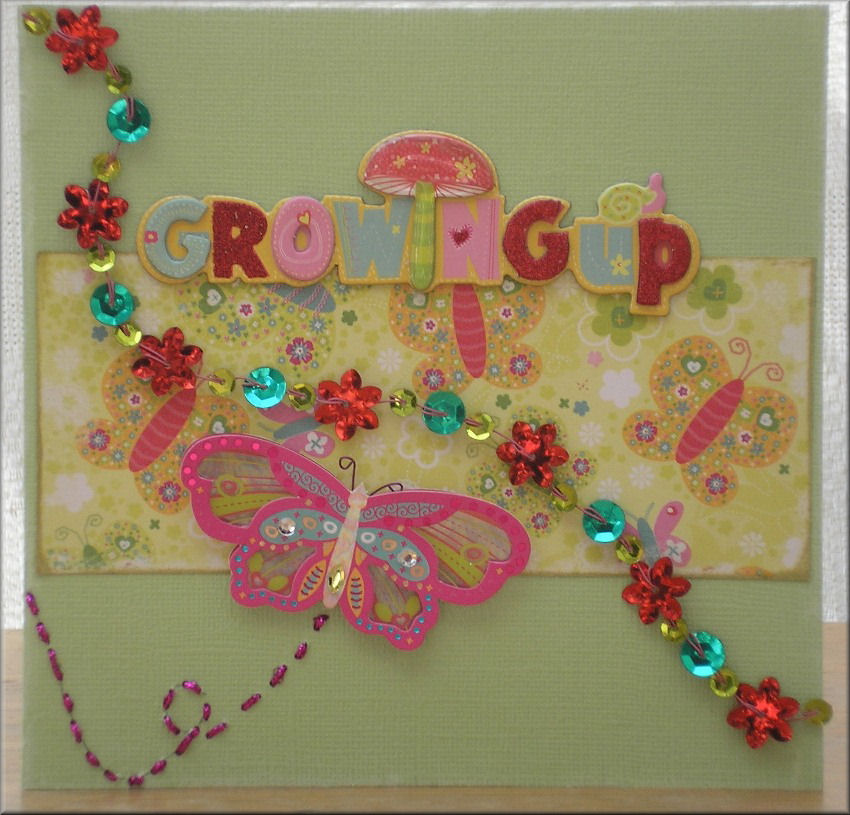
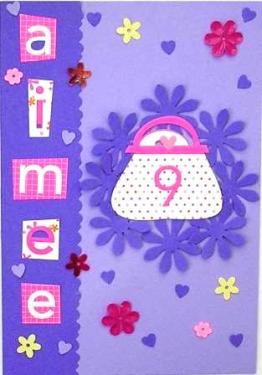
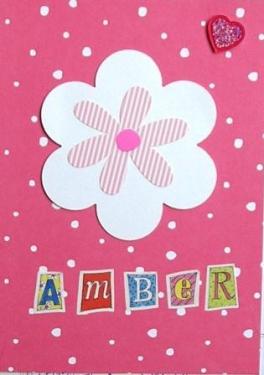
A lovely card for a girlie girl.
|
||
|
|
|||
|
|
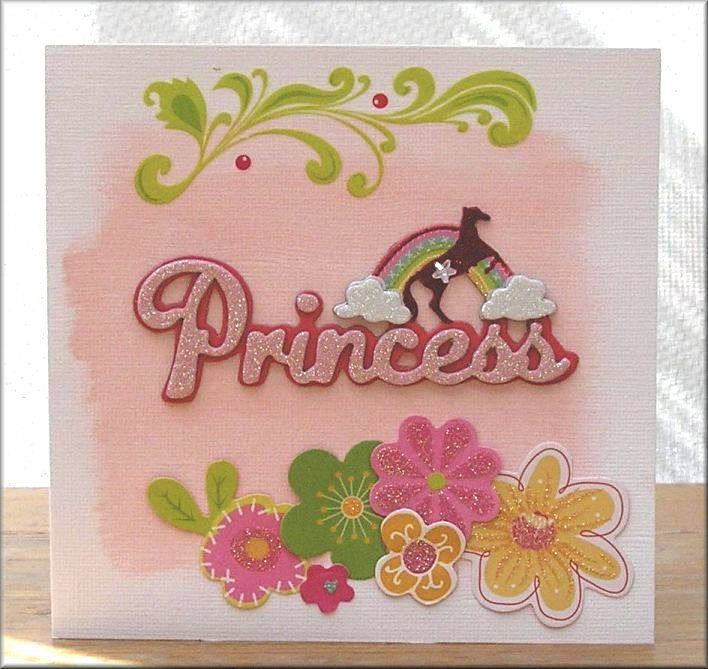
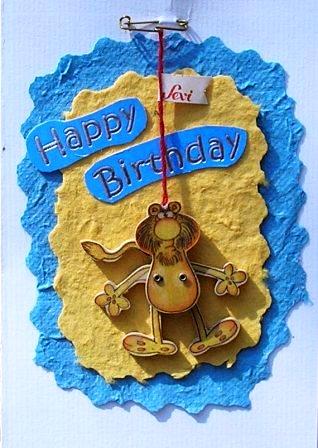
A very simple and easy personalised card.
|
||
|
|
|||
|
|
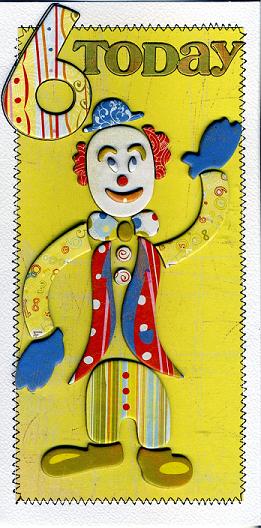
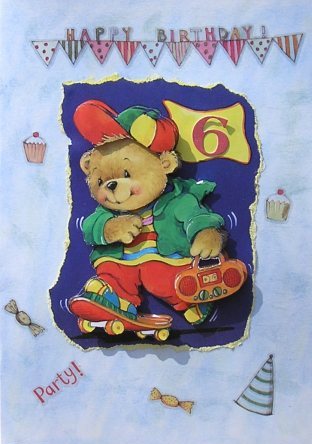
Decoupaged design great for a boys
birthday card. Card size: A5
|
||
|
|
|||
|
|
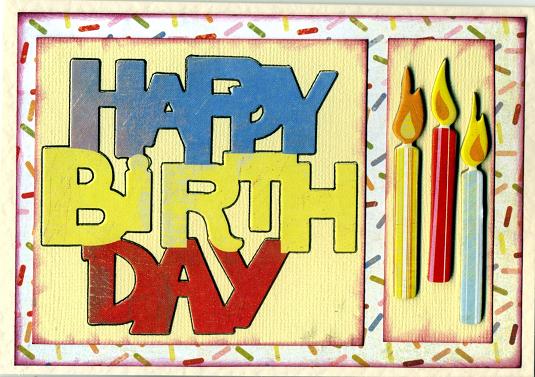
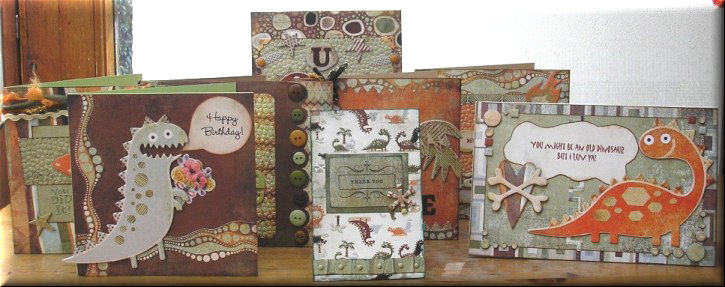
This card shows what you can do with
any "bits and pieces" you may have. It uses wording from an old card
plus a child's brooch.
|
||
Go to the main Ideas section for lots more projects and card making ideas....
All projects copyright ®Charmed Cards & Crafts. All rights reserved.